Let’s face it – no matter what type of RC car you have, the one thing you want it to do is go fast! So what happens when your friend asks you how fast your car is? If you’re like me you always embellish the truth a bit and add a few extra miles per hour. Come on, admit it … you’ve done that.
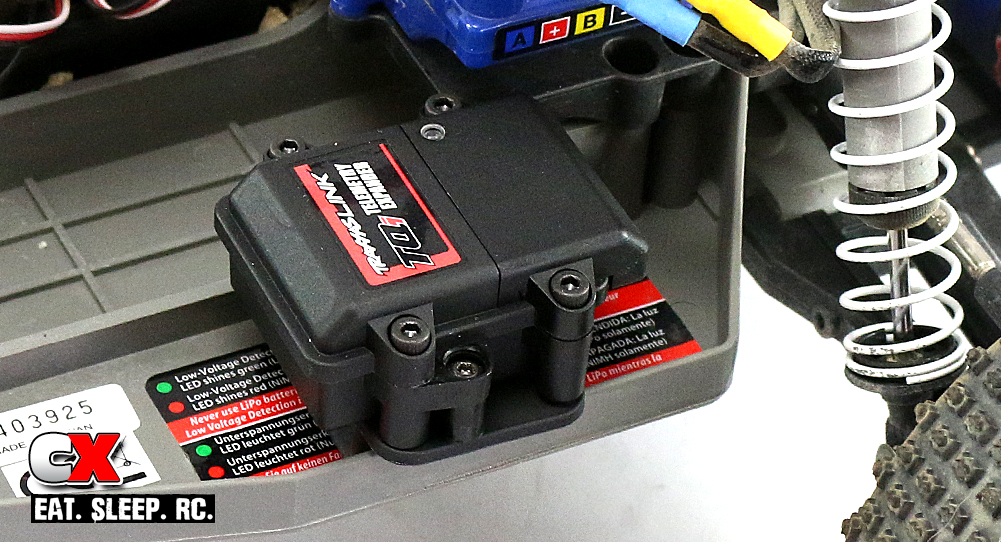
Well, as times change and technology gets better, we can now know for sure just how fast our cars are going. Enter Traxxas’ Telemetry Expander unit, a bite-sized part that fits into any Traxxas vehicle and allows you to monitor things going on in your car, one of them being speed! We’re going to take this Expander and install it in our Traxxas Rustler Courtney Force Edition along with a Traxxas GPS Speed Module and Wireless Link Module.
Step 1
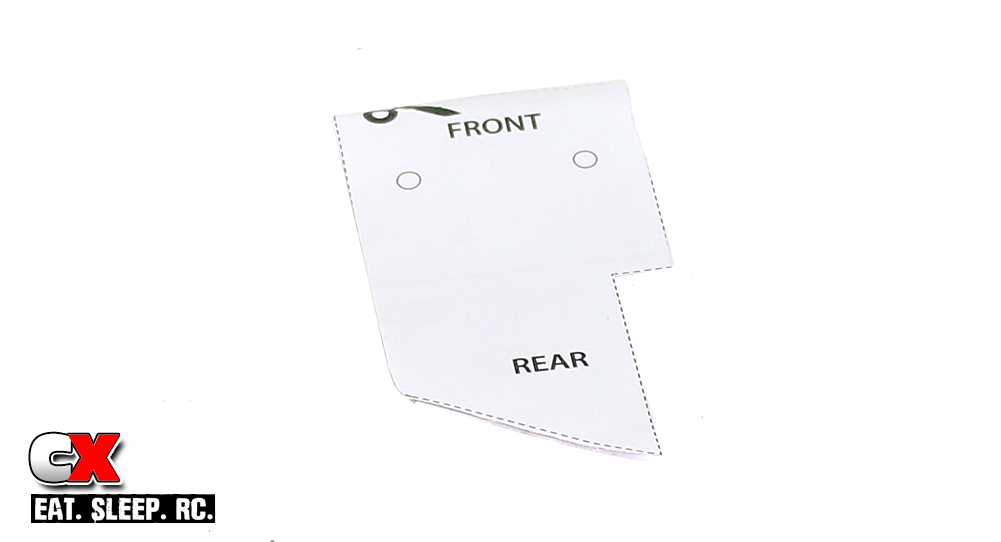
The Traxxas Rustler doesn’t come with a spot to mount the Expander unit; instead, the mount itself is an additional part that must be purchased. Inside the package is a instruction sheet that includes a template for drilling holes in the chassis. Our first step is to cut that template out. Go ahead … I’ll wait.
Step 2
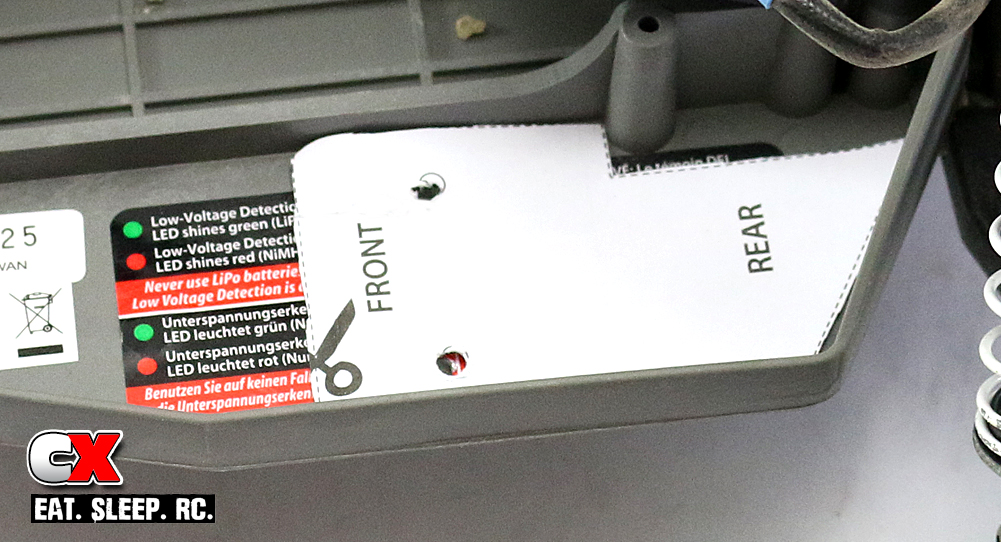
Take your trimmed template and place it in the chassis as shown. It’s not necessary to tape the template in place but it does make it a little easier to make the holes with two hands on your drill.

Step 3
Remove the paper template and attach the mount to the chassis, using screws from underneath to secure it in place. Now attach the Expander unit to the mount.
Step 4
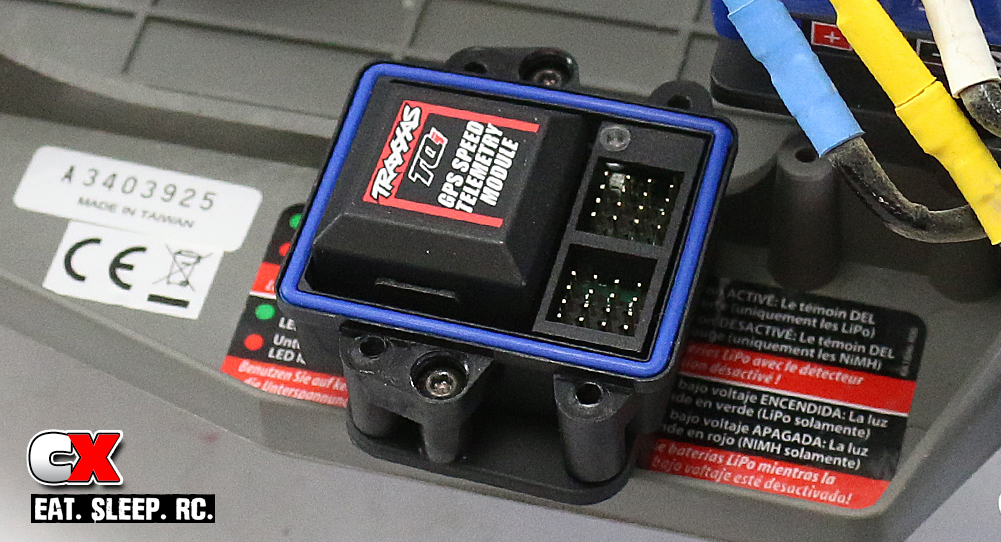
Remove the covers on the Expander (there will be two of them – the main cover and the wires cover) and carefully press the GPS Module in place. You will need to line the pins up so make sure you do this slowly so you don’t bend a pin and ruin the Expander. Press the GPS Module in until you hear a ‘click’. Now re-install JUST the main cover – leave the wires cover off for now.
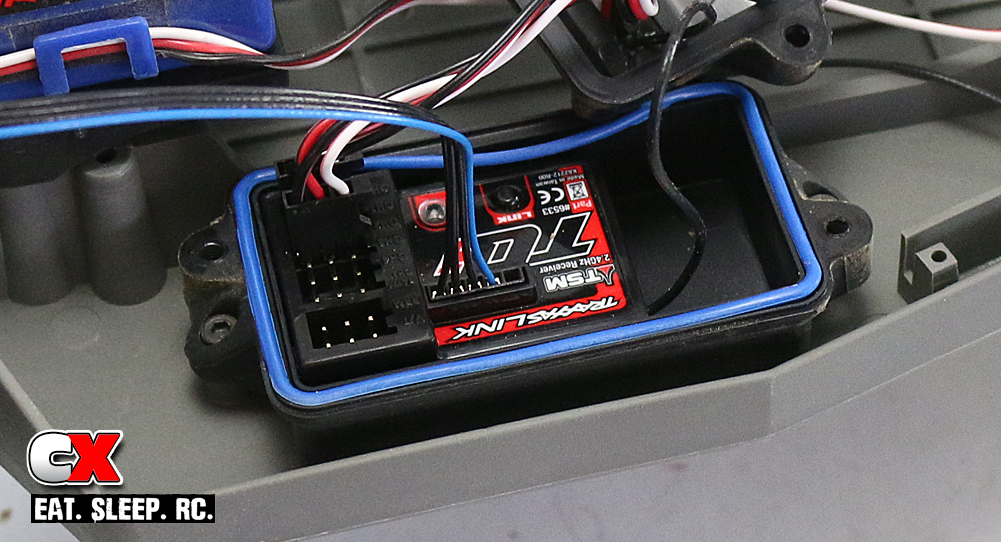
Step 5
Remove the cover on your receiver box and insert one end of the 425mm communication cable into the port shown (next to the TSM logo). Note how the wires coming out of the receiver box are routed.
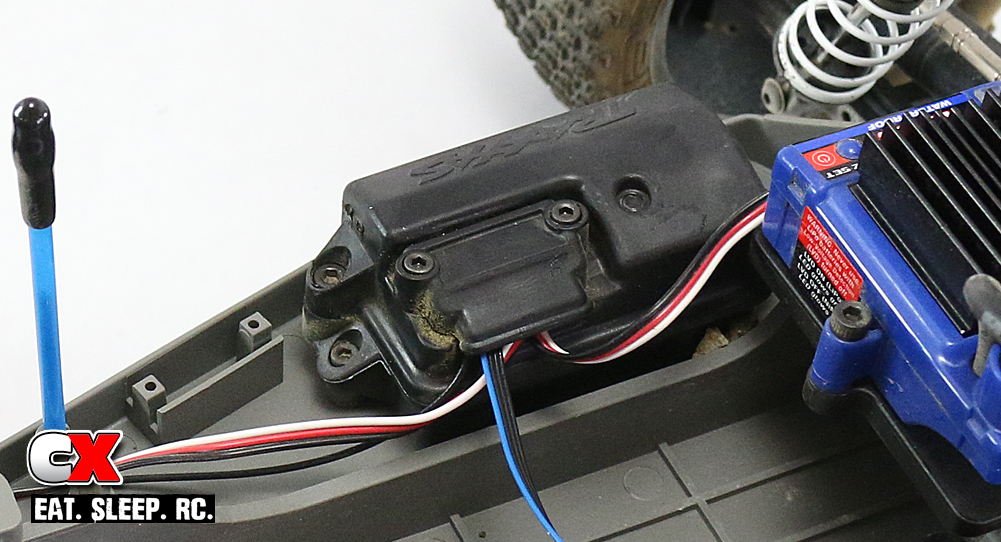
Step 6
Re-install the cover, routing the original wires and your new communication cable as they were in Step 5.
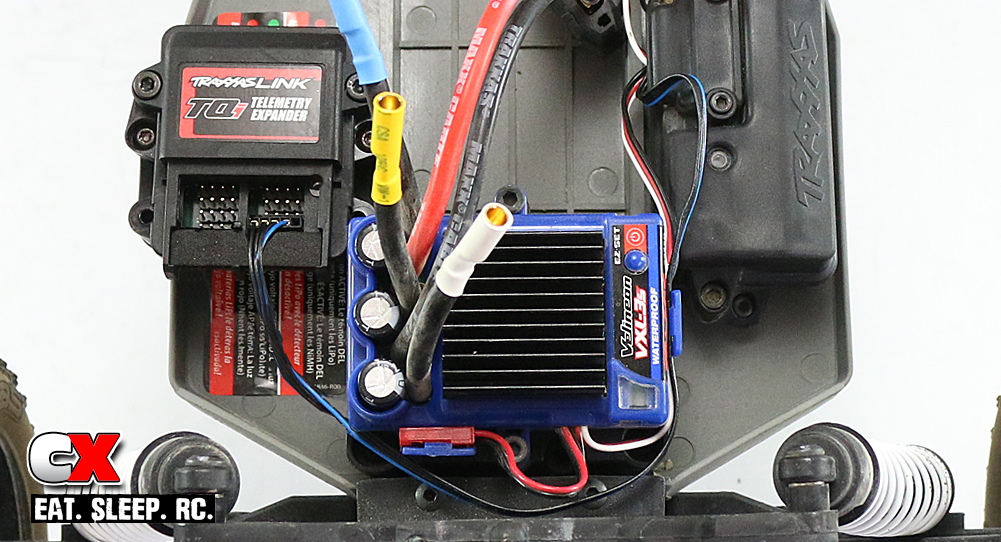
Step 7
I wrapped my communication cable around the ESC to reach the Expander. You can zip tie it to the ESC wire or, as I did, feed it into the clip on the side of the ESC. Once routed, plug the communication cable into the port shown; this is the ONLY port you have available for this cable. The rest are used for additional sensors and will cause an error in setup if you plug the comm cable into any of them. Replace the wire cap on the Expander unit. NOTE: I disconnected all the motor wires to make it easier to see the installation; this is not something you are required to do.
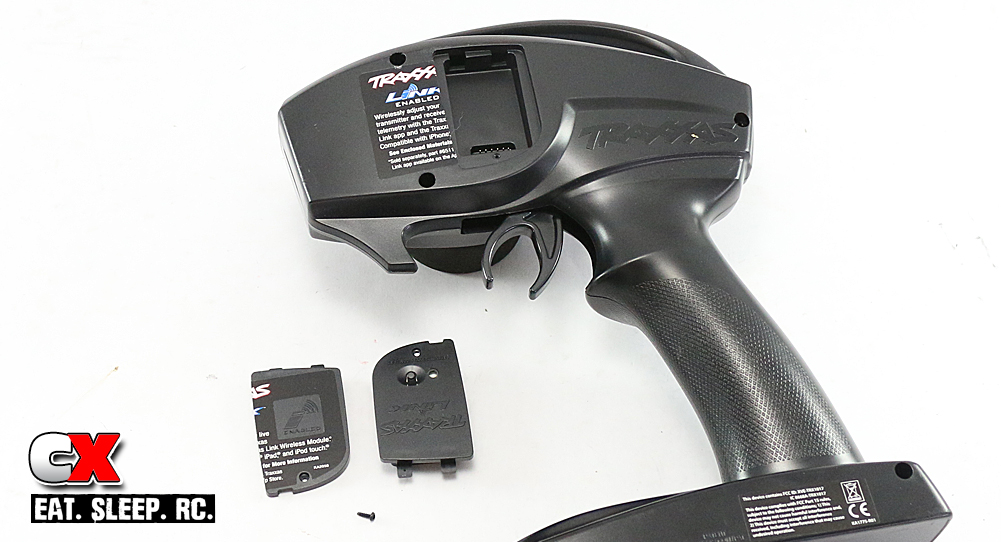
Step 8
Now that we’re done with the Expander unit, we need to hook up the BlueTooth to the TQi radio. Flip your it over and carefully cut the sticker along the edge of the Link Module cover. Remove the small screw to release the cover and replace with the Wireless Link Module. Use the small screw (or the one included with the module) to secure it in place.
Step 9
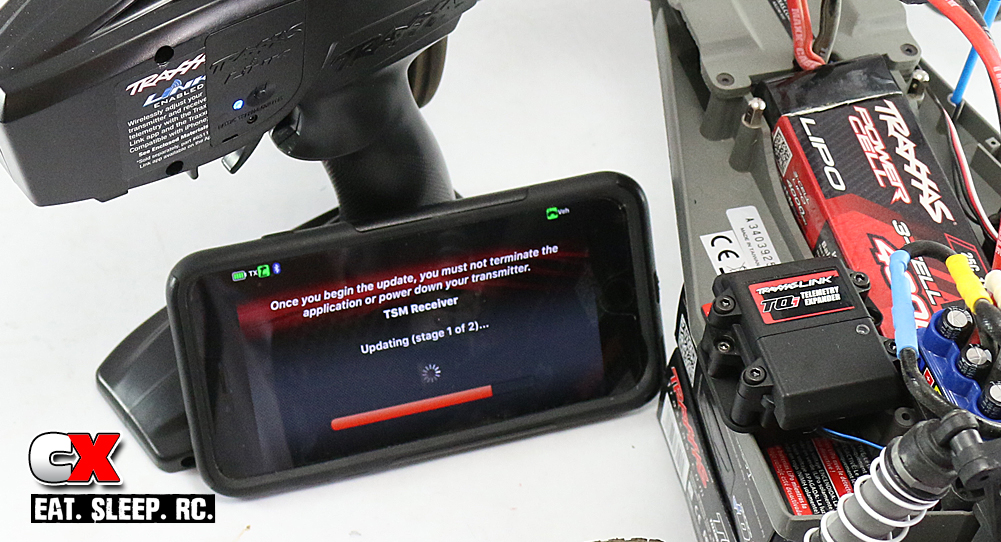
Follow the instructions to BlueTooth your TQi to your Rustler and you’re all set!
At the moment, the Expander will only show you Speed and your recorded Top Speed. The battery voltage, temp and RPM won’t show on the app until you install those sensors.
The connection didn’t take too long (I think it took longer to download the app to my iPhone), but one thing the system required was an update to both the GPS Module and Wireless Link Module. That added another 5 minutes or so, but after that everything was good to go! Now get outside and let’s see some real speed!
Parts Used
37076-3 Traxxas Rustler VXL Courtney Force Edition
6550 Traxxas TQi Telemetry Expander
6554 Traxxas Telemetry Expander Mount for Rustler
6551 Traxxas TQi GPS Speed Module
6511 Traxxas TQi Wireless Link Module
Links
Traxxas, www.traxxas.com
 CompetitionX CompetitionX is the most up-to-date source for RC Car News, Reviews and Videos for Radio Control. We also have the most comprehensive Manual Database on the web.



Thank you for the step-by-step! Extremely helpful!
Thanks! Glad you liked it!