The Build – Part 5
Part 5 of the TA06 Pro build includes mounting the tires, front bumper, body mounts and the battery. Part 5 should be pretty straightforward and allow you the time for your tires to completely glue in place.
Build Notes:
 Your front foam bumper may need to be trimmed depending on the body you are running. I would suggest making small cuts at first using an Xacto, then cleaning it up and smoothing it out with a Dremel or something similar.
 The TA06 Pro will accept any type of 2S LiPo. Be careful so that when you install it you route the wires accordingly.
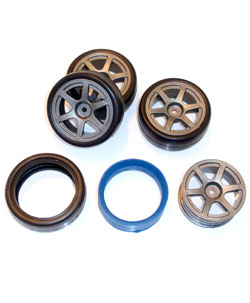
For racing rubber, I went with Tamiya’s B-Compound tires with their soft, molded blue insert. I kept and glued the tires to the stock multi-spoke wheels.
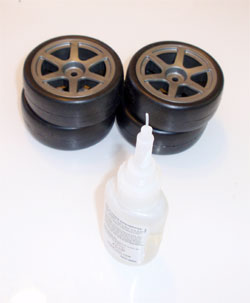
Careful gluing not only makes sure the tires bond well to the wheels, it also gives the overall tire a professional look. I use my CompetitionX Gloo Toobs to ensure a perfect bond and keep the mess to almost nothing.
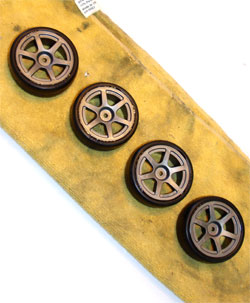
When gluing, keep the tires on something you don’t care if it gets damaged. Thi helps prevent ‘glue rings’ from forming on your mom’s/girlfriends/wifes dinner table.
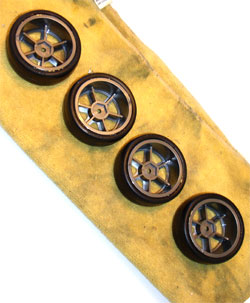
Give it a little time (which will vary depending on the glue used) and then flip over and repeat for the backside.
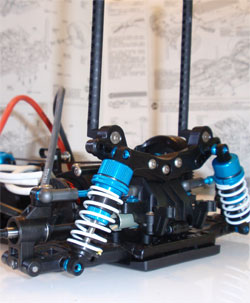
Install the rear body mounts per the instructions. Pretty simple.
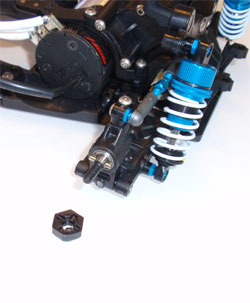
Install the dogbone pins and wheel hexes on all four corners of the car. Feel free to use a little grease to hold the pin in place.
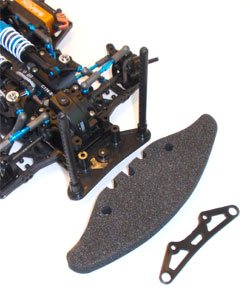
Install the front bumper and bumper top-plate per the Tamiya instructions. Nothing difficult here.
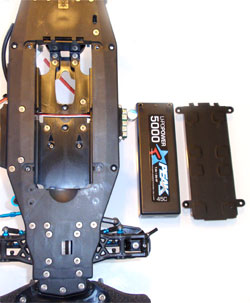
Drop the battery in the center of the chassis and secure the bottom panel with 4 screws. Be caferul which way you install the battery. Putting it in backwards will only mean disassembling the radio box again.
 CompetitionX CompetitionX is the most up-to-date source for RC Car News, Reviews and Videos for Radio Control. We also have the most comprehensive Manual Database on the web.

