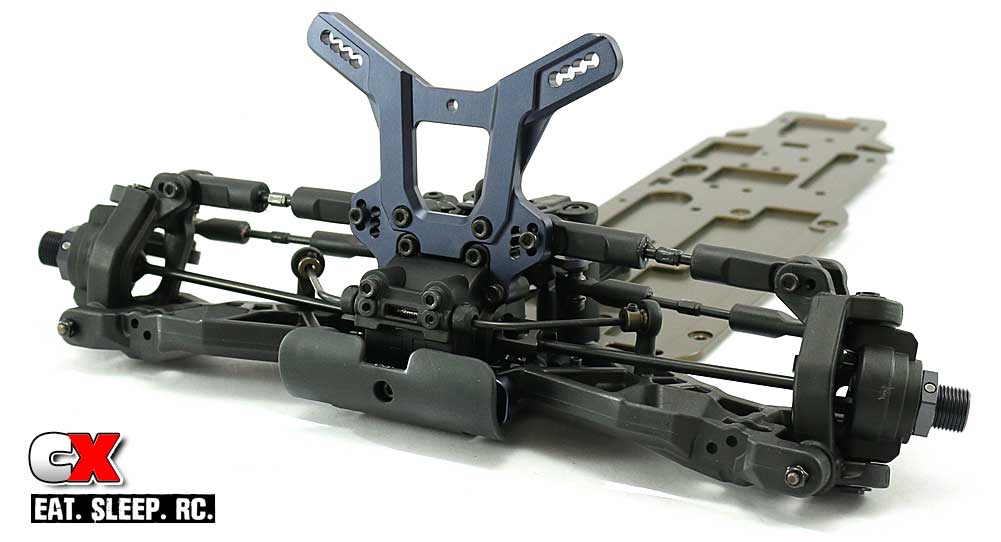
The Build – Part 3
Next up in our Tekno RC EB48.4 build is the steering. This buggy uses a bearing-supported dual bellcrank setup with adjustable bumpsteer and Ackermann. It also integrates a bellcrank mounted servo saver to help protect your expensive servo.
 None.
None.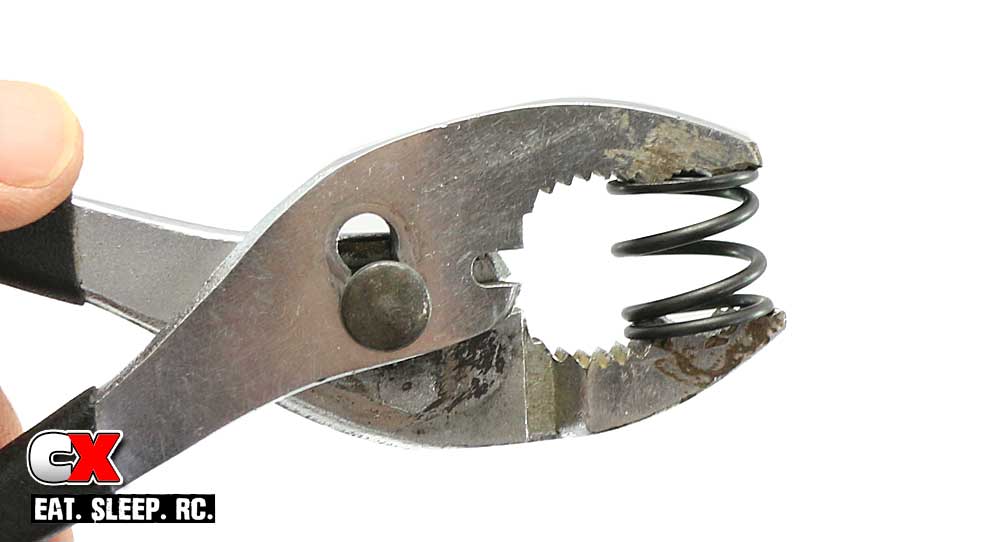
Before we can assemble the steering system, we have to prep a few of the parts. The first thing we need to do is pre-compress the servo saver spring as few times with a set of large pliers. This will make it easier to compress after it is installed.
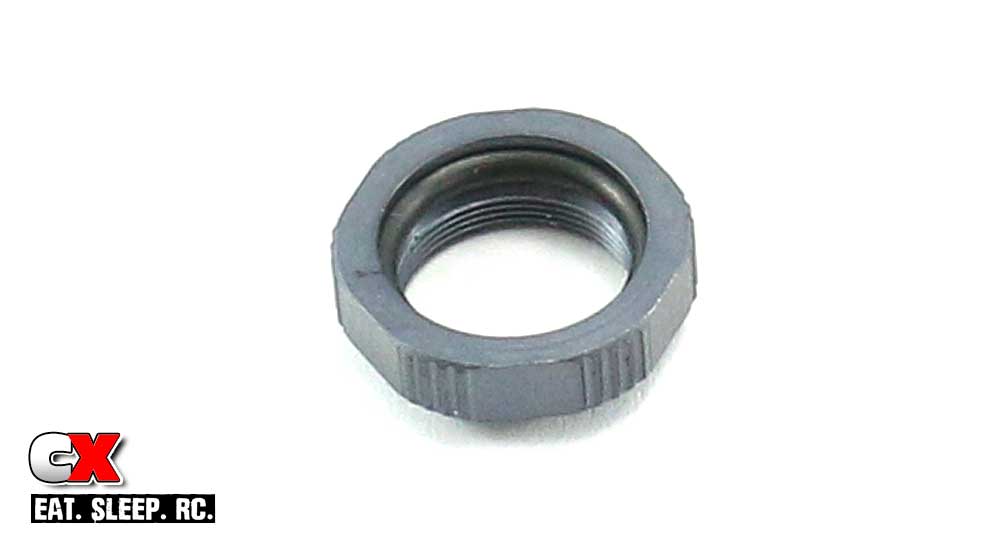
Next, you’ll want to insert the o-ring into the collar. The instructions suggest blue threadlocker on the collar threads to keep it from backing off. If you do decide to use some, use it very sparingly. I’ve never encountered a servo saver of this design loosening up, however as a precaution I did add a very small to this one.
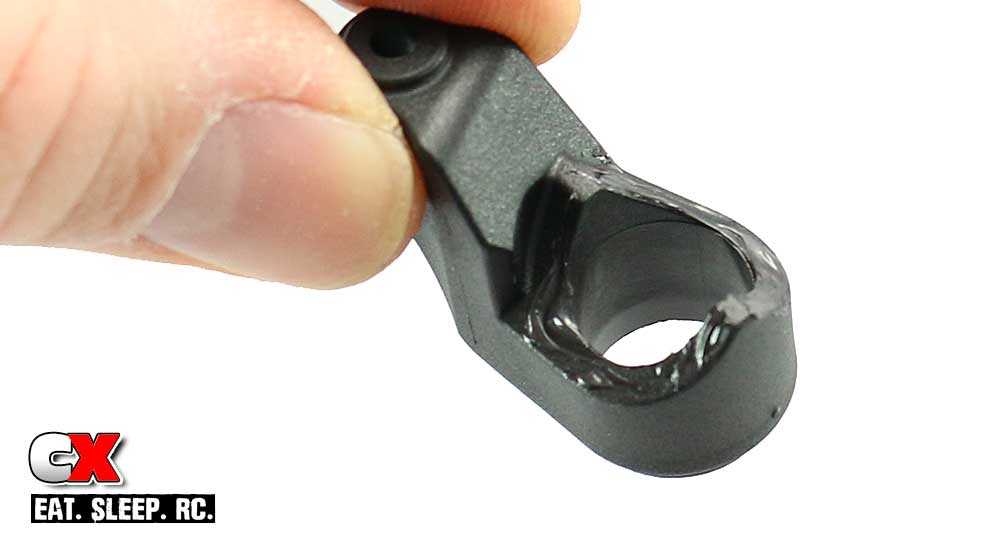
Here’s a little trick I learned a REALLY long time ago. Adding a little bit of black grease to the servo saver parts keeps them lubed and in good condition. Dry, the constant rubbing together can cause them to wear prematurely. Just a tad on one side is all that necessary.
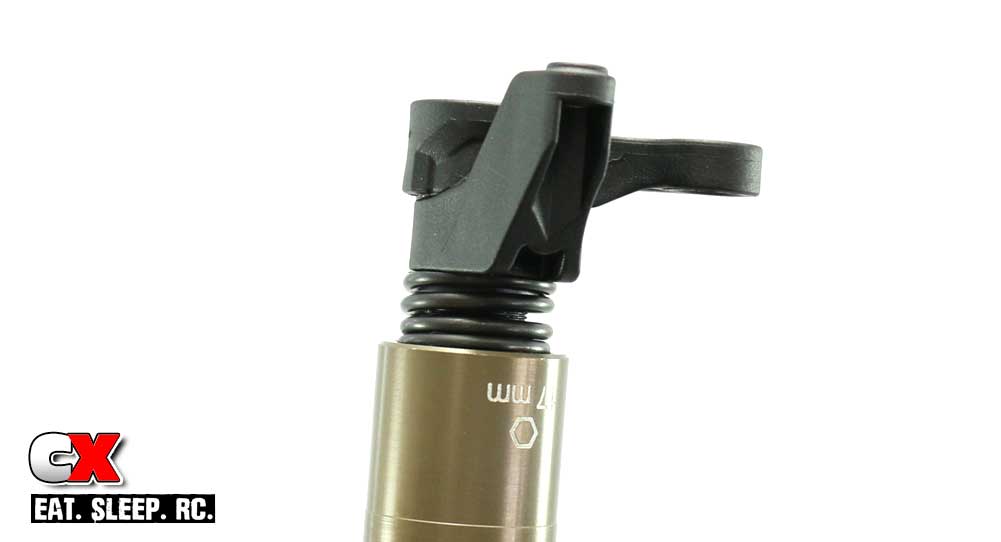
Now assemble the servo saver side of the steering. You can use a 17mm wrench to tighten the servo saver collar down. Per the instructions, tighten all the way and then back it off 3 full turns.
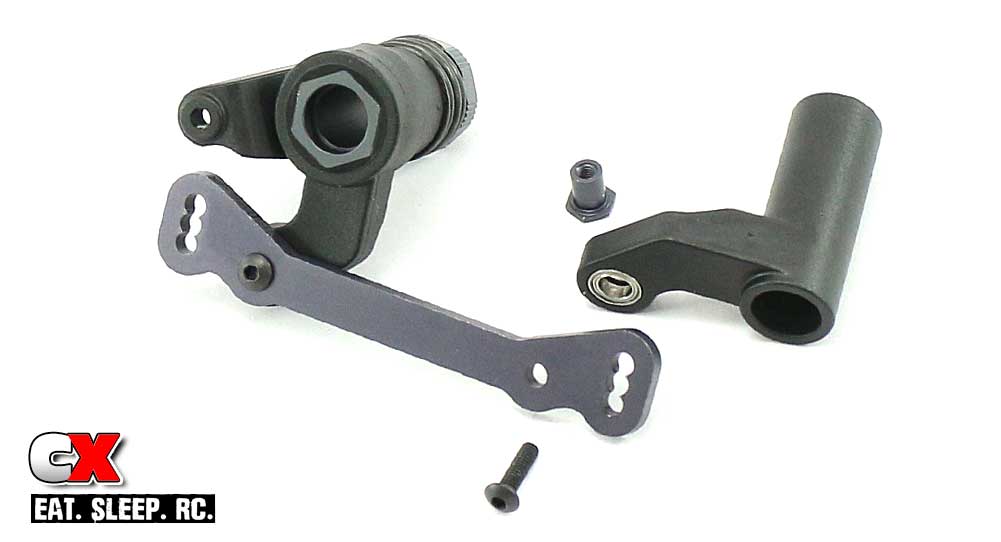
Press the 5x8mm bearings into both sides of the bellcrank arms. Insert the M3x10 screws through the top of the steering rack, through the bearings and into the steering rack bushings. The bushings will reside in between the bearings for a silky smooth steering feel. Blue threadlocker is suggested here.
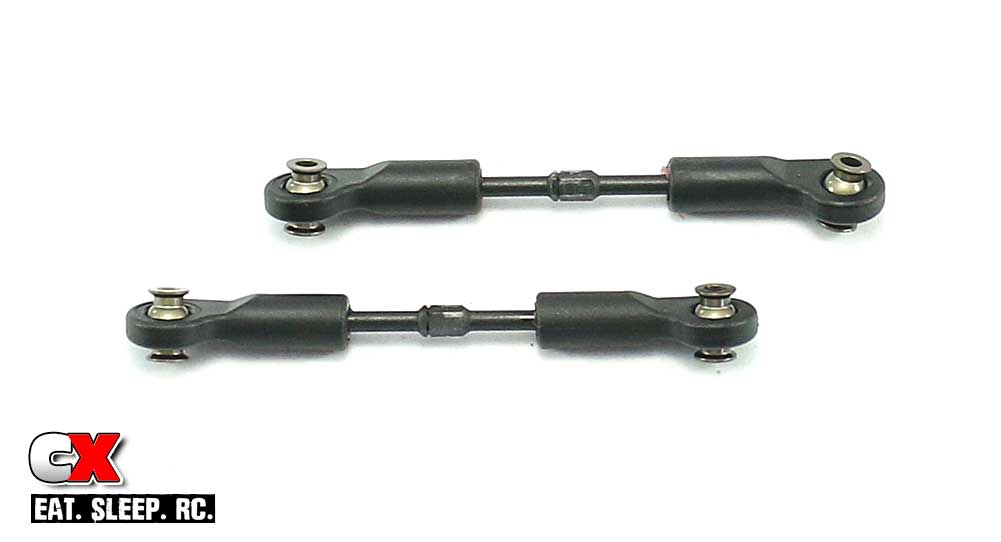
Build a pair of steering links. Note the direction of the ball cups. The 26.5mm length is a good starting point.
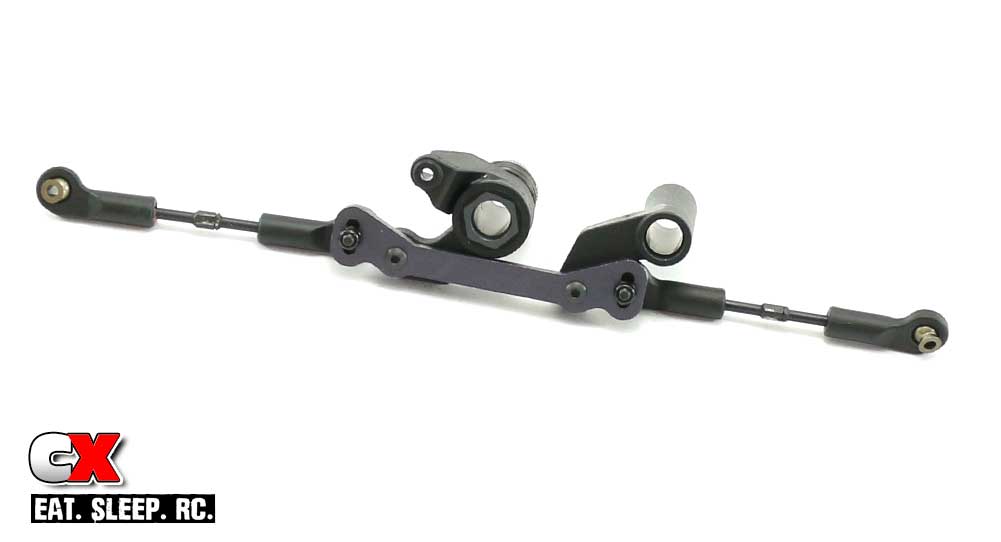
Attach the steering links to the steering rack using the center hole. Make sure you include the four M3x8mm washers on each side. These washers control bumpsteer and are very important. Also note the turnbuckle notches are facing the left side of the buggy.
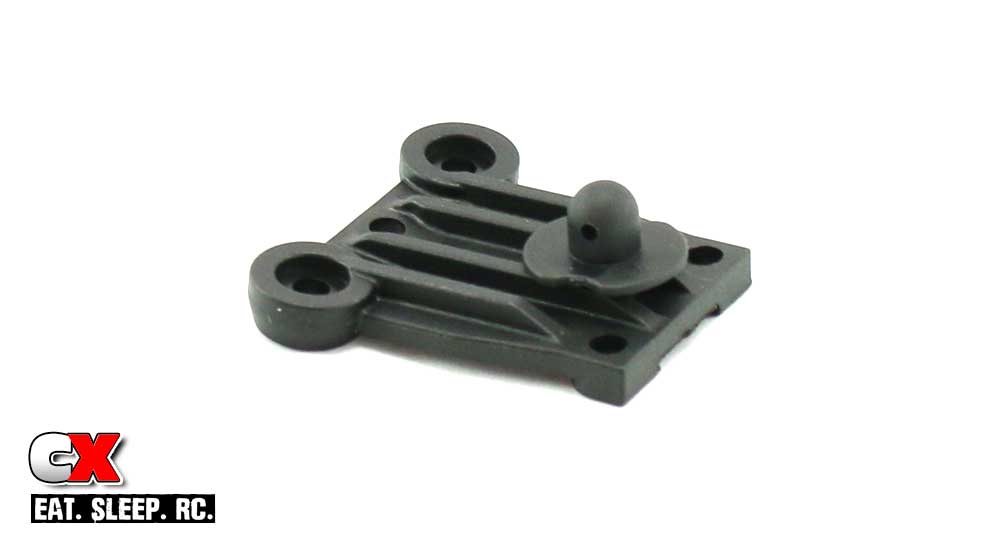
Attach the front body mount to the steering top plate.
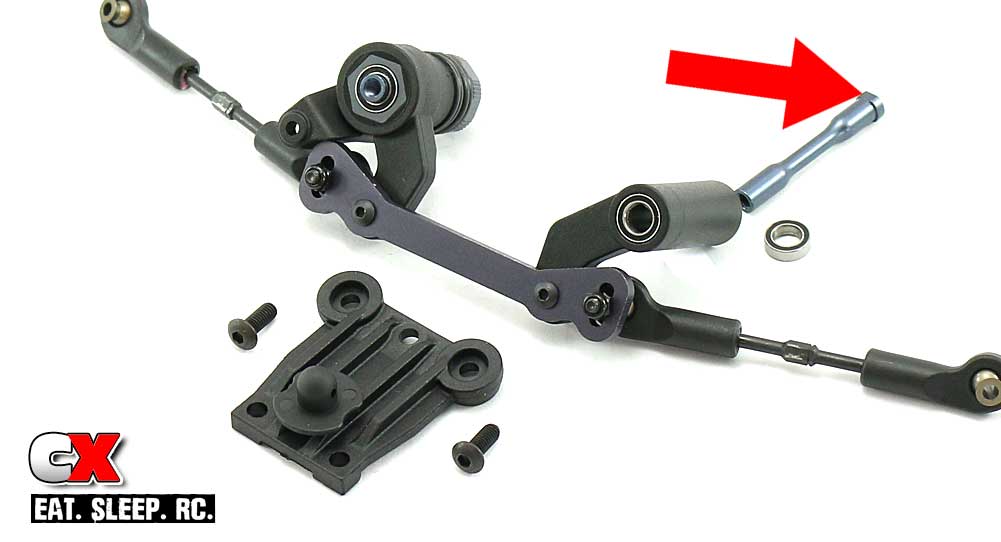
Press the 6x10mm bearings into the top and bottom of the bellcranks. Slide the steering posts up through the bearings and attach the steering top plate.
Note the red arrow – this points to flat spots on the steering posts. These flat spots will key to cutouts on the chassis in Step 11.
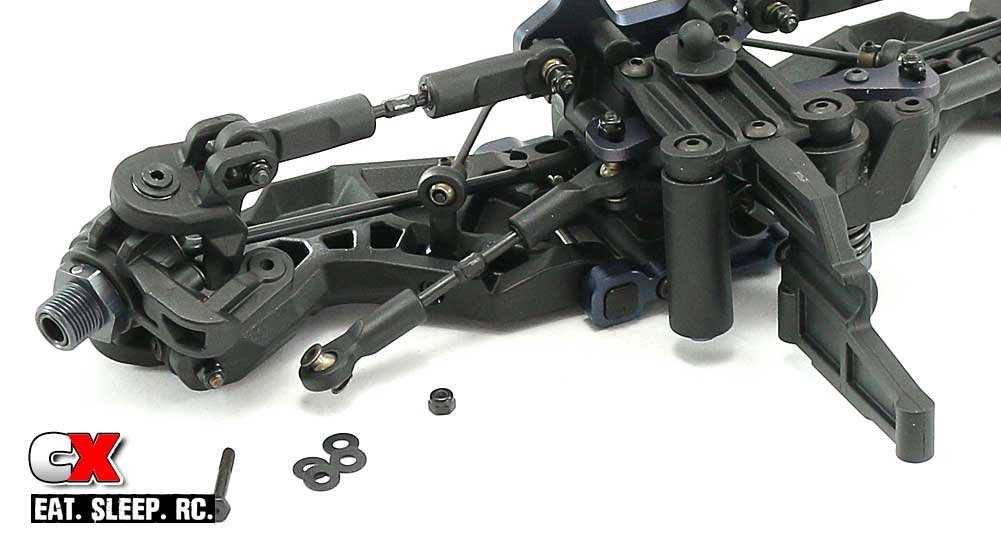
Install the front chassis brace to the steering assembly, then connect the completed steering assembly to the front bulkhead with the M4x10 screws, but don’t tighten all the way just yet.
Connect the steering links to the steering arms, including four M3x8 washers per side.
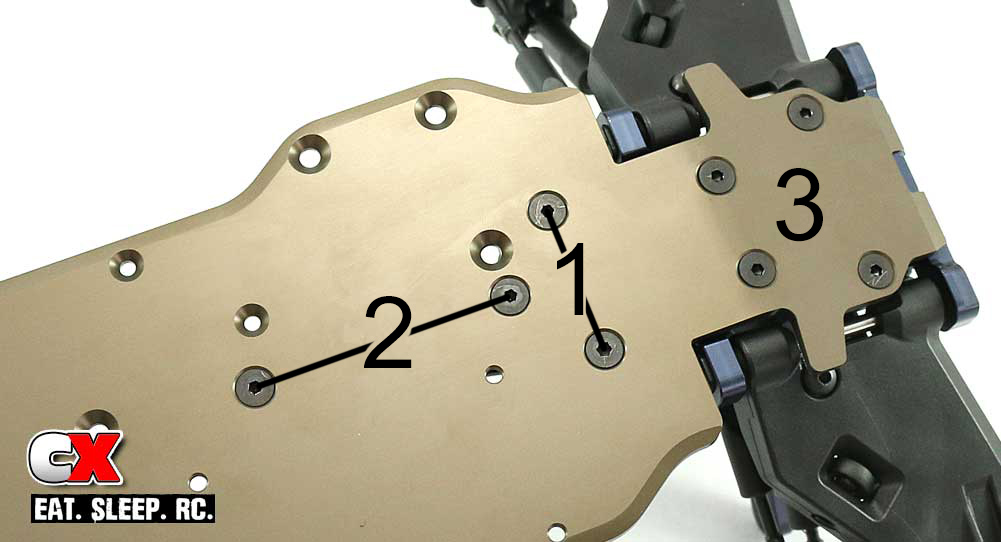
Attach the entire front clip to the chassis, making sure the steering post flat spots key to the cutouts in the chassis. I’ve included an underside picture so you can see which holes are used for this step.
The best order I found was to start with the two M4x10 screws (labeled 1, use blue threadlocker) followed by the two M4x12 screws (labeled 2). Once those are started, finish up the step by inserting the four M4x12 screws up front (labeled 3). Once all of them are started, you can snug them all down slowly to make sure you don’t tweak anything.
After you’re done tightening the chassis screws, flip the buggy over and tighten up the two M4x10 screws you left loose from Step 10.
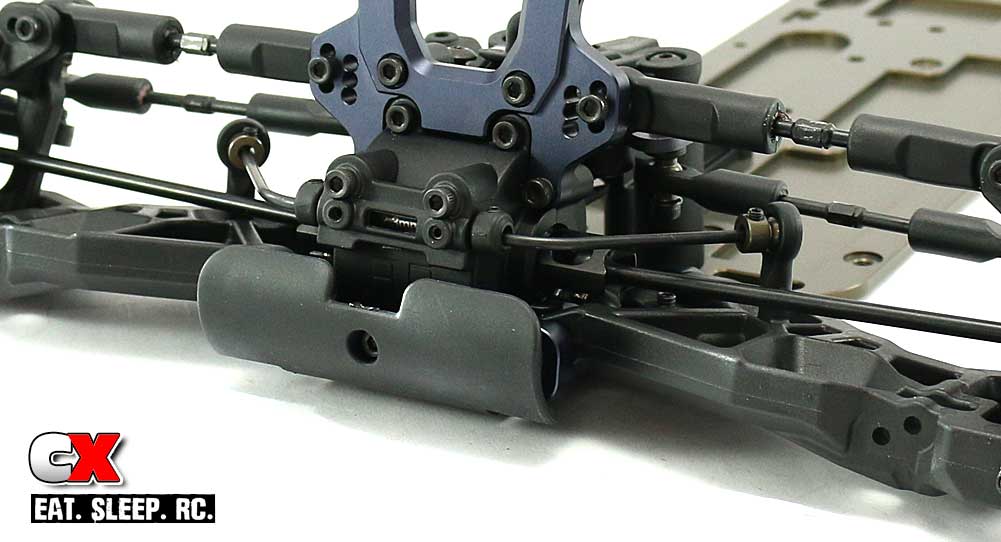
The final step is to attach the front bumper. Easy peasy.
Yup, it’s starting to look like a buggy. Great job – let’s get cracking on the center diff and rear clip install.
Tekno RC EB48.4 Build – Part 1 – Differentials
Tekno RC EB48.4 Build – Part 2 – Bulkheads / Suspension
Tekno RC EB48.4 Build – Part 3 – Steering
Tekno RC EB48.4 Build – Part 4 – Center Bulkhead
Tekno RC EB48.4 Build – Part 5 – Shocks
Tekno RC EB48.4 Build – Part 6 – Electronics
Tekno RC EB48.4 Build – Part 7 – Body, Wheels and Tires
 CompetitionX CompetitionX is the most up-to-date source for RC Car News, Reviews and Videos for Radio Control. We also have the most comprehensive Manual Database on the web.
