The Build – Part 4
Part 4 is going to be a really easy one – I’m making up for the super long Part 2! We have 3 steps – installing the center differential and the rear clip.
 Once you get this step complete, rotate the drivetrain to make sure everything spins smoothly. If there is a bind, start by removing the center bulkhead and test each end of the car individually.
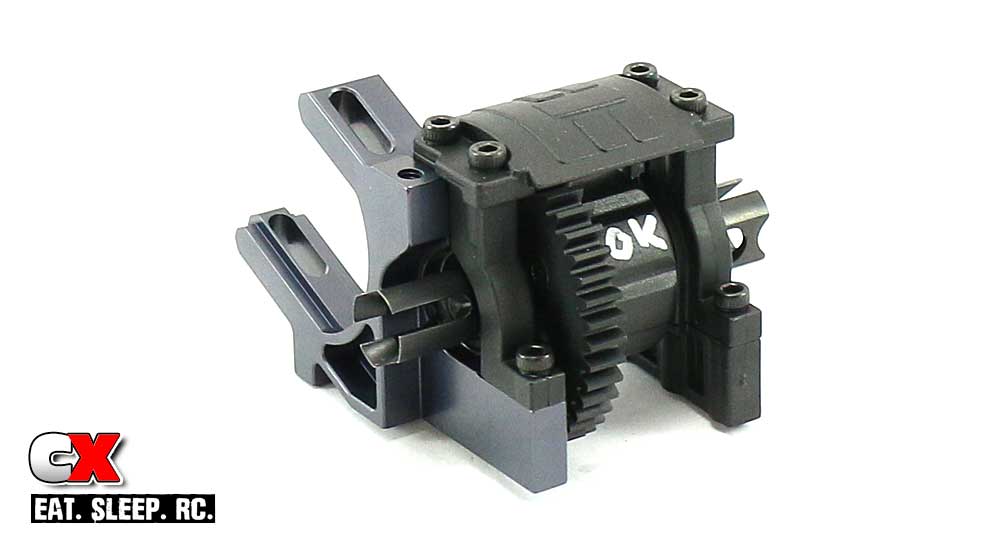
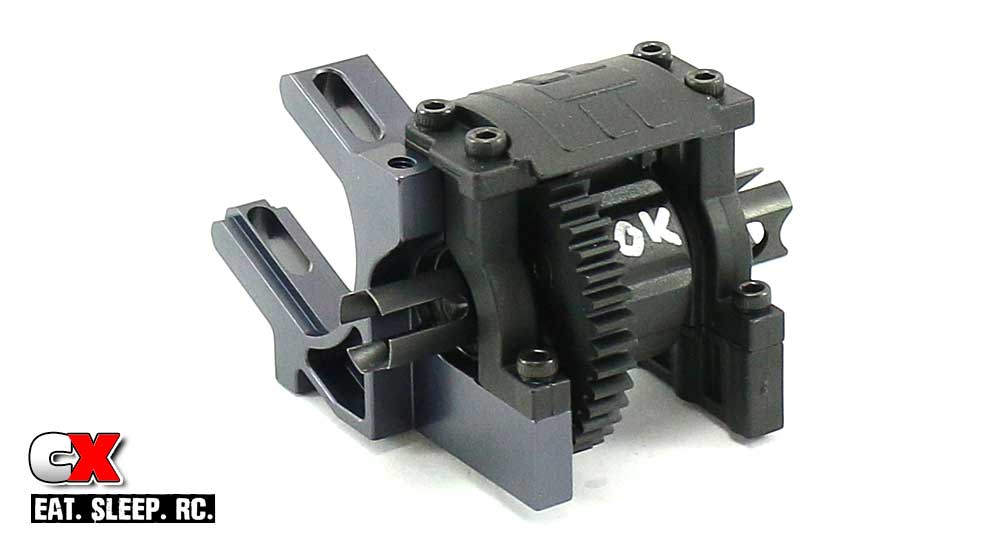
Assemble the center diff housing, but don’t tighten up the screws until the entire assembly is complete. Use a little bit of blue threadlocker on the top two M3x12 screws that feed into the aluminum motor mount. Make sure you install the diff with the correct orientation as well.
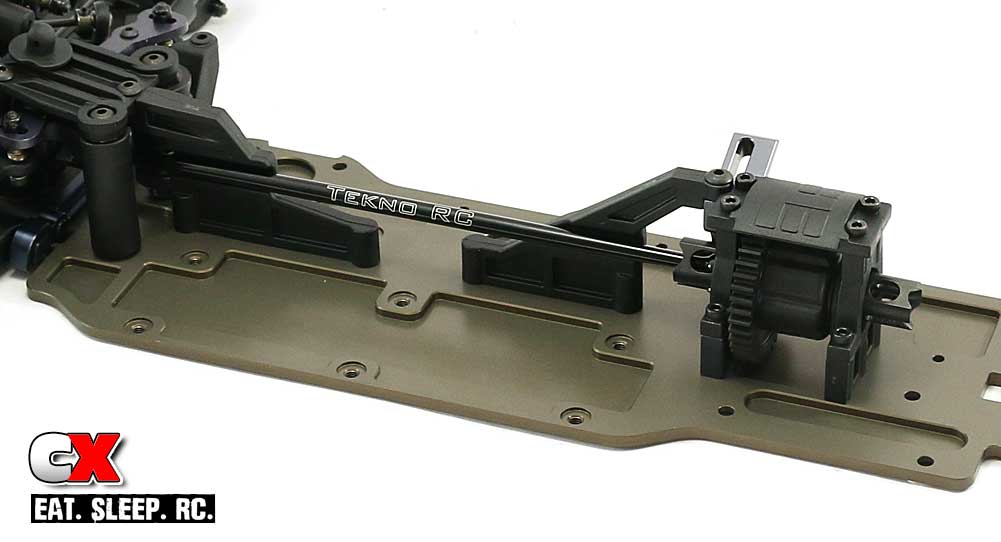
Attach the plastic chassis brace to the center diff housing with a M4x10 screw, using blue threadlocker to help keep it in place.
Insert the long driveshaft into position and attach the center diff housing assembly (and chassis brace) to the chassis. Two of the M4x12 screws (the ones that thread into the aluminum motor mount) will require blue threadlocker.
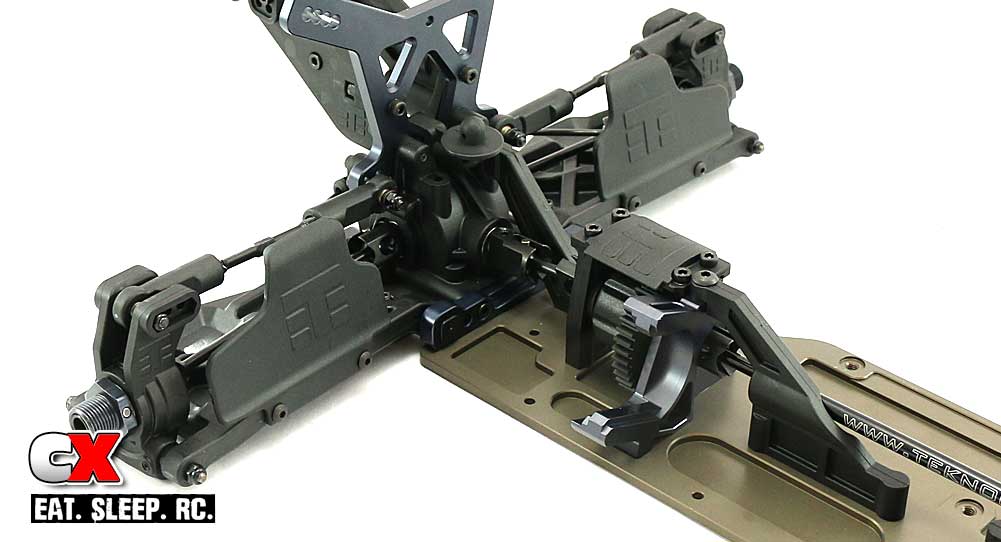
Insert the shorty driveshaft into position and attach the rear clip to the chassis. Finally, attach the rear chassis brace from the rear clip to the chassis.
See, short and sweet! Time to ramp the pace back up with the shocks. Let’s get to ’em!
Tekno RC EB48.4 Build – Part 1 – Differentials
Tekno RC EB48.4 Build – Part 2 – Bulkheads / Suspension
Tekno RC EB48.4 Build – Part 3 – Steering
Tekno RC EB48.4 Build – Part 4 – Center Bulkhead
Tekno RC EB48.4 Build – Part 5 – Shocks
Tekno RC EB48.4 Build – Part 6 – Electronics
Tekno RC EB48.4 Build – Part 7 – Body, Wheels and Tires
 CompetitionX CompetitionX is the most up-to-date source for RC Car News, Reviews and Videos for Radio Control. We also have the most comprehensive Manual Database on the web.
