The Build – Part 5
Axial has outfitted the Yeti XL with an independent front suspension that uses some beefy parts. CVDs are also a standard item as are the metal pins to capture the steering blocks.
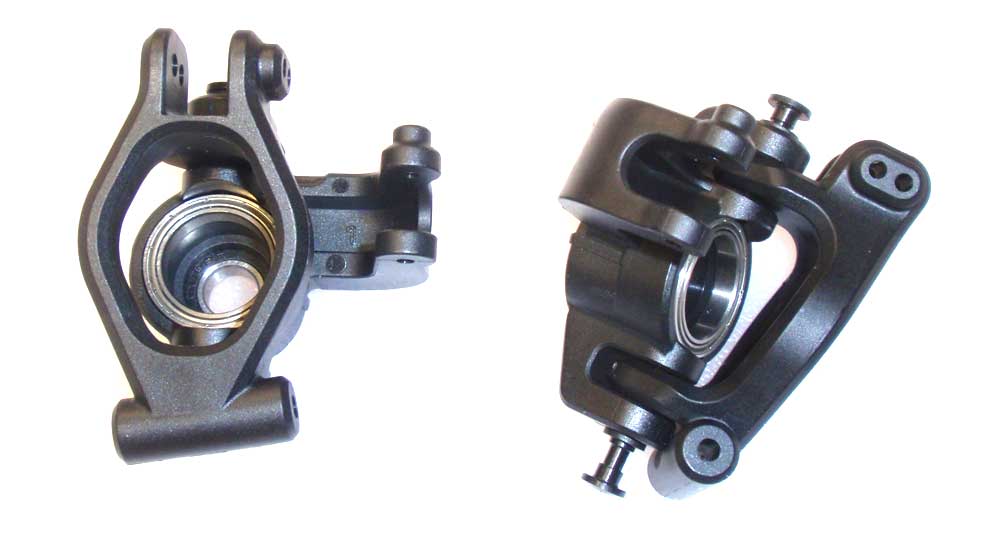
 Pay close attention to the left and right steering parts. It’s easy to get them mixed up.
Be extra careful not to overtighten the set screws in Step 59.
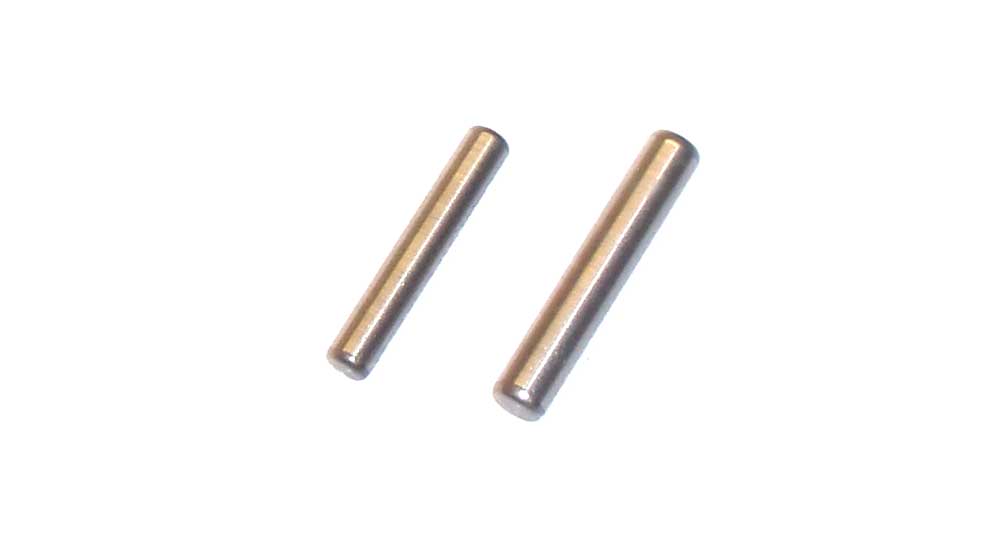
Before we start assembling, take a look at these two pins. The one one the left is used in the CVDs; the one on the right is used on the axles. Grab the smaller ones first.
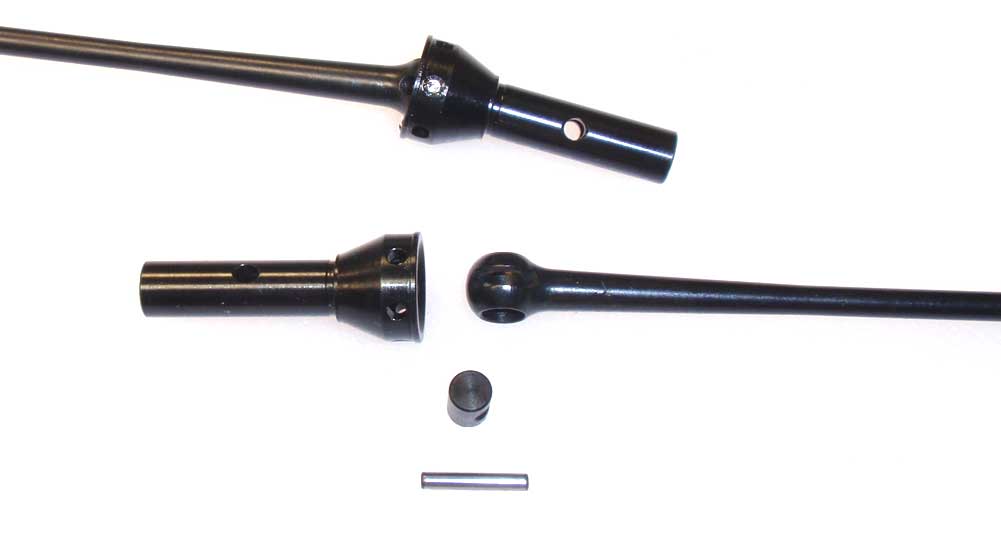
Assemble the CVDs like we’ve done so far with all the others; barrel in the ball, ball in the axle and the pin through both. Don’t forget to add the black grease for lubrication.
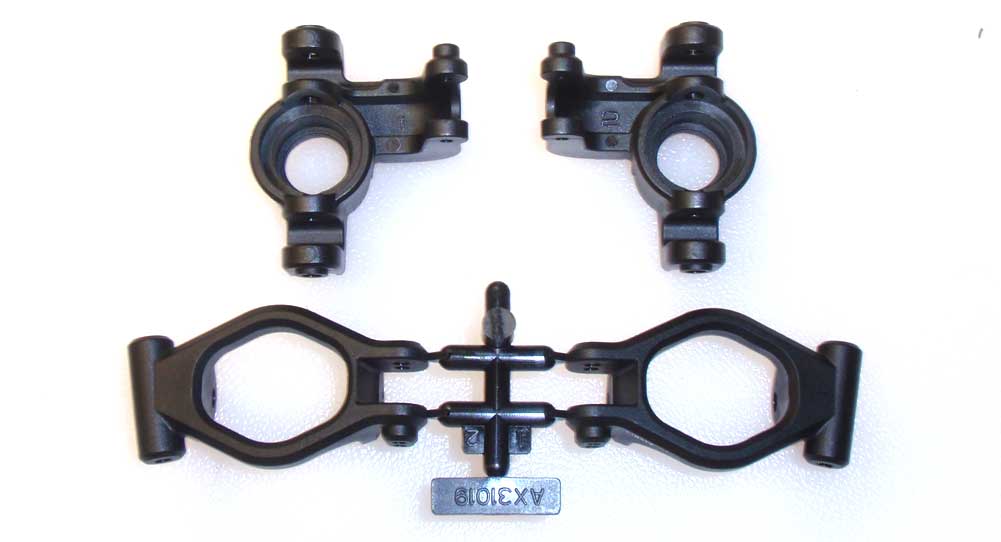
Before we move on, we also need to identify the left and right steering pieces. The steering knuckle/caster block on the left are for the left side, the steering knuckle/caster block on the right are for the right side of the Yeti. Don’t get them mixed up.
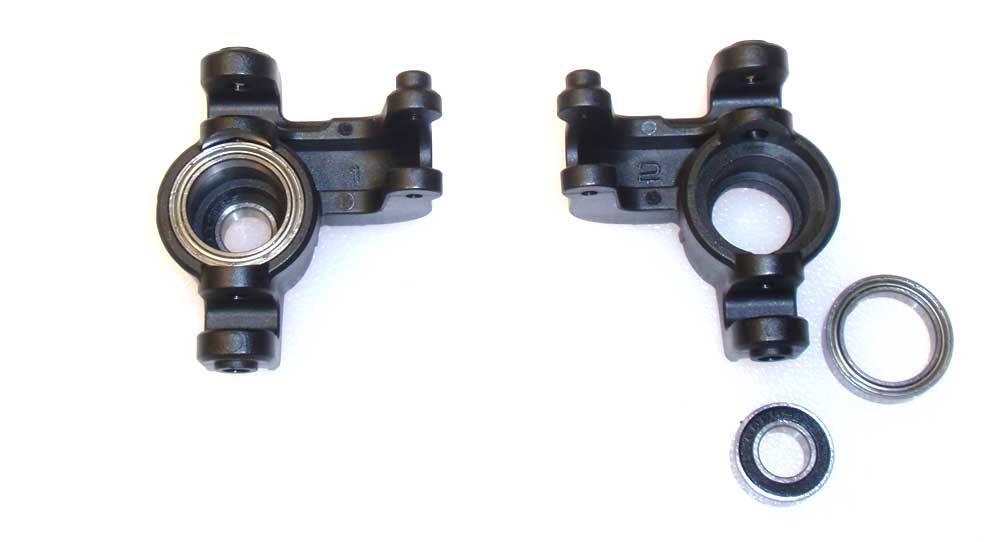
Moving on … press the bearings into the steering block.
Assemble the left and right steering assemblies as shown. Slide the metal pins in place to capture the steering blocks.
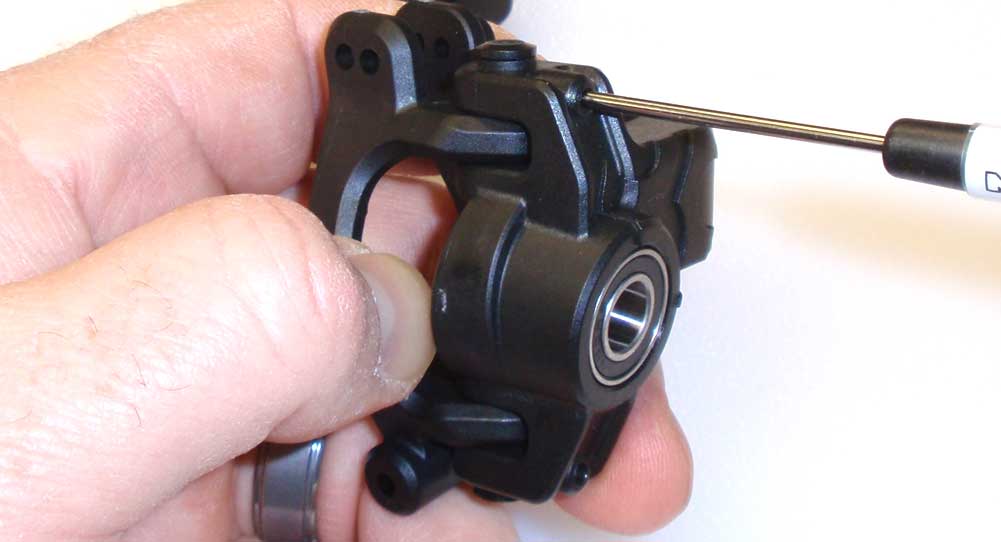
CAREFULLY screw the M3 setscrews (top and bottom) into the steering block. Tigthen SLOWLY until you feel it make contact with the metal pin, then give it another 1/4 turn. Do not overtighten or you’ll easily strip out the plastic. Give the metal pin a little tug to make sure the set screw has it secured in place.
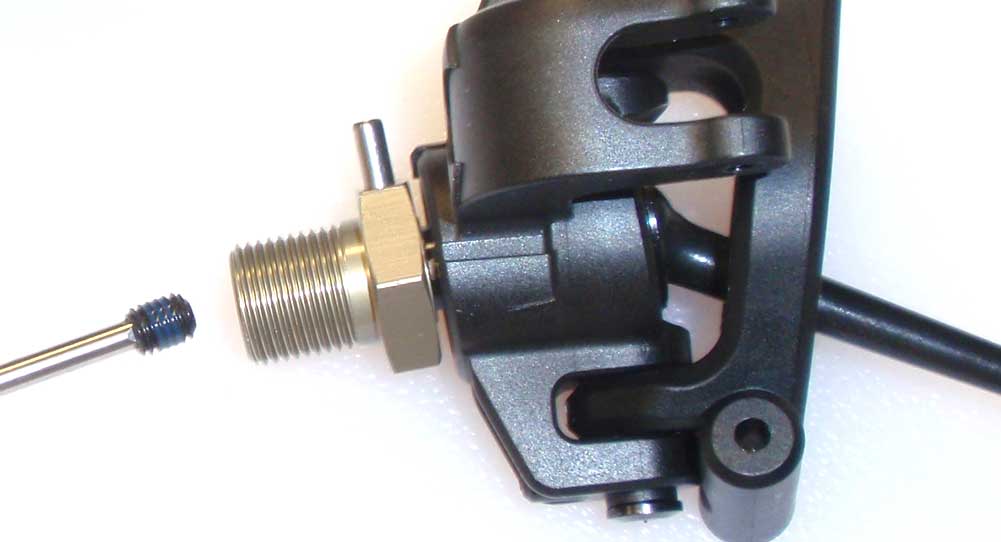
Slide the CVD into the steering assembly. Press the wheel hex into place, slide the larger pin through both and secure with the M5 setscrew. Use some threadlocking compound here.
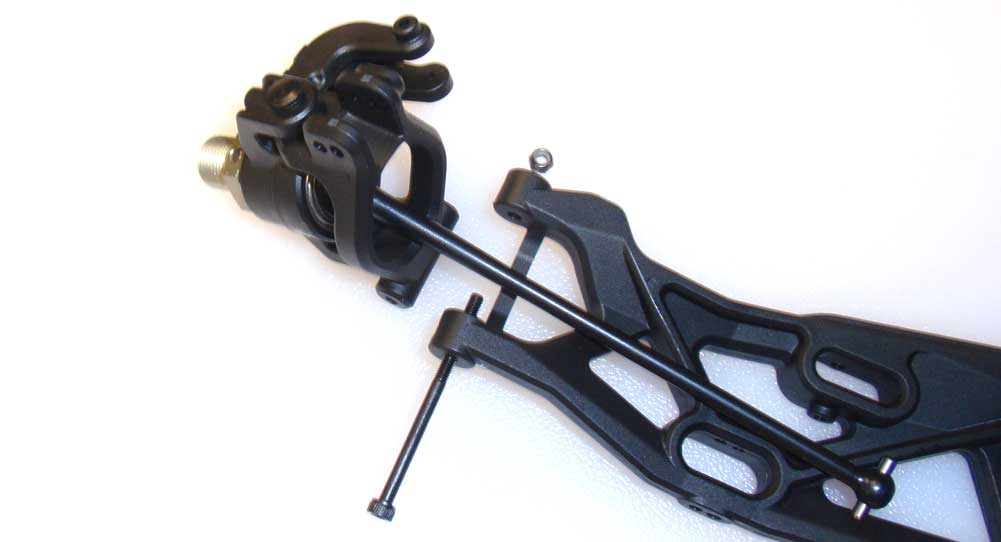
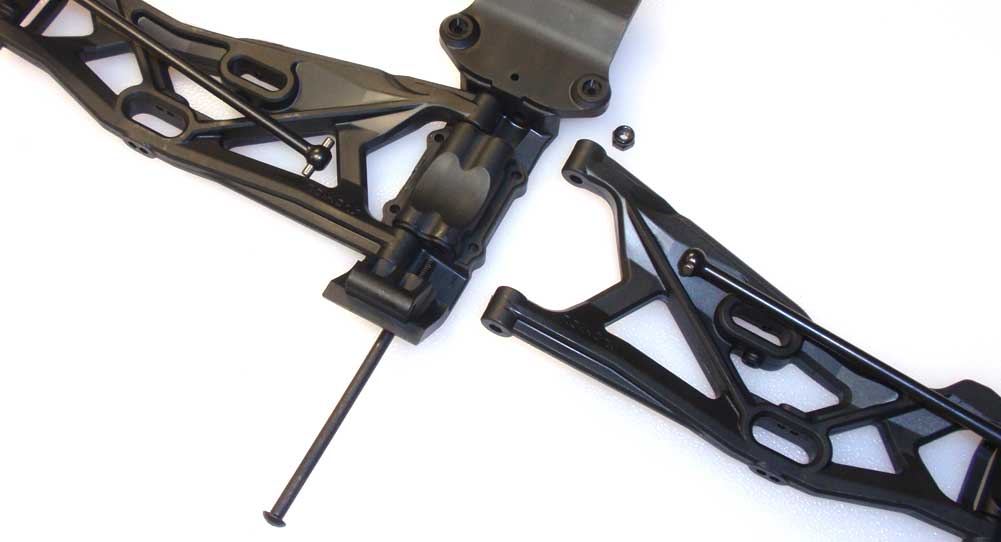
Attach the left steering assembly to the left suspension arm and the right steering assembly to the right suspension arm. Do not overtighten the long M3 screw. The picture is showing the right suspension assembly.
Align both front arms and attach them to the bulkhead with the hinge pins/locknuts. Do not overtighten here, either. Holding on to the locknuts is a bit tricky, so have some needlenose pliers handy to help.
Before attaching the front gearbox, flip the bulkhead over and attach the skid plate at the front-most point. You can also see those pesky little locknuts as well.
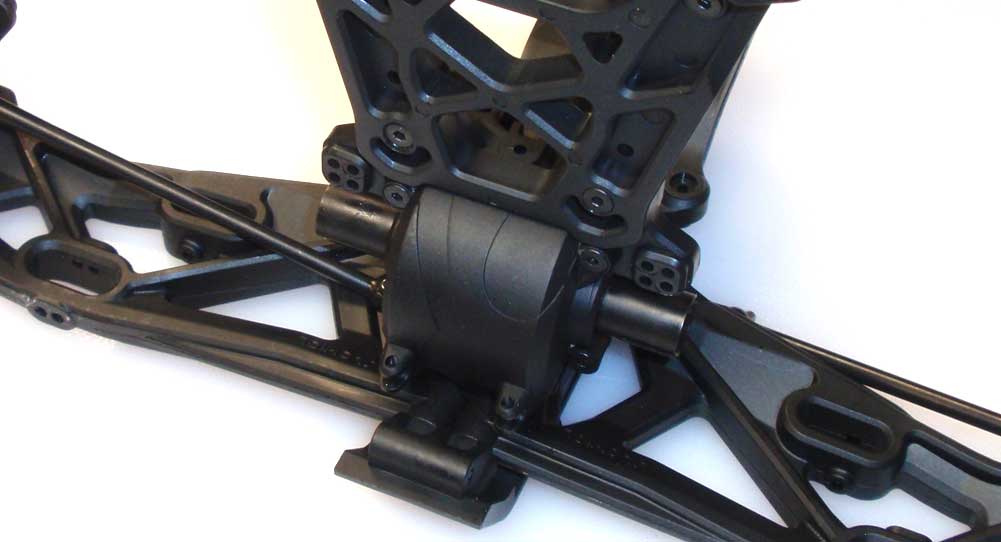
Flip the assembly back over and attach the front gearbox to the bulkhead. Don’t worry about getting the axles into the outdrives just yet.
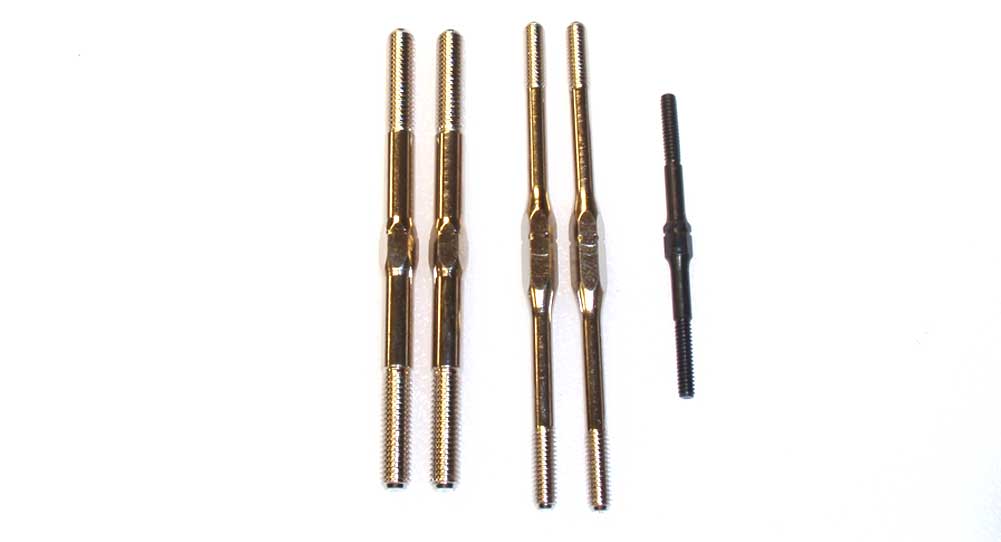
Time to work on my favorite part; turnbuckles (NOT!). The two turnbuckles on the left are for the front camber, the two in the middle for the steering and the black one is the drag link.
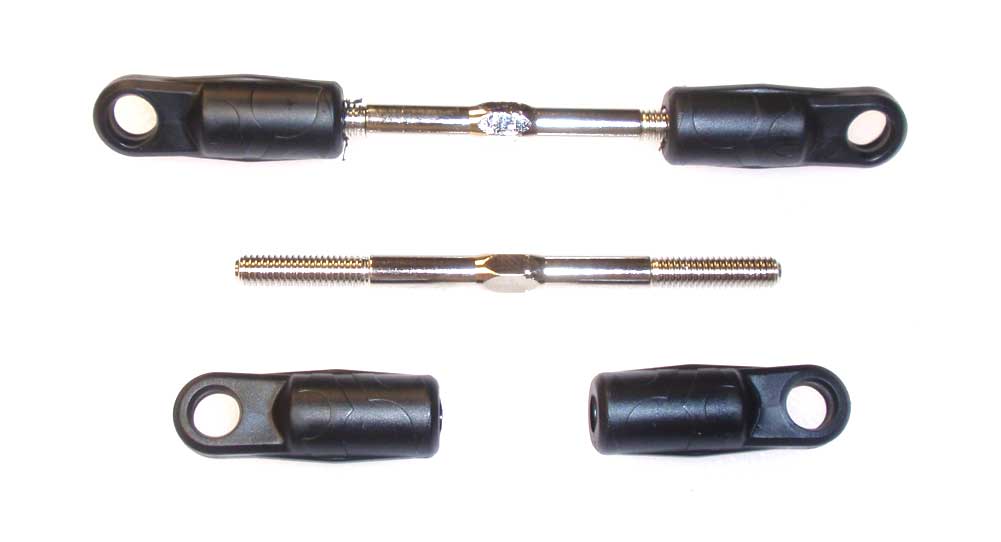
Build two camber links. The length of 45mm in the center is a good starting point.
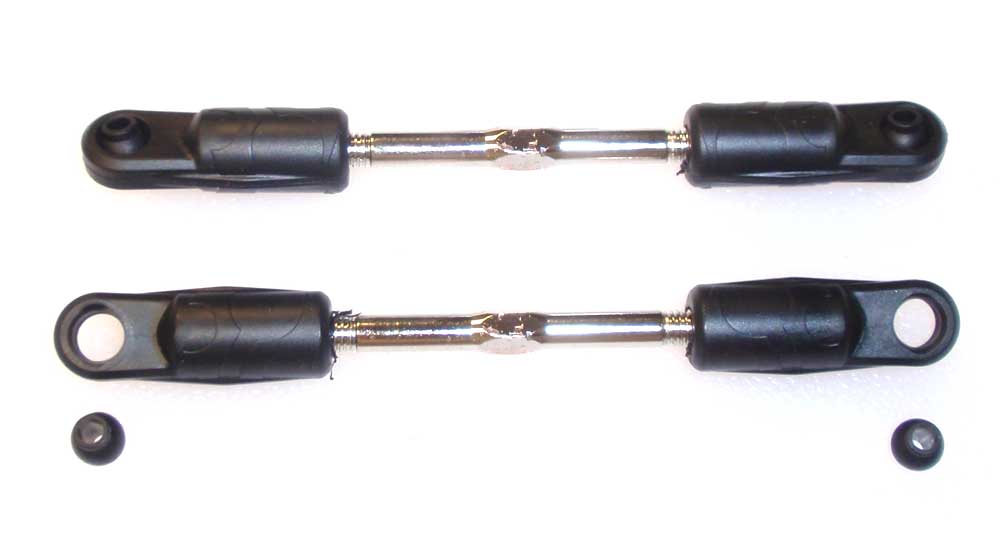
Pop the balls into the rod ends.
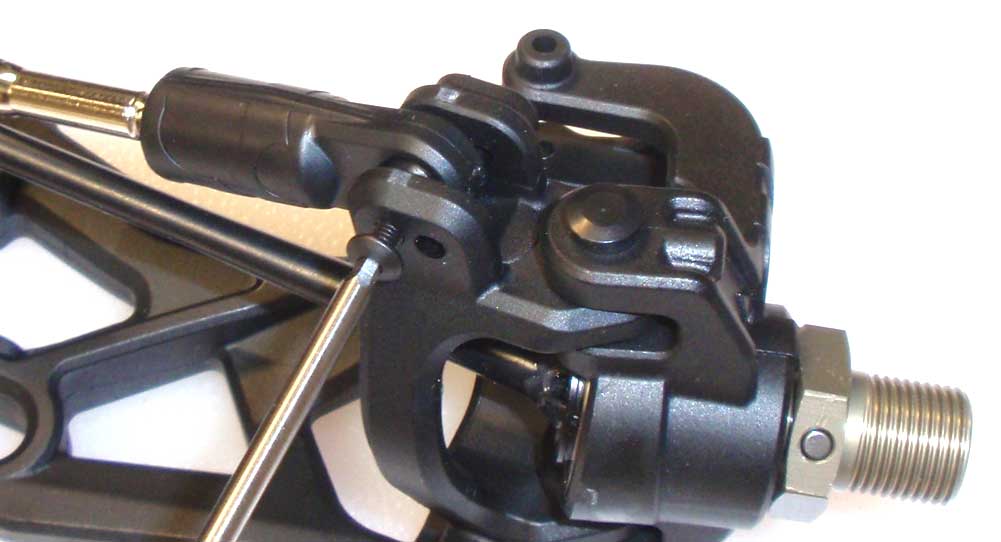
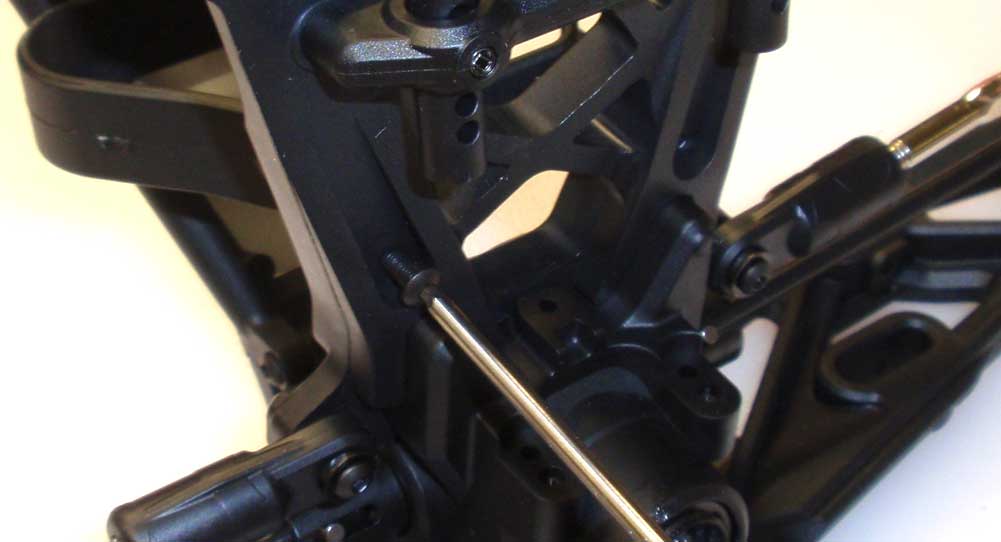
Attach the camber links to the caster blocks. My manual showed one side going into the inside hole, the other to the outside hole. Use the inside hole.
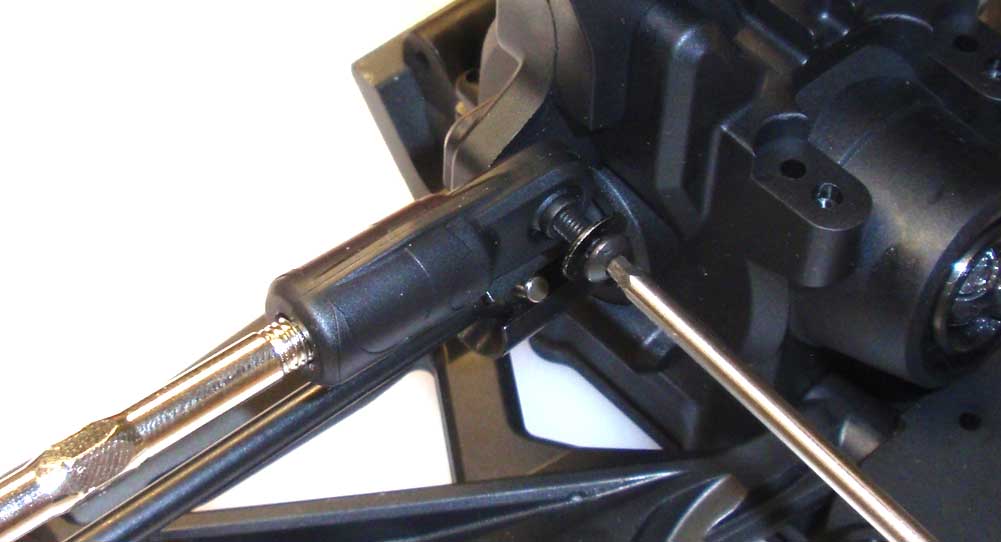
Key the CVD to the diff outdrive and then attach the other end of the turnbuckle to the upper/outside hole on the tower. Don’t forget the 5mm washer.
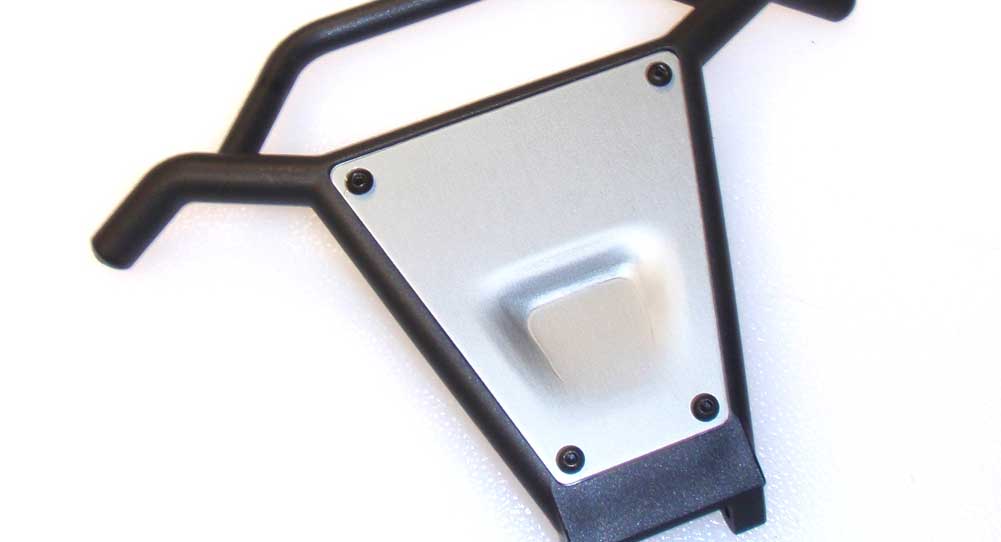
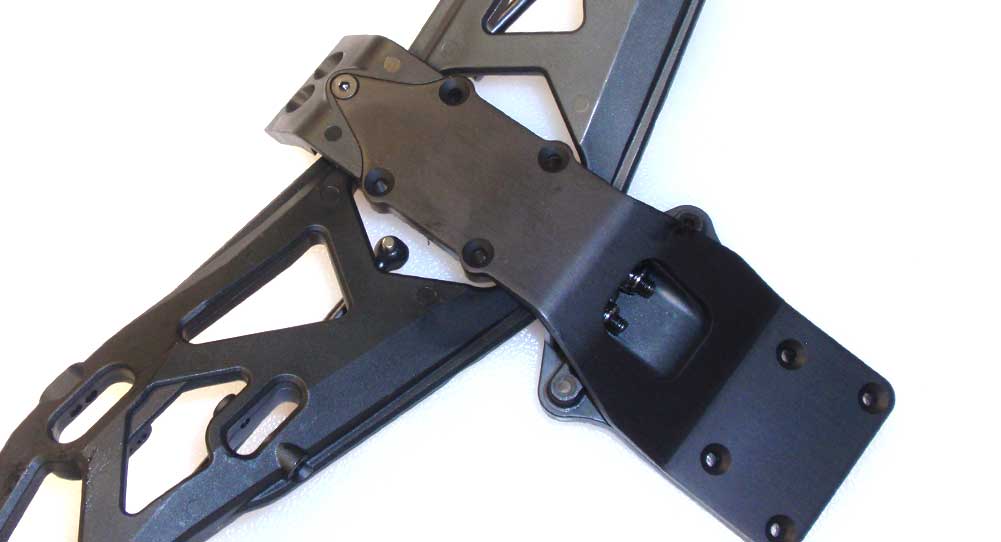
Attach the aluminum skid to the front bumper.

Attach the brace to the front bumper. I’ve shown a side view so you can see the orientation of the brace.
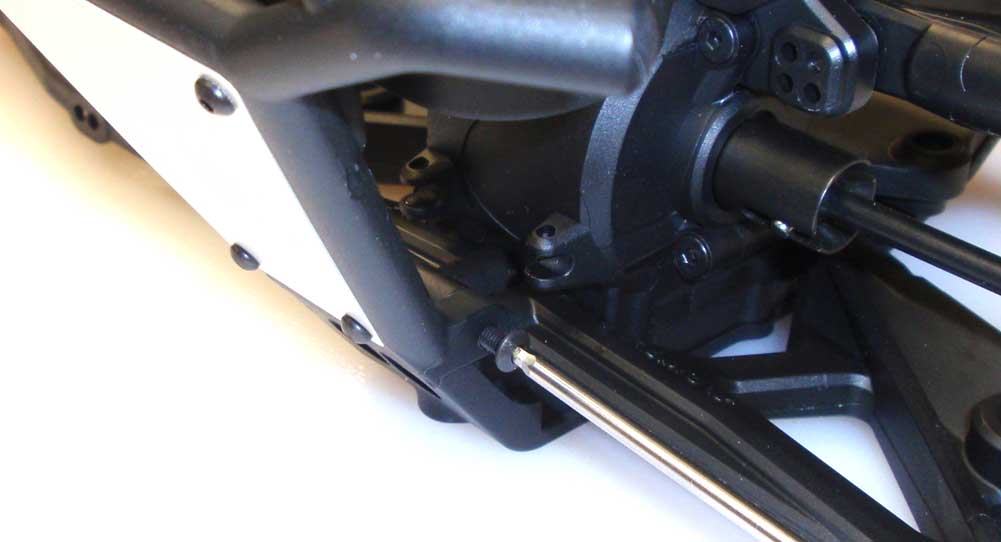
Attach the front bumper to the bulkhead…
…and then to the shock tower.
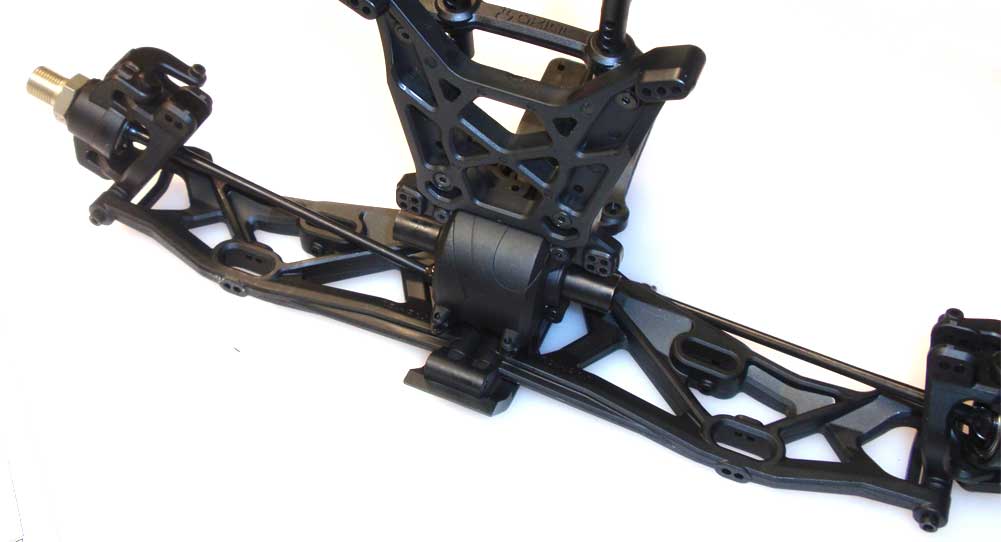
There you have it; the front suspension is complete! Time to build the steering and get all of it installed to the chassis.
Axial Yeti XL Build – Part 1 – Front Differential
Axial Yeti XL Build – Part 2 – Front Gearbox
Axial Yeti XL Build – Part 3 – Rear Differential
Axial Yeti XL Build – Part 4 – Rear Axle
Axial Yeti XL Build – Part 5 – Front Suspension
Axial Yeti XL Build – Part 6 – Steering
Axial Yeti XL Build – Part 7 – Chassis
Axial Yeti XL Build – Part 8 – Electronics
Axial Yeti XL Build – Part 9 – Transmission
Axial Yeti XL Build – Part 10 – Rear Suspension
Axial Yeti XL Build – Part 11 – Shocks
Axial Yeti XL Build – Part 12 – Body, Wheels, Tires