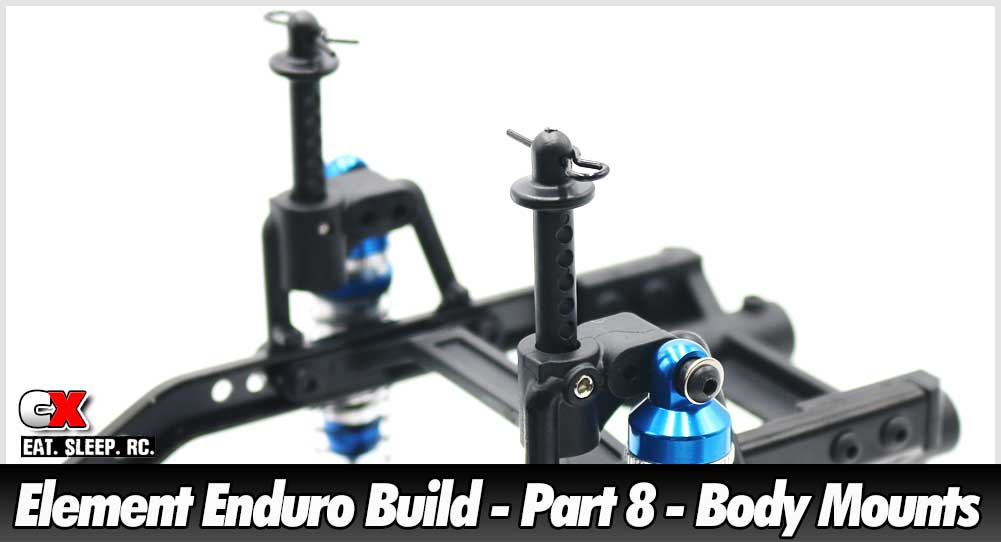
The final step in the Element RC Enduro Builder’s Kit are the body mounts. Element RC supplies a single (short) body post solution up front, however two options for the rear. You can use a similar single body post (like the front) or a taller, cross-braced dual post (for taller bodies).
 Replacing the body posts is a quick, 15-second process. If you’re not sure on your body selection just yet, do what I did and just install the shorties for now.
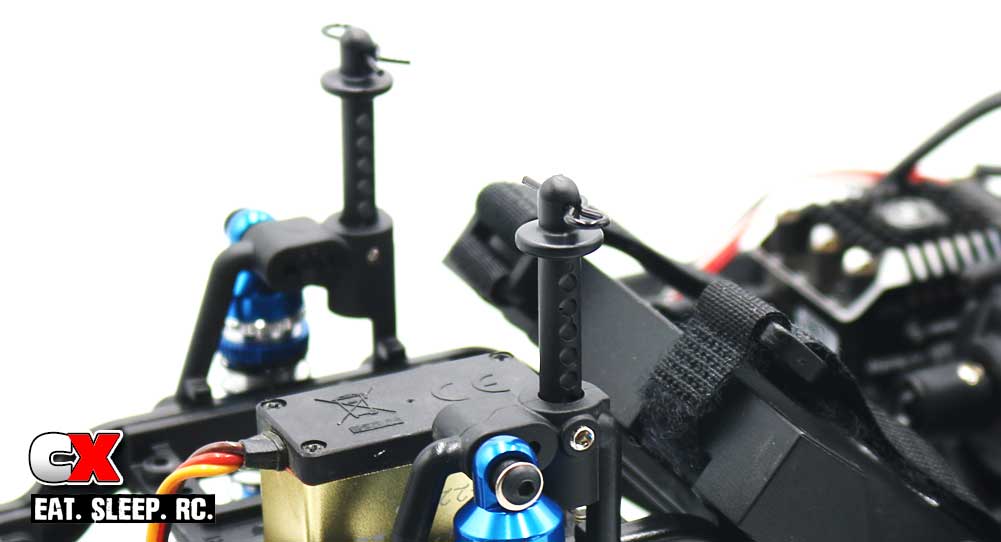
Install the front body posts.
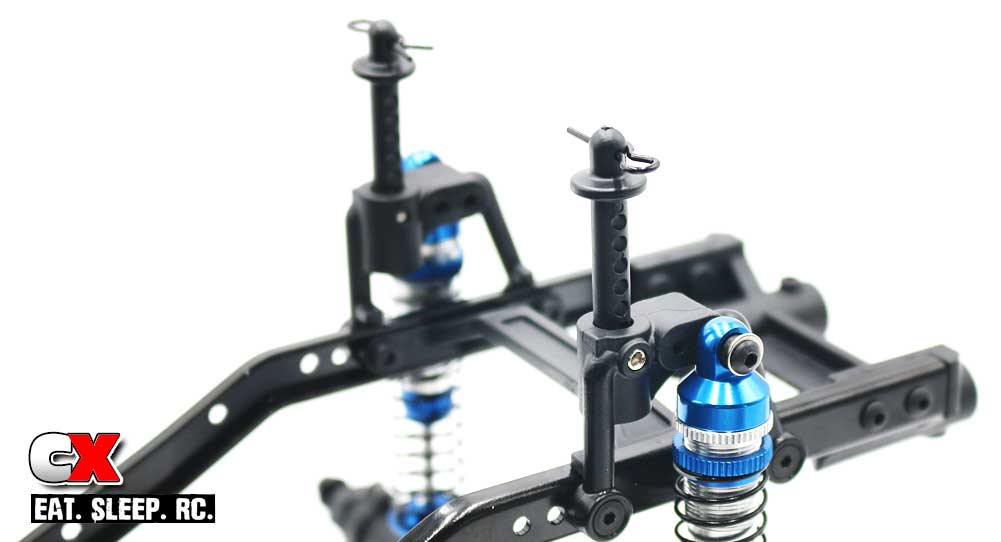
Install the rear body posts. Done. LOL
And there you have it. Two SUPER easy install steps to finish off your Enduro Builder’s Kit.
The only thing you have left to do is decide on a body, wheels and tires (maybe electronics if you didn’t install them earlier). Get those installed and get your awesome ride outside! I can’t wait to do that with mine!
Thanks for following along with the Element RC Enduro Builder’s Kit. If you have any questions, please don’t hesitate to ask!
Element RC Enduro Trail Truck Build – Opening Page
Element RC Enduro Trail Truck Build – Part 1 – Pre-Build
Element RC Enduro Trail Truck Build – Part 2 – Chassis
Element RC Enduro Trail Truck Build – Part 3 – Transmission
Element RC Enduro Trail Truck Build – Part 4 – Axles
Element RC Enduro Trail Truck Build – Part 5 – Links
Element RC Enduro Trail Truck Build – Part 6 – Drive Shafts
Element RC Enduro Trail Truck Build – Part 7 – Shocks
Element RC Enduro Trail Truck Build – Part 8 – Body Mounts
 CompetitionX CompetitionX is the most up-to-date source for RC Car News, Reviews and Videos for Radio Control. We also have the most comprehensive Manual Database on the web.
Thanks for the insight and mod suggestions. I would have been frustrated with that overly tight bearing had I not read that it was a known situation. Fun build on a very cool truck. Nice to step outside of the TRX4 world for the first time.
Right? Ya, really liking my Enduro right now. Plus, tons of aftermarket support to help keep it different.