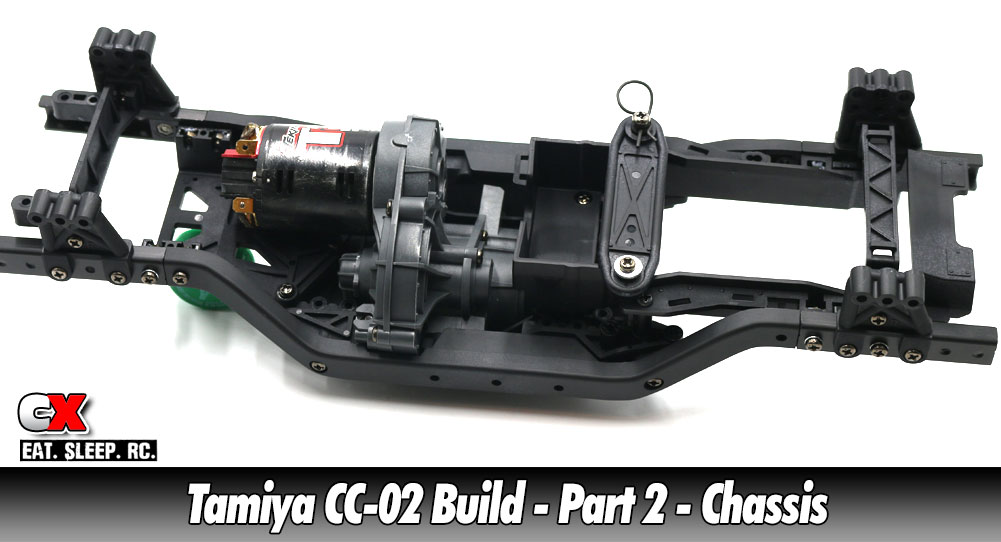
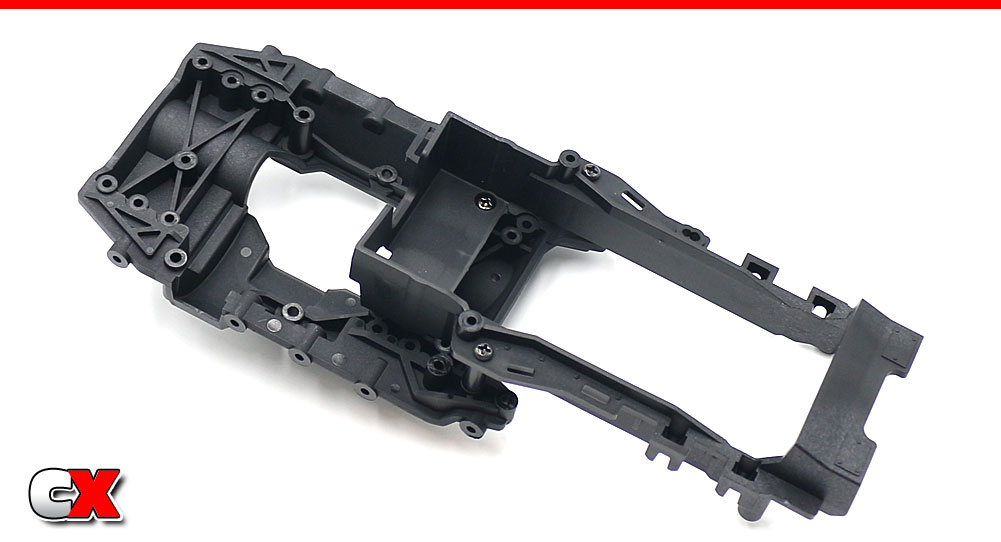
The chassis on the CC-02 has been revised big time – it now features a true c-channel design. About 80% of it’s length is molded in plastic with separate metal ‘extensions’ at both ends (each about 2 1/2″ long). These provide rigid end points to the chassis, however I think these are Tamiya’s ingenious way of making the chassis longer down the road. Simply make longer metal pieces and wah-lah … a longer chassis.
 The chassis seems overly-engineered, with tons of M3 nuts capturing all the screws that connect the frame rails together. You’ll need to use a little grease to keep the nuts in their sockets (see Steps below for more info).
The servo can be mounted one of two ways; with the output shaft facing down or towards the front of the car. I opted for down but, at this time, can’t give you a explanation if one way is better than the other.
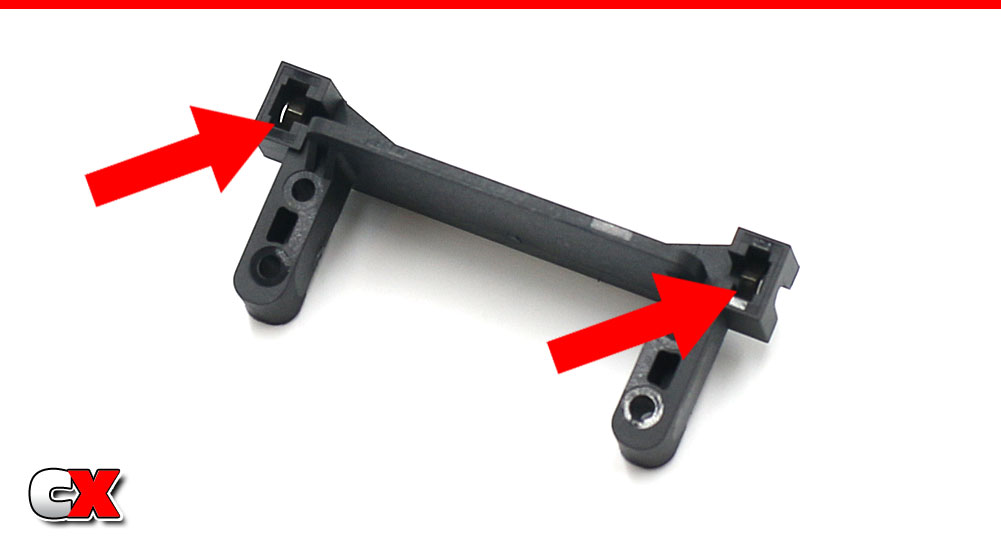
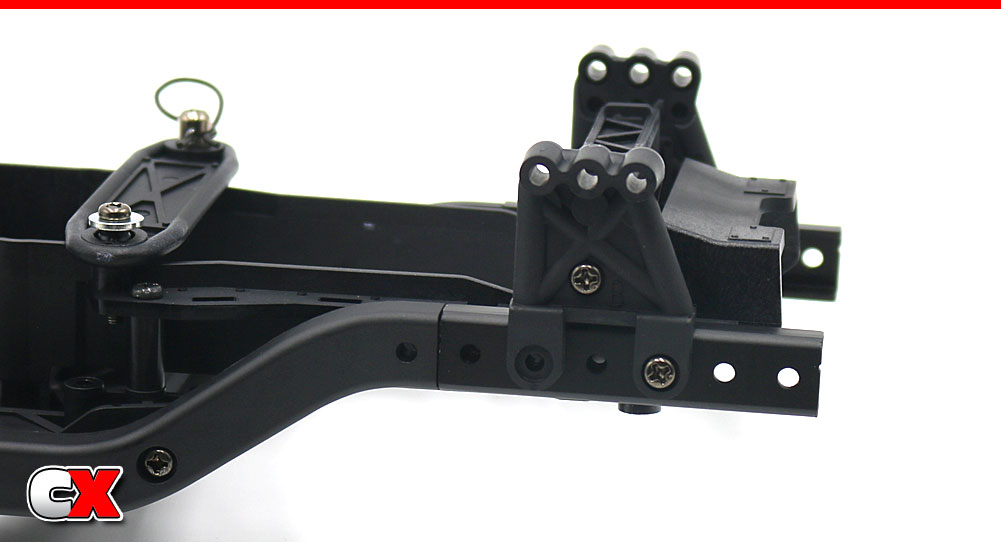
The shock towers are marked with an A and B and are directional – pay close attention when mounting them.
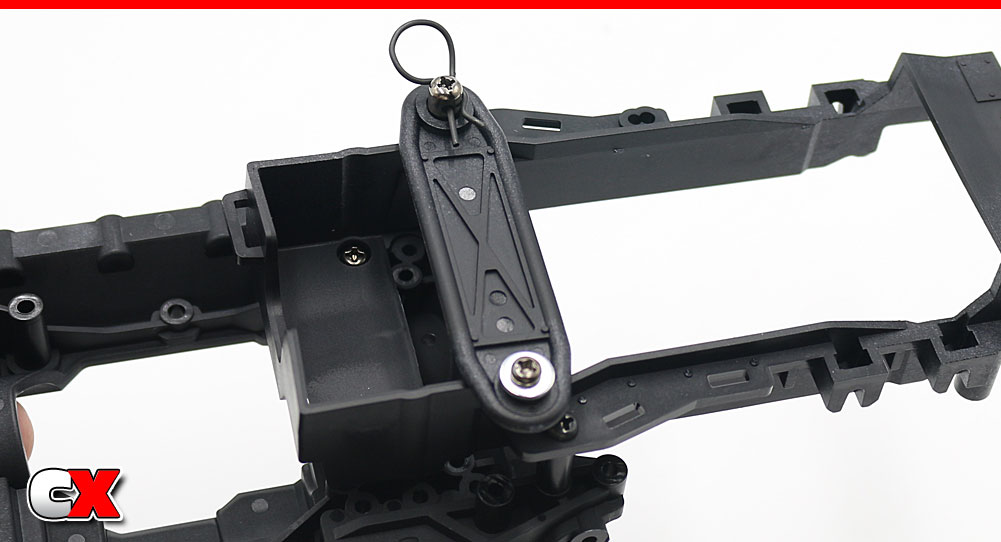
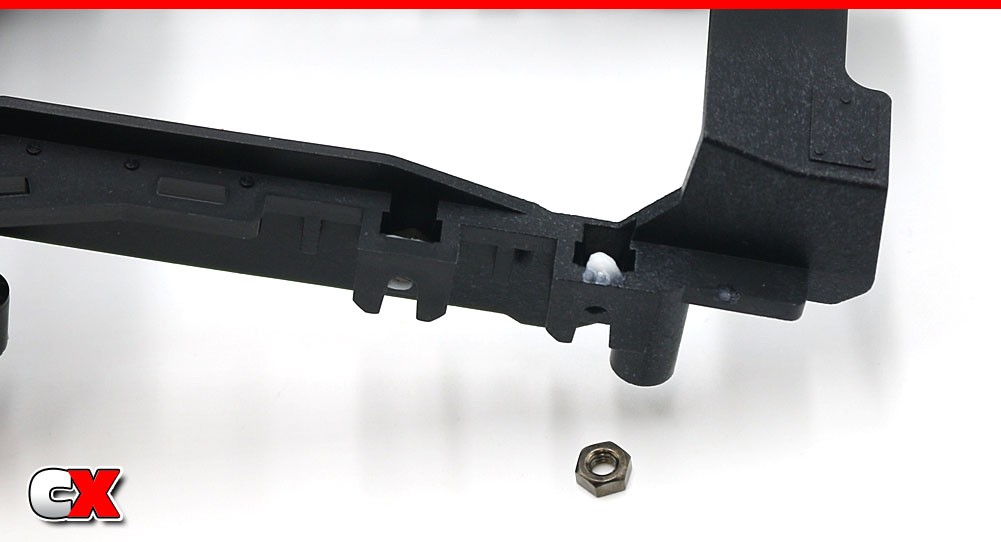
Step 4 has you assembling and ‘pasting’ the plastic locknut holder to the frame rail – this is never going to stay. Put this assembly aside; we’ll be installing it in Step 21.
Attach the battery tray to the lower chassis deck.
Attach the servo mount to the lower chassis deck.
Assemble the battery holddown strap. It was much easier if you install the mount screw first (to hold the strap in place), then the 3x18mm screw.
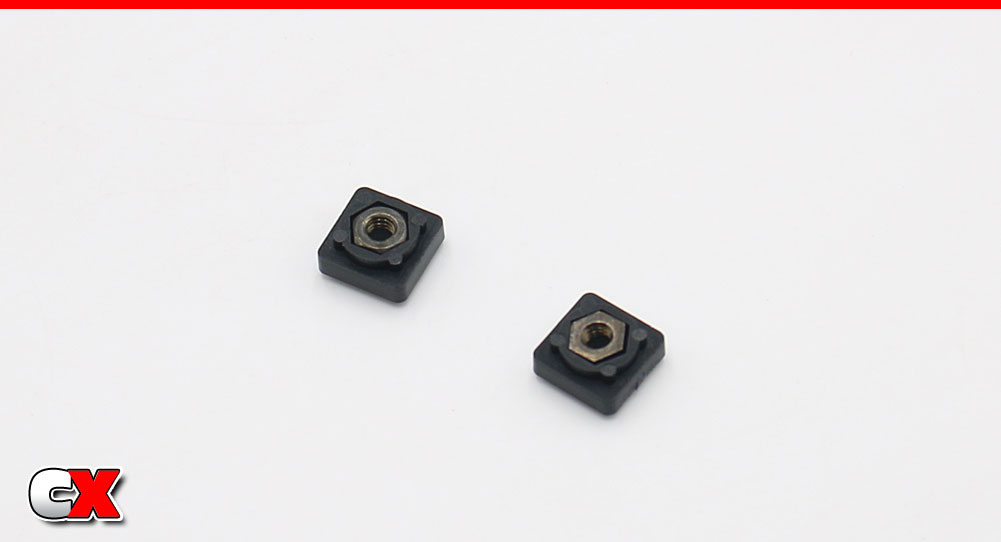
Assemble a pair of 3mm locknut holders. Again, the manual states to ‘paste’ them in place with some grease. Ya, no. Set them aside for a later step.
The chassis has pockets all down the sides – both sides. These pockets will be holding the 3mm nuts. Add a dab of grease to each pocket, then press a nut in.
Up front – more grease, more nuts.
Add two 3mm nuts to the front of the frame rails as well. These are a press fit and won’t need any grease to keep them in place.
Now attach both frame rails to the chassis. Pay attention to the screws here.
Grab the servo mount and install two 3mm nuts into the cavities as shown. A dab of grease will help keep them in place.
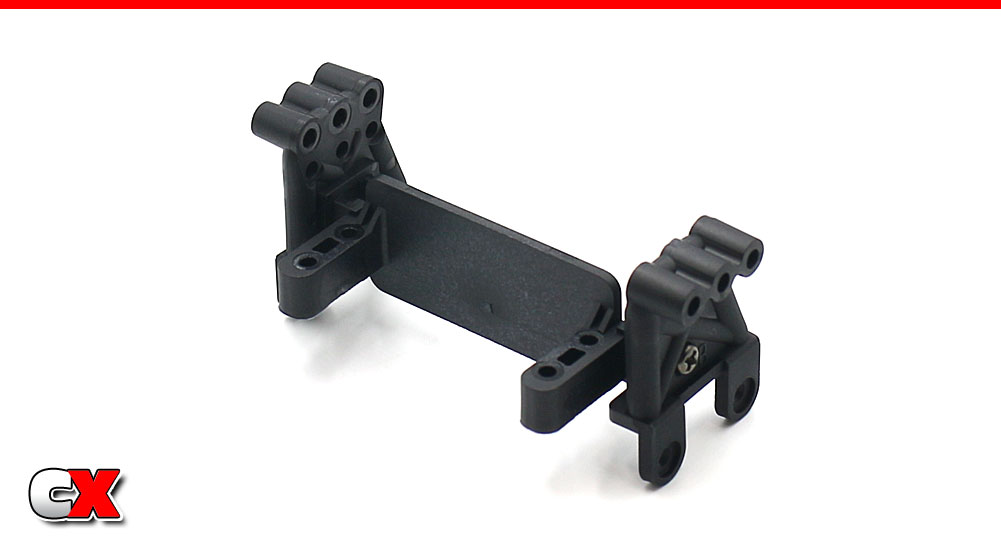
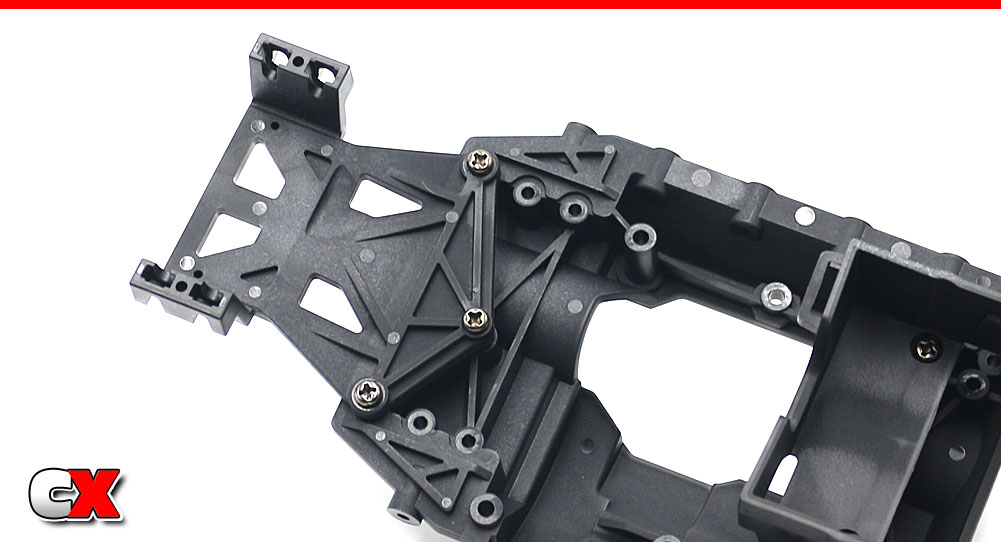
Attach the front shock towers. Note that they are directional (see the A and B printed on them).
There are two servo mounting options; I’ll be building the CC-02 with the servo output shaft facing down.
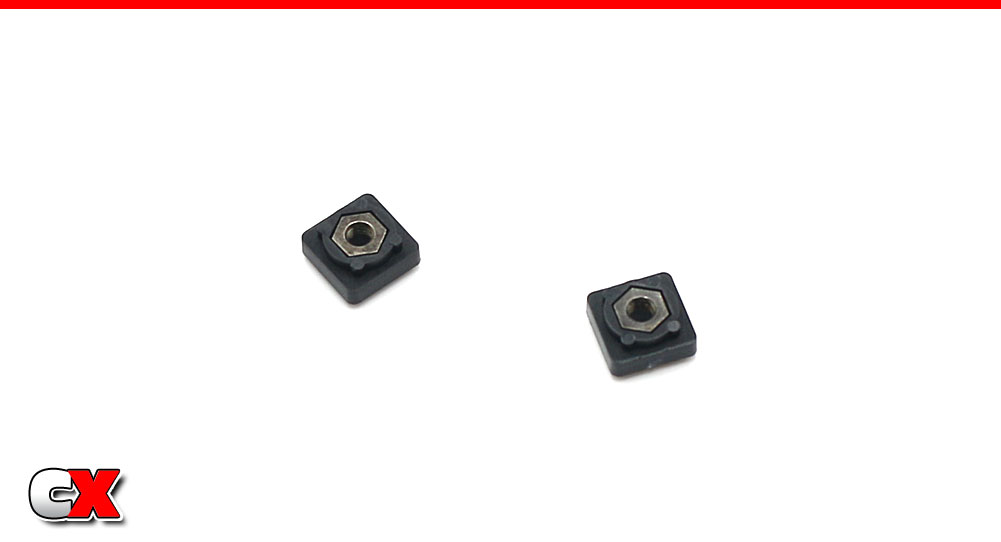
Build two more 3mm nut holders.

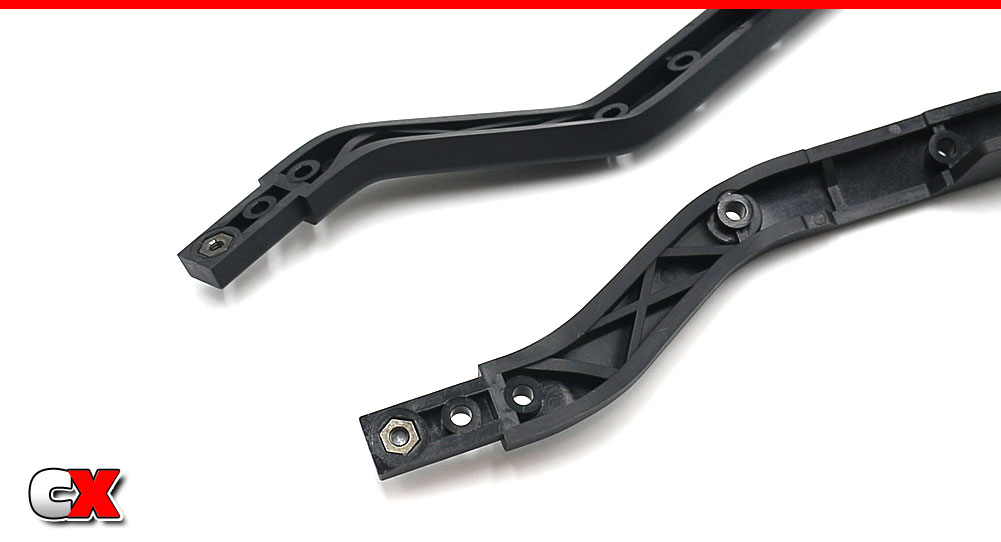
A closer look at the four aluminum frame rail extensions. All four are the same, so no need to worry about placement.
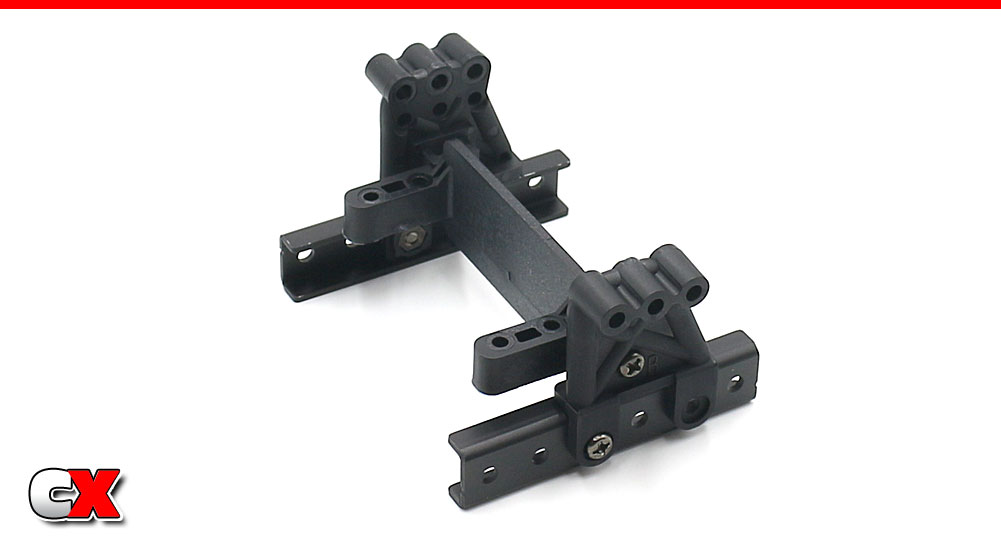
Attach a pair of aluminum frame rails to the servo mount. Front clip is done.

Moving to the rear. Slide a pair of 3mm nuts into the rear cross brace (grease is suggested here).
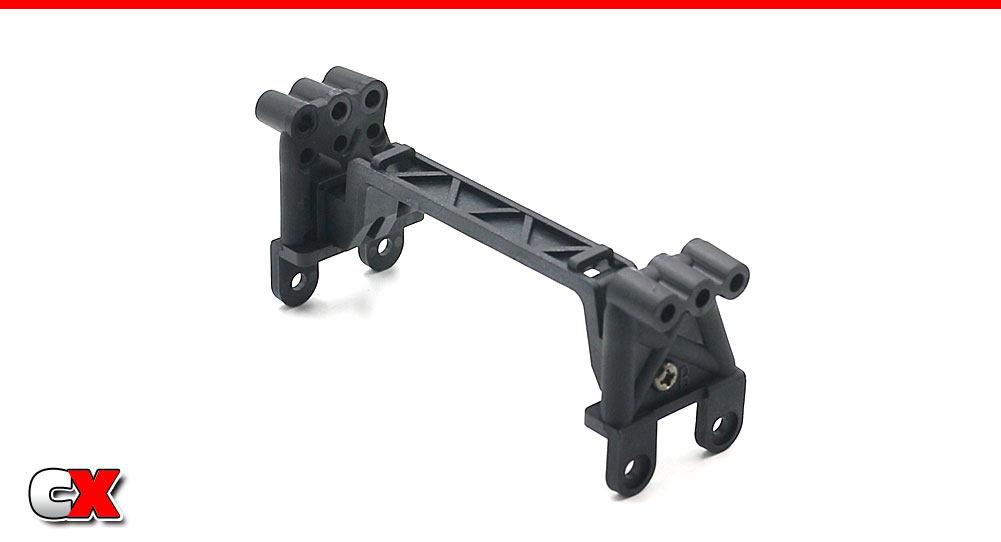
Attach the towers to the brace. Again, they are directional and marked with an A and B.
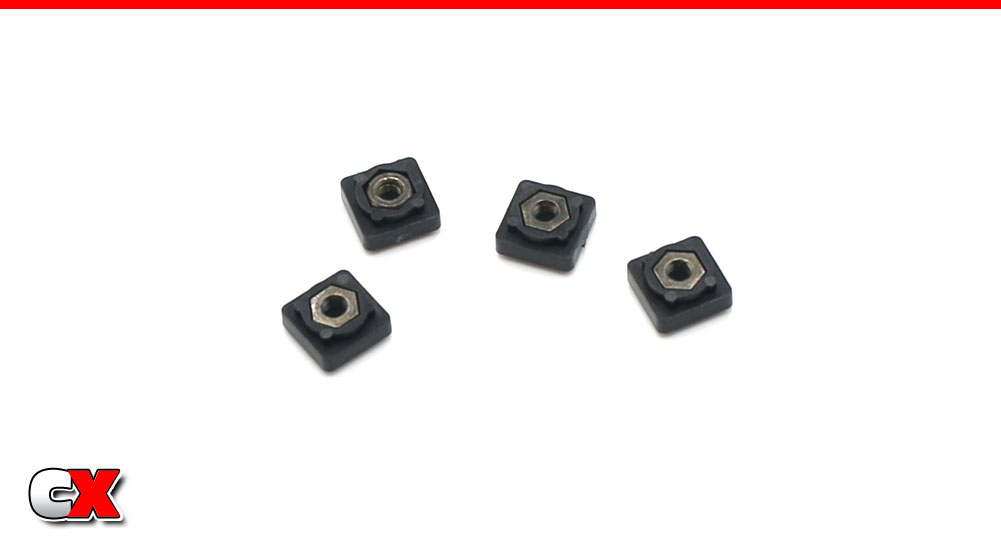
Build four 3mm nut holders.
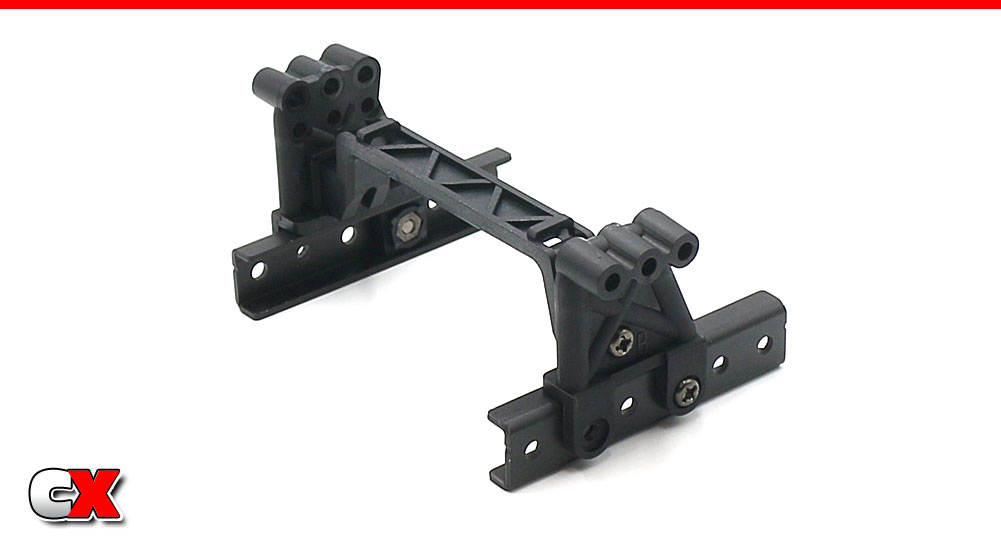
Attach the final two aluminum frame rails to the tower assembly. You’ll only be using two of the 3mm nut holders from Step 16 here.
Now, slide the other two 3mm nut holders into place as shown. A light dab of grease will help keep them in place.

Slide the rear frame rail clip onto the rear of the chassis and secure with the screws.
Slide the front frame rail clip onto the front of the chassis and secure with the screws.
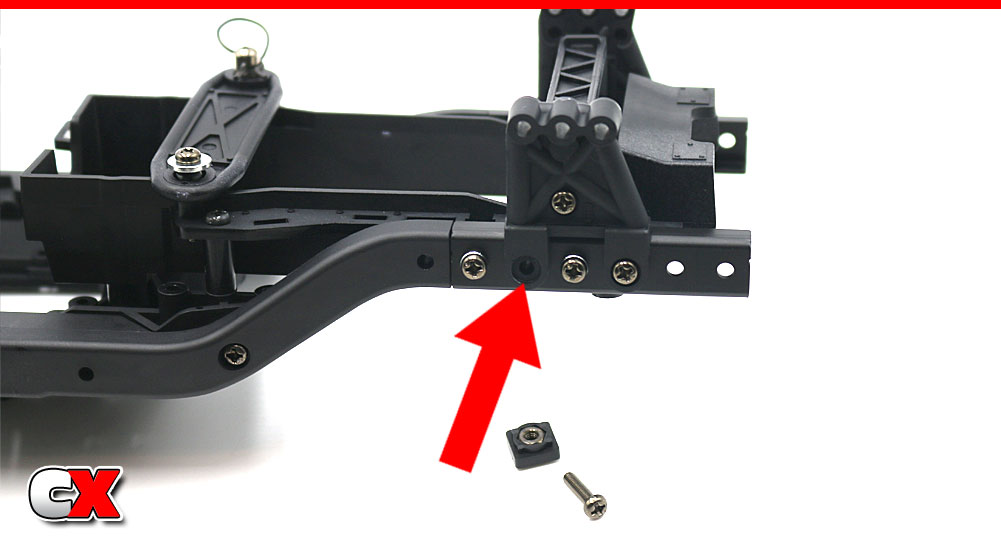
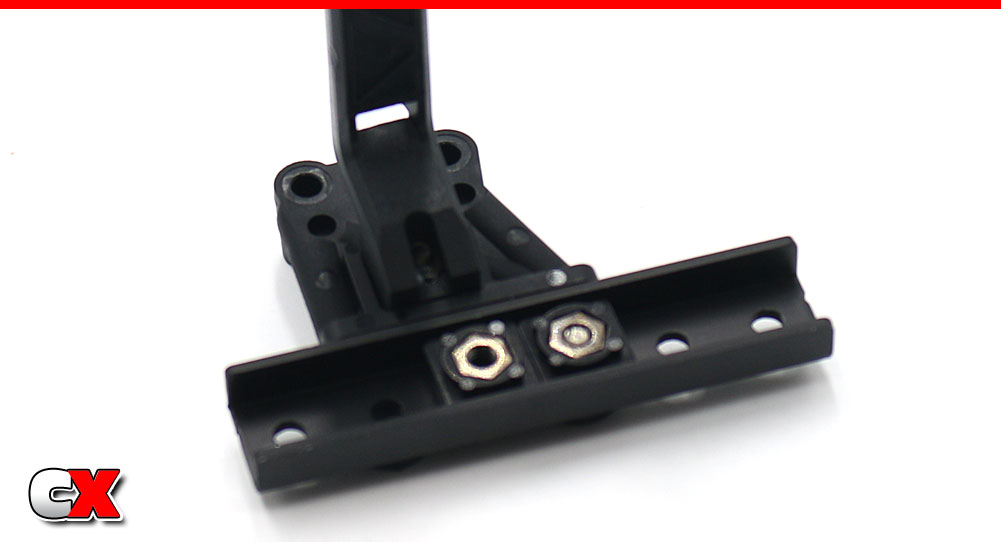
Here is where we can slip the 3mm nut holders from Step 4 into the pocket and secure with the 3x12mm screws. Trust me, this is WAY easier than trying to manage the earlier parts of the build with these ‘pasted’ in place.
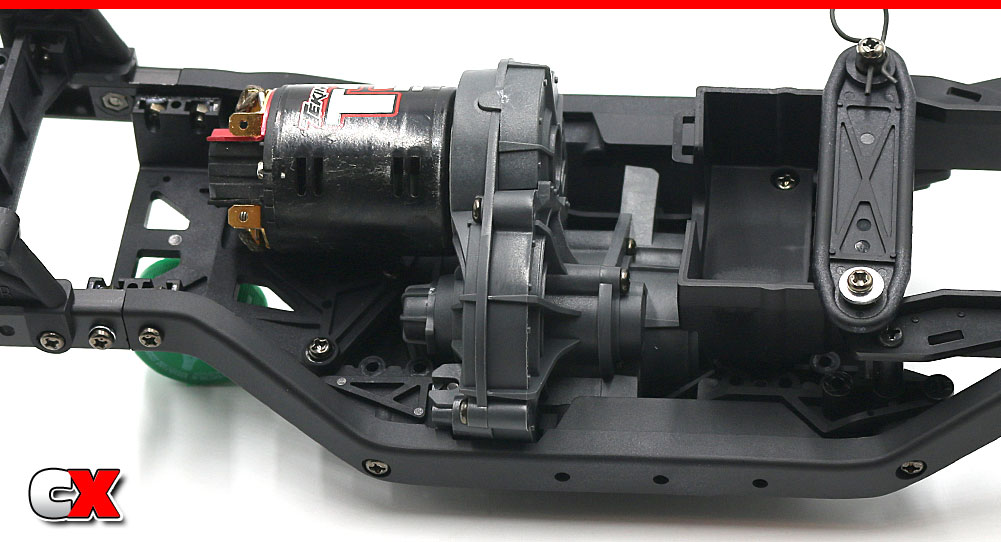
Wiggle the transmission into the belly of the chassis. It’s a process, for sure, but not all that difficult.
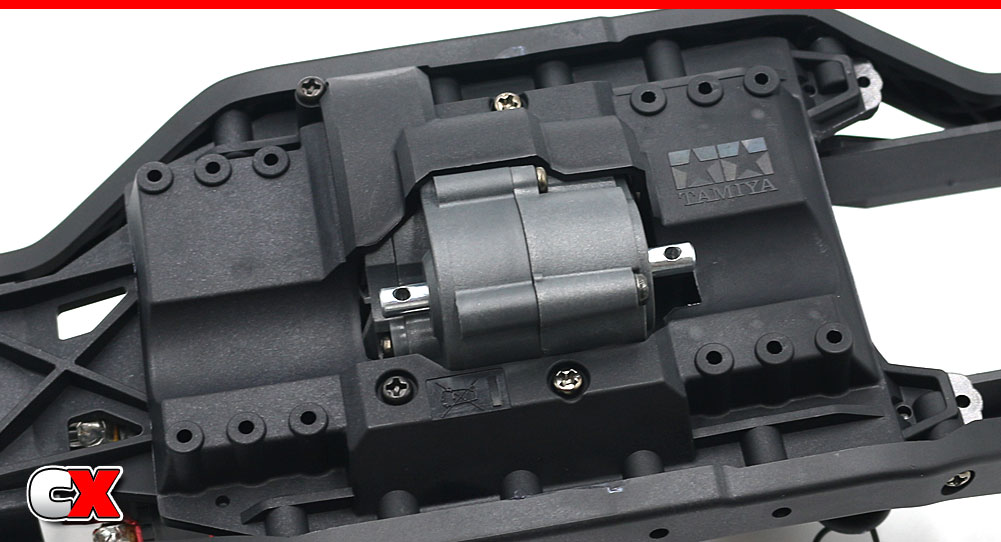
Secure the transmission with the four screws (two 12mm, two 25mm). This is a shot from under the chassis to see where the screws go (note the color difference – 12mm screws are light, 25mm screws are dark).
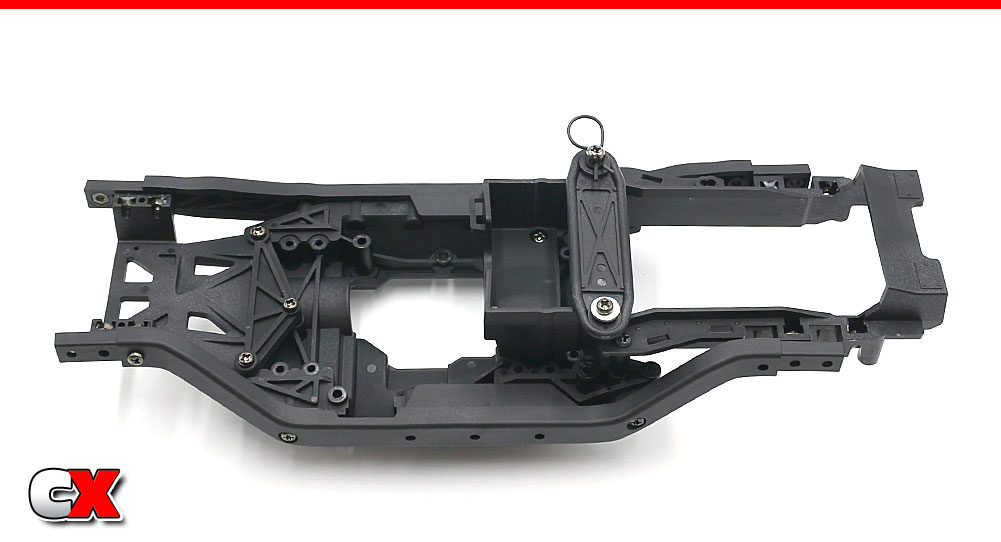
Chassis together, transmission installed. Quite a few screws and nuts in this assembly, but your CC-02 is starting to look pretty good.
Set your chassis assembly aside and let’s get to Part 3 – the Driveshafts.
Tamiya CC-02 Trail Truck Build – Opening Page
Tamiya CC-02 Trail Truck Build – Part 1 – Transmission
Tamiya CC-02 Trail Truck Build – Part 2 – Chassis
Tamiya CC-02 Trail Truck Build – Part 3 – Driveshafts
Tamiya CC-02 Trail Truck Build – Part 4 – Front Axle
Tamiya CC-02 Trail Truck Build – Part 5 – Rear Axle
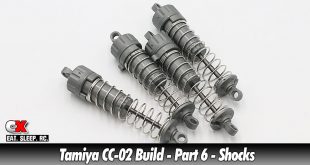
Tamiya CC-02 Trail Truck Build – Part 6 – Shocks
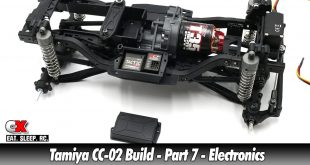
Tamiya CC-02 Trail Truck Build – Part 7 – Electronics
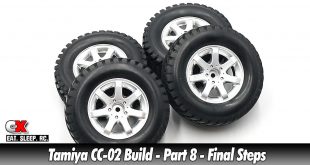
Tamiya CC-02 Trail Truck Build – Part 8 – Final Steps