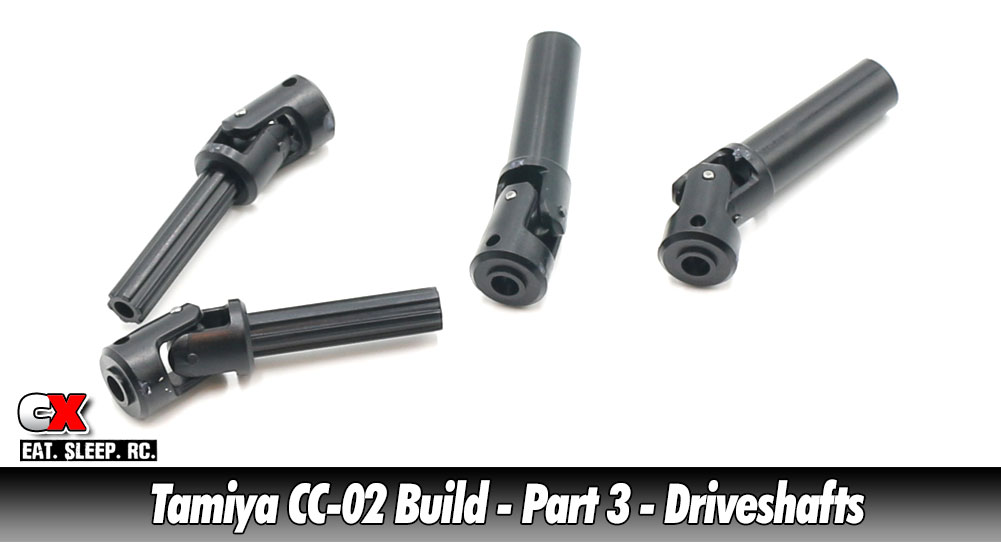
The Tamiya CC-02 uses sliding propeller shafts to transfer power from the gearbox to the front and rear axles. They are both of equal length and use metal ‘balls’ for extra strength.
Build Notes:
 Some patience is required here – getting the pins in the plastic parts can be a little tedious. If you use pliers (like the manual suggests), be extra careful not to snap the plastic.
Some patience is required here – getting the pins in the plastic parts can be a little tedious. If you use pliers (like the manual suggests), be extra careful not to snap the plastic.
Step 1:
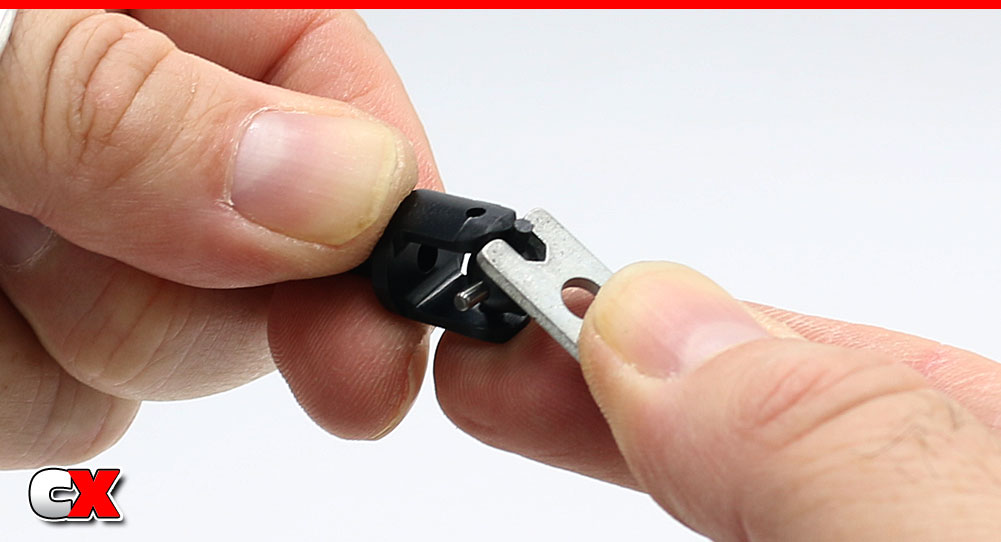
To get the balls into the female-side shafts, I used an old turnbuckle wrench I had laying around. Saves the fingers for sure! Make two of these.
To get the balls into the female-side shafts, I used an old turnbuckle wrench I had laying around. Saves the fingers for sure! Make two of these.
Step 2:
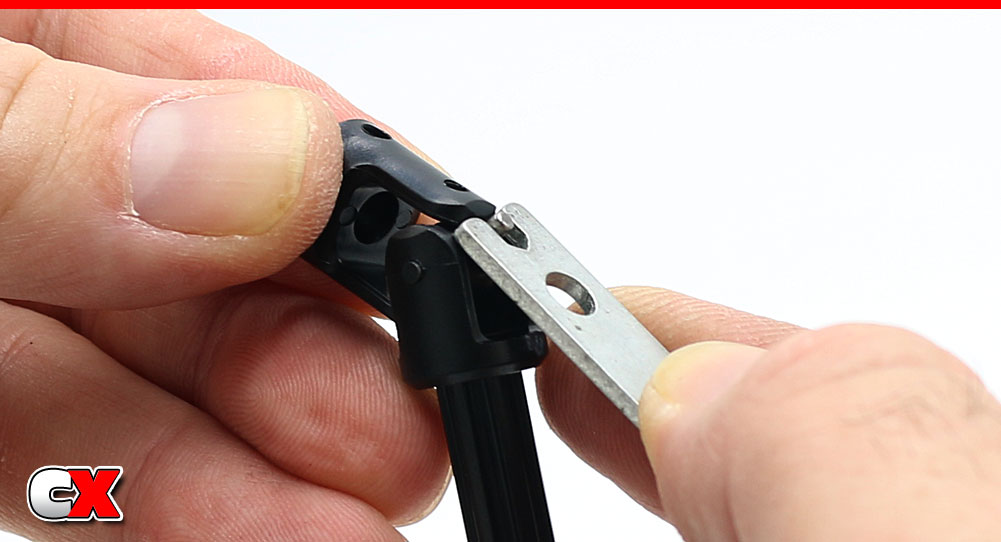
Using the same process, press the pins of the ball into the male-side shafts. Make two of these.
Using the same process, press the pins of the ball into the male-side shafts. Make two of these.
Step 3:
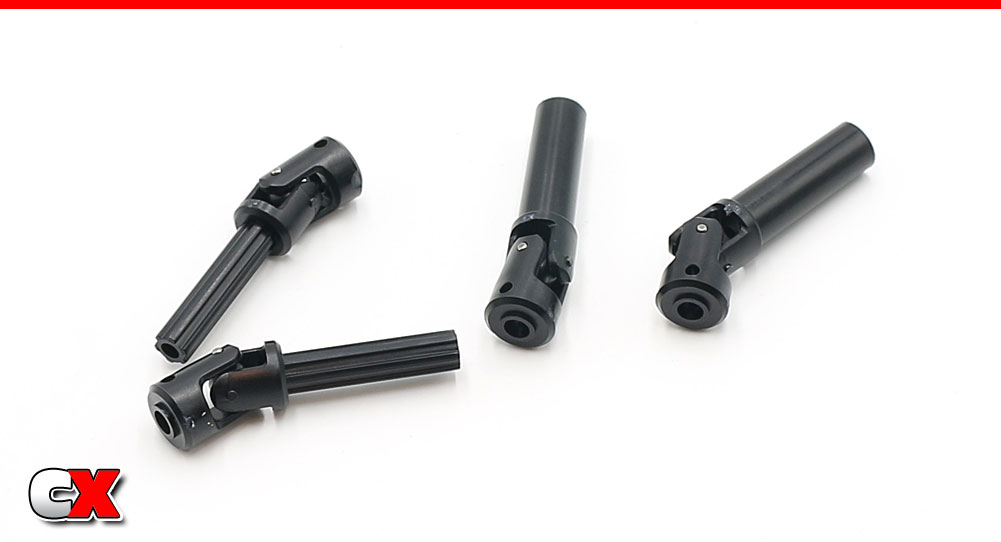
Your completed shafts, ready to install.
Your completed shafts, ready to install.
Step 4:
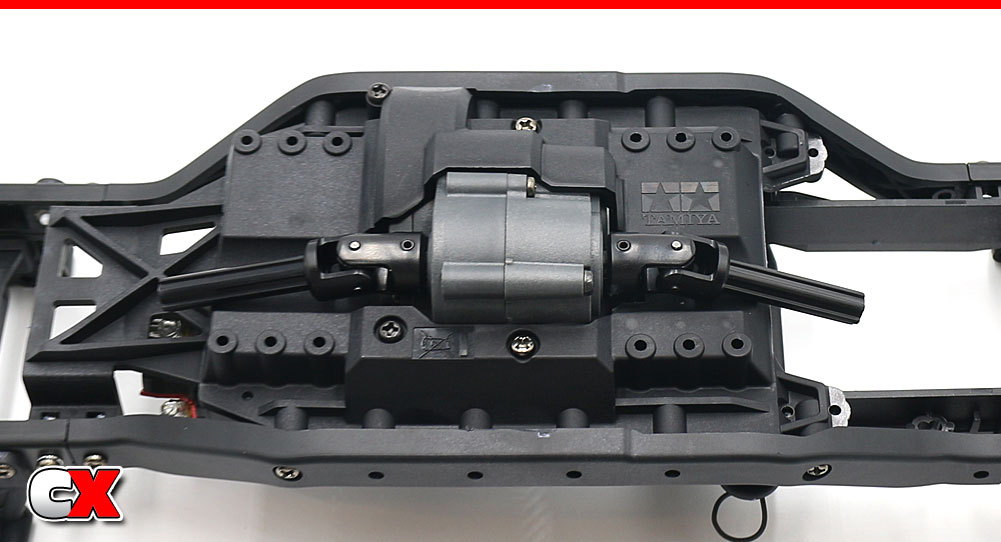
Slip the male-side shafts onto the transmission outdrives and secure with the 2.4x11mm screw pin. Set the female-side shaft aside for a later step.
Slip the male-side shafts onto the transmission outdrives and secure with the 2.4x11mm screw pin. Set the female-side shaft aside for a later step.
Step 5:
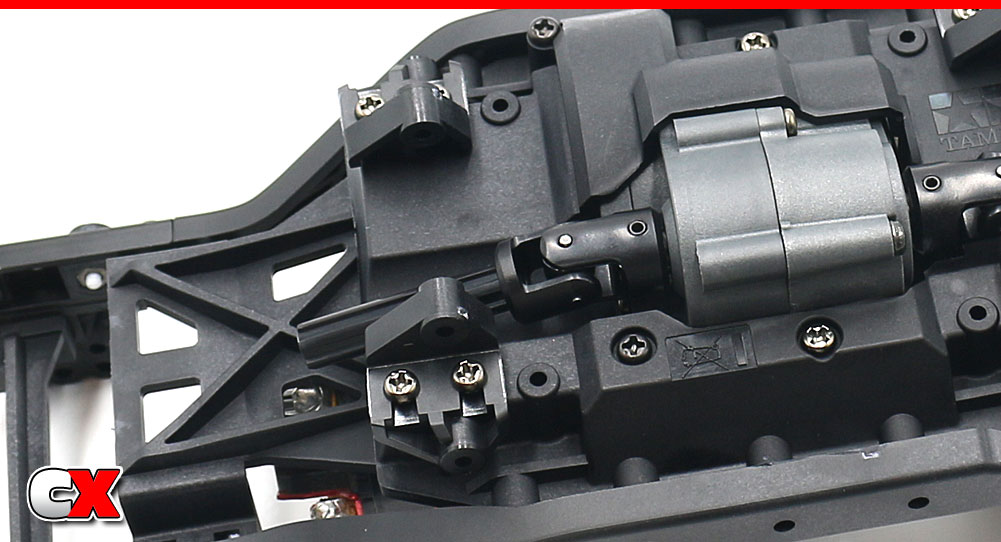
While we’re here, go ahead and install the inner link mounts. These are on the front.
While we’re here, go ahead and install the inner link mounts. These are on the front.
Step 6:
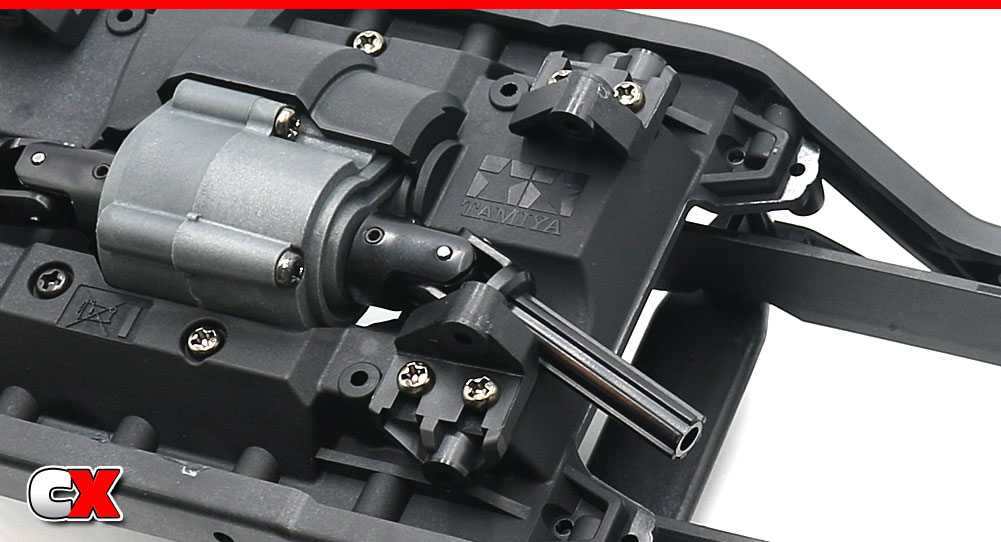
Inner link mounts on the rear.
Inner link mounts on the rear.
Step 7:
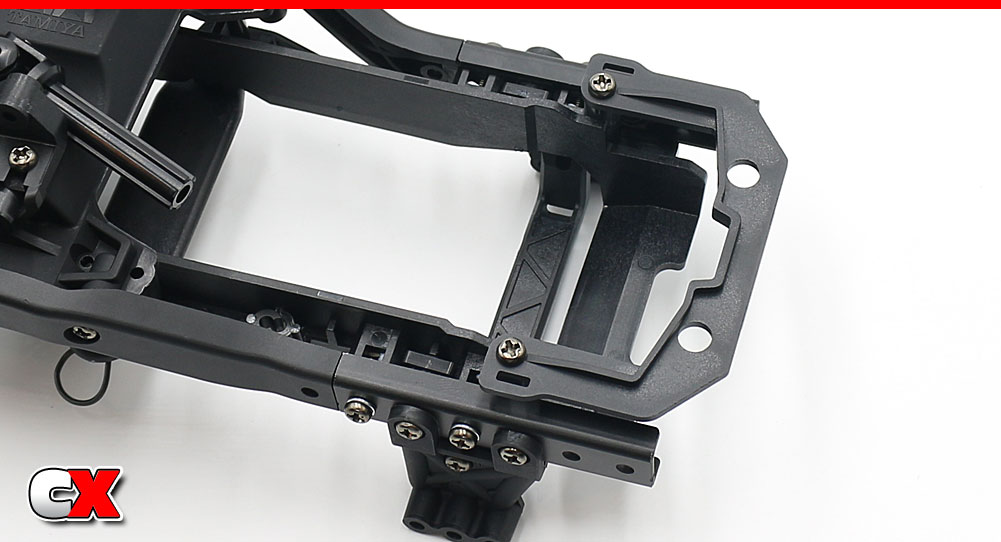
Finally, attach the quick-release battery mount.
Finally, attach the quick-release battery mount.
Easy step, right?
Let’s move on to Steps 4 and 5 – the front and rear axles.
Use the links below to follow each step.
Tamiya CC-02 Trail Truck Build – Opening Page
Tamiya CC-02 Trail Truck Build – Part 1 – Transmission
Tamiya CC-02 Trail Truck Build – Part 2 – Chassis
Tamiya CC-02 Trail Truck Build – Part 3 – Driveshafts
Tamiya CC-02 Trail Truck Build – Part 4 – Front Axle
Tamiya CC-02 Trail Truck Build – Part 5 – Rear Axle
Tamiya CC-02 Trail Truck Build – Part 6 – Shocks
Tamiya CC-02 Trail Truck Build – Part 7 – Electronics
Tamiya CC-02 Trail Truck Build – Part 8 – Final Steps