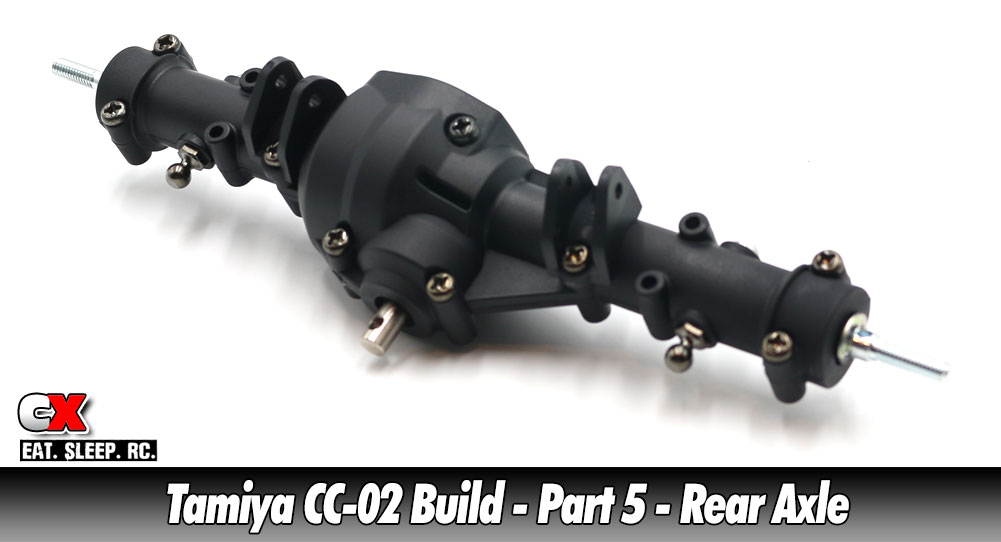
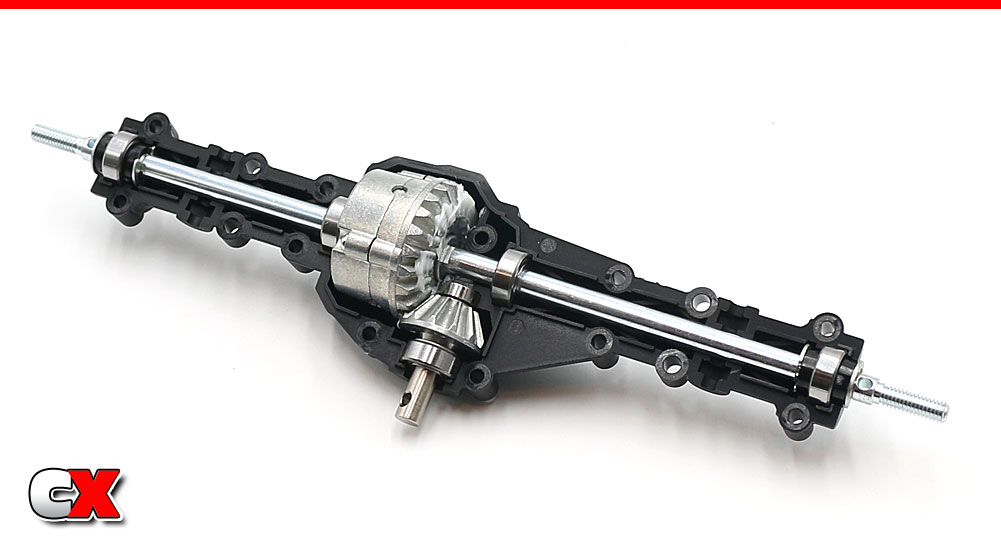
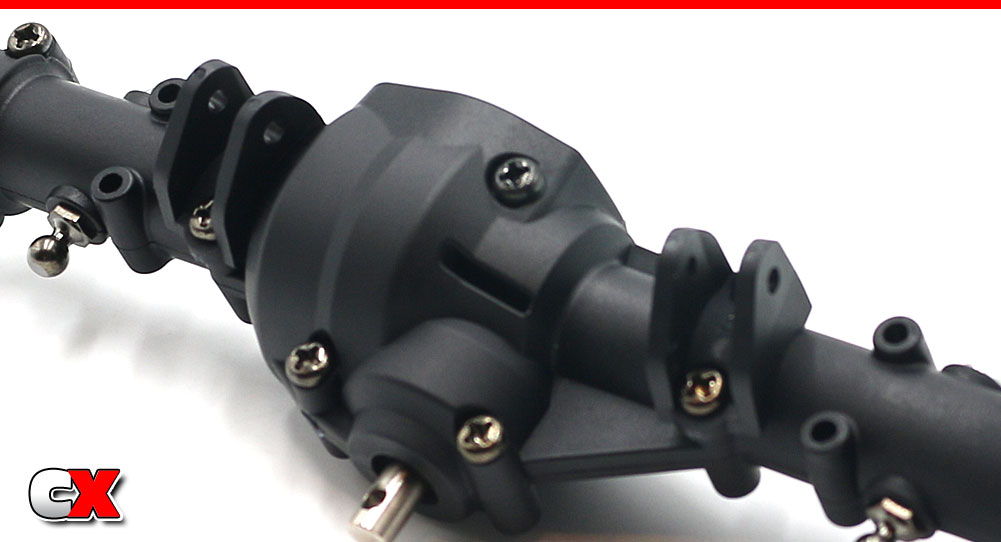
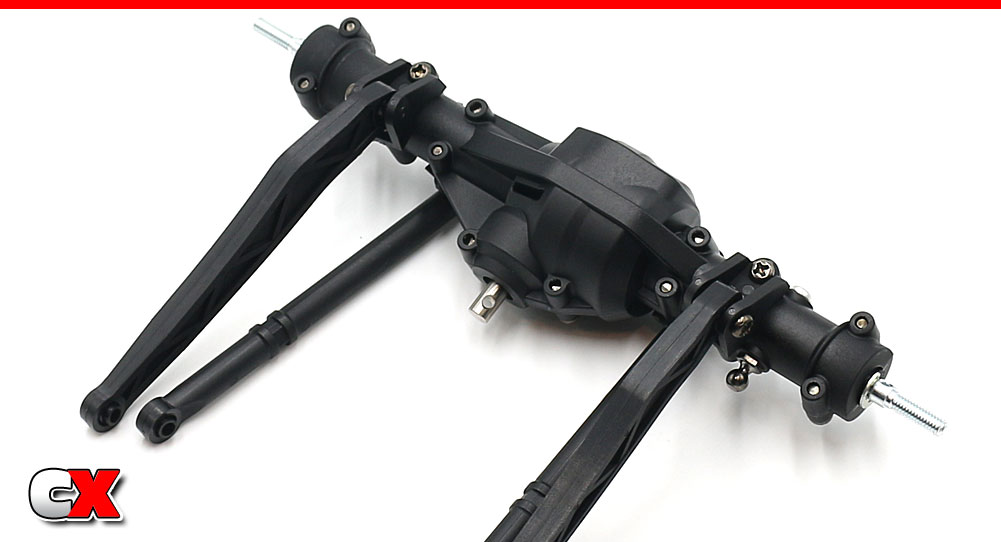
The rear axle on the Tamiya CC-02 is similar to the front. It can be built with an open or locked diff, uses hidden M3 nuts and has the link mounts (and links) attached the same way.
Build Notes:
 Like the front axle, you can build the diffs either open or locked. Parts to build it either way are included in the kit.
Like the front axle, you can build the diffs either open or locked. Parts to build it either way are included in the kit.
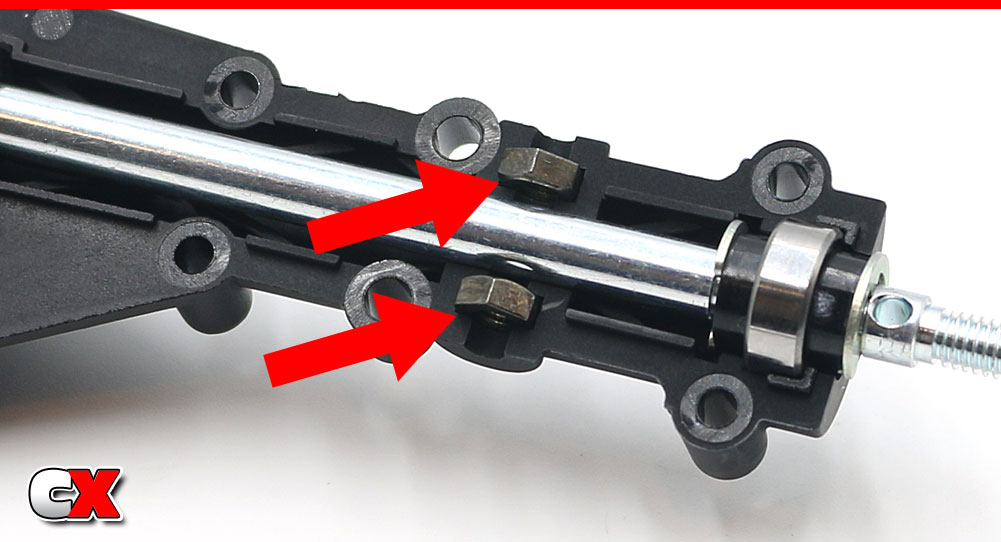
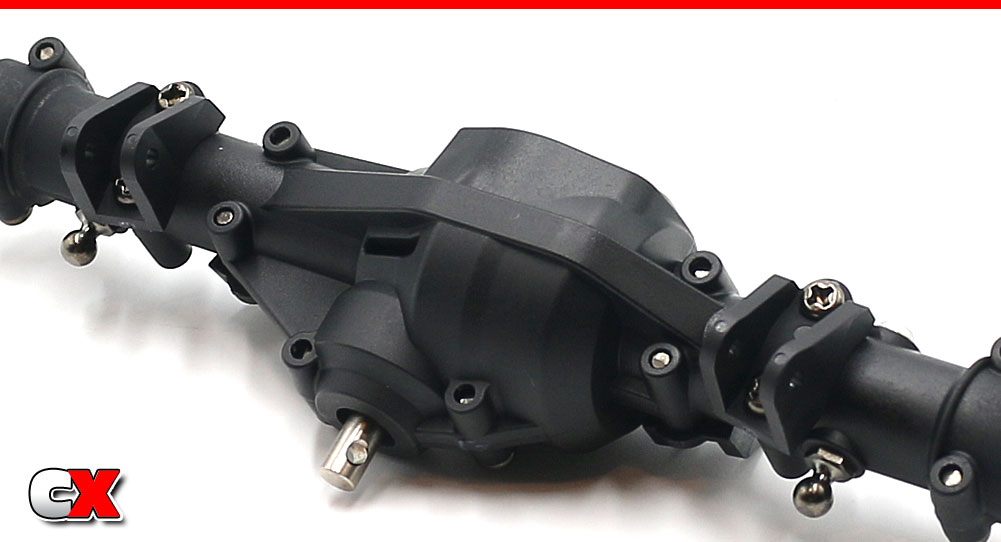
M3 locknuts are captured inside this housing as well.
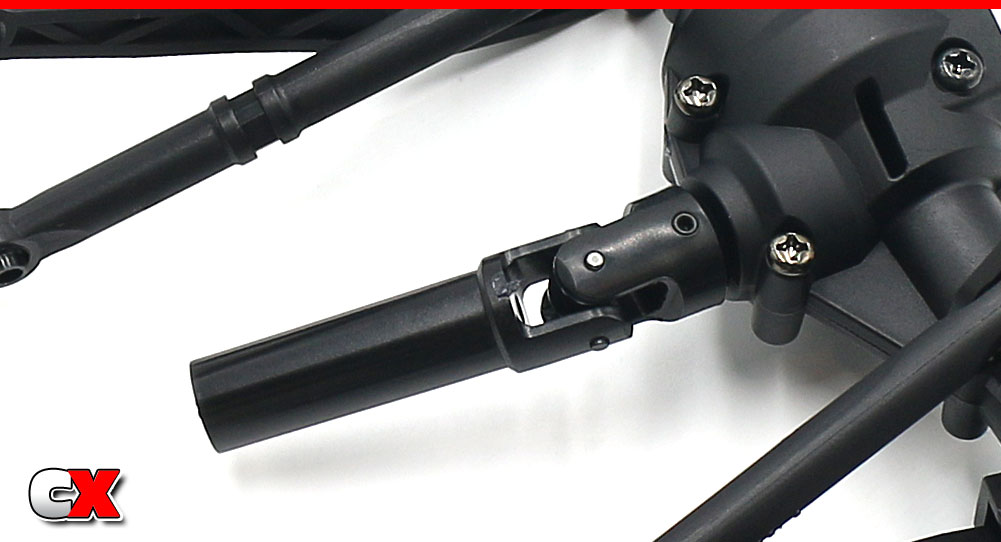
When mating the driveshafts, make sure the ‘screw pins’ are lined up with each other. This provides a smoother rotation in the drivetrain. See Steps 14 and 15 for more details.
Step 1:
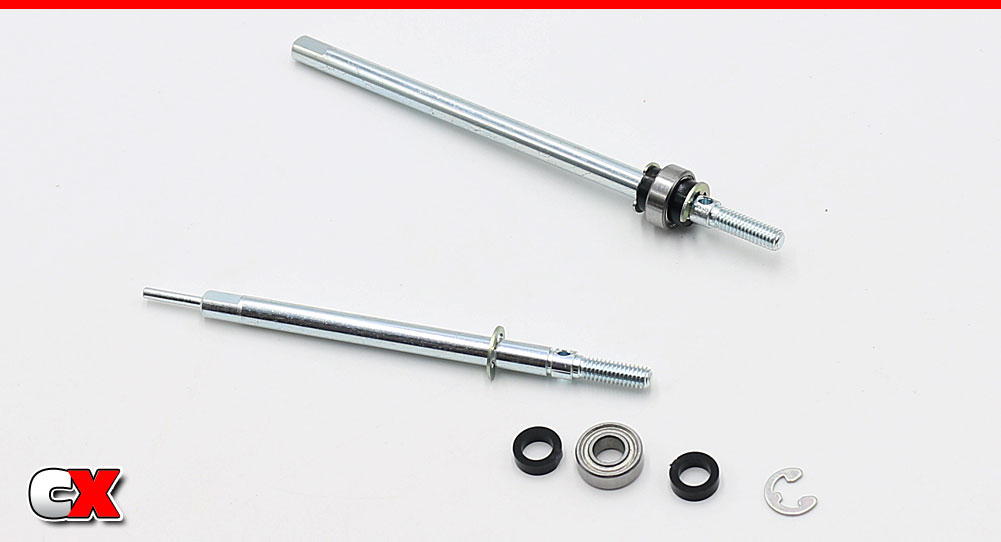
Build the pair of rear axles; e-clips onto the shafts followed by a plastic spacer, the bearing, another plastic spacer and another e-clip.
Build the pair of rear axles; e-clips onto the shafts followed by a plastic spacer, the bearing, another plastic spacer and another e-clip.
Step 2:
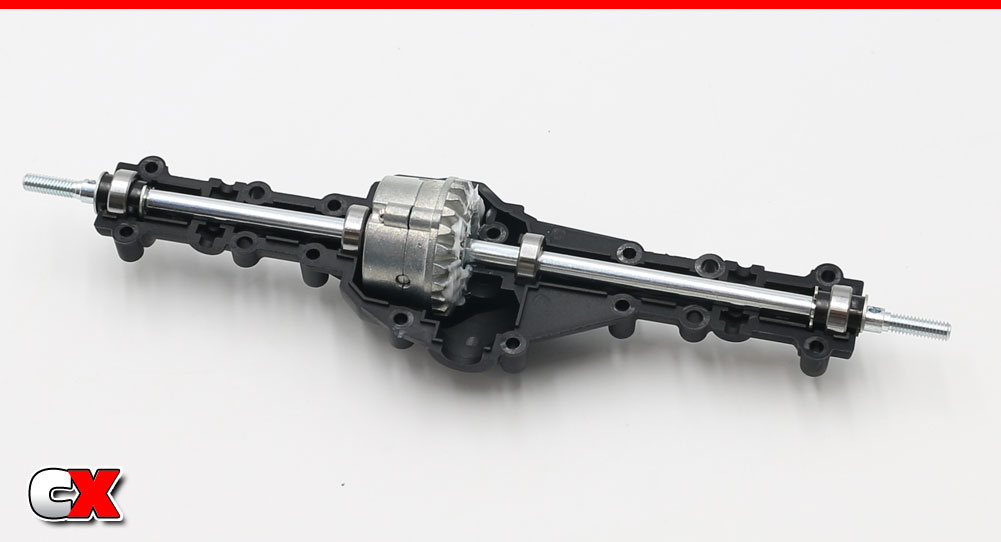
Build the rear differential like the front; I’m locking this one as well. Slide another bearing onto the axles, slip the pair of axles into the diff and set that whole assembly into the lower axle housing. Again, you’ll probably need to move the bearings back or forth to get them into the bearing buckets.
Build the rear differential like the front; I’m locking this one as well. Slide another bearing onto the axles, slip the pair of axles into the diff and set that whole assembly into the lower axle housing. Again, you’ll probably need to move the bearings back or forth to get them into the bearing buckets.
Step 3:
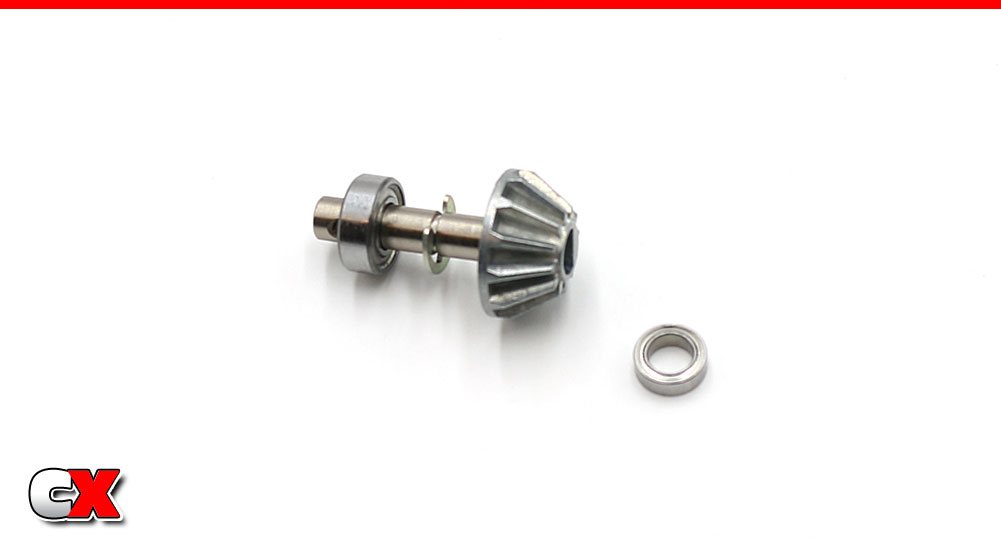
Assemble the output shaft (just like the front).
Assemble the output shaft (just like the front).
Step 4:
Set the output shaft into place and add a liberal amount of grease. Rotate the gears to spread the grease.
Set the output shaft into place and add a liberal amount of grease. Rotate the gears to spread the grease.
Step 5:
On this axle, we’ll need 3mm nuts of both sides of the axle – 4 in total (two on the other side as well).
On this axle, we’ll need 3mm nuts of both sides of the axle – 4 in total (two on the other side as well).
Step 6:
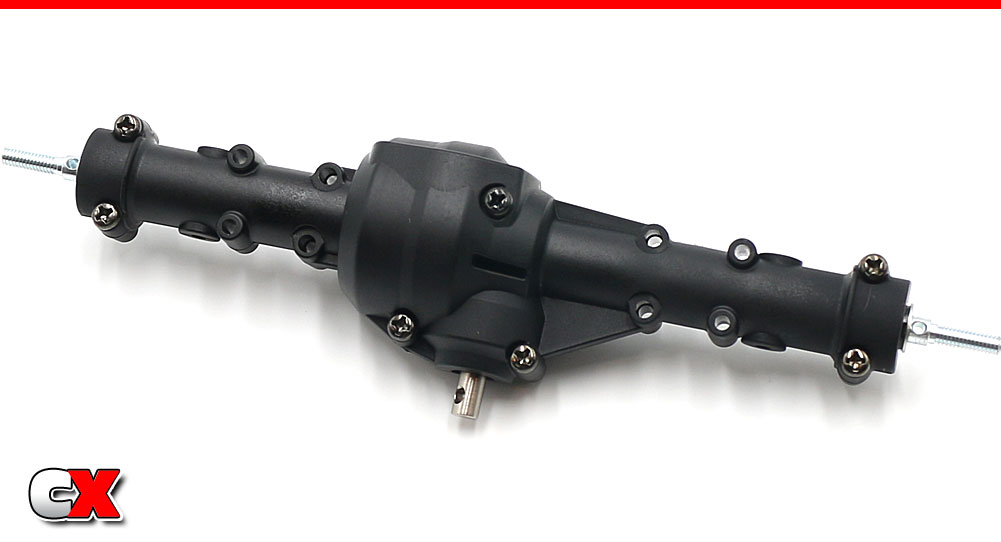
Mate the two axle housing halves together and secure with the seven screws.
Mate the two axle housing halves together and secure with the seven screws.
Step 7:
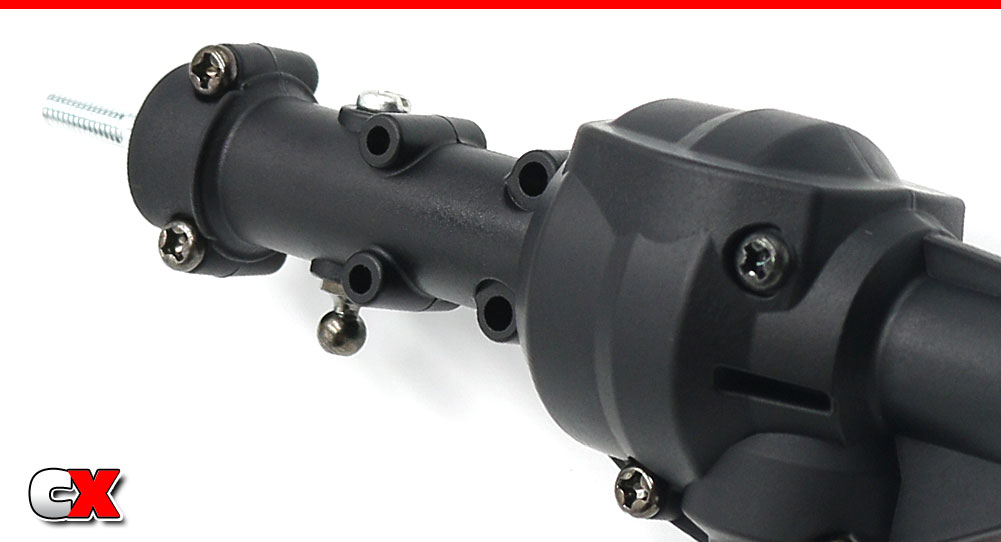
Insert a 5mm ball connector and 3x4mm screw into the holes on the axle housing as shown.
Insert a 5mm ball connector and 3x4mm screw into the holes on the axle housing as shown.
Step 8:
Attach the top link mounts. Like the front, these are marked with an A and B.
Attach the top link mounts. Like the front, these are marked with an A and B.
Step 9:
Flip the axle and attach the lower link mounts (marked with a C and D).
Flip the axle and attach the lower link mounts (marked with a C and D).
Step 10:
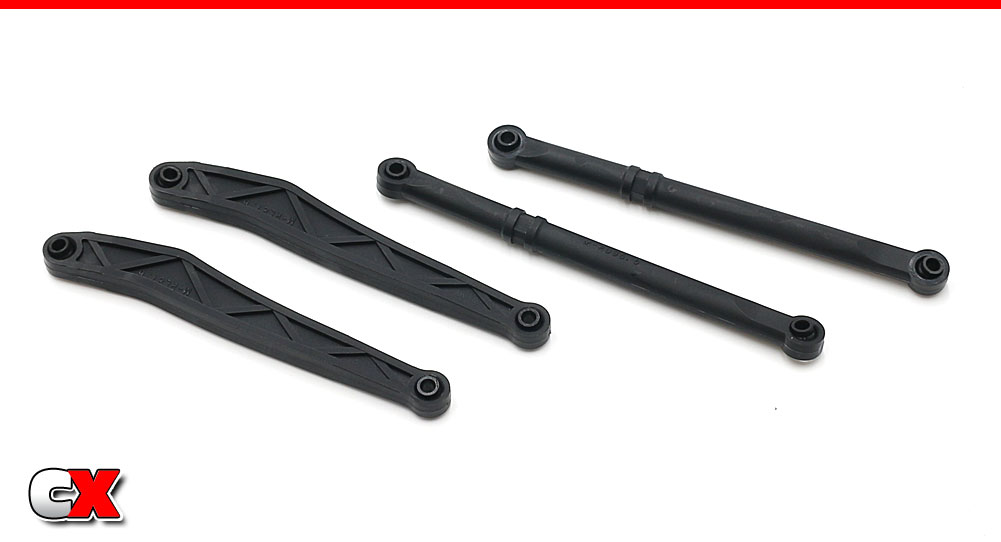
Build a pair of the longer, upper and lower links.
Build a pair of the longer, upper and lower links.
Step 11:
Attach the upper links.
Attach the upper links.
Step 12:
Attach the lower links. Note the orientation.
Attach the lower links. Note the orientation.
Step 13:
Attach the male-side driveshaft to the axle.
Attach the male-side driveshaft to the axle.
Step 14:
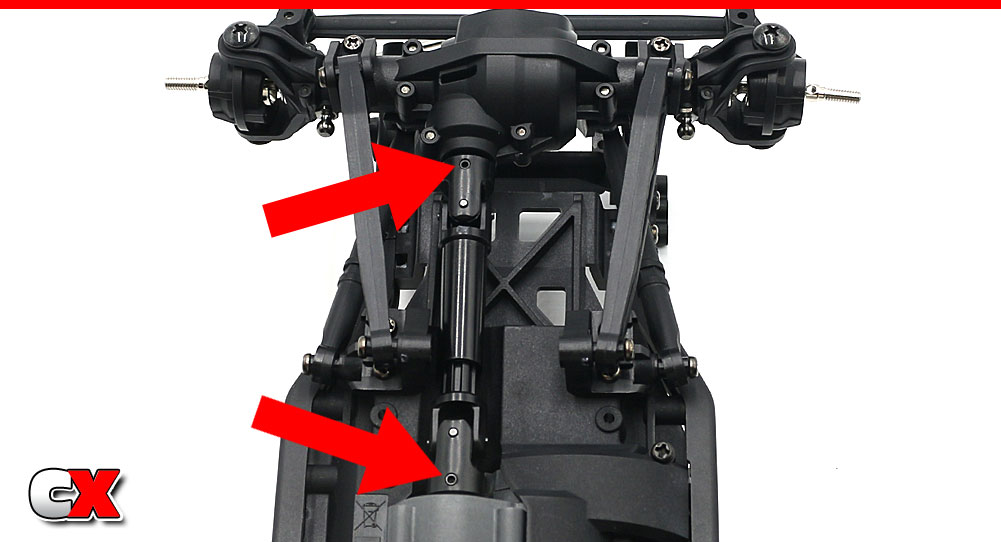
Starting with the driveshafts, attach the front axle assembly to the chassis. Note the red arrows – they show the input shaft screw pins lining up with each other.
Starting with the driveshafts, attach the front axle assembly to the chassis. Note the red arrows – they show the input shaft screw pins lining up with each other.
Attach the links to the link mounts.
Step 15:
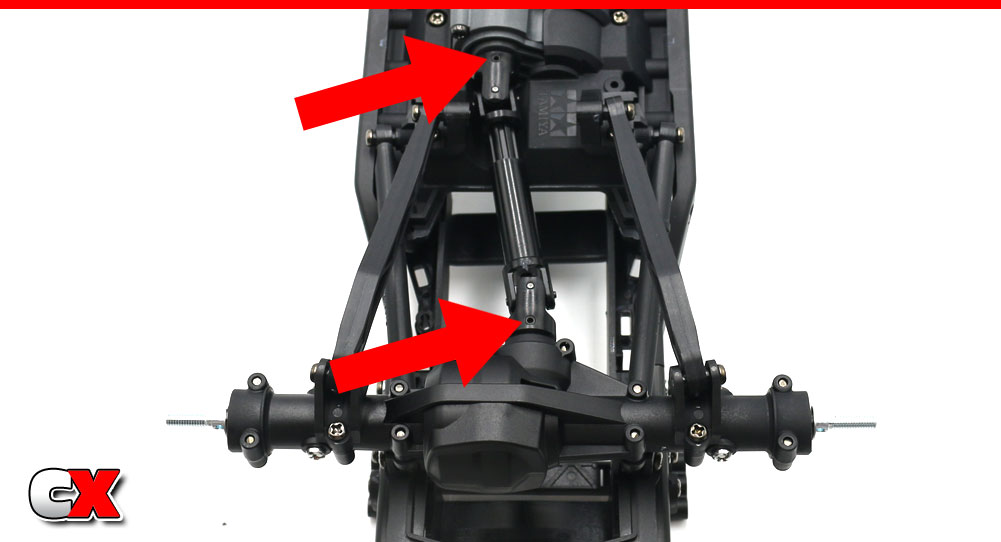
Starting with the driveshafts, attach the rear axle assembly to the chassis. Note the red arrows – they show the input shaft screw pins lining up with each other.
Starting with the driveshafts, attach the rear axle assembly to the chassis. Note the red arrows – they show the input shaft screw pins lining up with each other.
Attach the links to the link mounts.
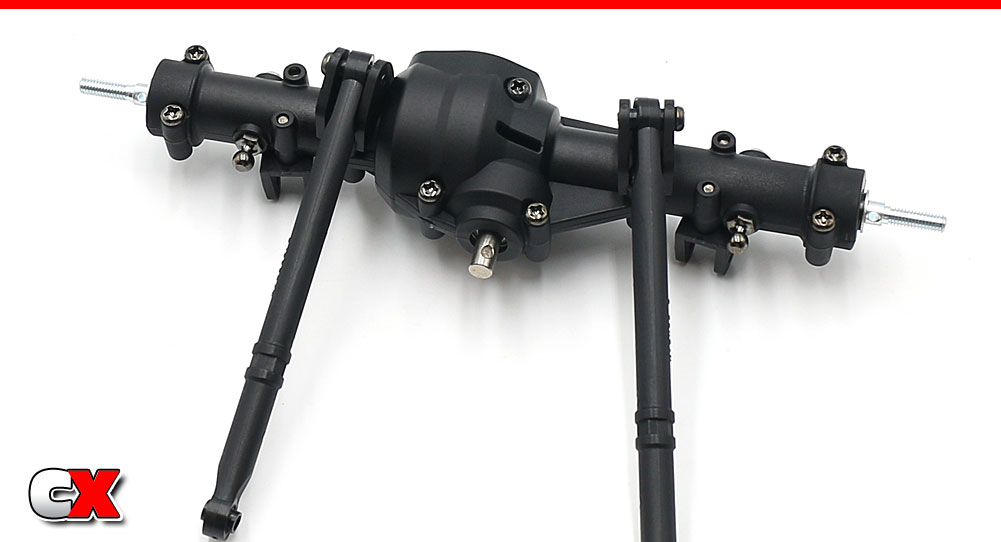
Axles done and attached!
She’s lookin’ like a real rig now! Time to work on Part 6 – the Shocks.
Use the links below to follow each step.
Tamiya CC-02 Trail Truck Build – Opening Page
Tamiya CC-02 Trail Truck Build – Part 1 – Transmission
Tamiya CC-02 Trail Truck Build – Part 2 – Chassis
Tamiya CC-02 Trail Truck Build – Part 3 – Driveshafts
Tamiya CC-02 Trail Truck Build – Part 4 – Front Axle
Tamiya CC-02 Trail Truck Build – Part 5 – Rear Axle
Tamiya CC-02 Trail Truck Build – Part 6 – Shocks
Tamiya CC-02 Trail Truck Build – Part 7 – Electronics
Tamiya CC-02 Trail Truck Build – Part 8 – Final Steps