The Build – Part 6
Tamiya’s TA07 Pro uses a bearing-equipped, dual-bellcrank steering system as well as TRF blue turnbuckles and aluminum ball ends. These are nice upgrades for this level of touring car.
 None.
None.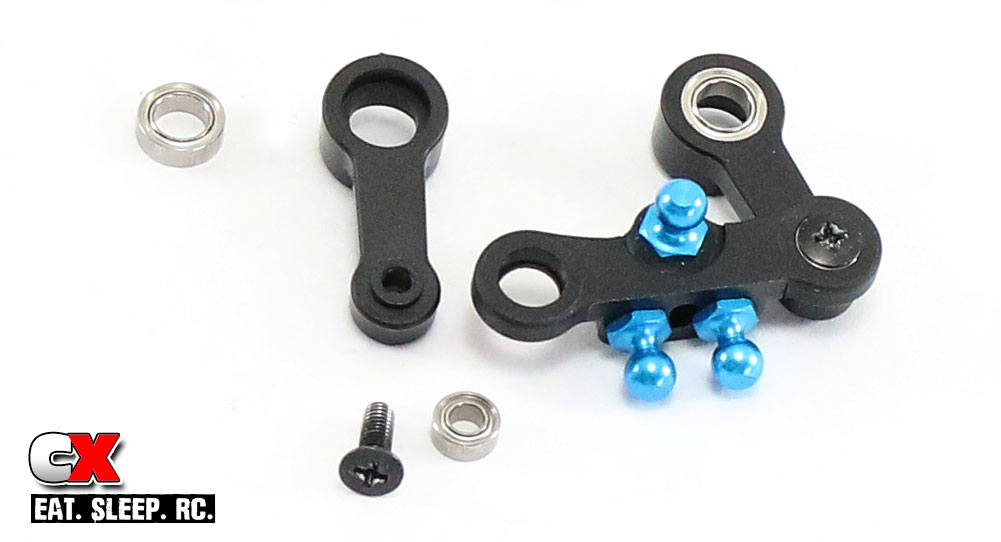
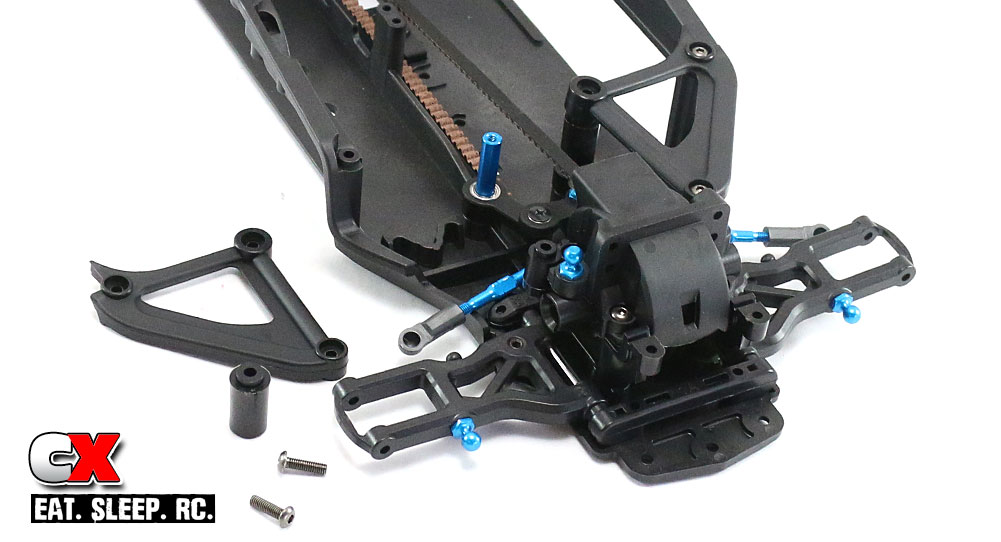
Assembly of the dual-bellcrank system is very easy – start by attaching the three blue ball ends to the steering link as well as pressing the smaller bearings into the pockets from the top. Using the 3x8mm screws, attach the steering arms to the steering link, but be careful not to overtighten these. Finish this off by pressing the two larger bearings into the steering arms from the top. The entire system should swing freely.
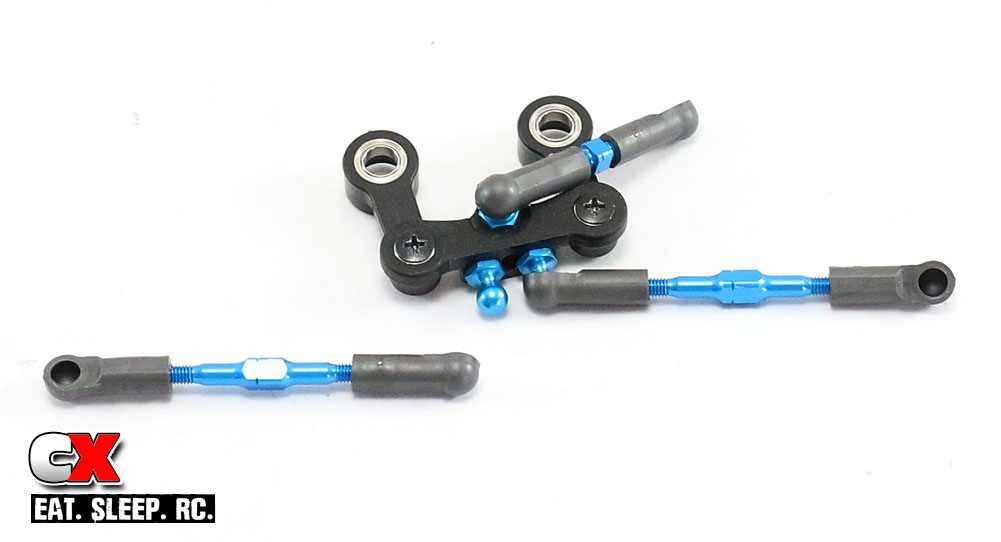
Build the two long steering turnbuckles and the drag link – the manual-suggested lengths are a good starting point. Pop them onto the ball ends as shown. A Pro tip is to make sure all the notches on the turnbuckles all face the same direction. This will make it easy when it comes to making adjustments.
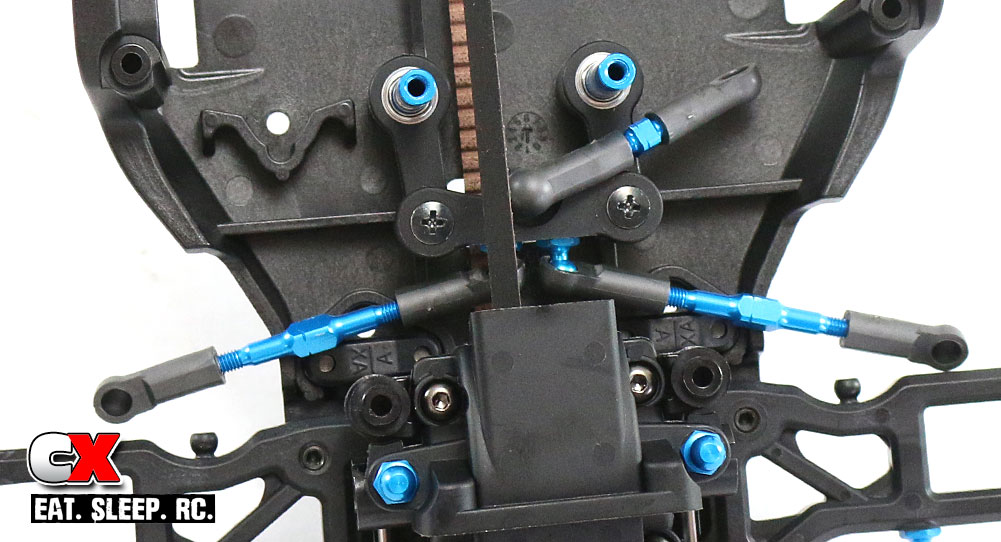
Feed the steering assembly through the front belt and slide it onto the steering posts. Again, make sure everything swings freely.
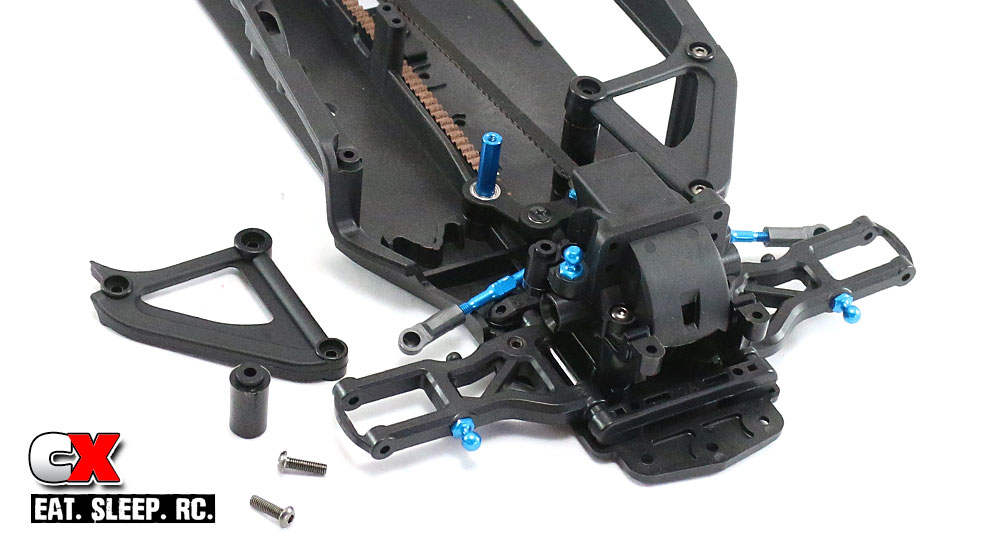
Slide the plastic spacers onto the steering posts and attach the upper chassis braces.
Another super easy step, right? Again, do a quick check to make sure the steering swings freely and let’s move on to the next step.
Tamiya TA07 Pro Build – Part 1 – Rear Suspension
Tamiya TA07 Pro Build – Part 2 – Front Suspension
Tamiya TA07 Pro Build – Part 3 – Motor Mount
Tamiya TA07 Pro Build – Part 4 – Differentials
Tamiya TA07 Pro Build – Part 5 – Motor Mount / Drive Belt
Tamiya TA07 Pro Build – Part 6 – Steering
Tamiya TA07 Pro Build – Part 7 – Knuckles / Rear Hubs
Tamiya TA07 Pro Build – Part 8 – Shocks
Tamiya TA07 Pro Build – Part 9 – Electronics
Tamiya TA07 Pro Build – Part 10 – Wheels / Body Mounts / Battery Tray
 CompetitionX CompetitionX is the most up-to-date source for RC Car News, Reviews and Videos for Radio Control. We also have the most comprehensive Manual Database on the web.
