The Build – Part 9
Being a ‘Pro’ kit, the Tamiya TA07 Pro doesn’t come with any electronics, not even the Tamiya ESC or Mabuchi motor. That’s fine as this is a race-level kit and not including those helps keeps the price down. It also allows the builder to drop in any electronics they want. We’ll be installing some Futaba and HobbyStar components in our TC.
 Before installing the electronics, it’s a good idea to fire them up outside the car. This will let you center the servo and make sure everything is in proper working order.
Be mindful when clipping the ESC wires for installation; remember, the motor mount can be moved to one of three locations on the chassis and if you chop the ESC motor wires to short, you may need to replace the wires for them to reach it.
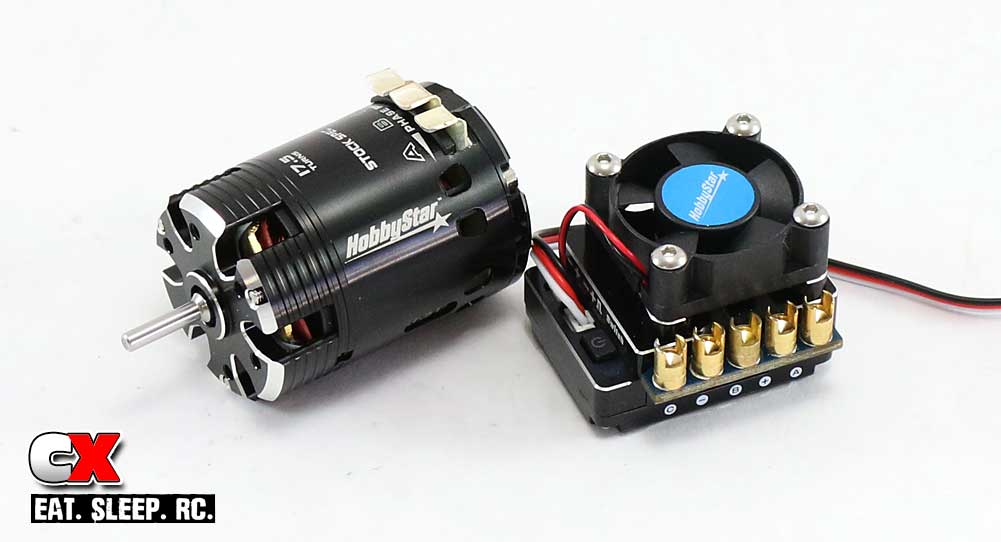
CompetitionX has recently hooked up with HobbyStar, so we’ll be installing their top end 120A Turbo Competition ESC and 17.5T sensored Spec motor. Both of these are great looking products and did exceptionally well in our initial test. For more info on them, you can read our review of the Tamiya TA07 Pro that used the HobbyStar electronics. Go ahead, read it. I’ll wait.
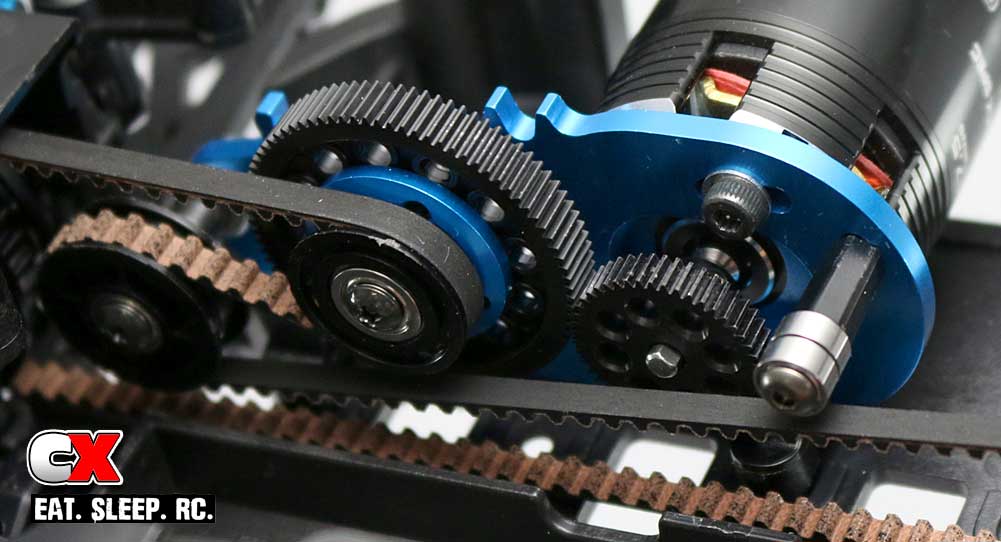
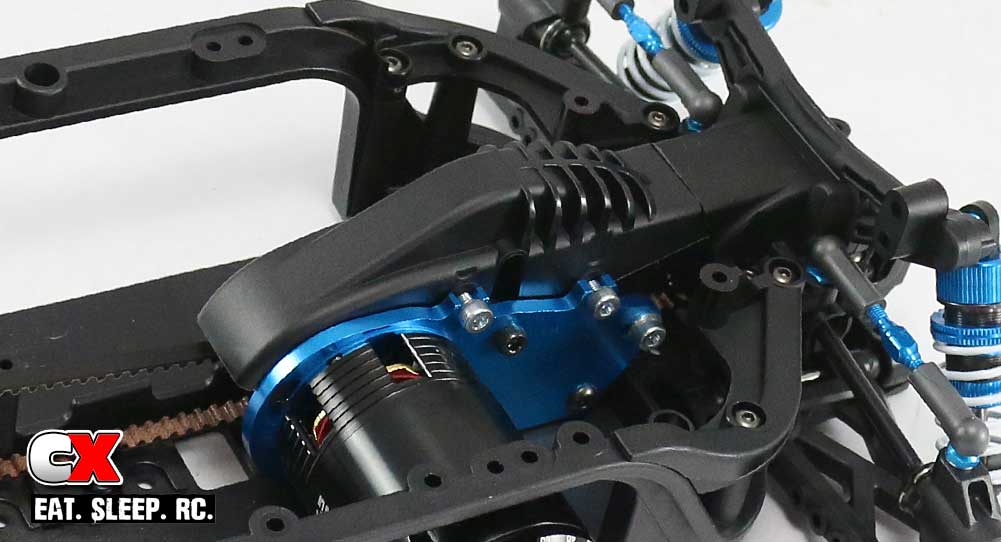
Now that you’re back from reading the review, let’s go ahead and install the HobbyStar motor. As you can see in this photo, we’ve already swapped out the .6 Mod gears with 64P and I’ve already matched up the suggested gearing for the Tamiya track. Set the mesh and tighten down the motor screws.
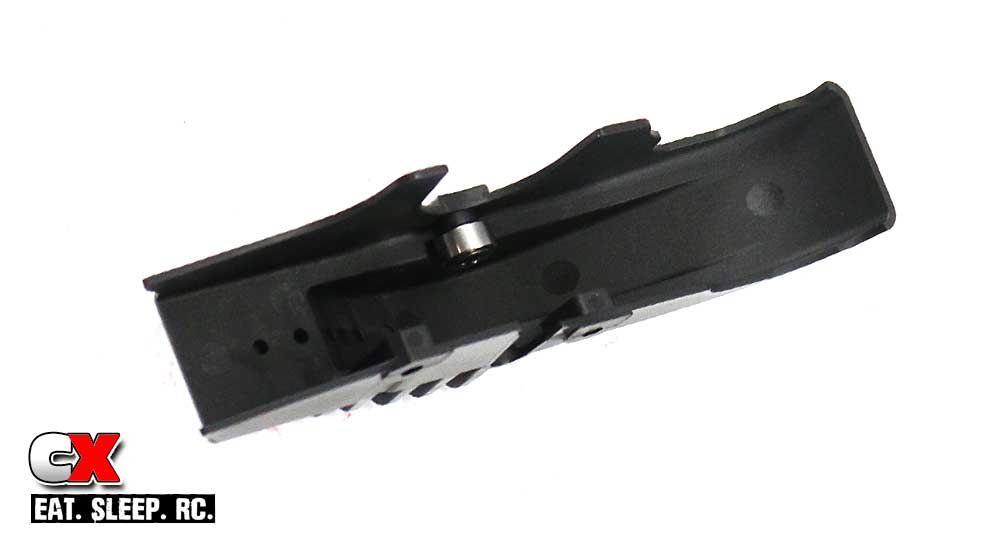
Install the belt bearing into the spur gear cover. Do not overtighten.
Install the spur gear cover. I found it easier to insert the screws into the cover, press the assembly into place and tighten the screws.
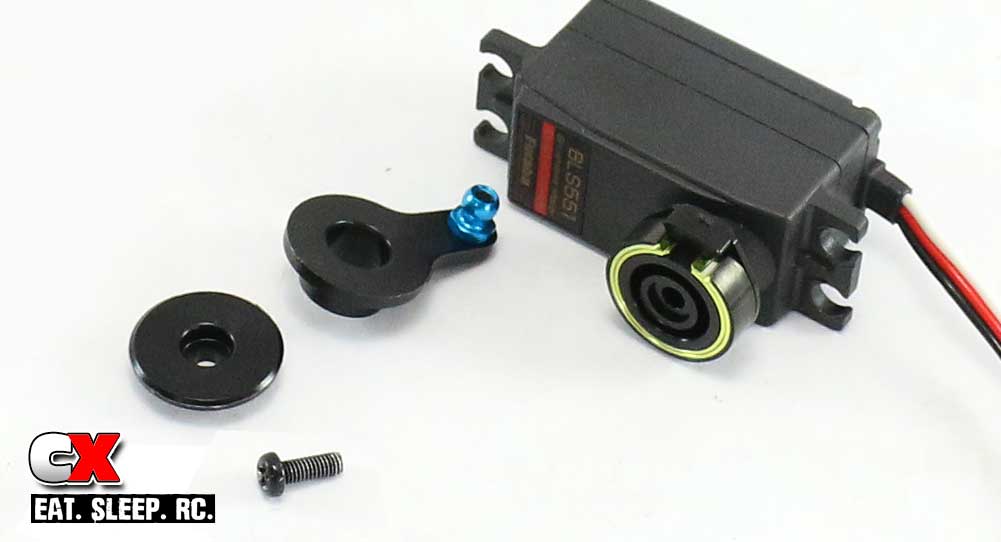
Attach the servo-mounted servo saver to your servo (that’s a mouthful). The TA07 Pro has provisions for either a standard or shorty servo; I chose the shorty so I could mount all my electronics right on the chassis deck.
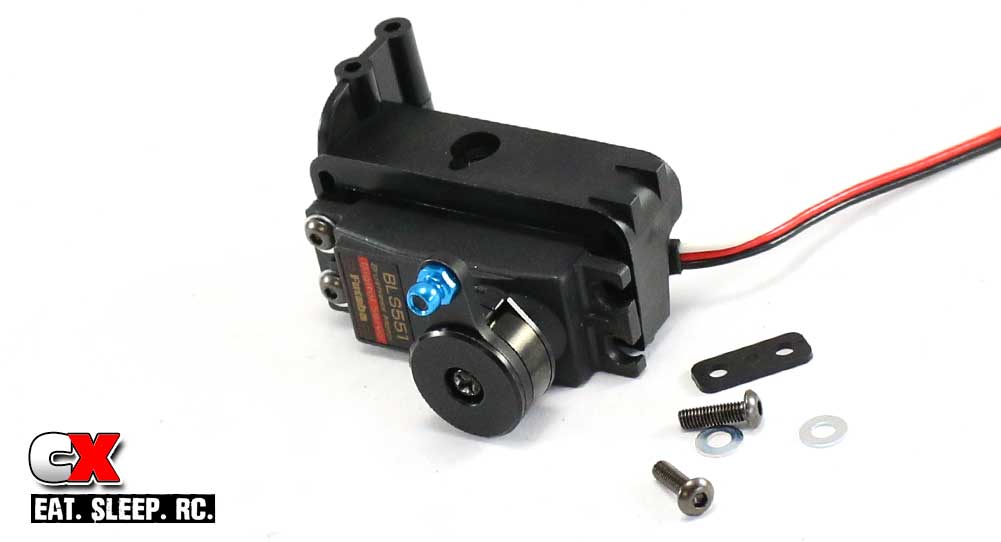
Attach the servo to the floating servo mount.
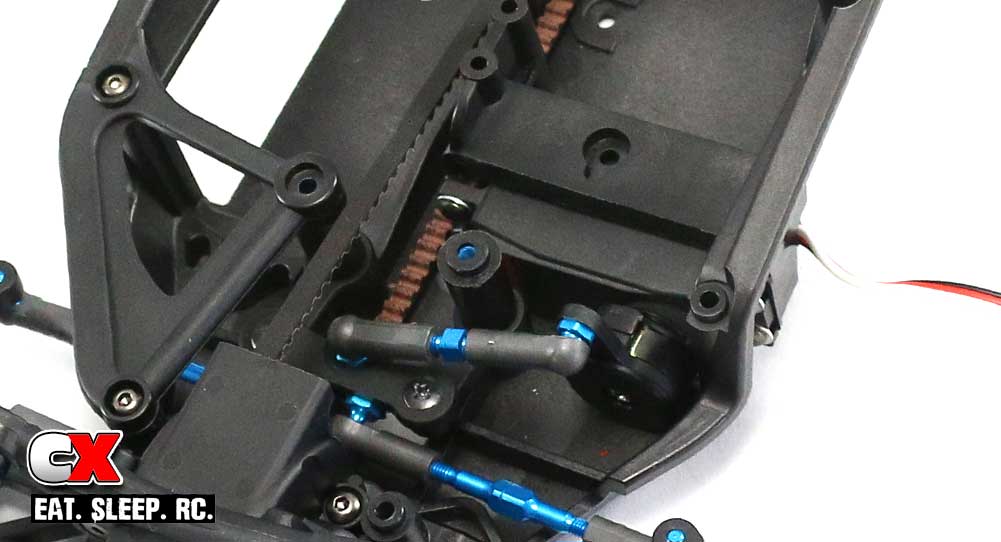
Install the servo assembly into the TA07, then pop the drag link onto the servo. If you are using a standard servo, you need to attach the additional antenna holder. If using a shorty servo, skip that step. As per the manual, I found it MUCH easier to install once I removed the chassis brace.

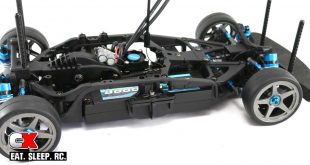
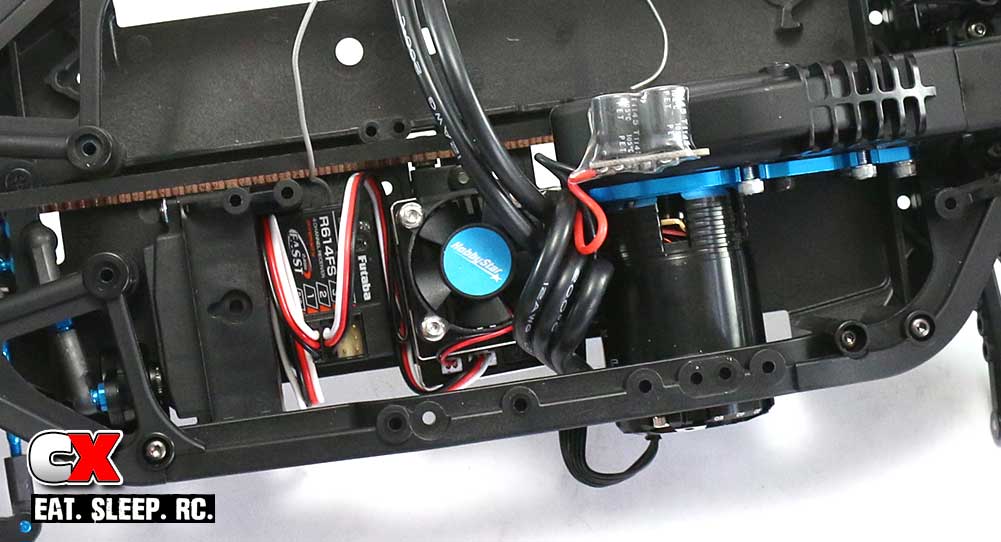
Space is a little tight for the electronics, so you might have to be a little creative with your wiring. This is how I had to set it up, with the additional capacitor taped to the spur gear cover. Strange, but it works.

Once all the wires are routed and connected, assemble and attach the motor guard.
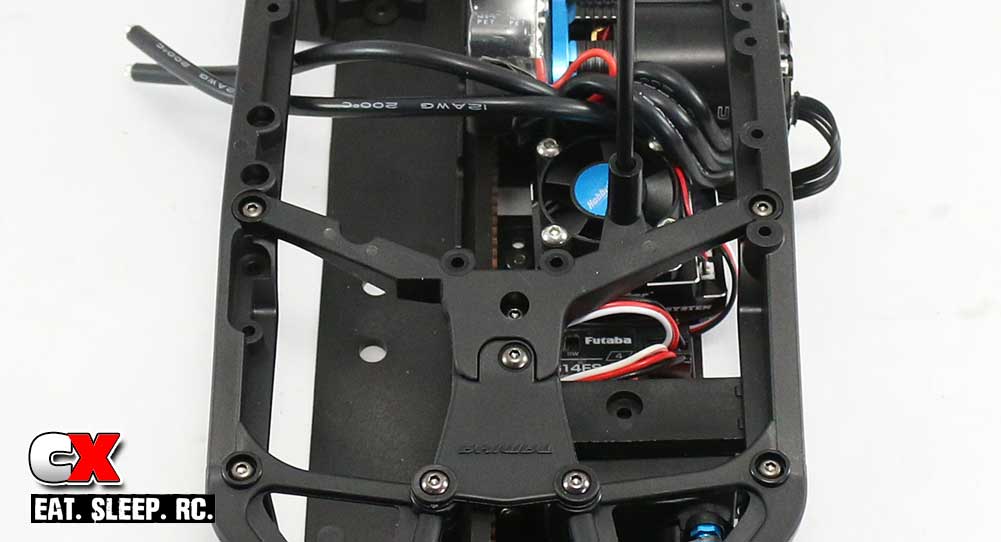
The final step is to attach the upper deck plate. Feed the antenna wire through the hole and screw the 2-piece unit into place.
Great job. I know this is a tricky step with the limited amount of space for electronics, but I’m sure your car looks great.
Tamiya TA07 Pro Build – Part 1 – Rear Suspension
Tamiya TA07 Pro Build – Part 2 – Front Suspension
Tamiya TA07 Pro Build – Part 3 – Motor Mount
Tamiya TA07 Pro Build – Part 4 – Differentials
Tamiya TA07 Pro Build – Part 5 – Motor Mount / Drive Belt
Tamiya TA07 Pro Build – Part 6 – Steering
Tamiya TA07 Pro Build – Part 7 – Knuckles / Rear Hubs
Tamiya TA07 Pro Build – Part 8 – Shocks
Tamiya TA07 Pro Build – Part 9 – Electronics
Tamiya TA07 Pro Build – Part 10 – Wheels / Body Mounts / Battery Tray