The Build – Part 4
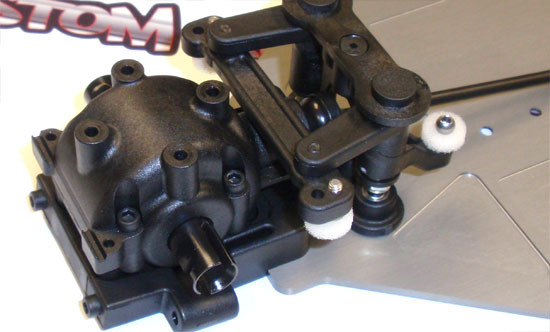
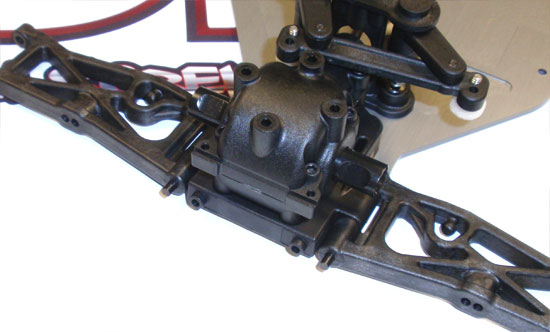
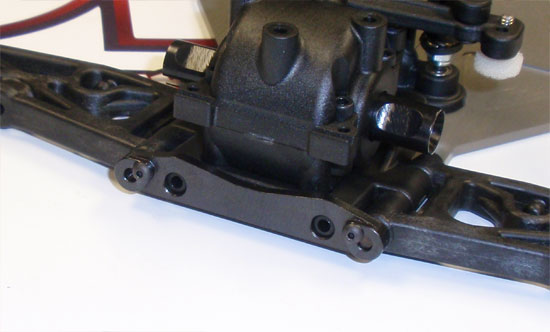
In this step we’ll be attaching the gearboxes and suspension arms to the Team Associated B44.3 chassis.
Build Notes:
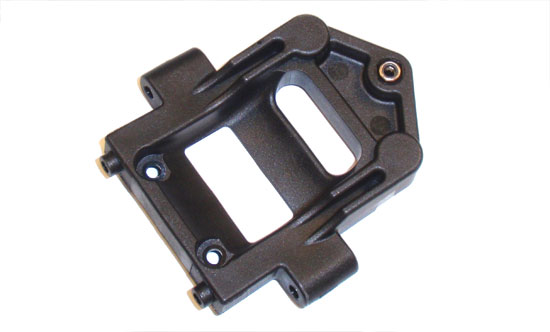
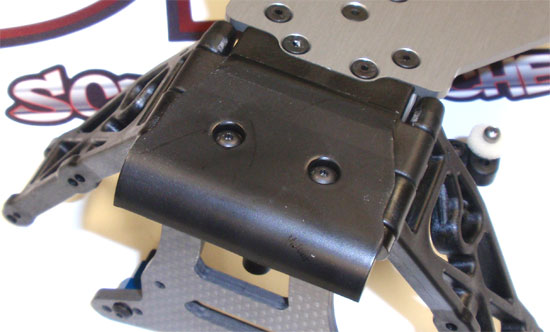
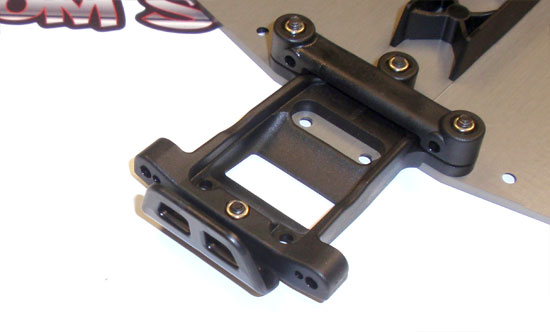
 The rear bumper is pretty much for looks only. Be careful if you pick it up by this location as it will wildly flex and possibly cause you to drop the car (happened to me the first time).
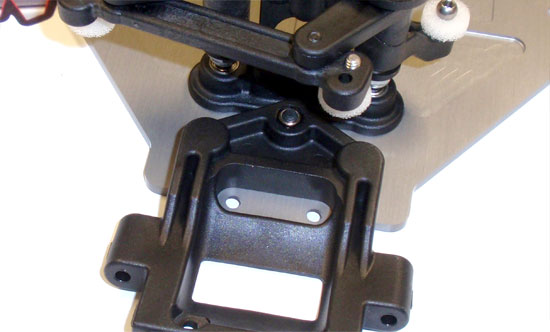
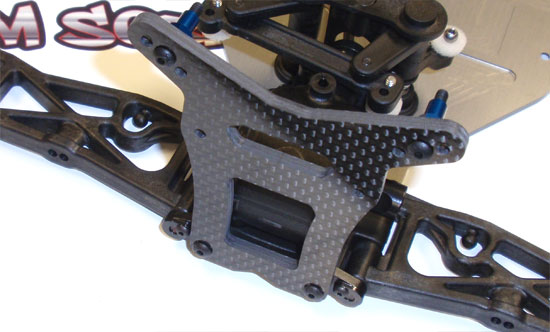
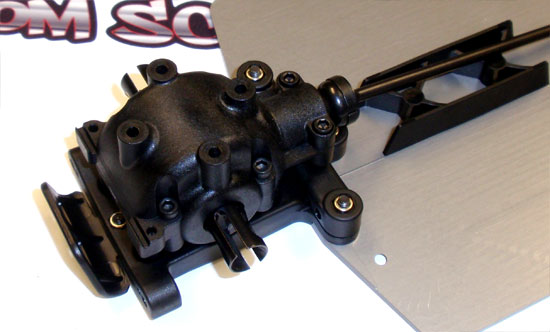
The rear bulkhead controls the rear toe of the buggy. When assembling the rear suspension, you’ll need to flex the pin inward to make it fit. It’s a little awkward so my suggestion is to test fit the pin first to see what the assembly process is.
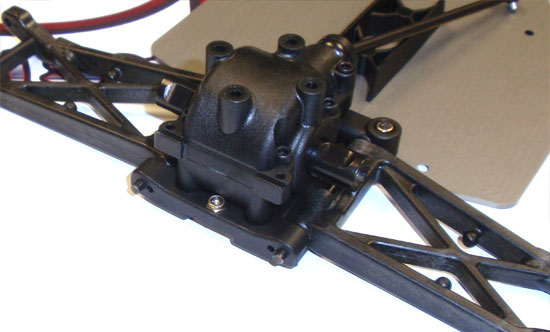
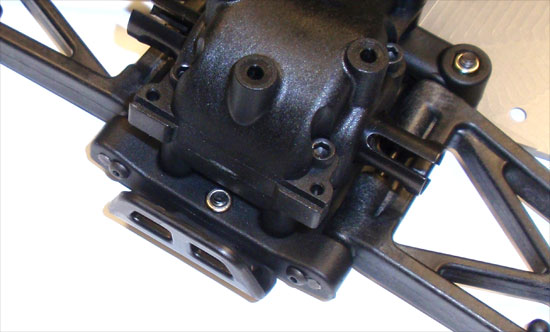
On a final note, you might check to make sure the front and rear suspension arms move freely up and down. Great job.
Team Associated B44.3 Buggy Build – Part 1 – Differentials
Team Associated B44.3 Buggy Build – Part 2 – Gearboxes
Team Associated B44.3 Buggy Build – Part 3 – Steering
Team Associated B44.3 Buggy Build – Part 4 – Suspension
Team Associated B44.3 Buggy Build – Part 5 – Center Bulkhead
Team Associated B44.3 Buggy Build – Part 6 – Top Decks
Team Associated B44.3 Buggy Build – Part 7 – Turnbuckles / Driveline
Team Associated B44.3 Buggy Build – Part 8 – Anti-Roll Bars
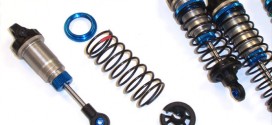
Team Associated B44.3 Buggy Build – Part 9 – Shocks
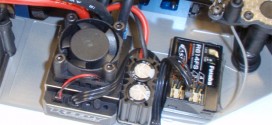
Team Associated B44.3 Buggy Build – Part 10 – Electronics
Team Associated B44.3 Buggy Build – Part 11 – Wheels, Tires and Body