The Build – Part 5
In this step we’ll be attaching the center bulkhead and installing the center differential.
Build Notes:
 The center bulkheads can be attached in one of two configurations depending on the battery layout you’ve decided to use; saddle packs or a shorty pack.
 The center bulkhead inserts (the ones that hold the center spur) are also different depending on if you are using the included gear diff or optional ball diff/slipper setup. If you are using the stock gear diff, keep the ball diff inserts someplace safe; you may want to switch to that some day.
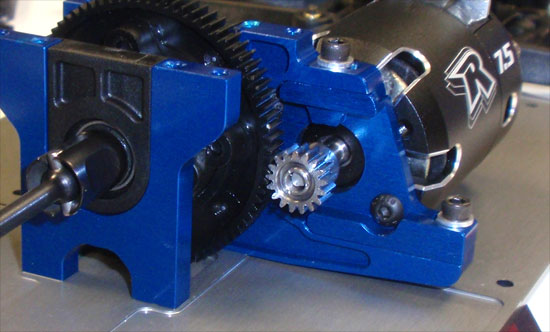
 The center diff can be installed one of two ways; which way you install it can change the way the pinion mates to it. Be sure to double-check your installation so the pinion meshes correctly with the spur gear.
 The manual shows the motor install with the wire mounting tabs straight up. Don’t install the motor this way; instead, rotate it one set of holes so the mounting tabs are AWAY from the top deck. If you mount the motor as it shows in the manual, the inside-most tab will contact the top deck.
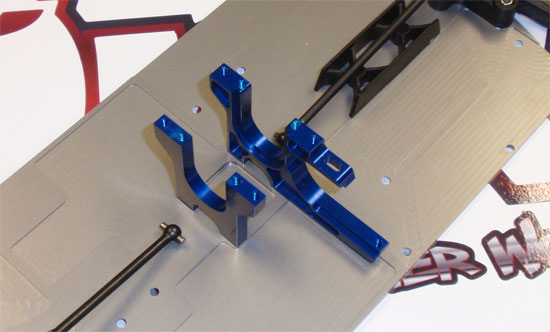
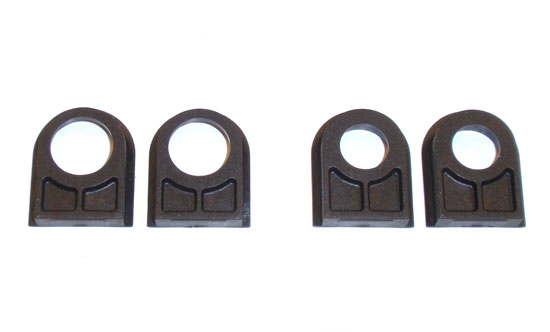
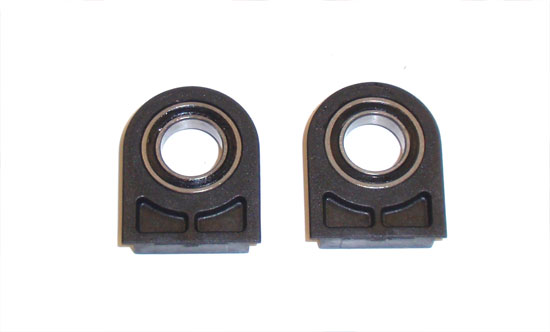
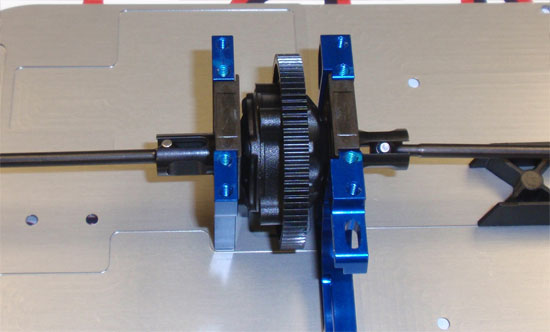
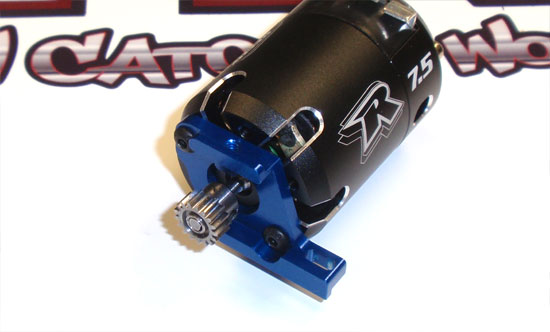
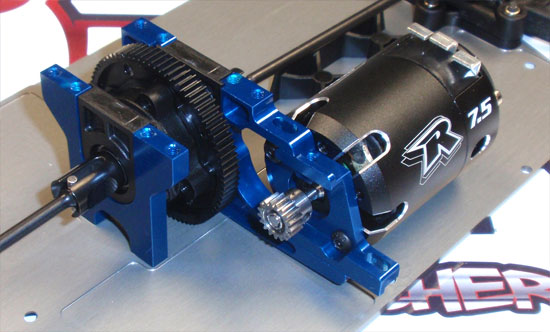
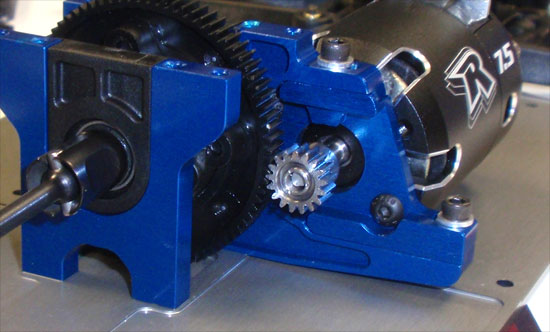
Great job. Motor and center bulkhead installed!
 Team Associated B44.3 Buggy Build – Part 1 – Differentials
 Team Associated B44.3 Buggy Build – Part 2 – Gearboxes
 Team Associated B44.3 Buggy Build – Part 3 – Steering
 Team Associated B44.3 Buggy Build – Part 4 – Suspension
 Team Associated B44.3 Buggy Build – Part 5 – Center Bulkhead
 Team Associated B44.3 Buggy Build – Part 6 – Top Decks
 Team Associated B44.3 Buggy Build – Part 7 – Turnbuckles / Driveline
 Team Associated B44.3 Buggy Build – Part 8 – Anti-Roll Bars
 Team Associated B44.3 Buggy Build – Part 9 – Shocks
 Team Associated B44.3 Buggy Build – Part 10 – Electronics
 Team Associated B44.3 Buggy Build – Part 11 – Wheels, Tires and Body
 CompetitionX CompetitionX is the most up-to-date source for RC Car News, Reviews and Videos for Radio Control. We also have the most comprehensive Manual Database on the web.

