The Build – Part 8
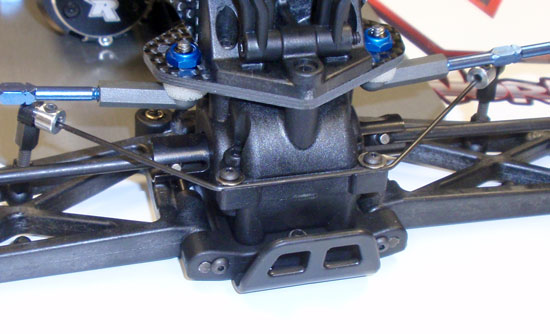
I’ve broken out the rear anti-roll bar steps in our Team Associated B44.3 build into it’s own part for 2 reasons; 1) it didn’t fit with anything else and, 2) you look like you need a small break in the action. Three steps; easy peasy.
Build Notes:
 None. Again, it’s only 3 steps.
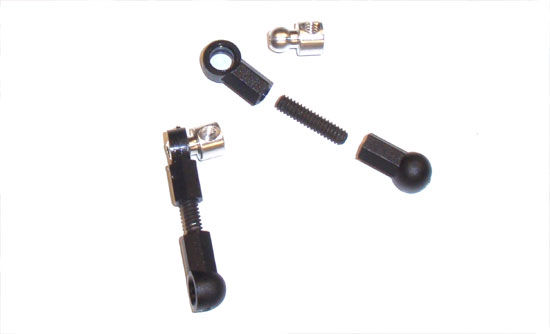
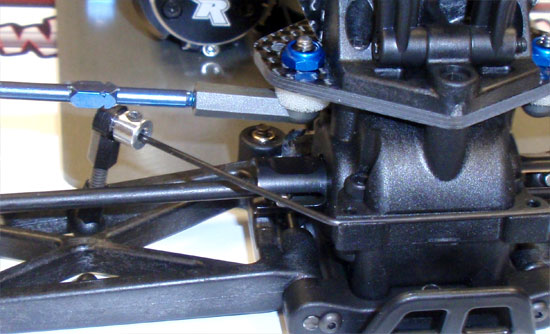
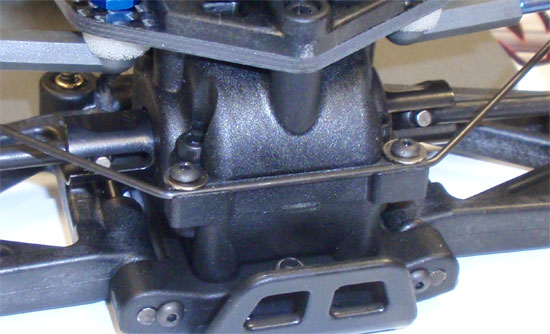
There ya have it. Three easy steps and a connected anti-roll bar.
Team Associated B44.3 Buggy Build – Part 1 – Differentials
Team Associated B44.3 Buggy Build – Part 2 – Gearboxes
Team Associated B44.3 Buggy Build – Part 3 – Steering
Team Associated B44.3 Buggy Build – Part 4 – Suspension
Team Associated B44.3 Buggy Build – Part 5 – Center Bulkhead
Team Associated B44.3 Buggy Build – Part 6 – Top Decks
Team Associated B44.3 Buggy Build – Part 7 – Turnbuckles / Driveline
Team Associated B44.3 Buggy Build – Part 8 – Anti-Roll Bars
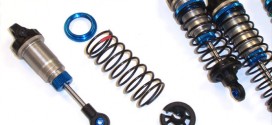
Team Associated B44.3 Buggy Build – Part 9 – Shocks
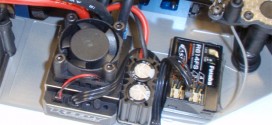
Team Associated B44.3 Buggy Build – Part 10 – Electronics
Team Associated B44.3 Buggy Build – Part 11 – Wheels, Tires and Body