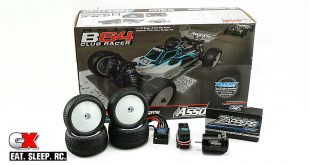
The Build – Part 3
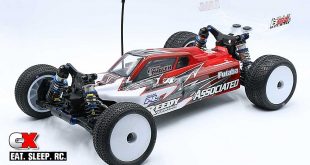
The Team Associated B64 Club Racer uses a ball-bearing equipped dual bellcrank steering system. It’s super smooth and very precise, however it doesn’t come with a servo saver. This is fine, however, as the Reedy 0712MG uses a full metal-gear geartrain and shouldn’t need one.
 As we mentioned earlier, a servo saver is not included with this kit. If you decide you want one (for whatever reason), you’ll need to grab a servo-mounted servo saver. Kimbrough Racing Products makes all kinds of servo-mounted savers – give them a look.
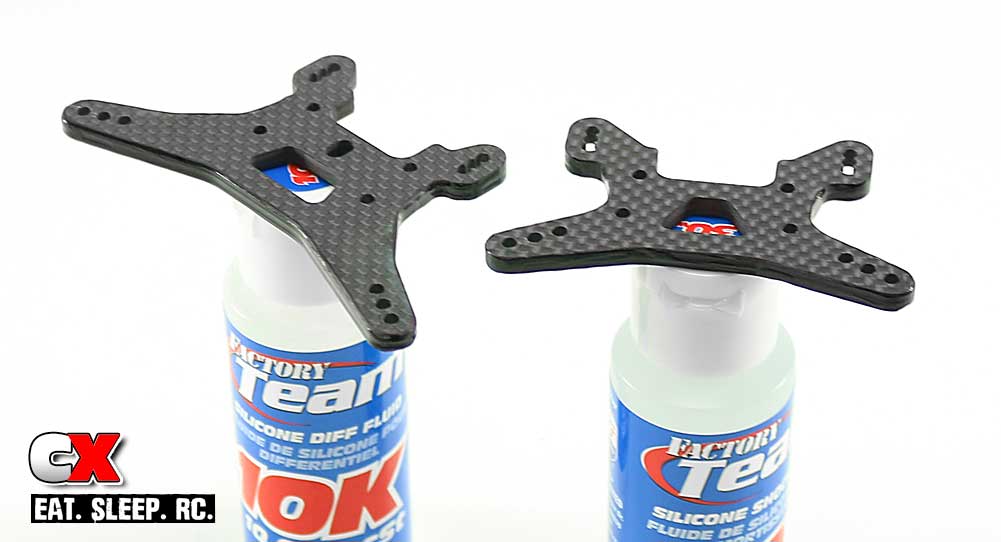
At the beginning of the next step (Part 4 – Front Bulkhead), we’ll be assembling the front shock tower. However, since both the front and rear towers are accessible now I went ahead and prepped them with glue to help keep them from delaminating during a crash. Click this link for the How To: Prep and Seal Your Carbon Fiber Parts. Doing this now also gives the parts plenty of time to dry before we hit Part 4.

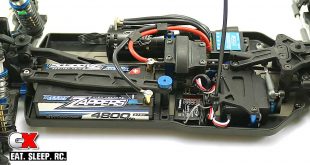
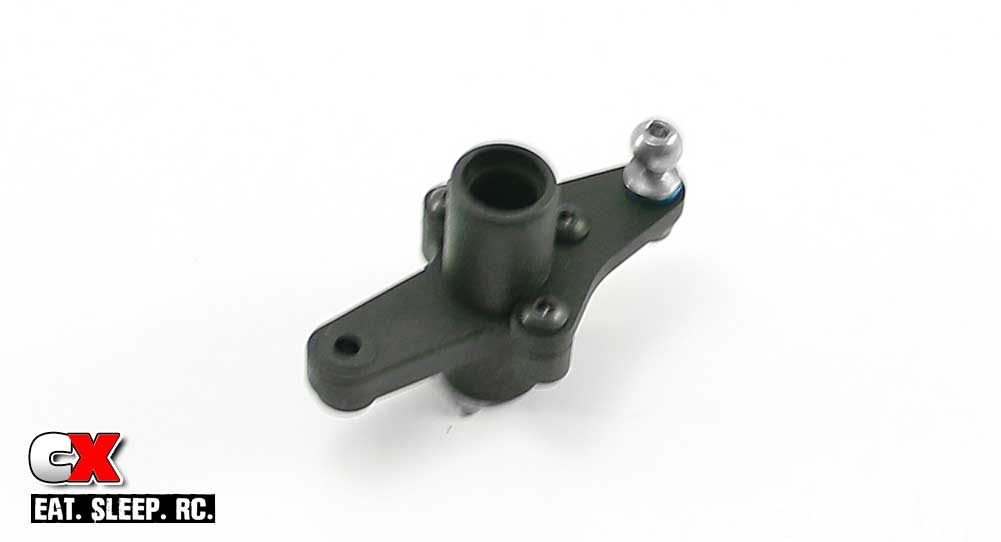
Assemble the steering rack as shown with the ballends and bearings (two bearings per side – don’t forget the 1mm shim in between them). Pay close attention to the orientation of the rack itself.
Assemble the left bellcrank. Note the orientation of the parts. Sorry for the slightly blurry picture.
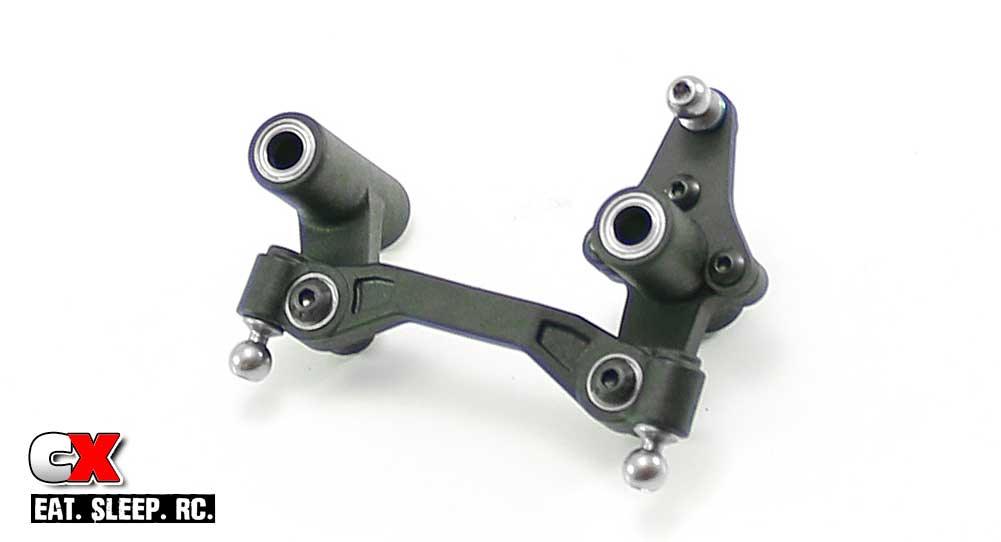
Attach the steering rack to both bellcranks. Do NOT overtighten the 3x14mm screws; make them tight enough to eliminate wobble but loose enough that the bellcranks swing freely.
Add the 5×8 bearings to the top and bottom of the bellcranks as well.
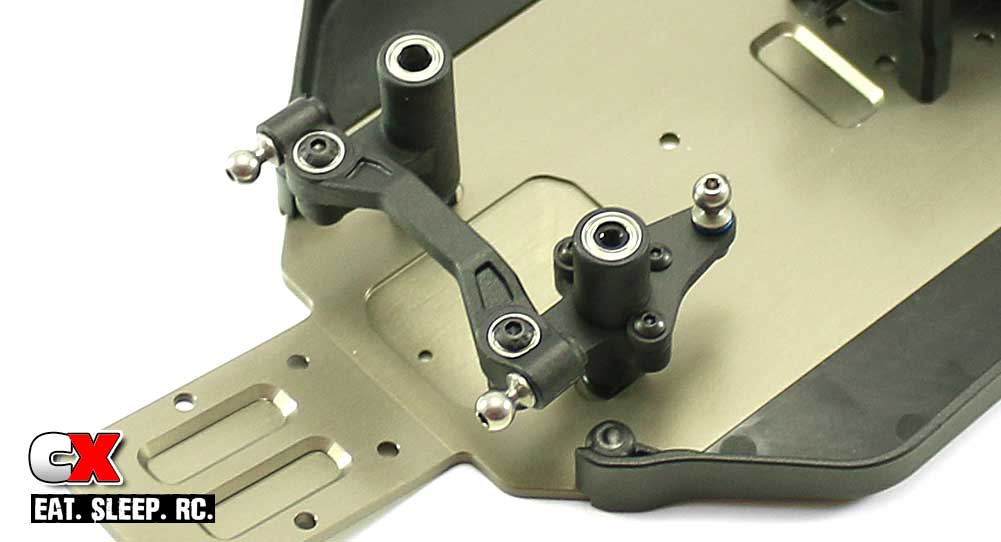
The final step is to slide the steering assembly over the posts.
Before moving on, double check the steering to make sure it swings freely. Great job – time to move on to Part 4.
Team Associated B64 Club Racer Build – Opening Page
Team Associated B64 Club Racer Build – Part 1 – Differentials
Team Associated B64 Club Racer Build – Part 2 – Chassis
Team Associated B64 Club Racer Build – Part 3 – Steering
Team Associated B64 Club Racer Build – Part 4 – Front Bulkhead
Team Associated B64 Club Racer Build – Part 5 – Front Suspension
Team Associated B64 Club Racer Build – Part 6 – Servo
Team Associated B64 Club Racer Build – Part 7 – Rear Bulkhead
Team Associated B64 Club Racer Build – Part 8 – Rear Suspension
Team Associated B64 Club Racer Build – Part 9 – Turnbuckles
Team Associated B64 Club Racer Build – Part 10 – Shocks
Team Associated B64 Club Racer Build – Part 11 – Electronics
Team Associated B64 Club Racer Build – Part 12 – Body, Wheels and Tires