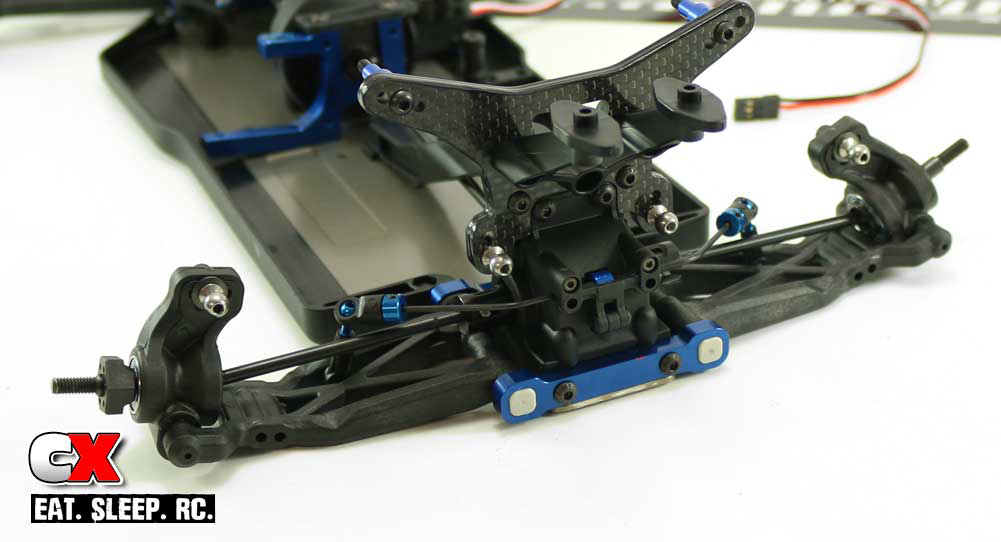
The Build – Part 8
The rear suspension on the Team Associated B64 is the similar to the front but includes an anti-roll bar. The build should be almost identical other than that.
 As noted in Part 7, there are no 0° Up (or Down) pills – we’ll be substituting those out for the center-pip pills that are included.
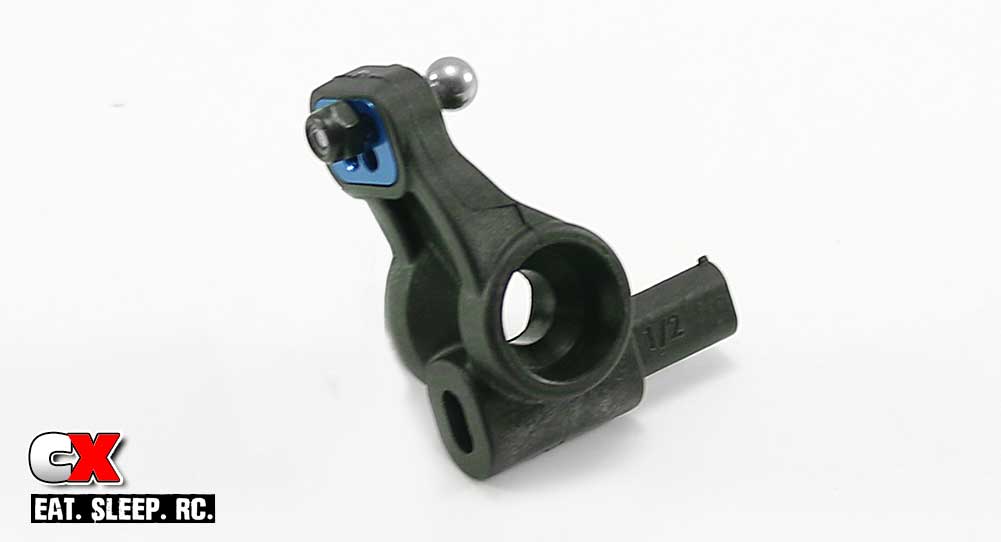
Assemble a pair of rear hubs; note the orientation of the hub link inserts. We’ll also be installing the 1/2-Tab Up inserts into each one.
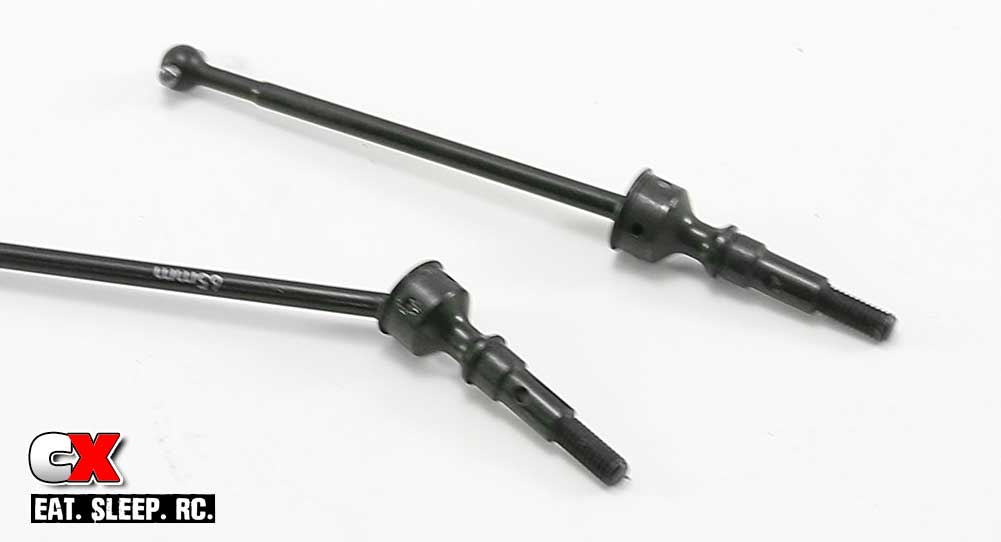
Assemble a pair of rear CVA drive axles, using a liberal amount of black grease on the ‘ball’ to keep things well lubricated during use.
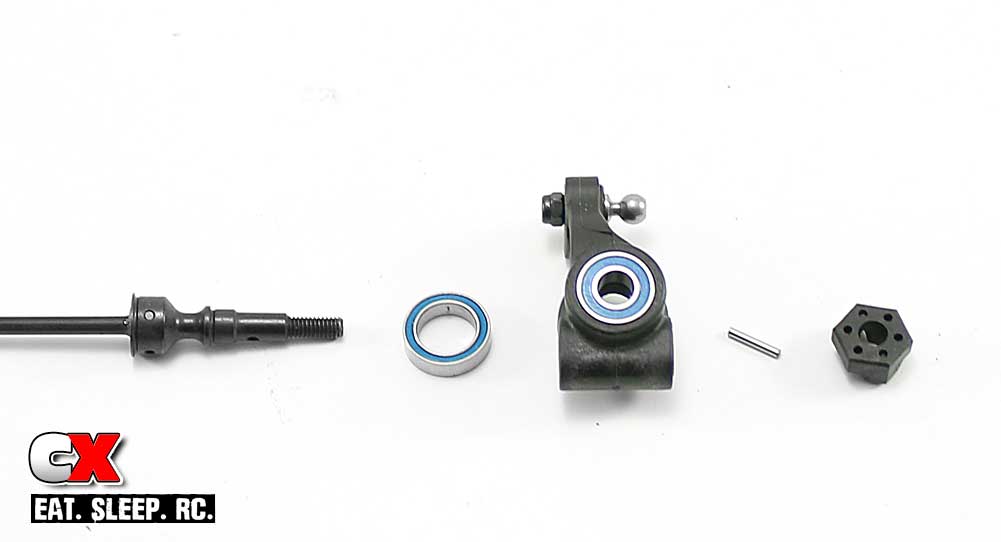
Press the 10×15 and 6×13 bearings into the rear hub, then slide the rear CVA through. Slide the wheel hex pin through the hole in the CVA followed by the wheel hex to hold it in place.
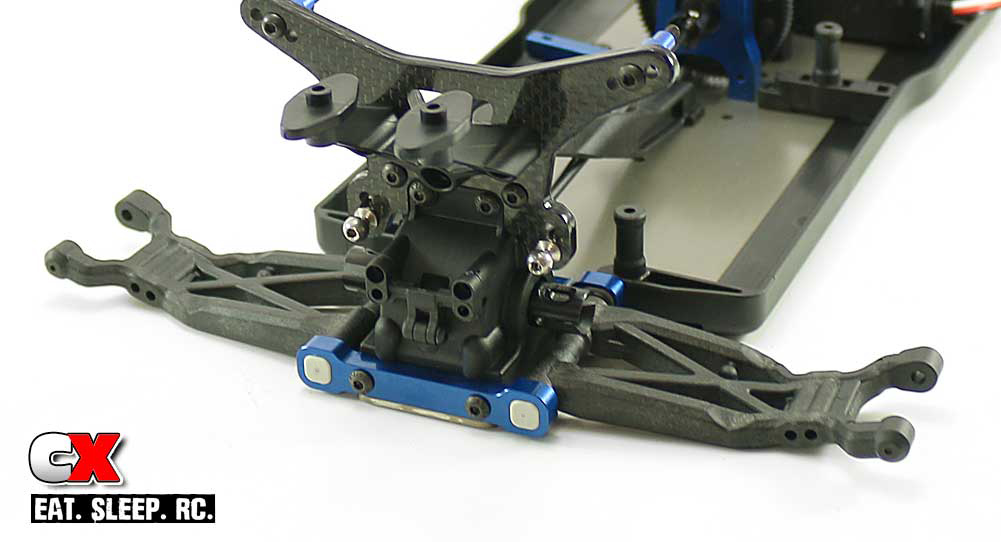
Press the center-pip pills into the C arm mount, then slide the hinge pins into place. Follow that with the 1mm arm shims, rear suspension arms (note their orientation) and D arm mount (also using center-pip pills).
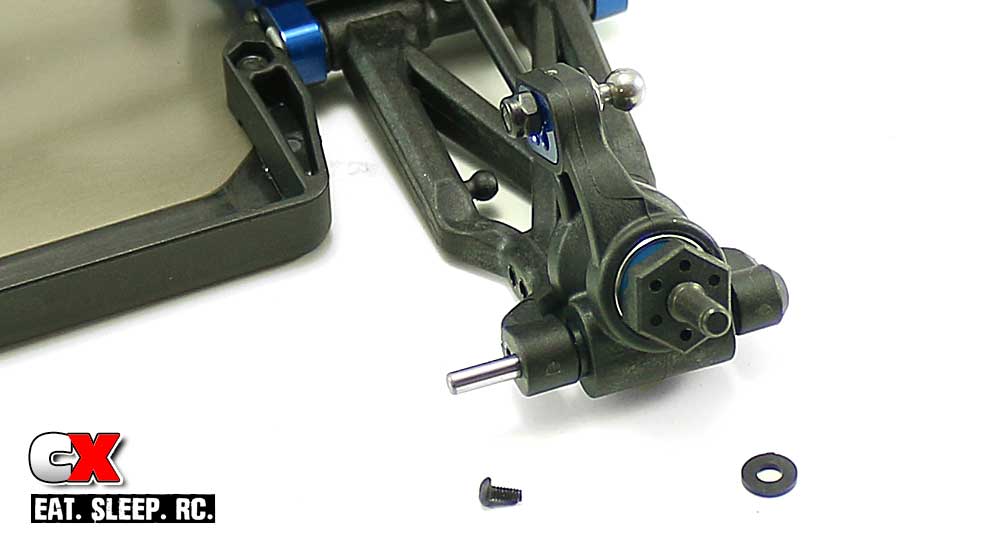
Set the rear rear hubs into place and slide the hinge pin through. Make sure you insert one of the arm mount shims on either side of the hub. Use the 2x4mm screw to secure the hinge pin.
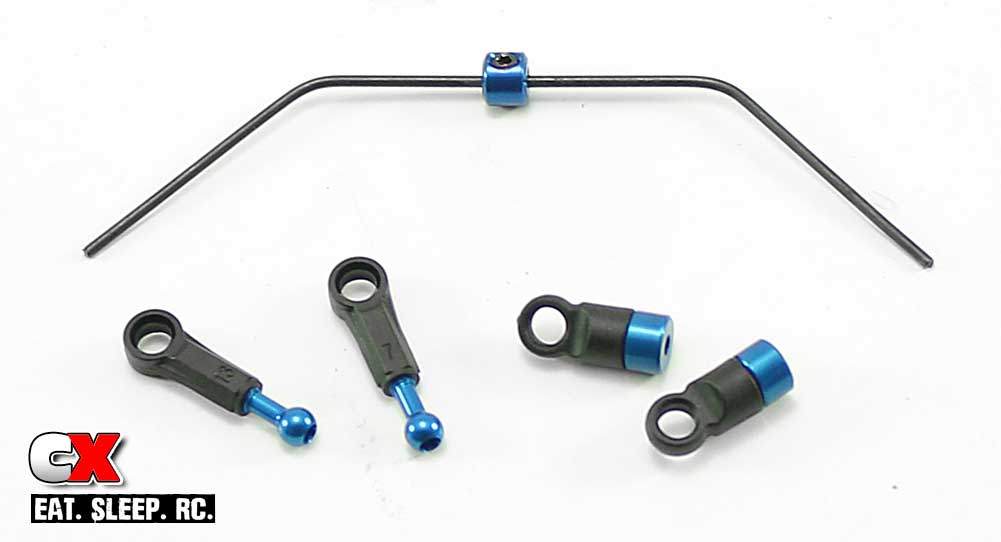
Assemble the anti-roll bar parts as shown. The couplers that feed into the eyelets can be a bit of a pain to insert straight, but take your time and you’ll get it.
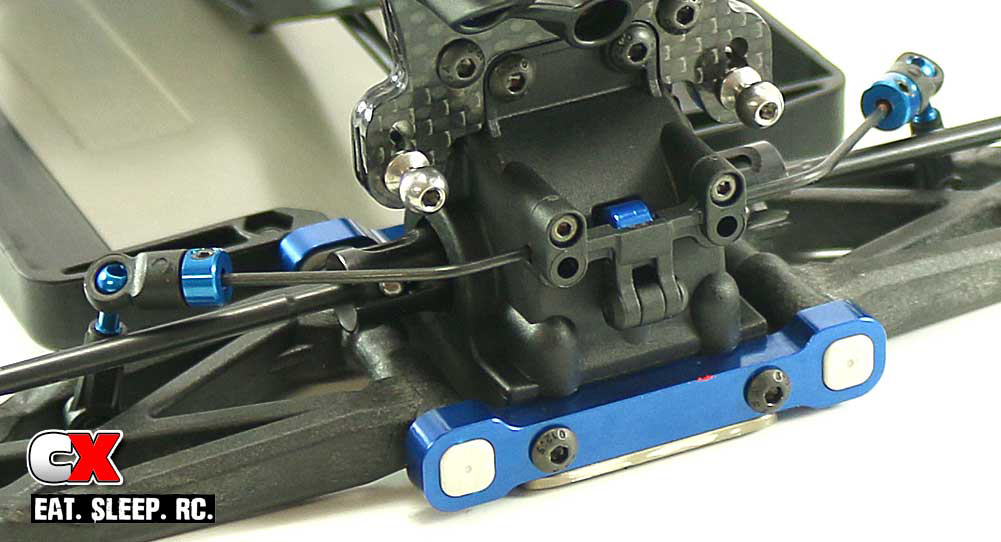
Attach the anti-roll bar. Feed the 3x3mm setscrews in until they hit the anti-roll bar, then back them out a tick. You don’t want them hindering the anti-roll bar movement but you do want them to prevent slop.
Great job – almost done! Only a few more key elements left and you’ll be on the track with your B64 in no time!
Team Associated B64 Club Racer Build – Opening Page
Team Associated B64 Club Racer Build – Part 1 – Differentials
Team Associated B64 Club Racer Build – Part 2 – Chassis
Team Associated B64 Club Racer Build – Part 3 – Steering
Team Associated B64 Club Racer Build – Part 4 – Front Bulkhead
Team Associated B64 Club Racer Build – Part 5 – Front Suspension
Team Associated B64 Club Racer Build – Part 6 – Servo
Team Associated B64 Club Racer Build – Part 7 – Rear Bulkhead
Team Associated B64 Club Racer Build – Part 8 – Rear Suspension
Team Associated B64 Club Racer Build – Part 9 – Turnbuckles
Team Associated B64 Club Racer Build – Part 10 – Shocks
Team Associated B64 Club Racer Build – Part 11 – Electronics
Team Associated B64 Club Racer Build – Part 12 – Body, Wheels and Tires
 CompetitionX CompetitionX is the most up-to-date source for RC Car News, Reviews and Videos for Radio Control. We also have the most comprehensive Manual Database on the web.
