The Build – Part 1
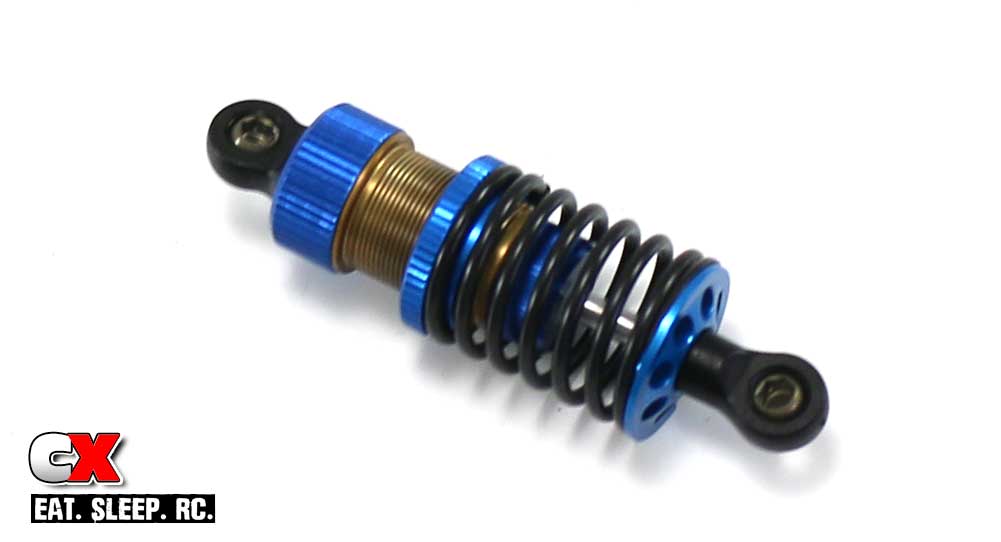
Team Associated’s F6 is very similar to a now-age pan car; it uses a single center shock and a pair of side dampers to control movement. A pair of side springs help control compression, but we’ll be installing those at a later time. This step is all about assembling the center shock, dampers and turnbuckles.
 Since we’ll be working with oils, it’s recommended that you have a clean work space and a few clean towels handy for quick cleanup.
 You’ll also need some sort of shock stand for this step of the build. This will allow you to set the shock aside for a few minutes to allow the bubbles to rise out of the oil.
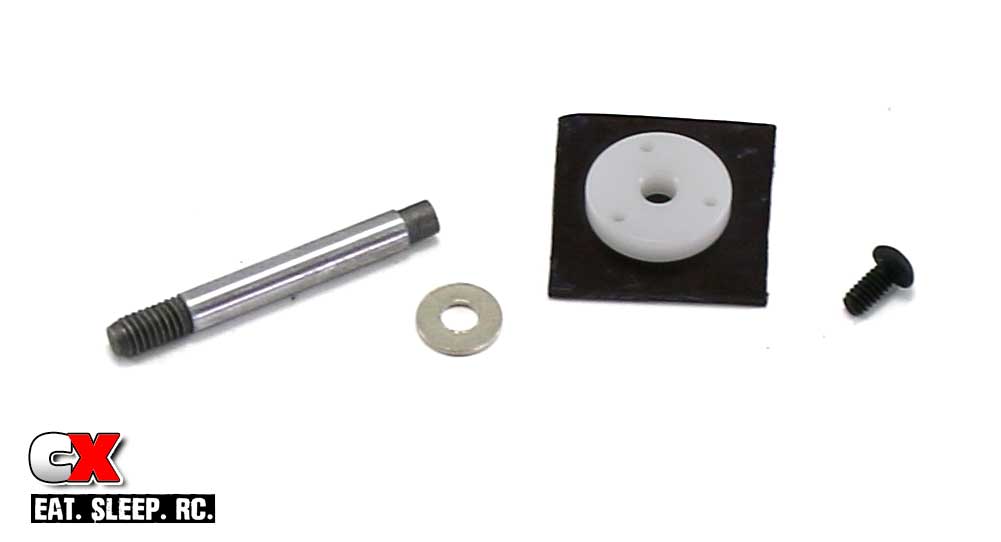
I’ve laid out the parts for the shaft/piston build. Slide the steel washer over the un-threaded end of the shock shaft followed by the piston. Secure it with the 2x4mm screw. A very light dab of threadlocker will help keep this screw in place.
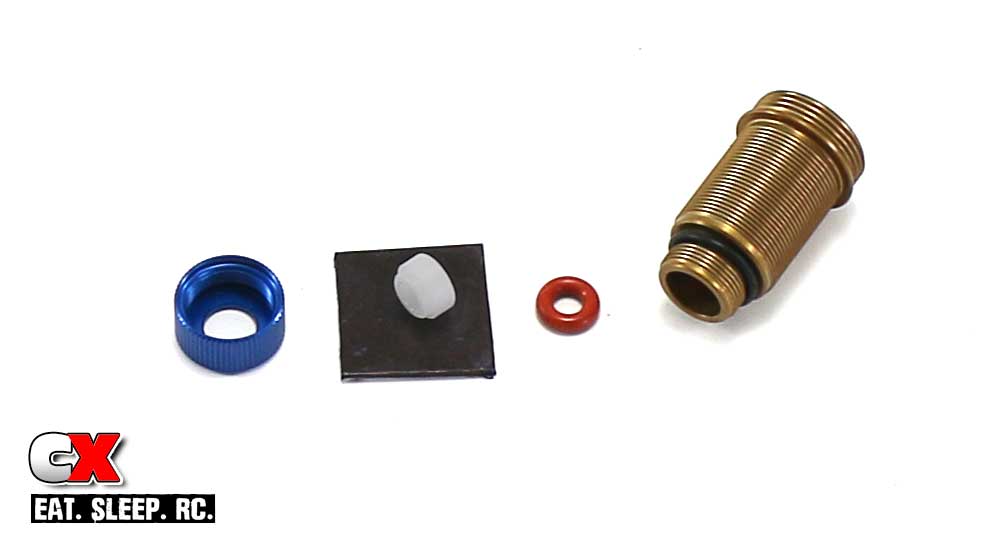
The next step is to assemble the shock body. Start by sliding the small black o-ring over the end of the shock. Press the red o-ring and shock bushing into the small end of the shock followed by the shock bottom cap. Note the orientation of the bushing; the shoulder should be facing away from the shock body.
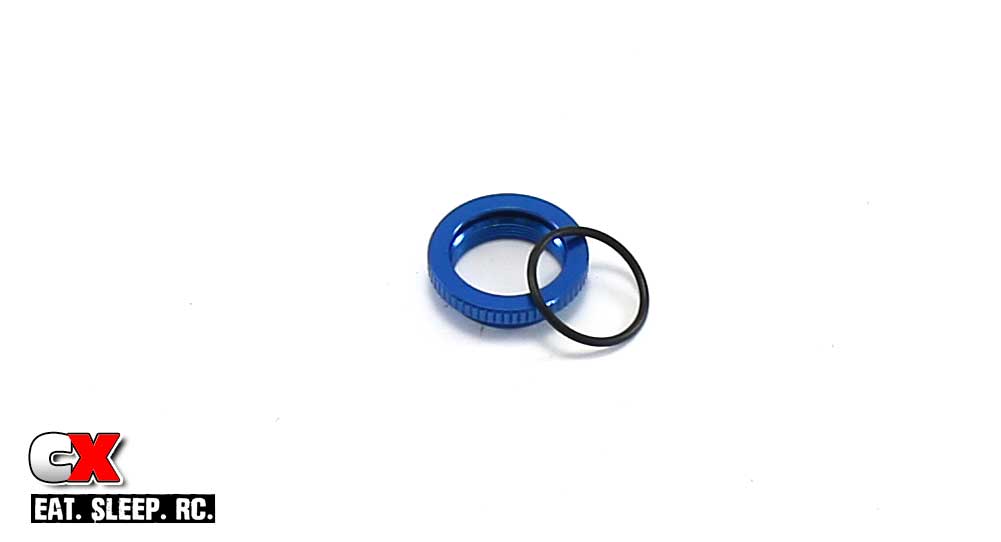
While not listed until a later step, I like to install the shock collar o-ring early. If you have any oils on your fingers and try to do this, it can become quite difficult. These parts are already available to us so doing it now isn’t that big a deal.
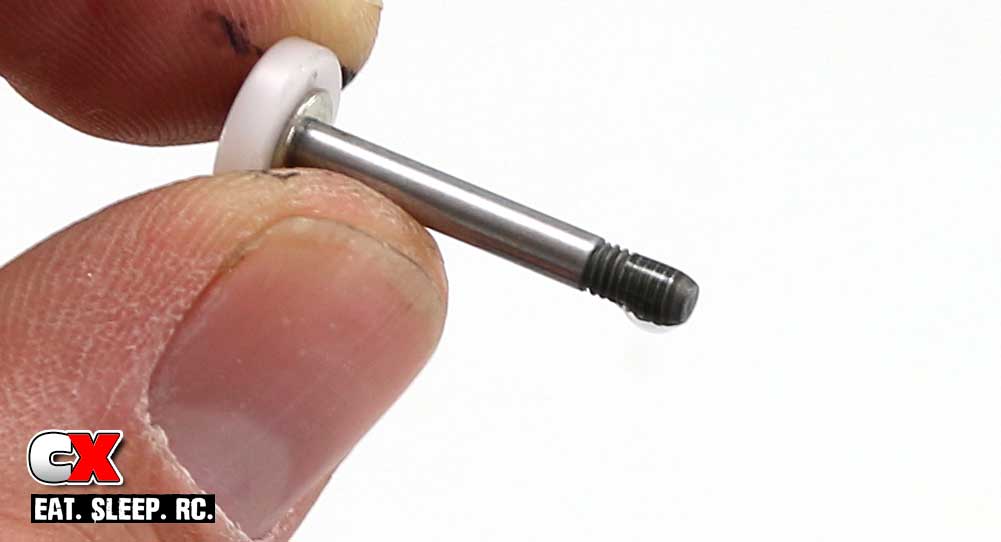
Before sliding the assembled shock shaft into the shock body, put a drop of the 30wt oil on the threads as shown.
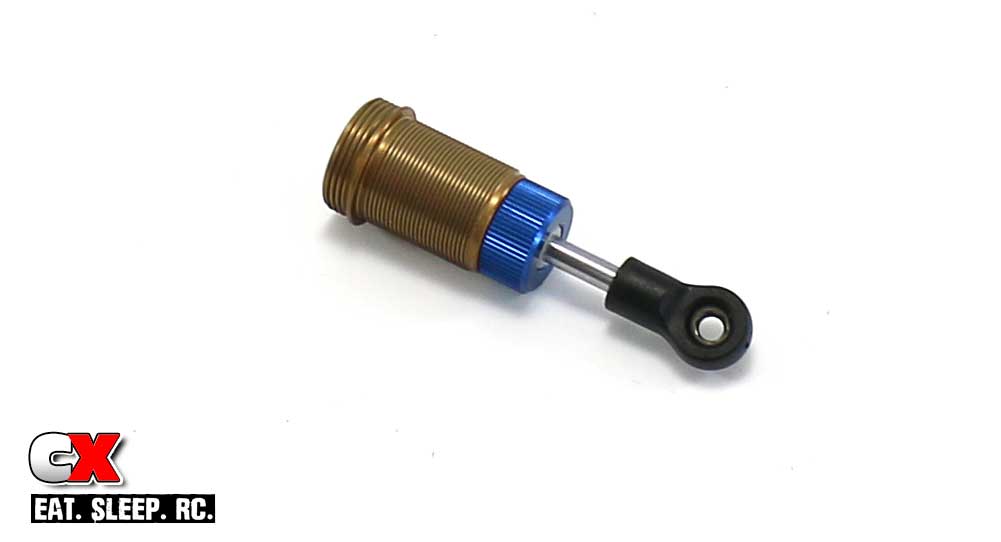
Press the assembled shock shaft slowly into the body. This will ensure you don’t damage the red o-ring. Once through, screw on the bottom eyelet and press the FT pivot ball into place.
I installed the shock collar at this time as well, only because the holes in my shock stand are too big to hold the shock without it.
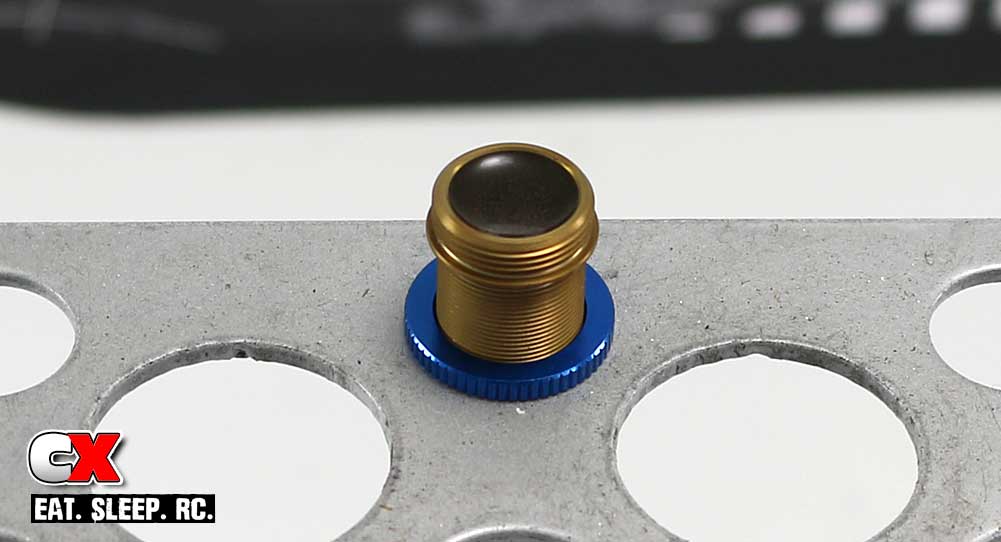
Fill the shock with oil. Once full, slowly slide the shock shaft up and down, allowing oil to pass through the holes in the piston and fill the space under it. Set the shock aside for a few minutes to let all the bubbles rise to the top.
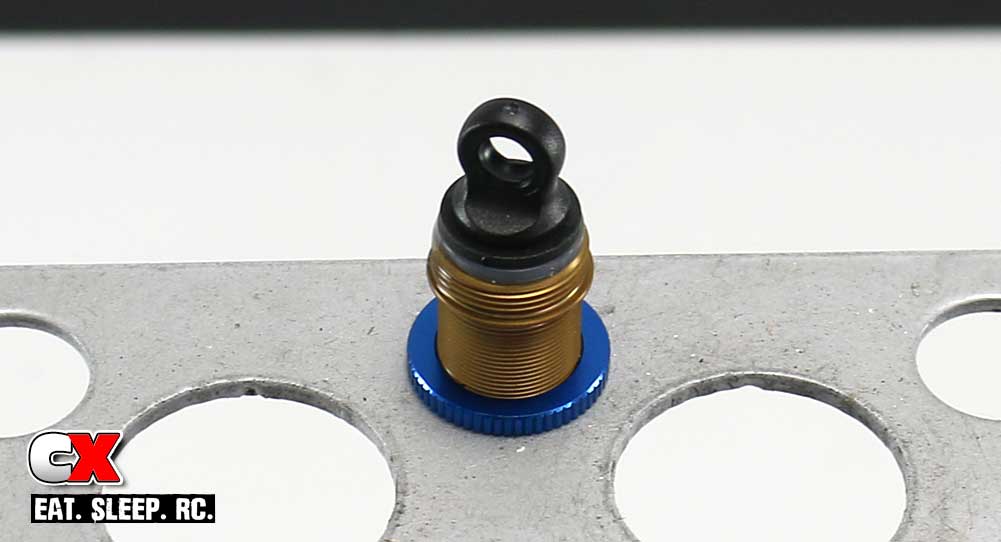
Re-fill the shock until the oil is near the top, then slowly set the bladder in place. This will most likely displace some of the oil; this is ok. Set the plastic shock cap in place.

Screw the aluminum shock cap retainer onto the shock, being careful not to move the bladder. Wipe off any excess oil on the outside of the shock, then install the spring and lower retainer.
You’ll want to make sure the center shock is 64.8mm in overall length (per the manual). Adjusting this length sets the rear pod droop on the F6.
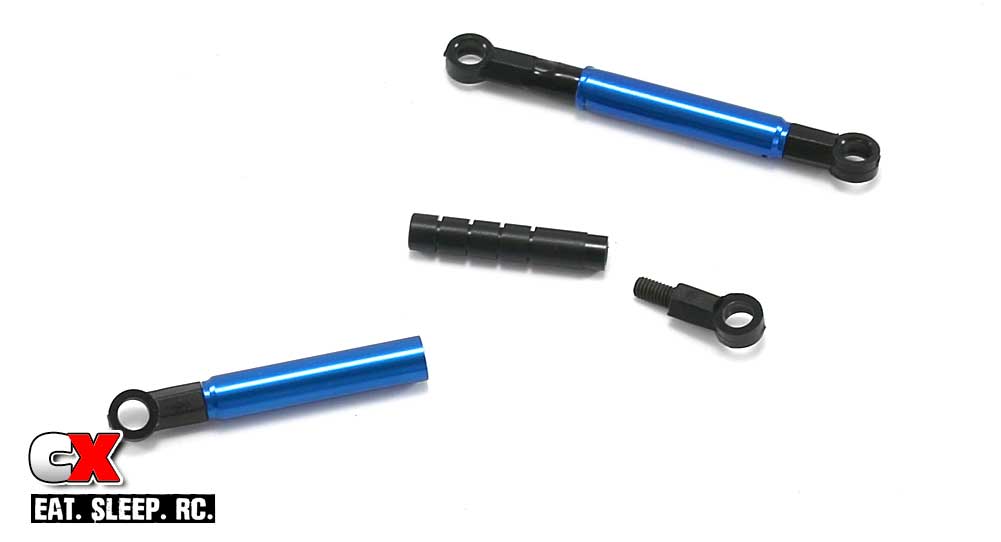
Assemble the pair of side dampers. Place a drop or two of the 10K fluid on the damper tube shaft and use your fingers to spread it around evenly. Slide the 2 halves together; there will probably be a little residual fluid on the outside of the tube; just wipe it off with one of your clean towels.
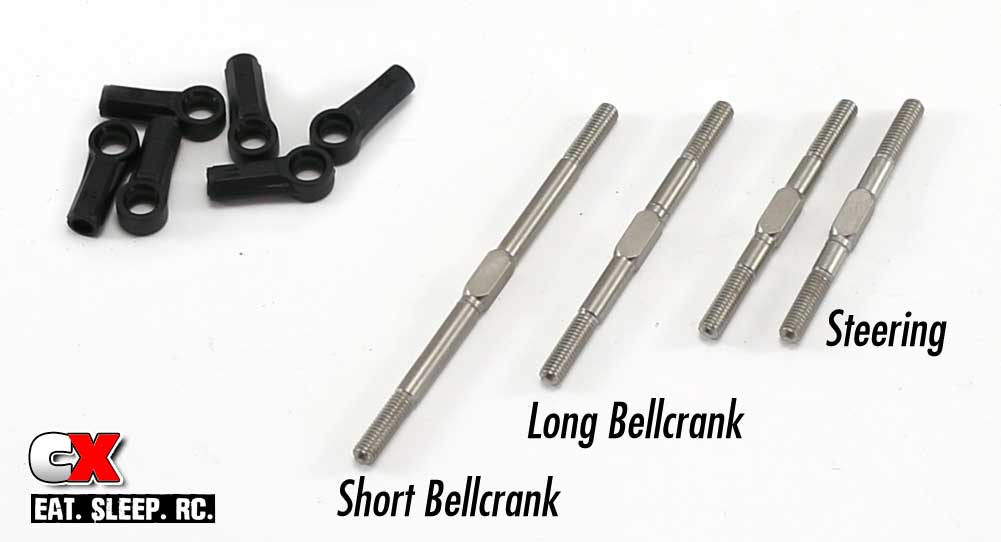
On to the turnbuckles. Note the three different lengths shown; we’ll be building the two shortest lengths (38mm, steering) and the longest length (58mm, short bellcrank). This is the kit suggested setup. If you choose to use the longer bellcrank, you’ll want to replace the long turnbuckle with the 45mm one.
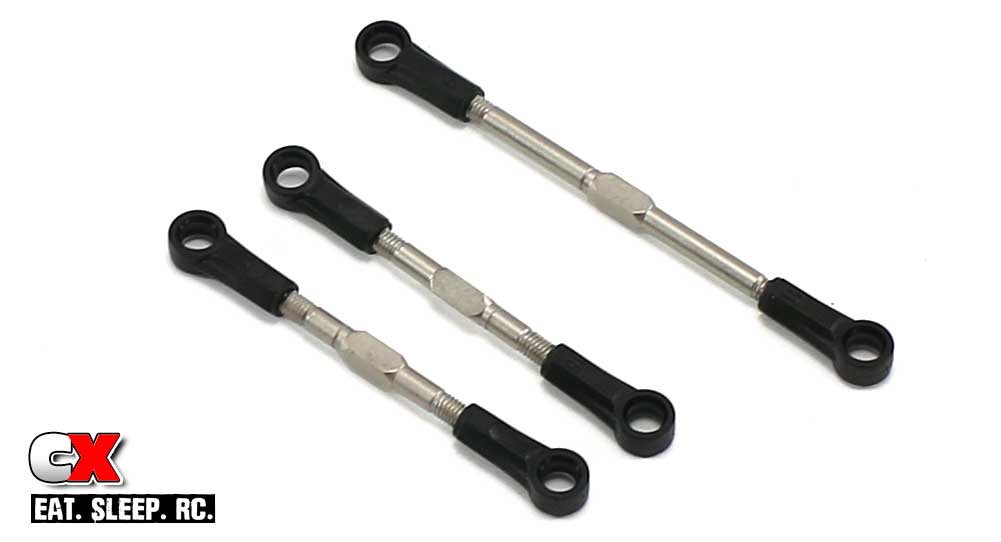
Here’s the final shot of your built turnbuckles,
Set these, the shock and the side dampers aside for now. We’ll be installing them in a later step.
Team Associated Factory Team F6 Build – Opening Page
Team Associated Factory Team F6 Build – Part 1 – Shock, Damper Tubes & Turnbuckles
Team Associated Factory Team F6 Build – Part 2 – Front Suspension & Servo
Team Associated Factory Team F6 Build – Part 3 – Steering
Team Associated Factory Team F6 Build – Part 4 – Rear Suspension
Team Associated Factory Team F6 Build – Part 5 – Rear Axle
Team Associated Factory Team F6 Build – Part 6 – Wings
Team Associated Factory Team F6 Build – Part 7 – Electronics
 CompetitionX CompetitionX is the most up-to-date source for RC Car News, Reviews and Videos for Radio Control. We also have the most comprehensive Manual Database on the web.
One comment
Pingback: Team Associated Factory Team F6 Formula 1 Build - Part 7 - Electronics