The Build – Part 3
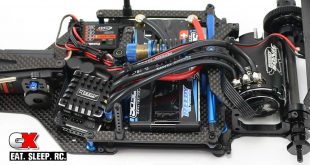
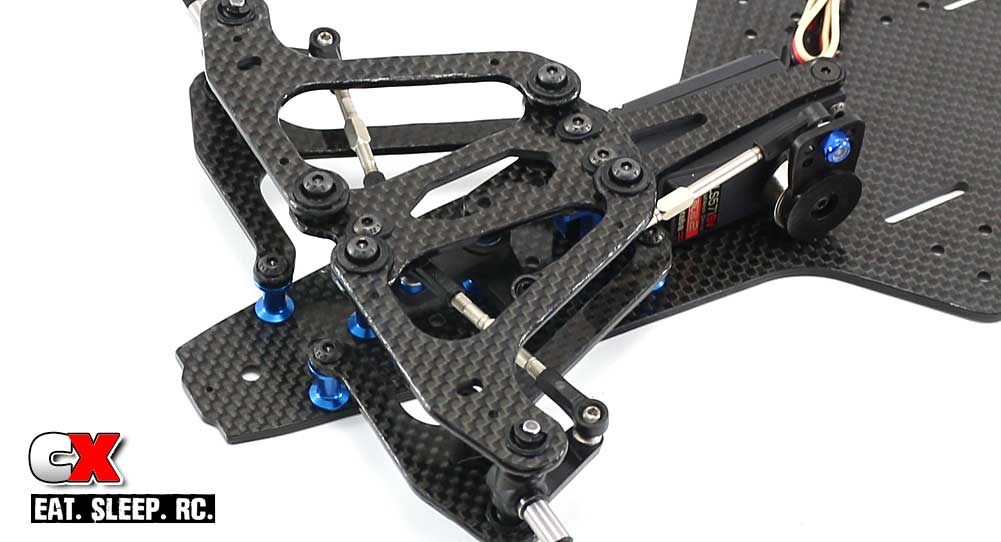
The Team Associated F6 has 3 different steering options; 2 bellcrank setups (long and short) and a forward-servo system. The foward-servo system has been used by a lot of other manufacturers, the bellcrank setup is relatively new. For this build, I’ll be going with the kit setup – the short bellcrank system.
 None.
None.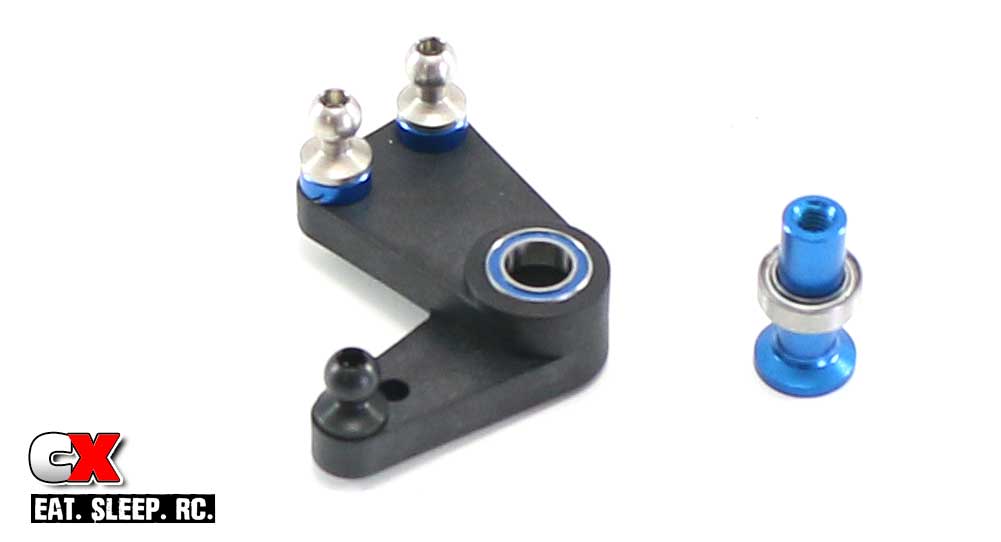
Assemble the bellcrank arm. Press the 5×8 bearings into it as well, blue shield facing out (I’ve shown one in and one on the bellcrank post).
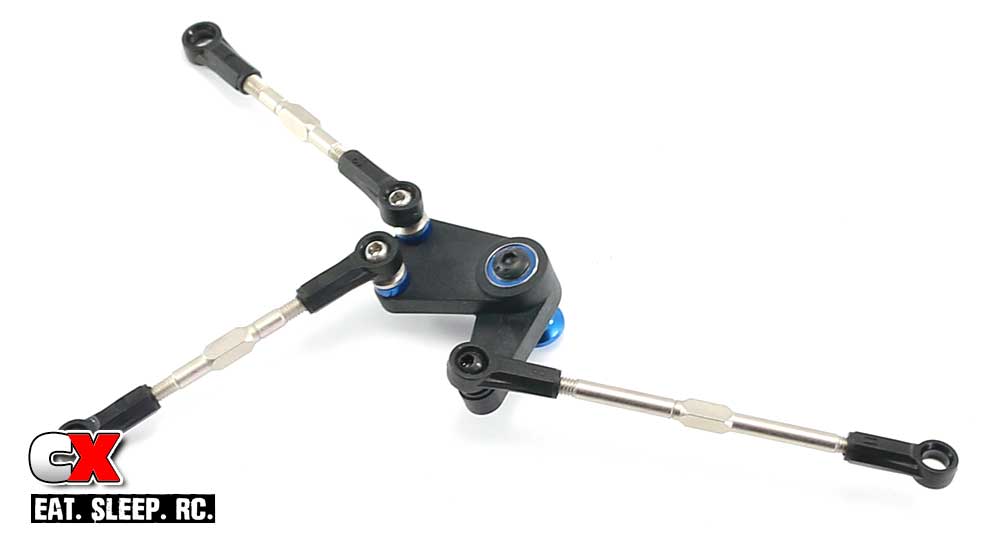
Pop the assembled turnbuckles onto the bellcrank.

Attach the assembly to the chassis.
Now, that sounds easy but this step will certainly test your patience. I mean really. If it’s making you mental, you can remove the top plate to make it a little easier.
Once you’ve wrestled with that, pop the other ends of the turnbuckles in place.
Short, simple step. Time to move on to the rear suspension!
Team Associated Factory Team F6 Build – Opening Page
Team Associated Factory Team F6 Build – Part 1 – Shock, Damper Tubes & Turnbuckles
Team Associated Factory Team F6 Build – Part 2 – Front Suspension & Servo
Team Associated Factory Team F6 Build – Part 3 – Steering
Team Associated Factory Team F6 Build – Part 4 – Rear Suspension
Team Associated Factory Team F6 Build – Part 5 – Rear Axle
Team Associated Factory Team F6 Build – Part 6 – Wings
Team Associated Factory Team F6 Build – Part 7 – Electronics
 CompetitionX CompetitionX is the most up-to-date source for RC Car News, Reviews and Videos for Radio Control. We also have the most comprehensive Manual Database on the web.
