The Build – Part 6
One of the cool parts of the Team Associated F6 is the fact that it comes with its own set of front and rear wings; no using other companies wings to complete the car. On top of that, they’re great looking, adjustable wings!
 Team Associated gave me one of their blinking brake lights to add to the build. This light fits into a hole at the base of the rear wing with a long lead that plugs into the receiver. I will be installing it at this time.
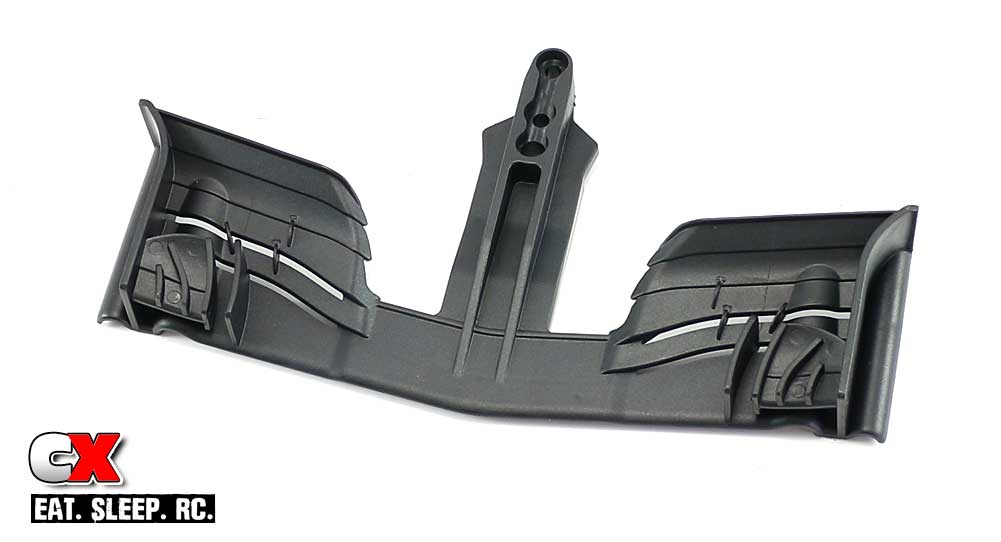
The front wing comes in 3 pieces; attach the 2 inner winglets as shown.
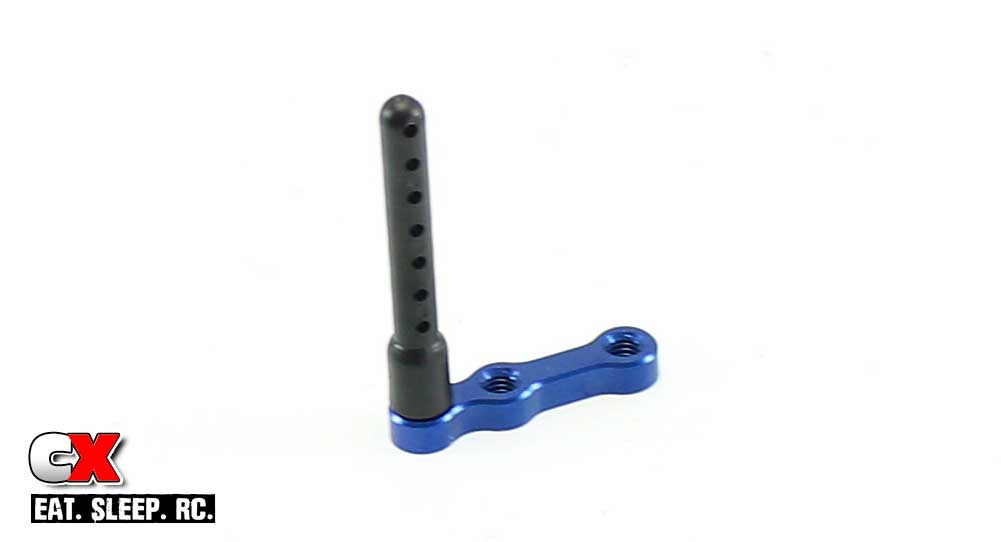
Attach the front body mount to the aluminum wing plate.
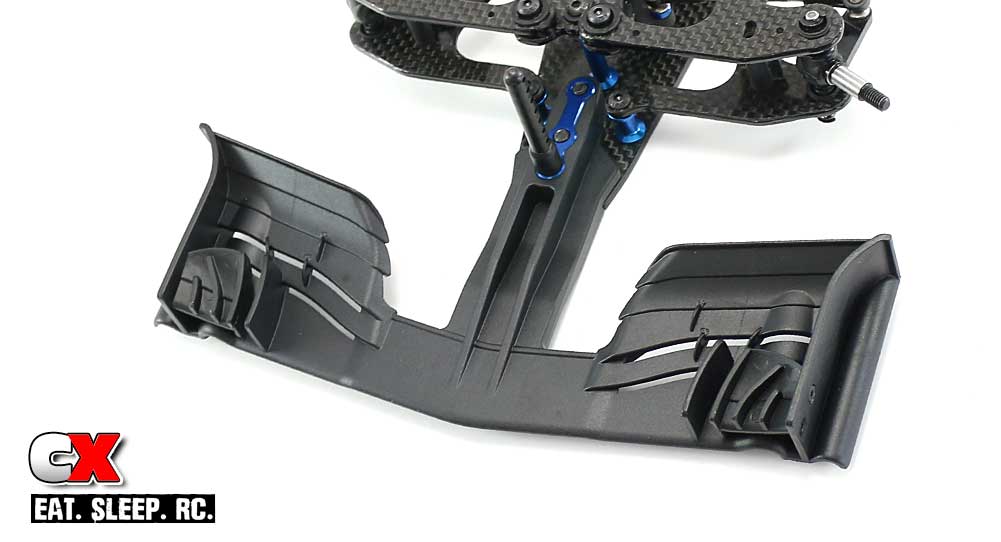
Press the front wing plate into the recess in the wing and attach using the pair of 4x14mm screws. This is a nice, strong mounting system!
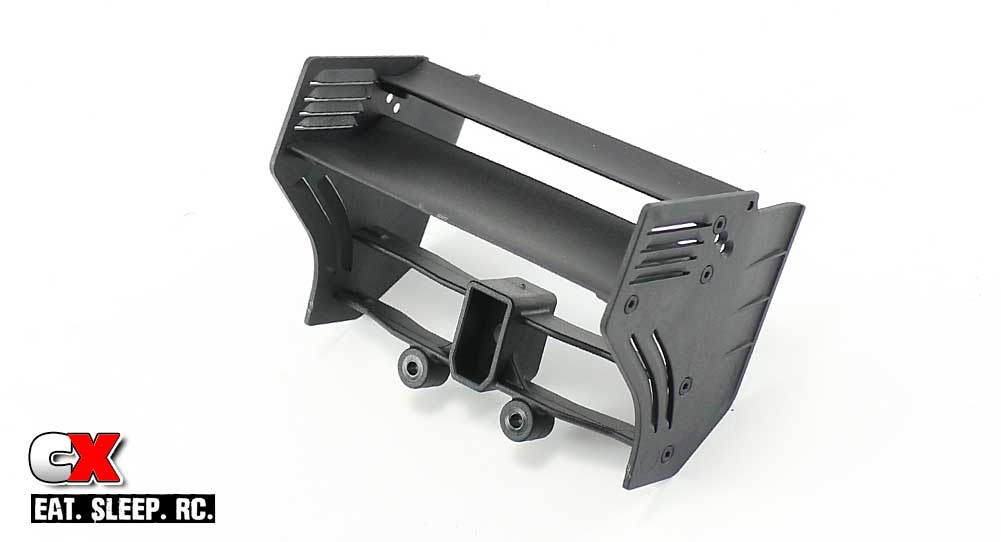
Assemble the rear wing. I’m using the kit mounting locations.
I found it easiest to attach all the cross parts to one side of the wing (leaving the screws slightly less-than snug), then attach the second side of the wing. Tighten up all the screws.
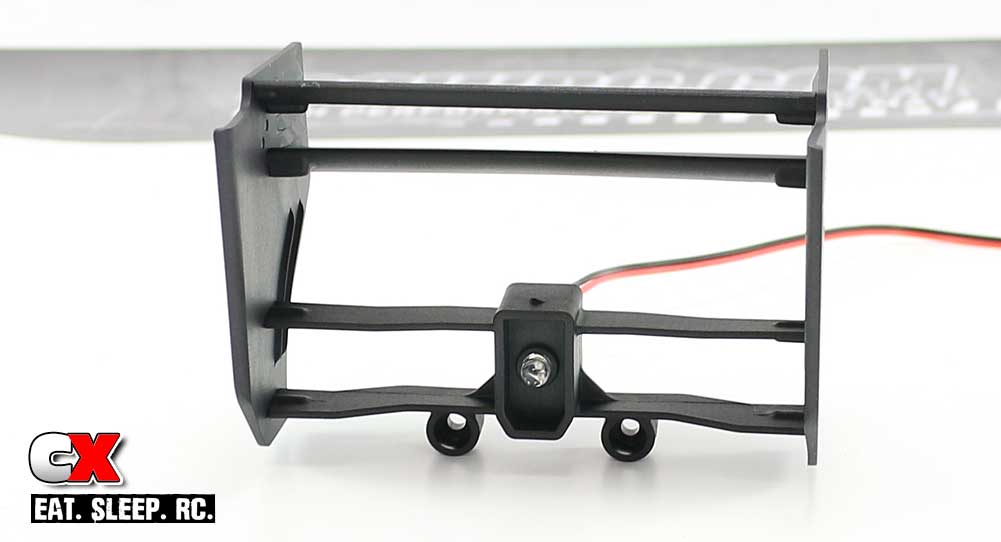
Optional step; this is a quick shot of the blinking brake light installed in the rear wing. I used a dab of Shoo Goo to keep it in place.
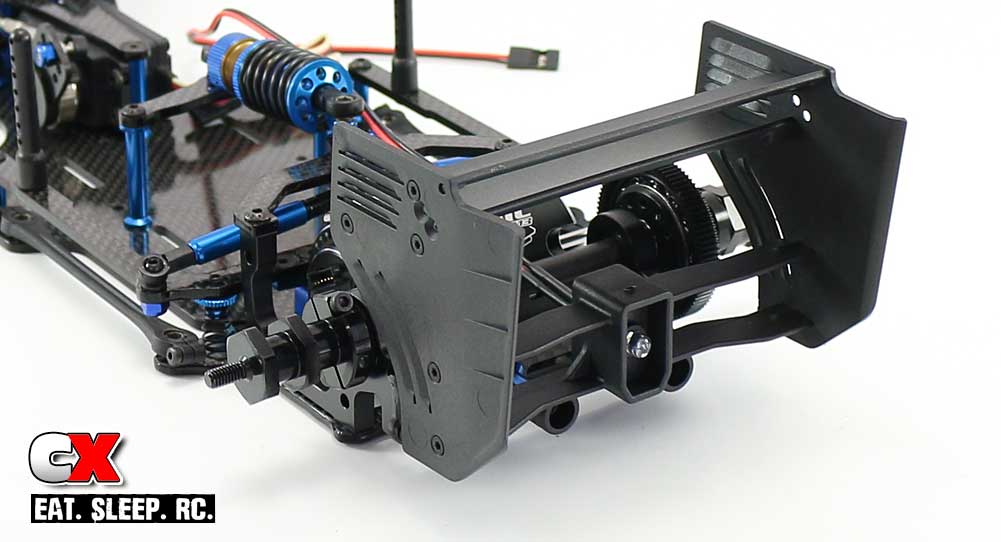
Attach the rear wing assembly to the aluminum stand offs.
Wah lah. Wings attached and looking great!!!
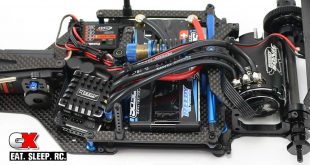
Moving on to the final step – the electronics!
Team Associated Factory Team F6 Build – Opening Page
Team Associated Factory Team F6 Build – Part 1 – Shock, Damper Tubes & Turnbuckles
Team Associated Factory Team F6 Build – Part 2 – Front Suspension & Servo
Team Associated Factory Team F6 Build – Part 3 – Steering
Team Associated Factory Team F6 Build – Part 4 – Rear Suspension
Team Associated Factory Team F6 Build – Part 5 – Rear Axle
Team Associated Factory Team F6 Build – Part 6 – Wings
Team Associated Factory Team F6 Build – Part 7 – Electronics


Ah man, you got me stoked for this build. Thank you!