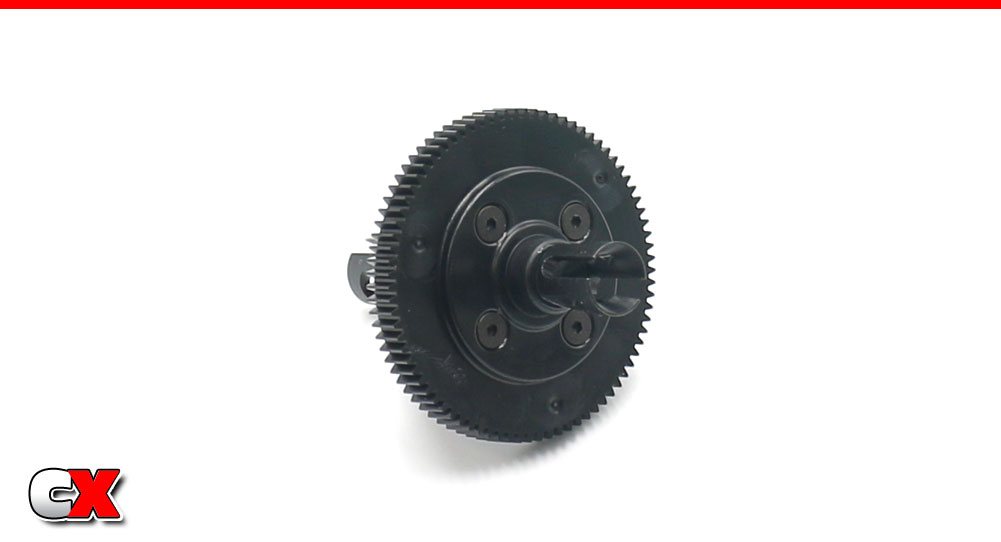
Tekno’s EB410.2 comes equipped with 3 high-quality fluid-filled gear differentials. The front and rear differentials include steel gears while the center diff uses a thick, plastic spur gear.
Build Notes:
 You’ll be using some of the fluids included in the kit – 30K, 15K and 10K – as well as the black grease. Things might be a little messy, so it’s best to keep some clean rags/towels in the vicinity for clean up.
You’ll be using some of the fluids included in the kit – 30K, 15K and 10K – as well as the black grease. Things might be a little messy, so it’s best to keep some clean rags/towels in the vicinity for clean up.
Step 1:
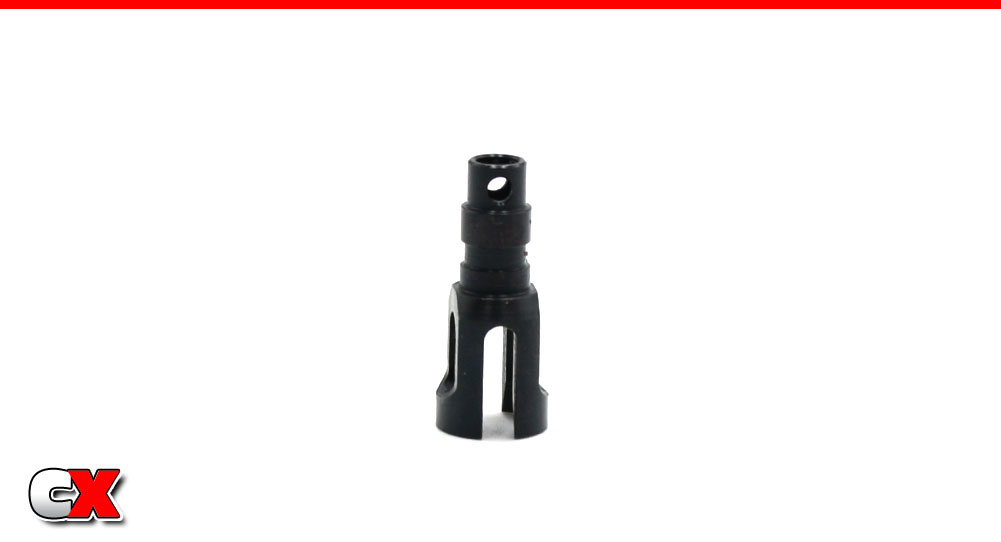
Before we start the build, I always like to point out the orientation of the cross-hole in the outdrive. Notice it is inline with the groove for the CVD pin; you’ll want to make note of this a little further down the build.
Before we start the build, I always like to point out the orientation of the cross-hole in the outdrive. Notice it is inline with the groove for the CVD pin; you’ll want to make note of this a little further down the build.
Step 2:
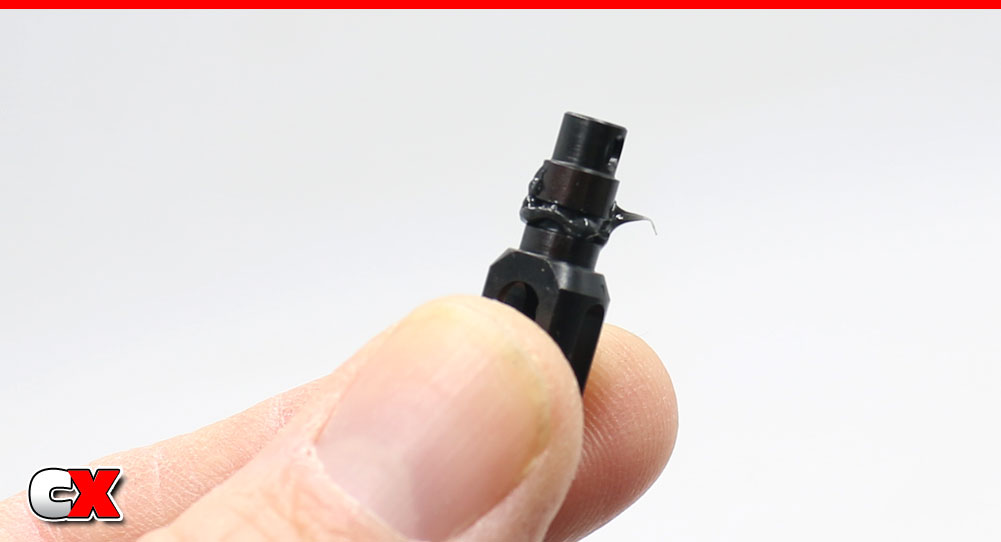
Apply a liberal amount of grease in the groove as shown.
Apply a liberal amount of grease in the groove as shown.
Step 3:
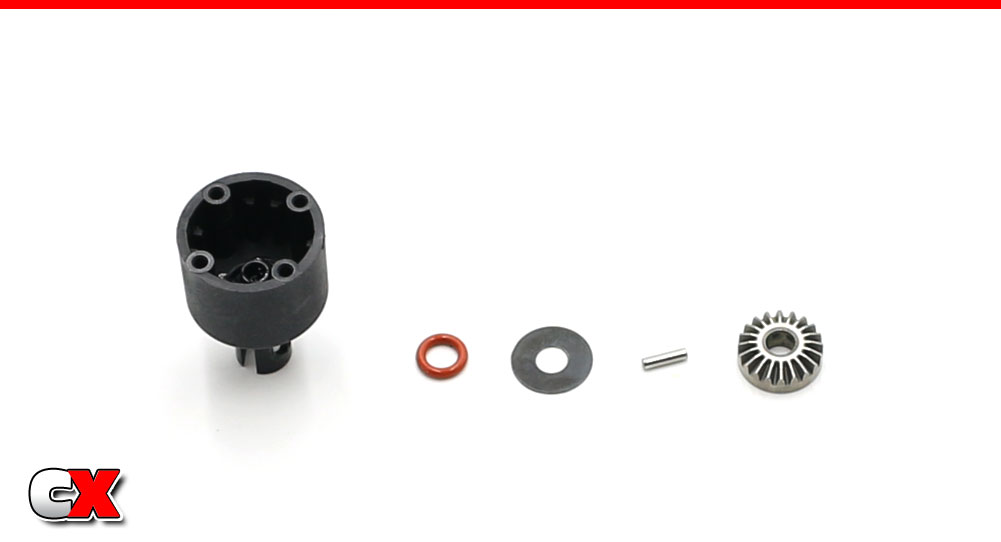
Slip the outdrive into the diff housing. Now install the parts; red o-ring, thin washer and the cross pin. A little extra black grease on the o-ring will help here as well.
Slip the outdrive into the diff housing. Now install the parts; red o-ring, thin washer and the cross pin. A little extra black grease on the o-ring will help here as well.
You can locate the cross pin hole in the outdrive as we explained in Step 1.
Step 4:
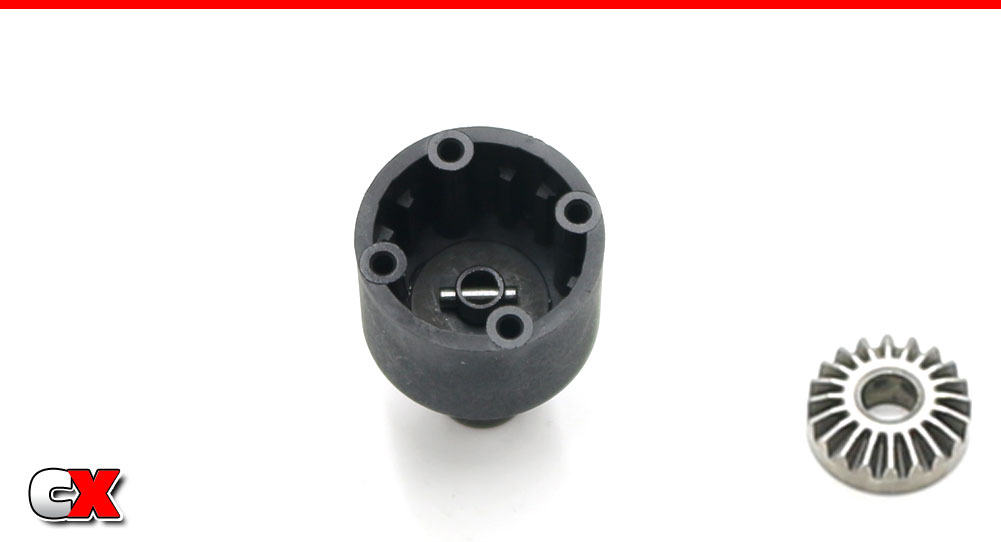
Now drop the sun gear into the diff housing, keying the pin to the grooves in the back.
Now drop the sun gear into the diff housing, keying the pin to the grooves in the back.
Step 5:
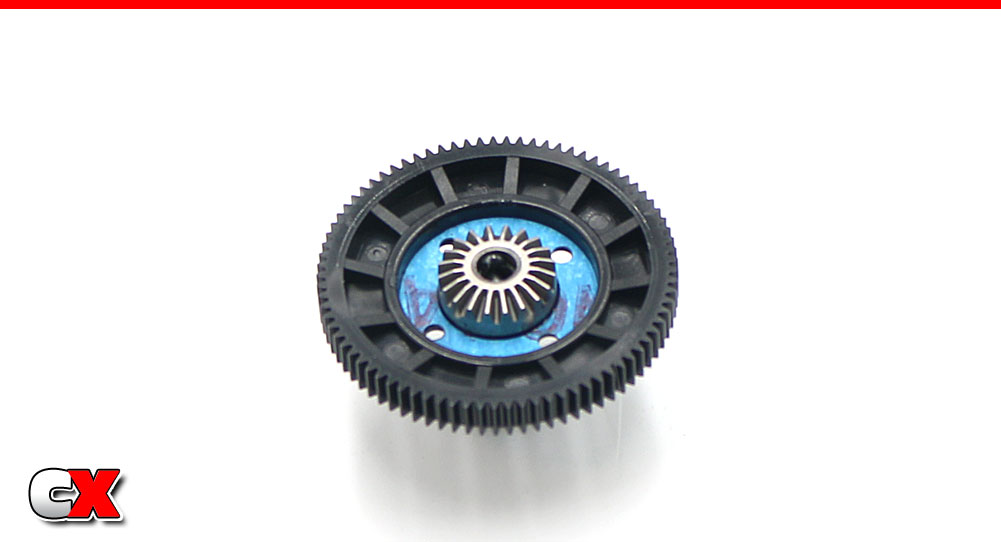
Using the same method, build the spur gear side of the center diff. The only difference is the addition of the gasket.
Using the same method, build the spur gear side of the center diff. The only difference is the addition of the gasket.
You can use a light dab of black grease to help keep the gasket in place.
Step 6:
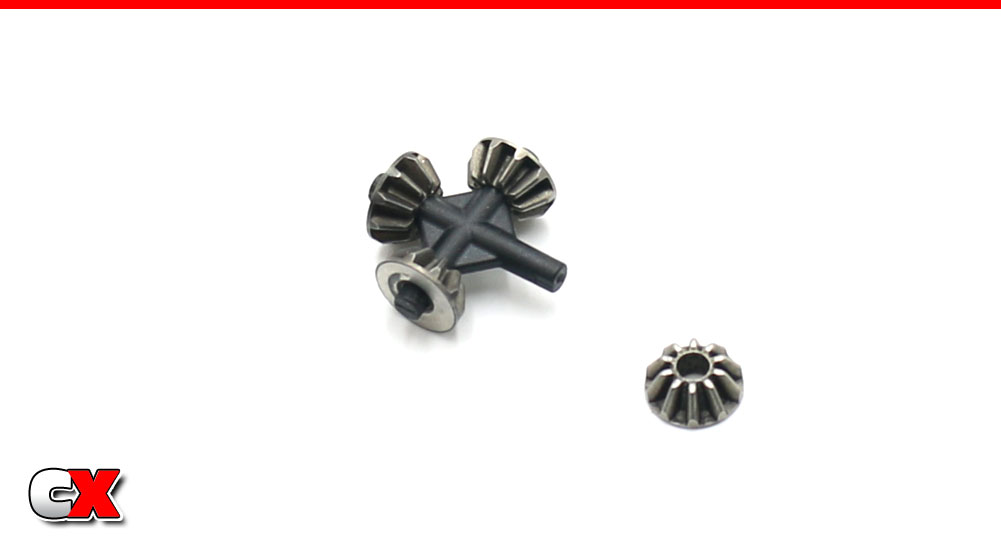
Slide the small sun gears onto the differential cross-pin.
Slide the small sun gears onto the differential cross-pin.
Step 7:
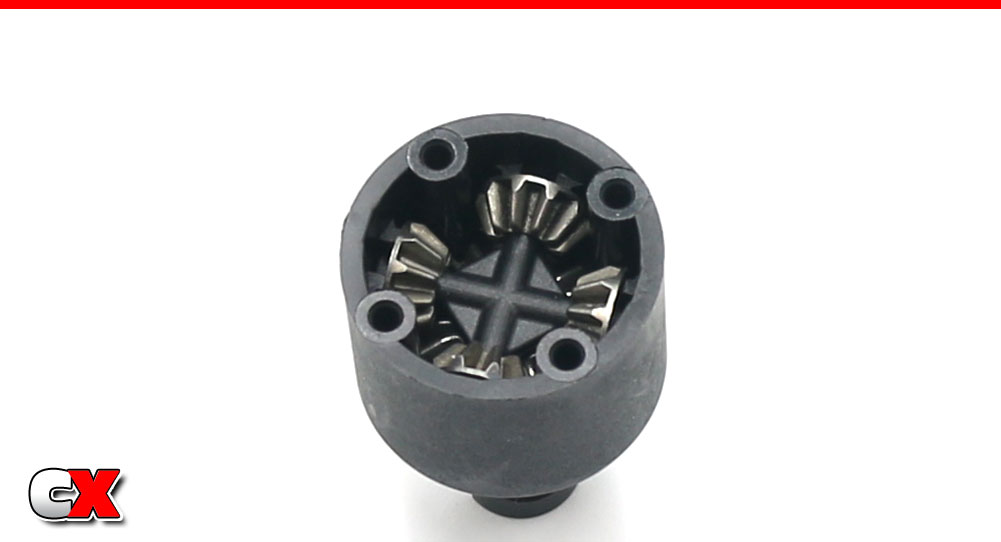
Drop the assembly from Step 6 into the diff housing. While pressing down on the middle of the assembly, rotate the diff outdrive to help seat all the sun gears.
Drop the assembly from Step 6 into the diff housing. While pressing down on the middle of the assembly, rotate the diff outdrive to help seat all the sun gears.
Step 8:

Fill with 30K diff fluid to just past the top of the sun gears. Wait a minute to let the fluid drain into all the nooks and crannies, then refill again to the same point. It may take a few moments since the fluid is quite thick.
Fill with 30K diff fluid to just past the top of the sun gears. Wait a minute to let the fluid drain into all the nooks and crannies, then refill again to the same point. It may take a few moments since the fluid is quite thick.
Step 9:
Mate the two diff halves together, pressing firmly to make sure they seat correctly. You may need to rotate the diff outdrives to get the sun gears to mesh. Secure with the 4 M2.5x10mm screws. Do not overtighten; just make sure they are snug.
Mate the two diff halves together, pressing firmly to make sure they seat correctly. You may need to rotate the diff outdrives to get the sun gears to mesh. Secure with the 4 M2.5x10mm screws. Do not overtighten; just make sure they are snug.
Step 10:
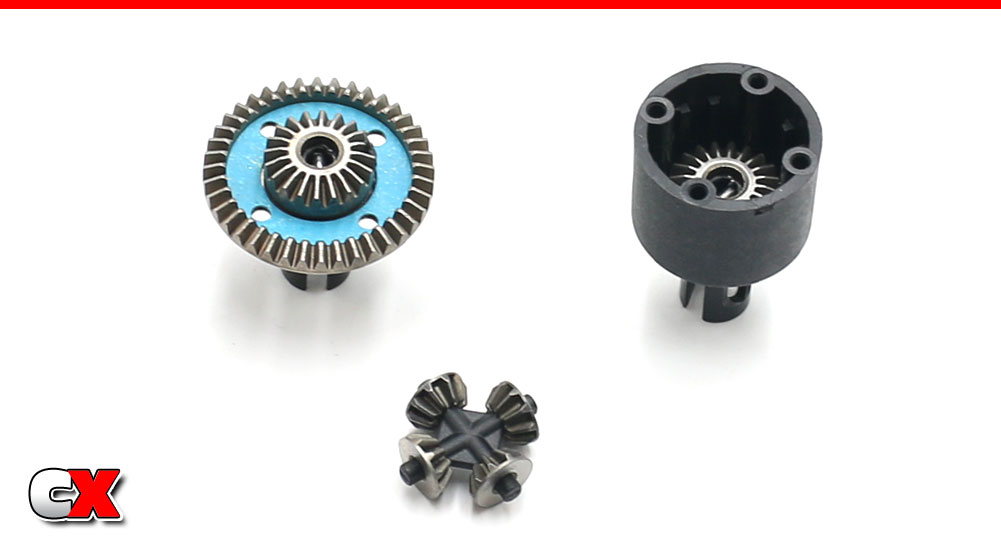
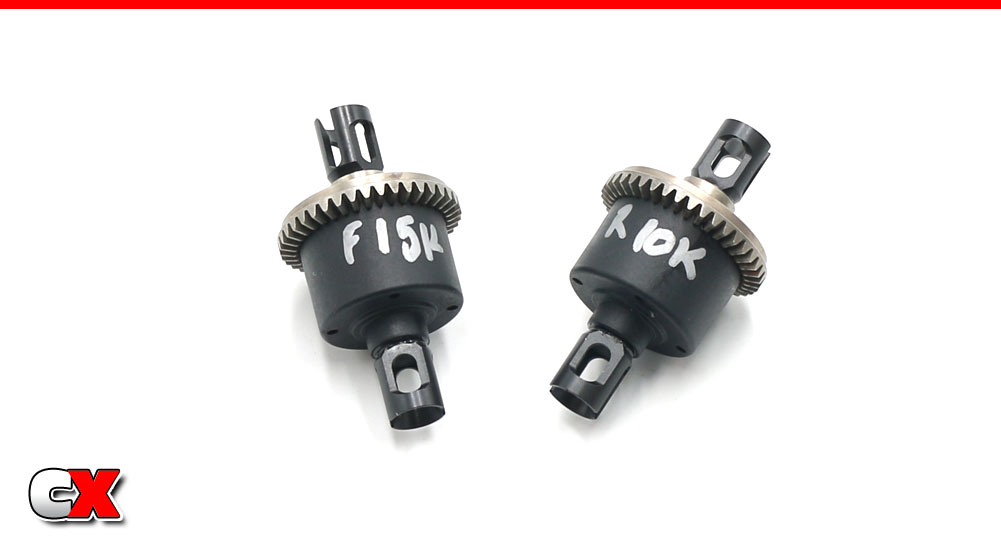
The front and rear diff builds are exactly the same with the exception of the steel ring gears instead of the plastic spur gear. Make sure you build one diff with 15K and the other one with 10K fluid.
The front and rear diff builds are exactly the same with the exception of the steel ring gears instead of the plastic spur gear. Make sure you build one diff with 15K and the other one with 10K fluid.
Step 11:
As with all my builds, I like to write on the outside of the diff the fluid inside. This helps me keep track of which diff goes where (front or back) as well as giving me a reference point when it comes time for a rebuild.
As with all my builds, I like to write on the outside of the diff the fluid inside. This helps me keep track of which diff goes where (front or back) as well as giving me a reference point when it comes time for a rebuild.
Excellent – diffs done! Go ahead and clean up any mess you might have made and let’s get on to the next step!
Use the links below to follow each step.
Tekno RC EB410.2 4WD Buggy Build – Opening Page
Tekno RC EB410.2 4WD Buggy Build – Part 1 – Differentials
Tekno RC EB410.2 4WD Buggy Build – Part 2 – Steering/Front Bulkhead
Tekno RC EB410.2 4WD Buggy Build – Part 3 – Rear Bulkhead
Tekno RC EB410.2 4WD Buggy Build – Part 4 – Rear Suspension
Tekno RC EB410.2 4WD Buggy Build – Part 5 – Front Suspension
Tekno RC EB410.2 4WD Buggy Build – Part 6 – Chassis Assembly
Tekno RC EB410.2 4WD Buggy Build – Part 7 – Shocks
Tekno RC EB410.2 4WD Buggy Build – Part 8 – Electronics
Tekno RC EB410.2 4WD Buggy Build – Part 9 – Final Assembly