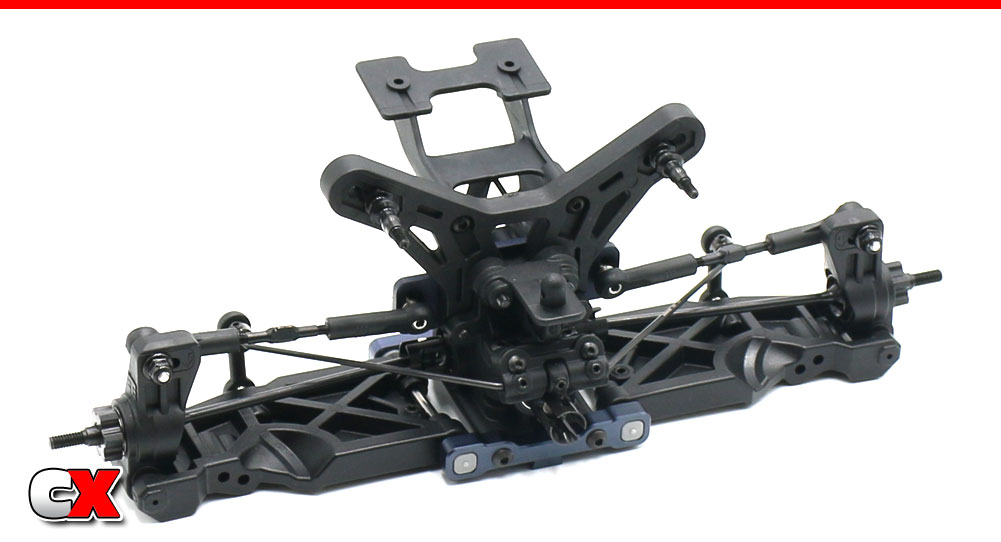
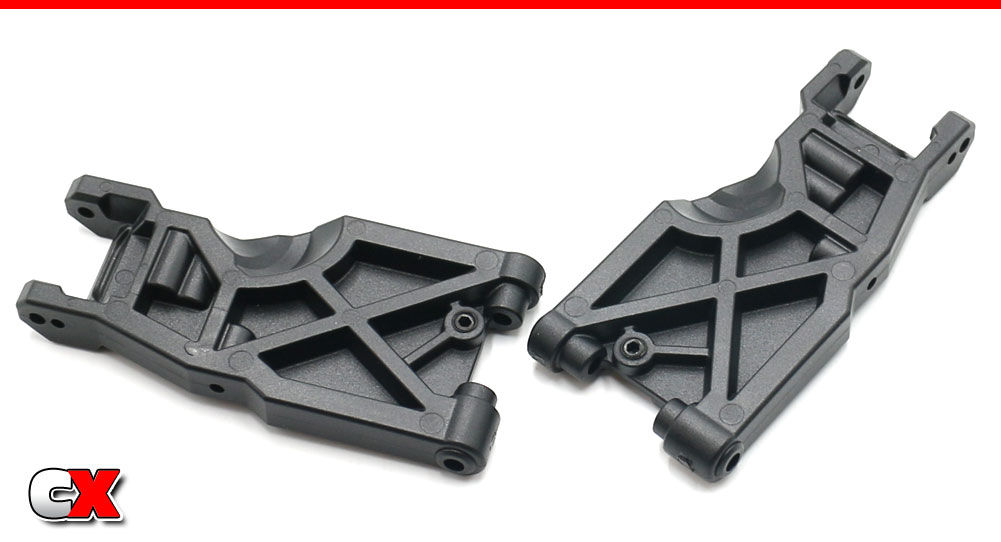
The rear suspension on the Tekno EB410.2 is similar to the .1; beefy arms, anti-roll bar, aluminum arm mounts with press-in plastic pills, etc. The biggest difference is that the shocks are now mounted to the front side of the arms. This also means the anti-roll bar has to be re-located as well.
 The EB410.2 uses inserts for the hub camber links. They can install in multiple ways; arrows up/arrows down and holes inside or holes outside. Pay close attention to this during the step.
There are also multiple mounting options for the rear hub hinge pin; up, center or down. Pay close attention to this step as well.
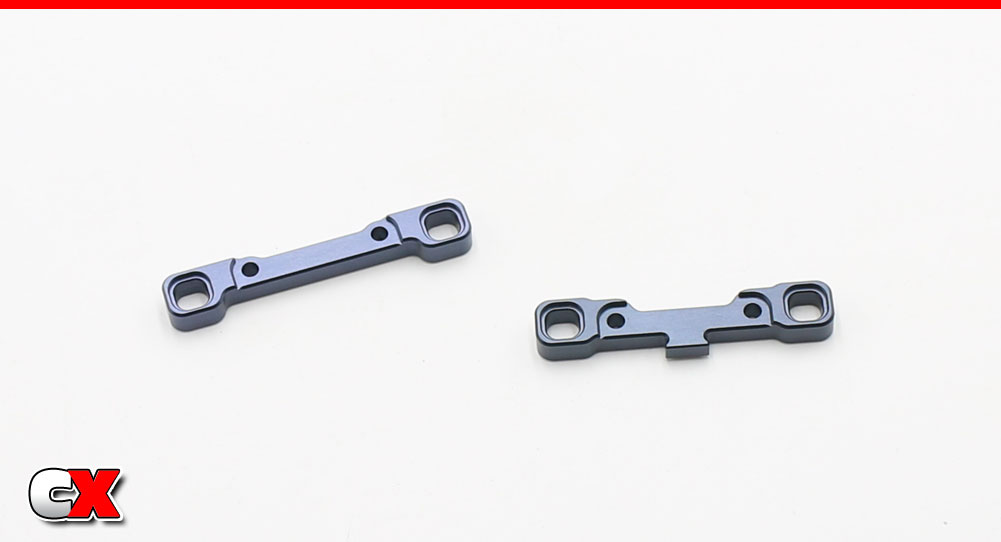
The EB410.2 comes with aluminum arm mounts. Here are the C and D mounts (C on the right, D on the left). You can also see the recesses for the pills.
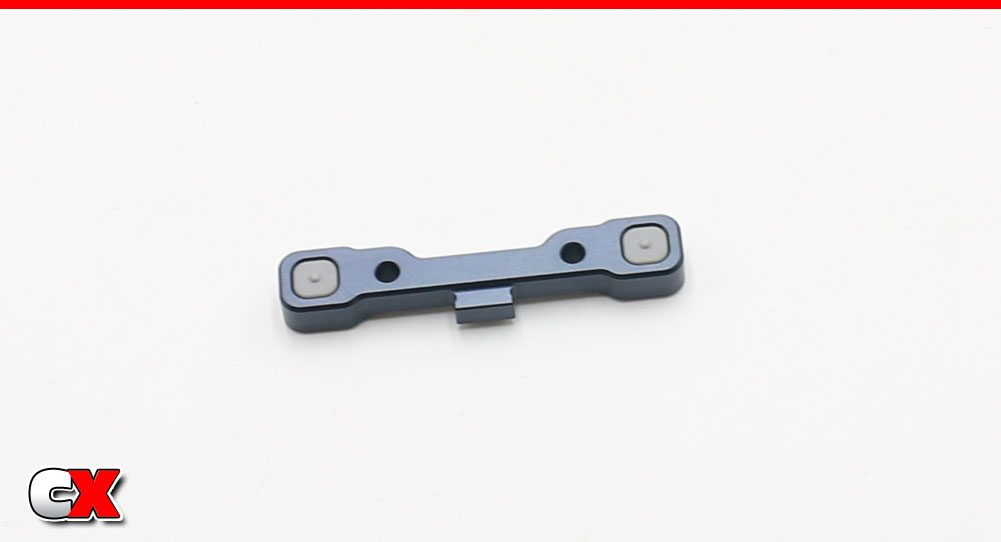
Press a pair of 0° pills into the C mount…
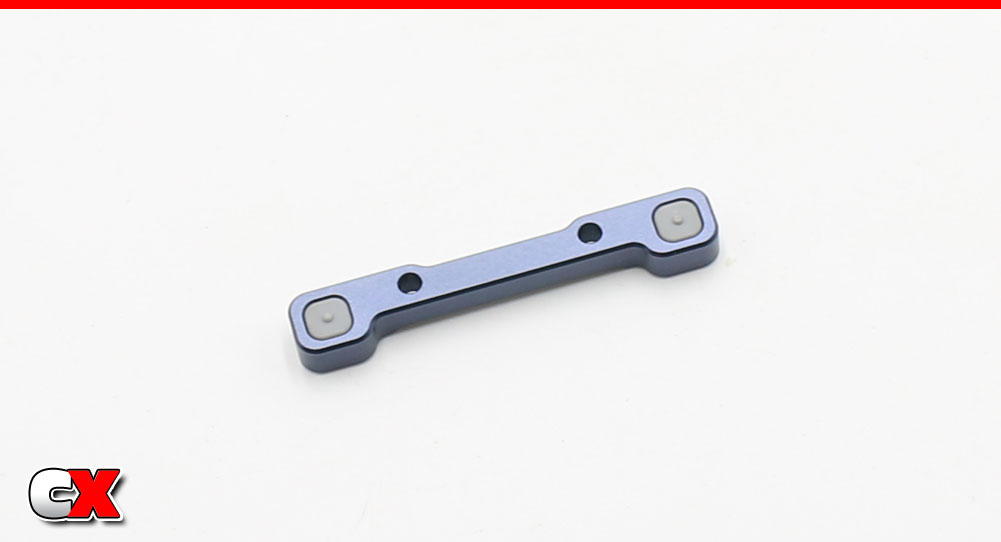
…as well as a pair of 0° pills in the D mount.
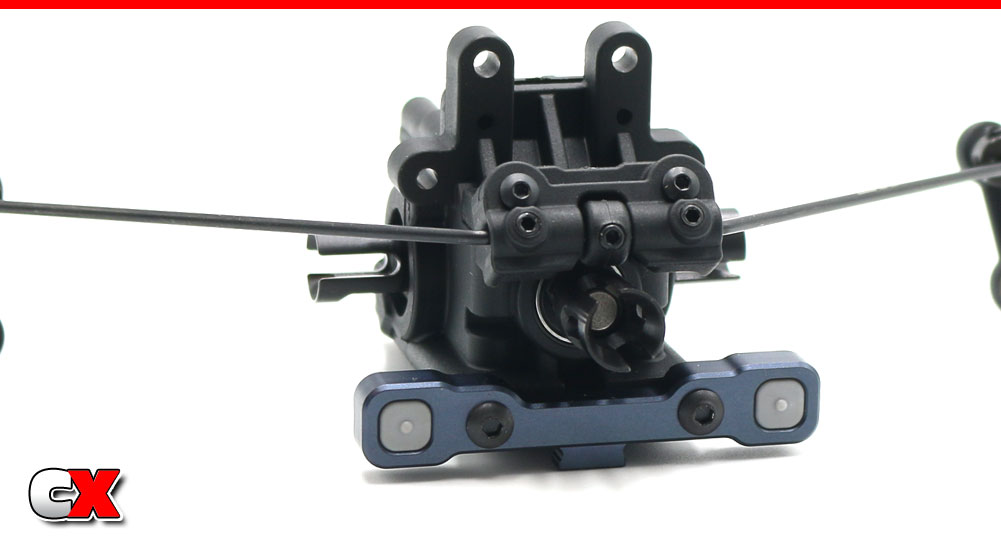
Attach the C mount to the rear bulkhead.
Insert the droop screws into the suspension arms. Don’t worry about how much to screw in just yet; we can set that at the end.

Slide the hinge pins into place followed by the 1mm shim (thicker shim), suspension arm and the .5mm shims (thinner shims, x2 on each side). Pay close attention to the orientation of the parts.
Align the hinge pins with rear D block and secure with the M3x14mm screws.
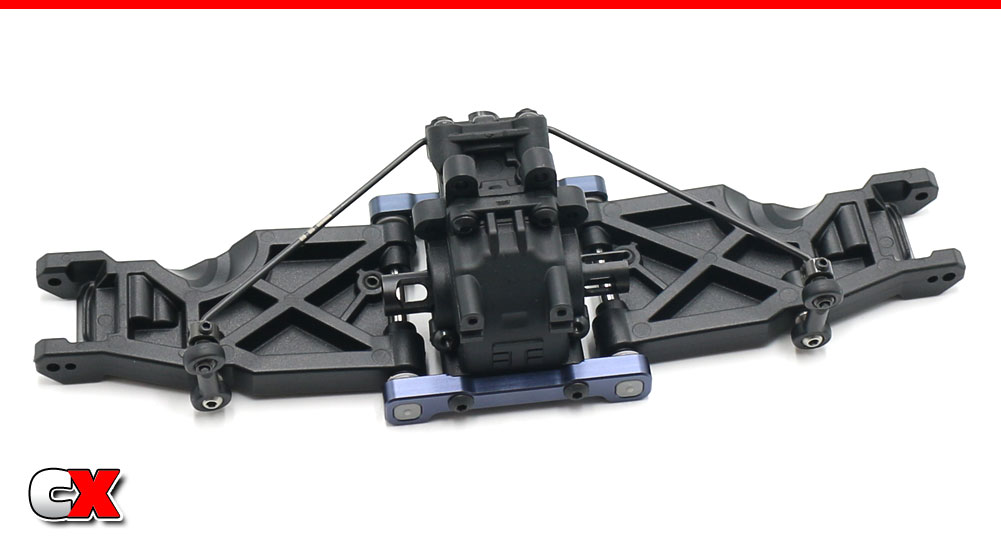
Your assembly should look like this.
Make sure the suspension arms move up and down freely.
Now attach the lower anti-roll bar points to the arms.
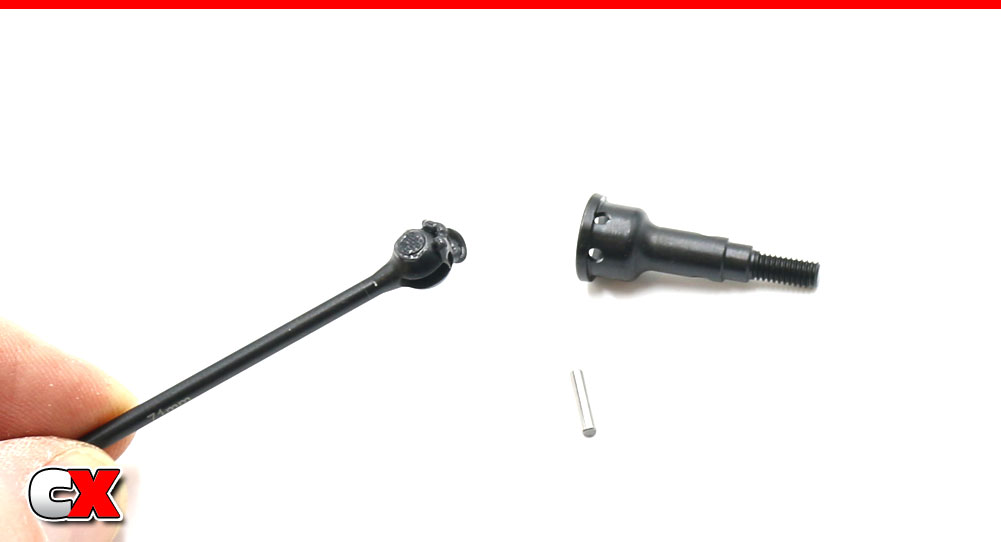
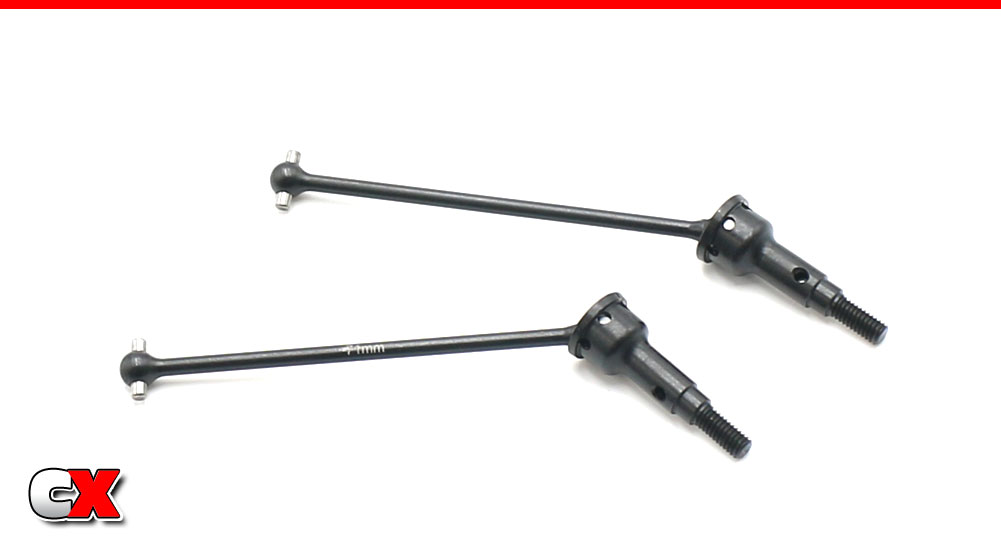
CVD time. Start by inserting the barrel into the bone, then add a liberal amount of black grease as shown. Mate the axle to the bone and slip the pin through to connect it all together.
Build 2.
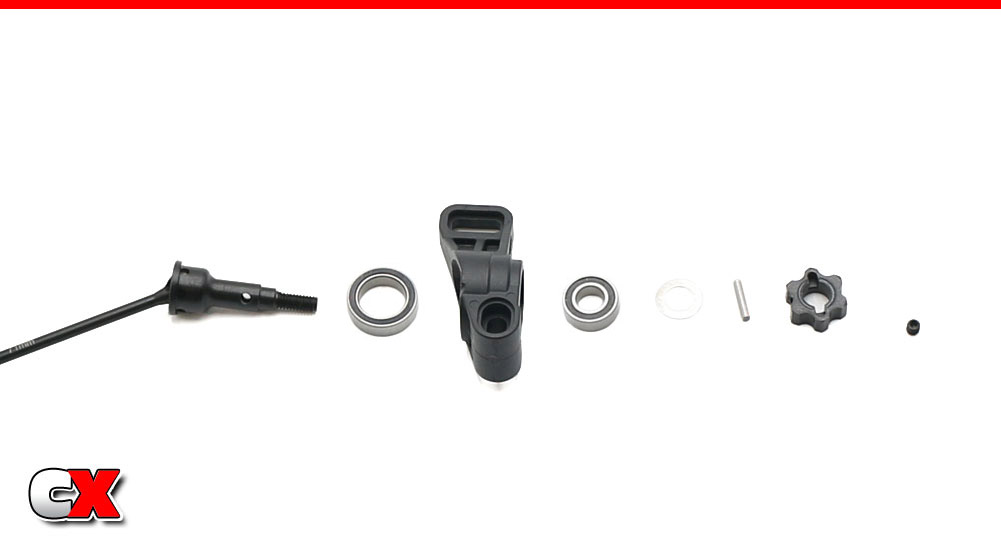
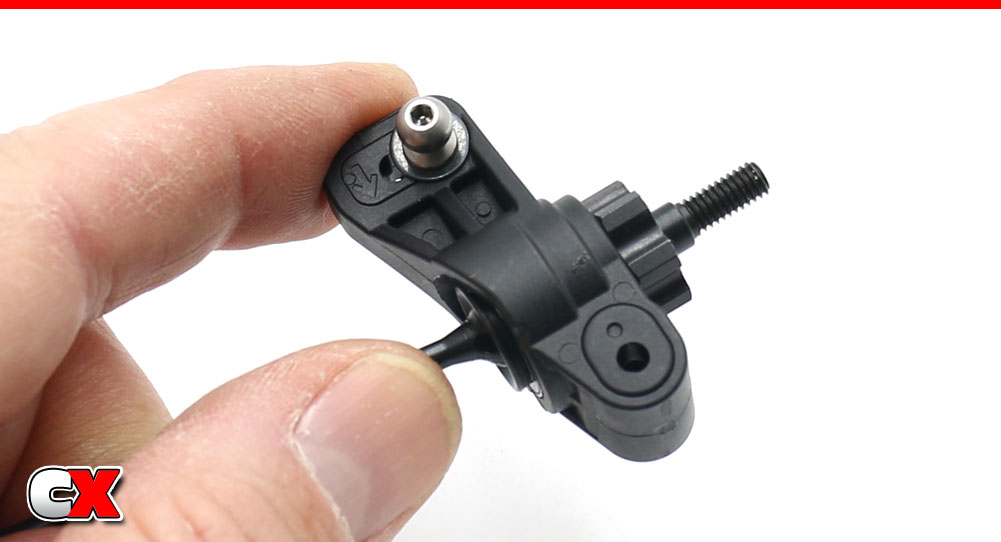
Assemble the rear hubs. Press a 6×12 bearing into the front of the hub, a 10×15 into the rear.
Feed the CVD through the hub, then slip the 2mm shim onto the axle followed by the axle pin and hex. Secure with the grub screw. A small amount of threadlocker is suggested here.
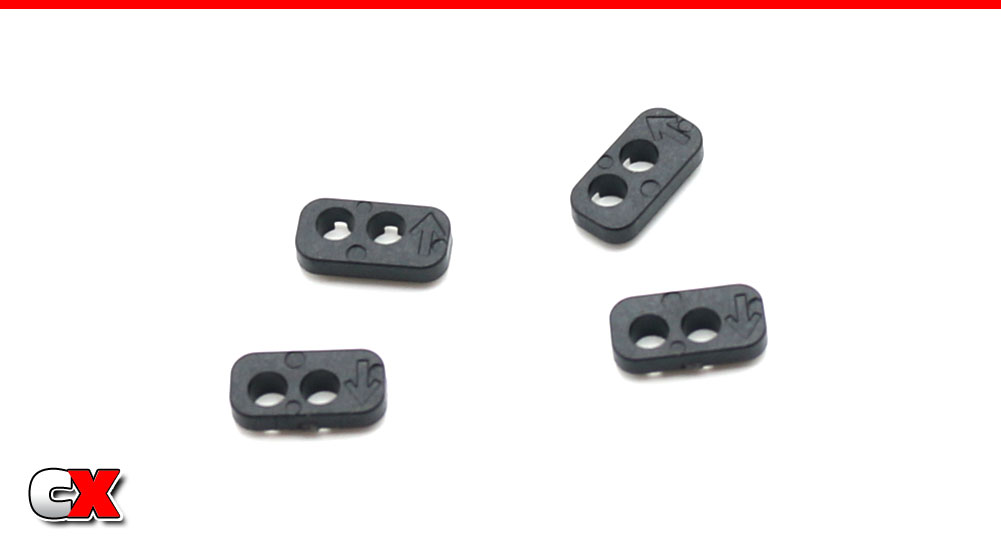
Here’s a look at the camber link inserts. You can see the arrows up and down, holes in or out.
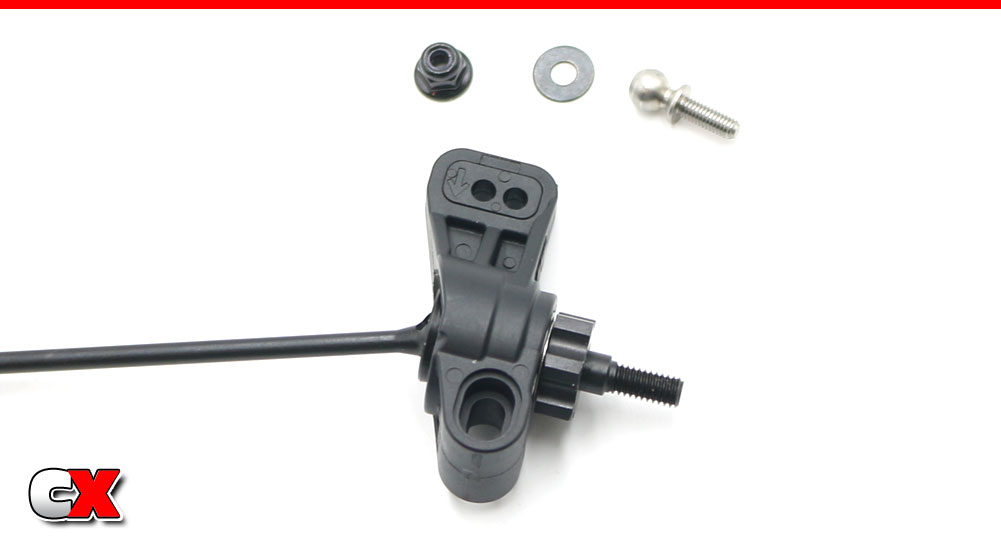
Press a pair of arrow down/holes out into the rear hubs. We’ll be inserting the camber link ball stud into the outer hole.
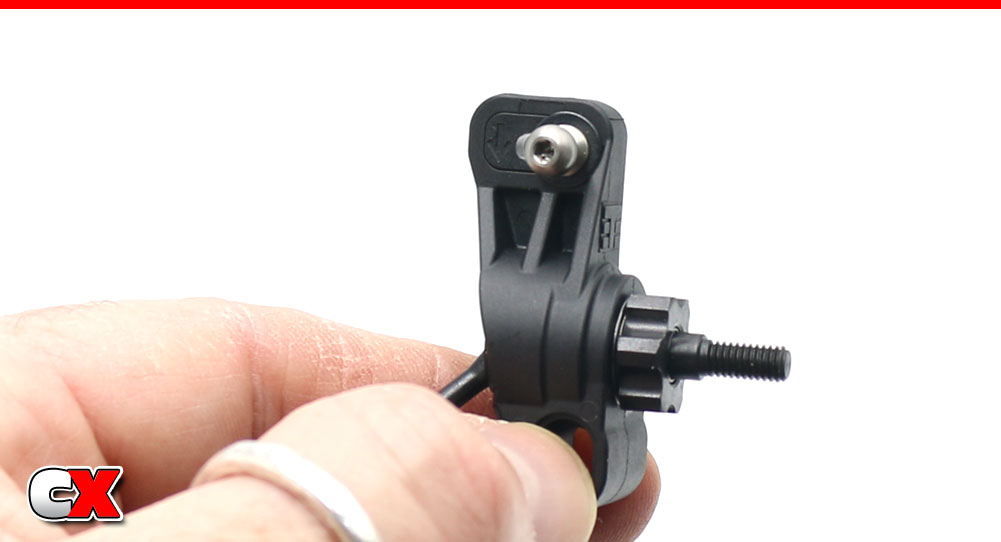
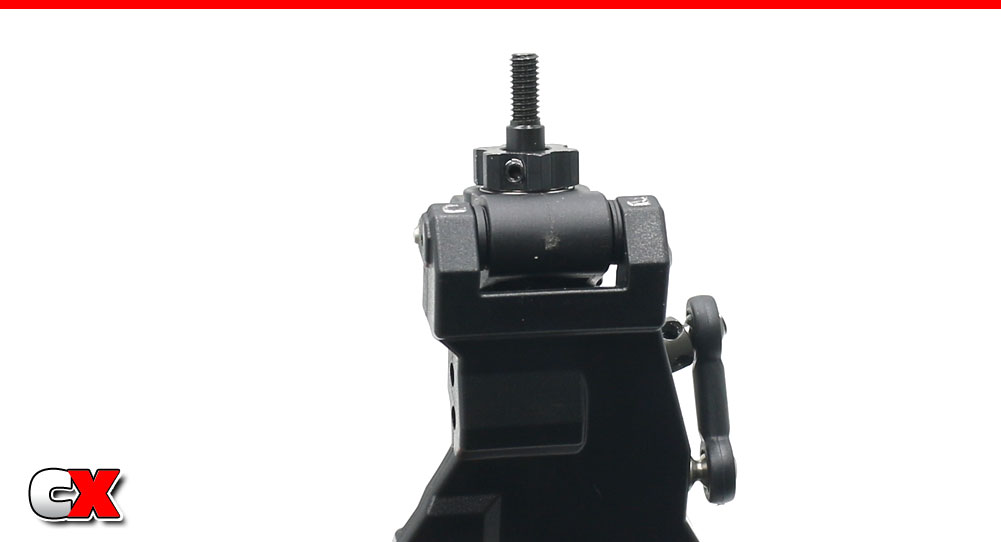
Here’s a closer look at the assembly.
Press the hinge pin mount into place; hole down.
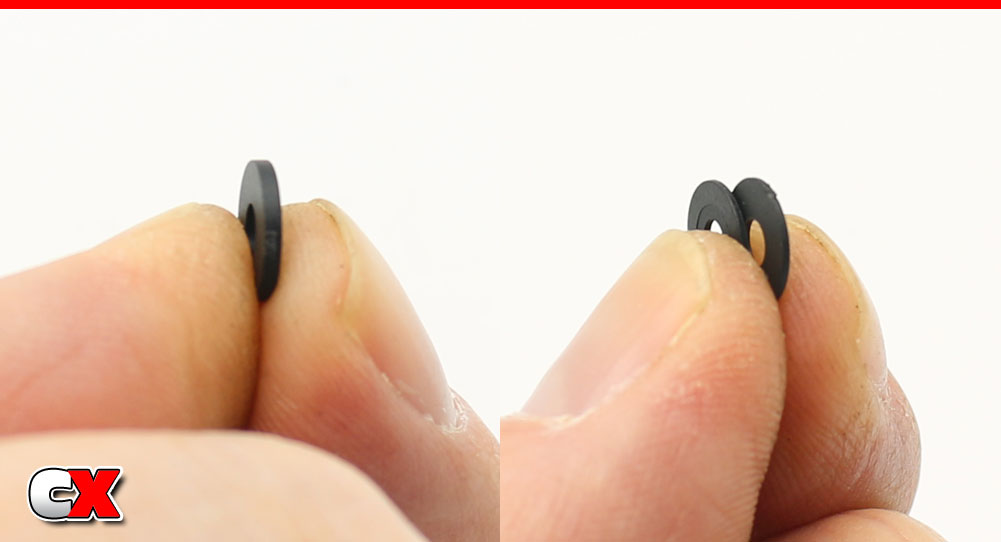
The rear hub spacers (for wheelbase) come in two sizes; thick and thin. Pic for size comparison. Nice fingers.
Attach the rear hub to the rear suspension arm. The 2 thin shims should be towards the back of the car.
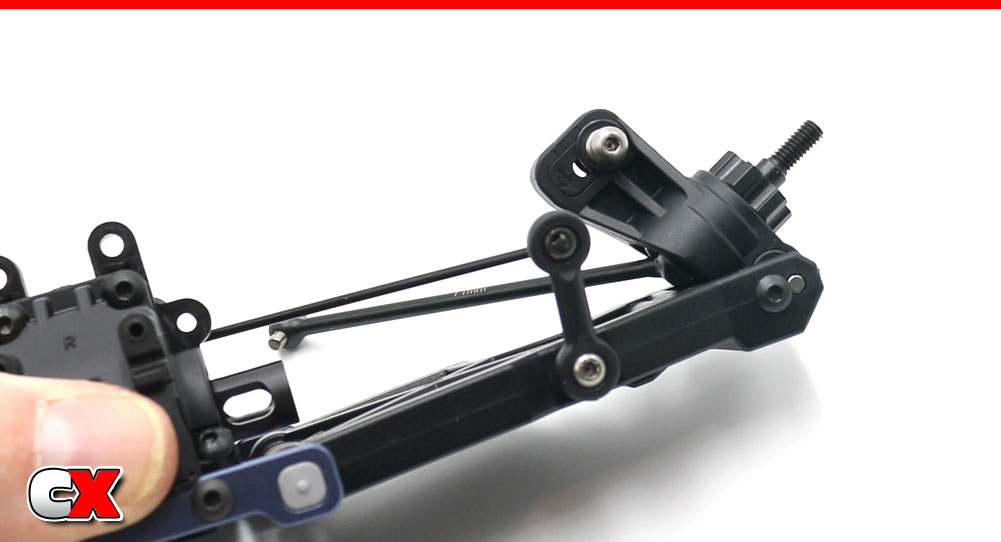
Capture the hinge pin with the M3x4mm screw.
Build the rear turnbuckles.
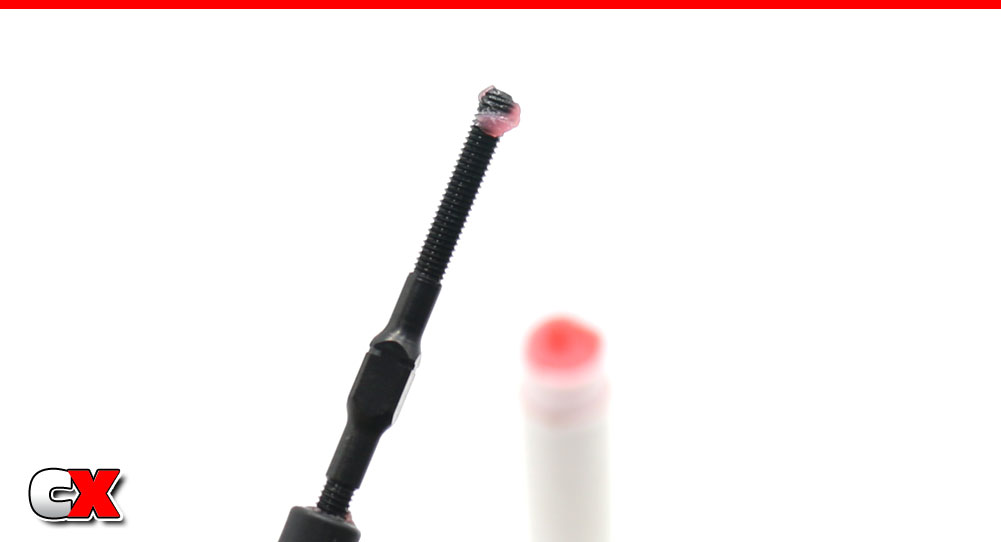
I like to use Chapstick on the threads to help lubricate when building. This also helps when adjusting the turnbuckles during tuning.
I used strawberry Chapstick so it keeps my car smelling fresh.
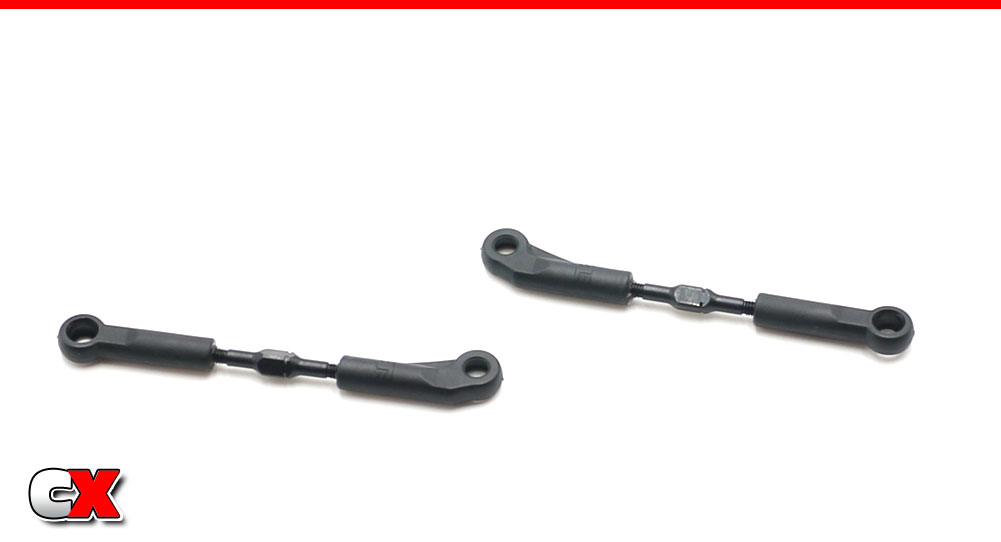
Your turnbuckles – note the orientation of the Tekno ‘T’ on the ball ends. 28.5mm is a good starting point.
And yes, the pictures in the manual do not match. Use the ball cups shown here.
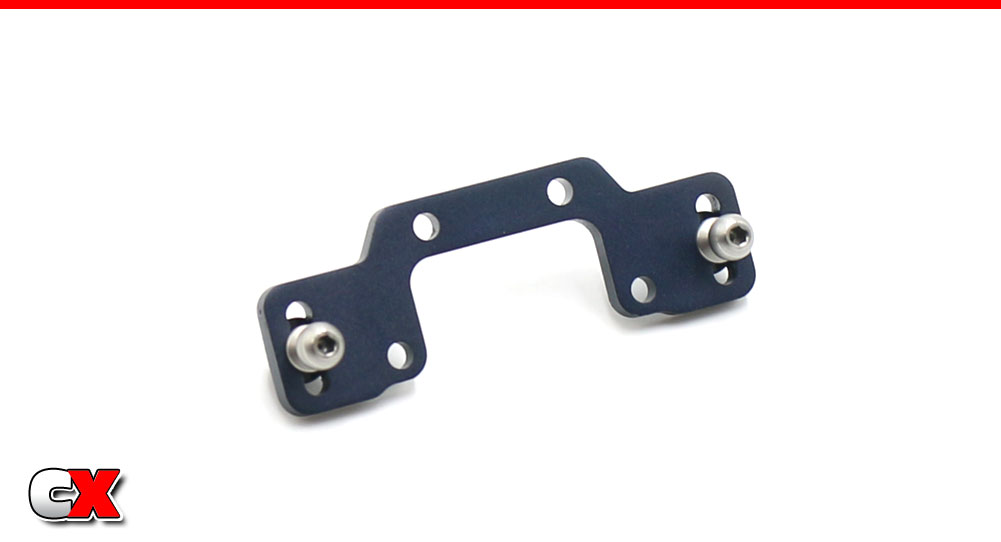
Build the rear camber link plate.
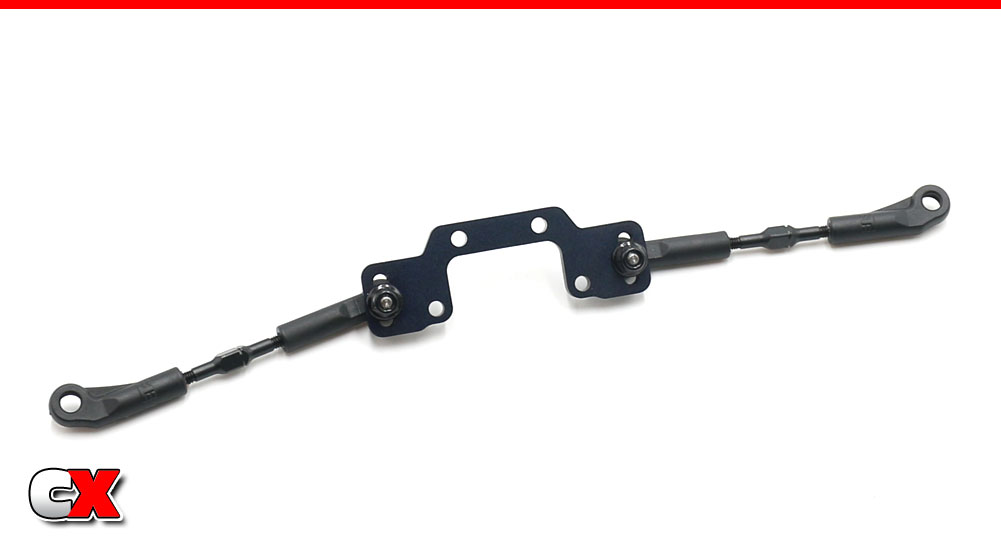
Attach the turnbuckles to the camber link plate, making sure the outer ball cups are swept up.
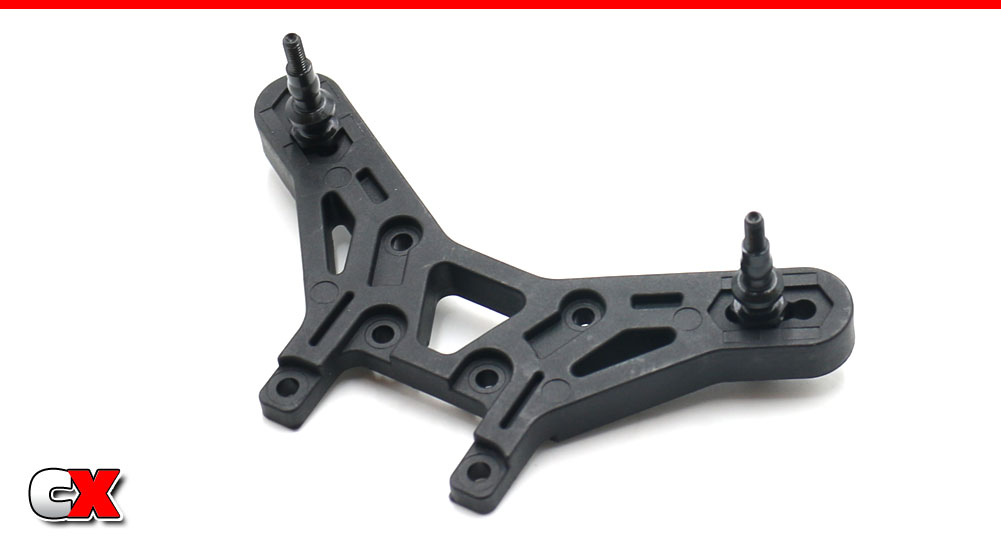
Attach the upper shock mounts to the shock tower. Note the orientation of the tower.
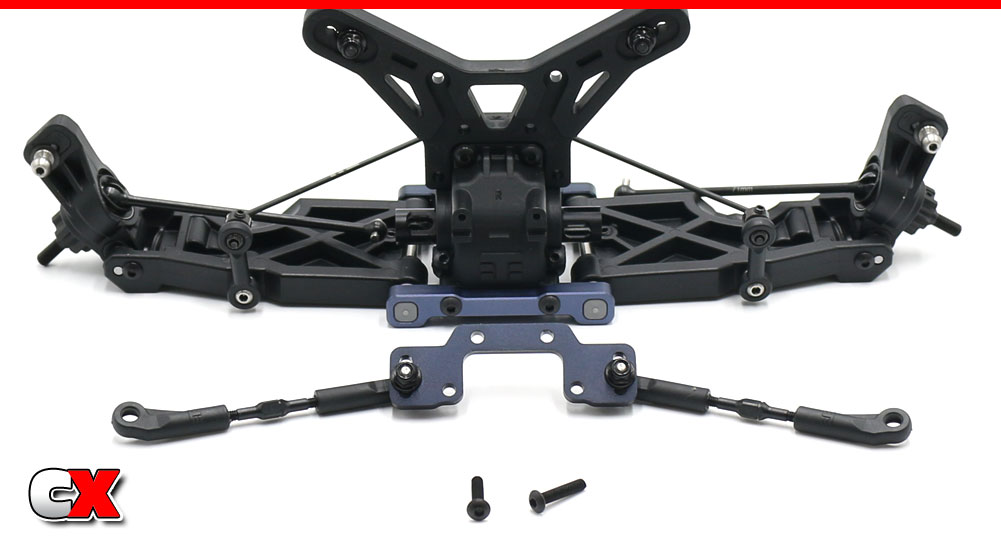
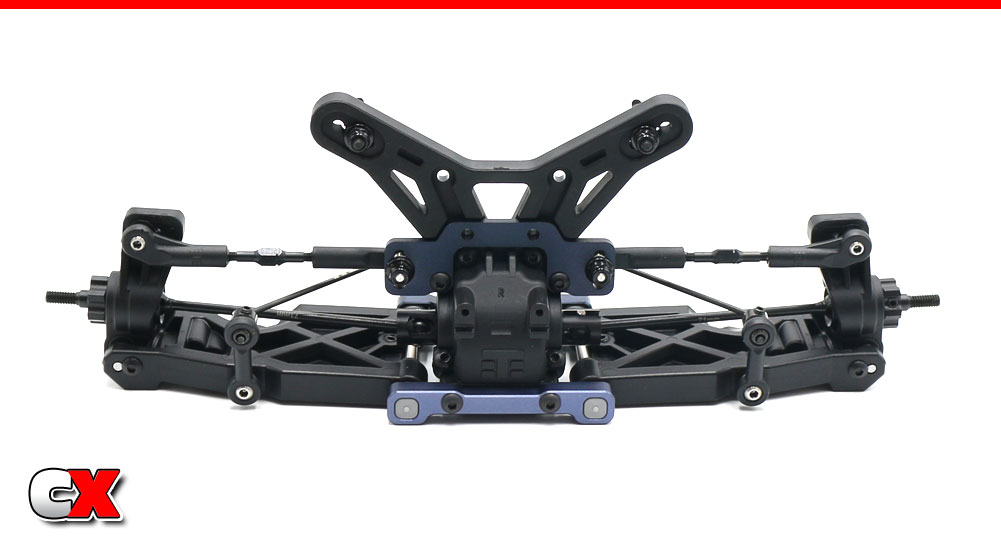
Press the shock tower into place on the rear bulkhead followed by the rear camber plate (note orientation of the plate). Secure with the M3x14mm screws.
Mate the CVD bone to the differential outdrive, then pop the ball cups into place.
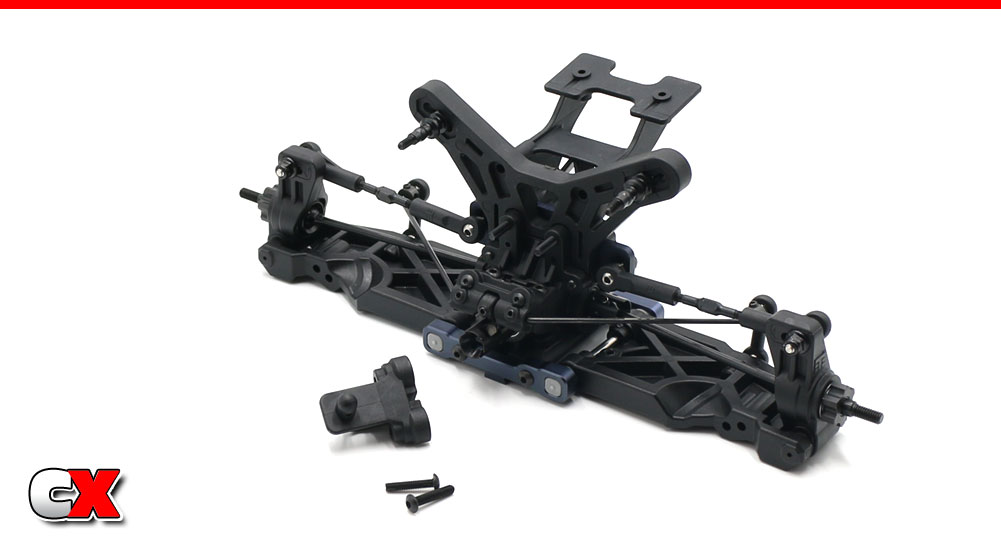
Assemble the rear wing mount and rear body mount to the rear shock tower.
Your completed rear clip should look like this!
Would you look at that – the back end of the EB410.2 is looking good!
Tekno RC EB410.2 4WD Buggy Build – Opening Page
Tekno RC EB410.2 4WD Buggy Build – Part 1 – Differentials
Tekno RC EB410.2 4WD Buggy Build – Part 2 – Steering/Front Bulkhead
Tekno RC EB410.2 4WD Buggy Build – Part 3 – Rear Bulkhead
Tekno RC EB410.2 4WD Buggy Build – Part 4 – Rear Suspension
Tekno RC EB410.2 4WD Buggy Build – Part 5 – Front Suspension
Tekno RC EB410.2 4WD Buggy Build – Part 6 – Chassis Assembly
Tekno RC EB410.2 4WD Buggy Build – Part 7 – Shocks
Tekno RC EB410.2 4WD Buggy Build – Part 8 – Electronics
Tekno RC EB410.2 4WD Buggy Build – Part 9 – Final Assembly