In this final step of the Tekno EB410.2 build, we’ll be installing the body mounts, wing, wheels and tires and body. Quick and easy so we can get it on the track for some fun!
 The rear wing can be mounted forward or rearward with a 0, 5 or 10mm lift.
 Tekno gives you two body installation options; body clips or Velcro. I chose body clips; if you want to use the Velco mounting system, refer to the manual for adding the provided Velcro squares.
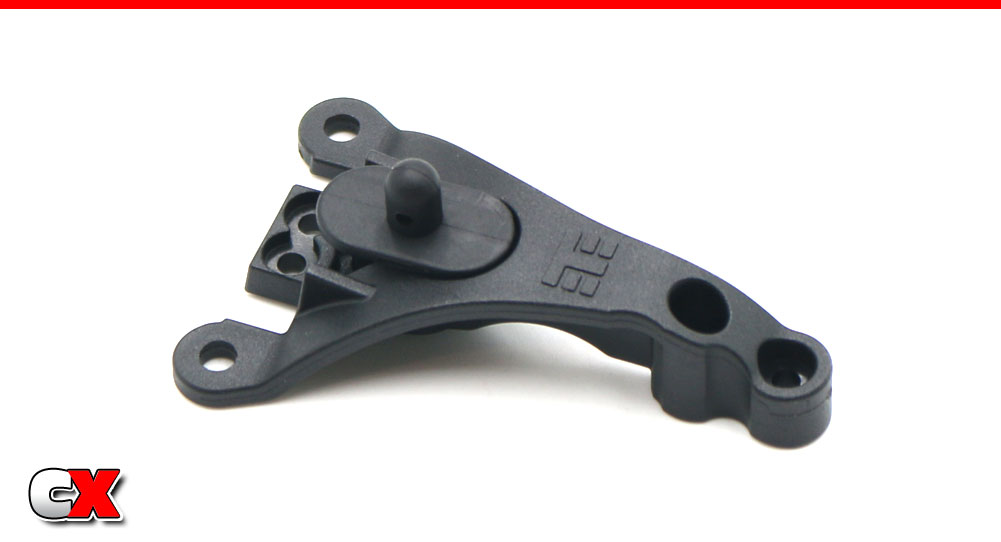
Assemble the front body mount/chassis brace.
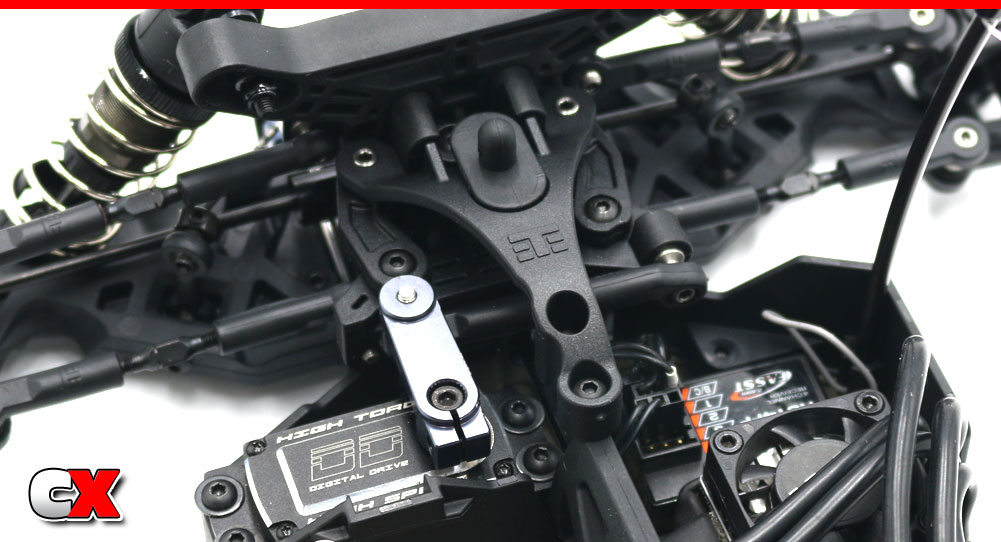
Install.
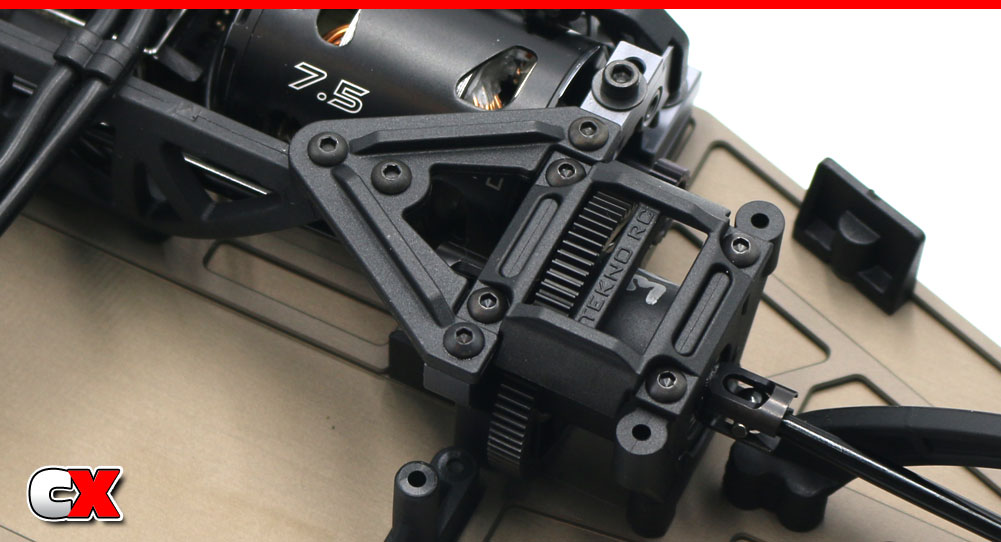
Attach the center differential chassis brace. A light dab of threadlocker is suggested for the 2 screws going into the aluminum bulkhead.
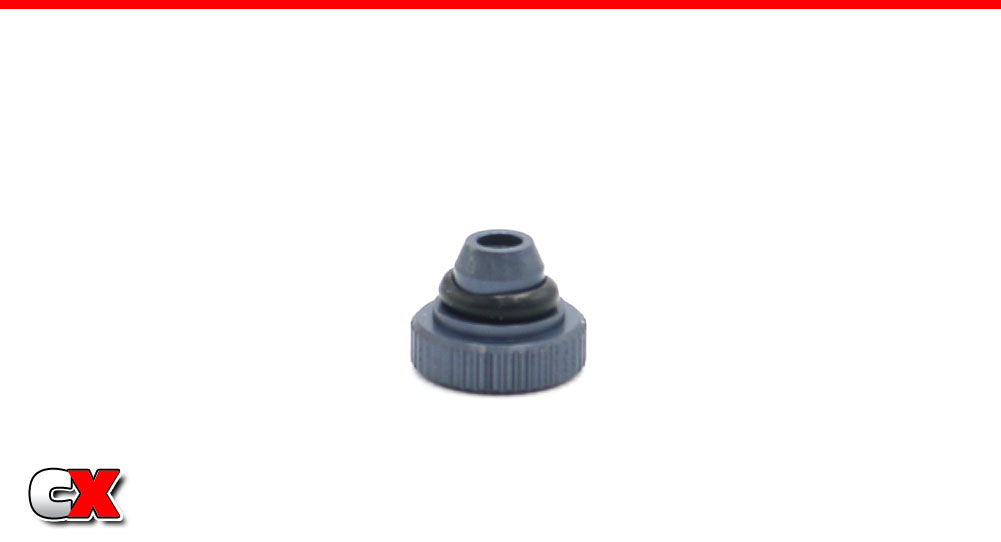
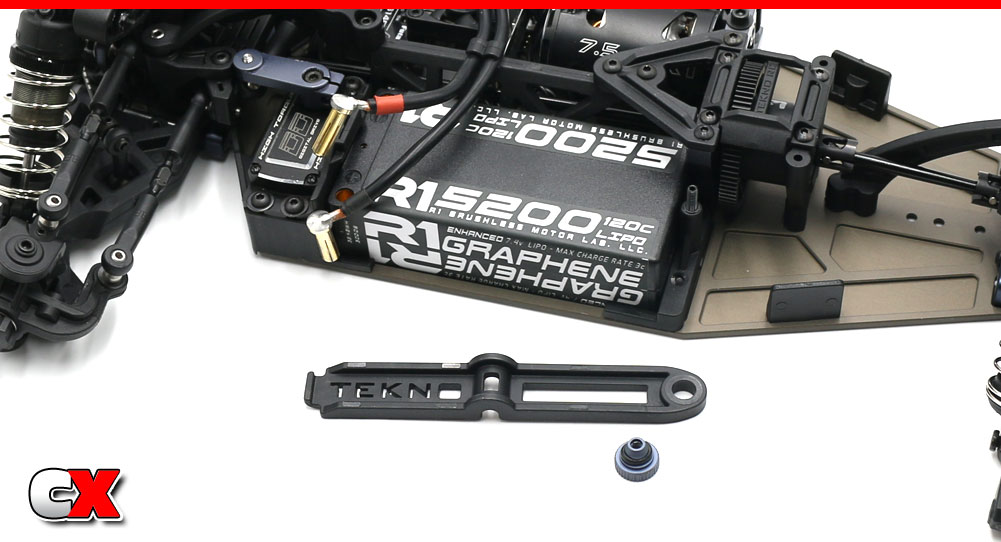
Slip the o-ring over the thumbwheel.

Install the M3x18 grub screw into the rear battery retainer with approximately 8mm sticking out.
Drop your battery into the tray, attach the battery strap and secure with the thumbwheel.
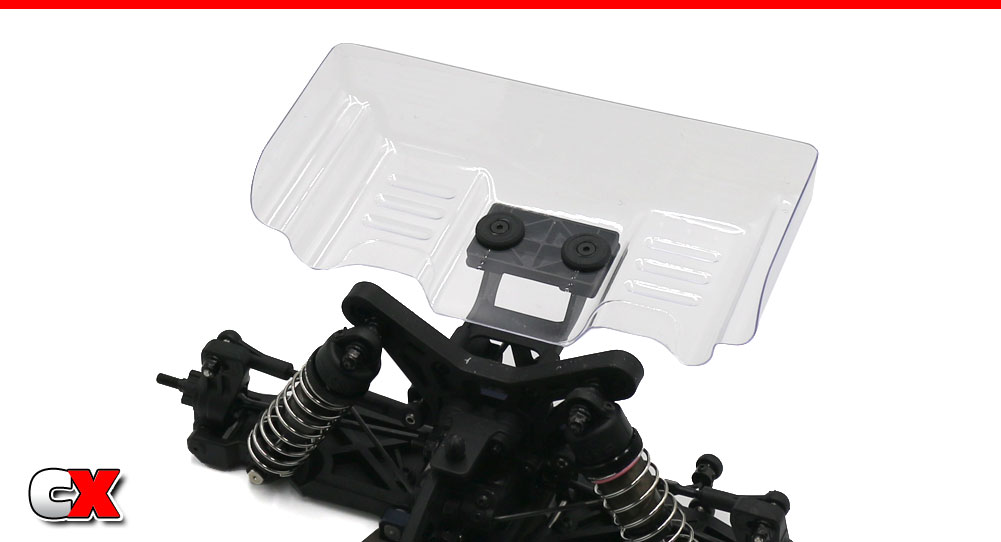
Attach the rear wing. I’m starting with the box stock mounting; all the way forward with a 5mm lift.
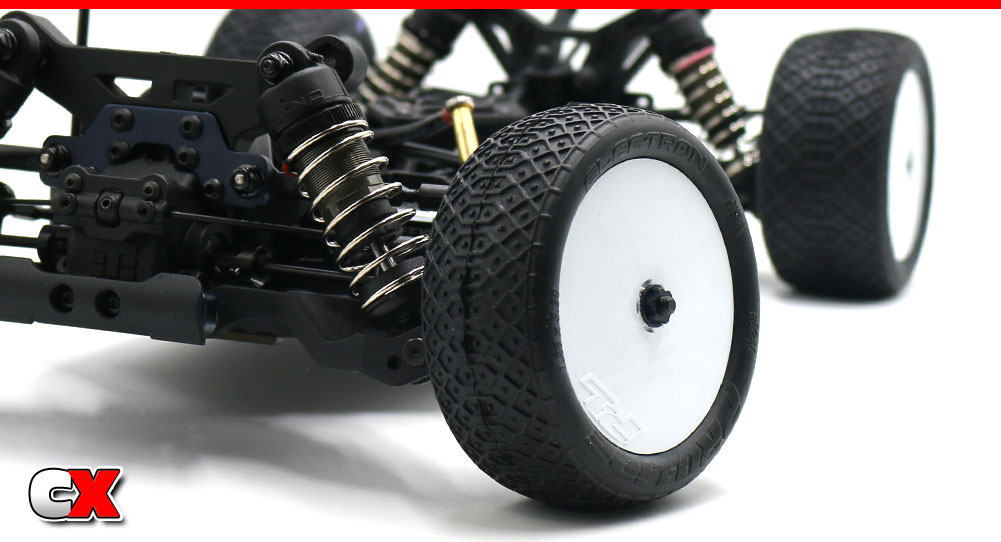
Attach your wheel/tire combo to the buggy. Use the tiny (but certainly effective) wheelnuts to keep the tire assemblies in place.
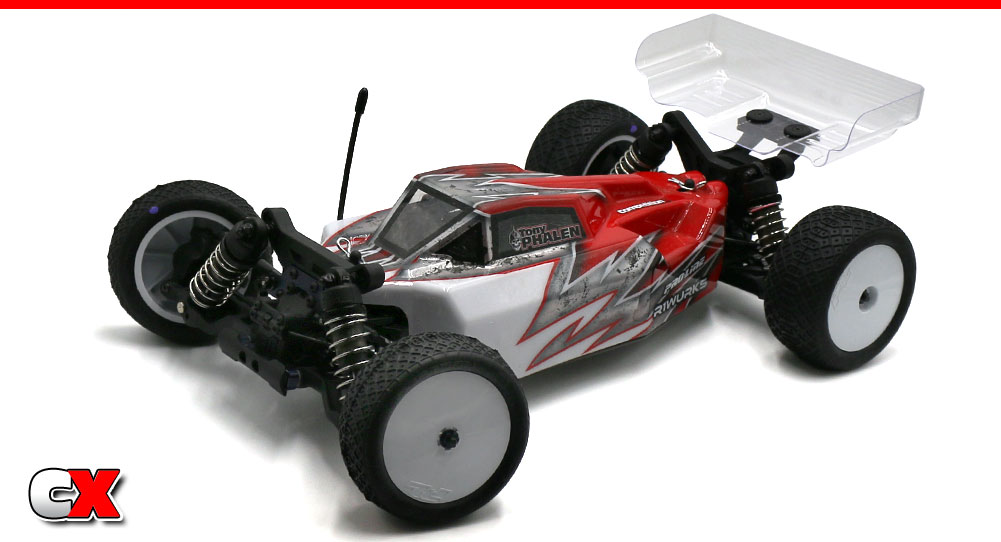
Finally, install the body.
That’s it – you’re done with your Tekno EB410.2 Competition Buggy! Time to charge up a pack and take ‘er to the track!
Thanks for following along with this build. It’s been a fun one for sure and I can’t wait to get some video of this buggy!! Stay tuned…
Tekno RC EB410.2 4WD Buggy Build – Opening Page
Tekno RC EB410.2 4WD Buggy Build – Part 1 – Differentials
Tekno RC EB410.2 4WD Buggy Build – Part 2 – Steering/Front Bulkhead
Tekno RC EB410.2 4WD Buggy Build – Part 3 – Rear Bulkhead
Tekno RC EB410.2 4WD Buggy Build – Part 4 – Rear Suspension
Tekno RC EB410.2 4WD Buggy Build – Part 5 – Front Suspension
Tekno RC EB410.2 4WD Buggy Build – Part 6 – Chassis Assembly
Tekno RC EB410.2 4WD Buggy Build – Part 7 – Shocks
Tekno RC EB410.2 4WD Buggy Build – Part 8 – Electronics
Tekno RC EB410.2 4WD Buggy Build – Part 9 – Final Assembly
 CompetitionX CompetitionX is the most up-to-date source for RC Car News, Reviews and Videos for Radio Control. We also have the most comprehensive Manual Database on the web.
