The Build – Part 1
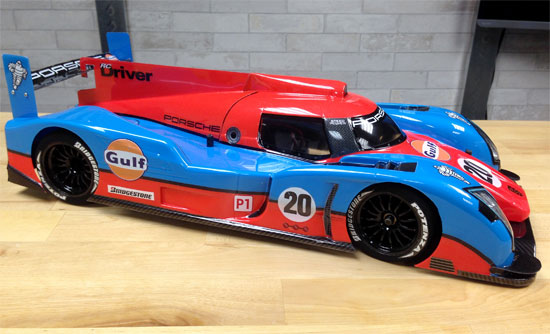
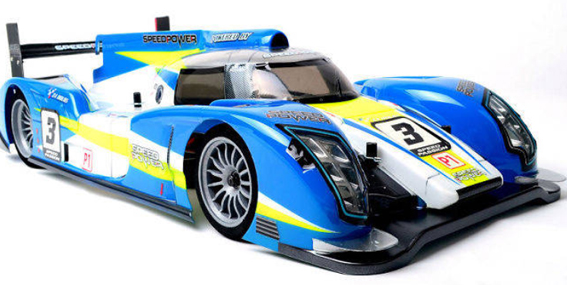
Speed Passion LM-1 LeMans Build – Part 1 – Rear Pod – this first Part of the build involves assembling the rear pod, side links and attaching that assembly to the main chassis.
Build Notes:
 Even though the instructions tell you what bag you need to open for each step, it’s not 100% accurate. Screws from different bags down the list are needed in steps up front, so it’s my suggestion that you open ALL of the bags of screws. Have a set of calipers handy for measurement as well. This is key to making sure the correct screws go into the correct places.
 Have a set of calipers handy for measurement as well. This is key to making sure the correct screws go into the correct places.
 Your calipers will also be necessary to measure out the pivot balls used throughout the build. They are different sizes and if you put the wrong size in the wrong place, you could be purchasing new parts to complete the build.
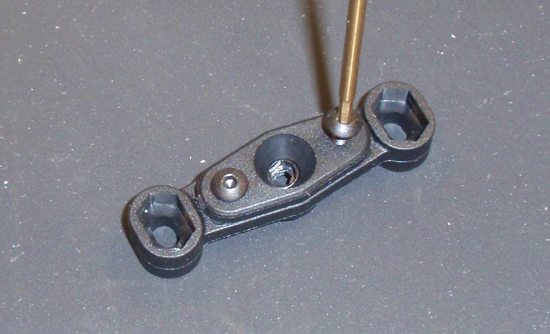 We start off by dropping one of the 5mm ball ends into the pivot black (sometimes called the football) with the flange down. Place the cap on top and secure with the two 2.5x6mm screws. Tighten down, but make sure the pivot ball has free movement.
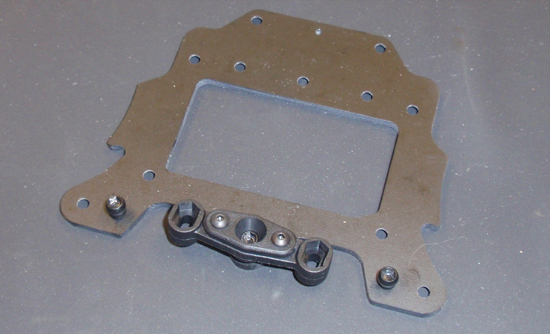 Attach two 5mm pivot balls to the lower rear pod plate. Attach the pivot ball assembly as well. Don’t forget the small, 3×8 washer. Note the length of the screws in this step and where they go. Don’t mix them up.
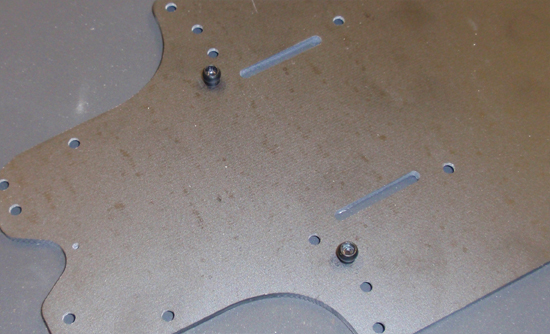 Attach a pair of 5mm pivot balls to the chassis as shown.
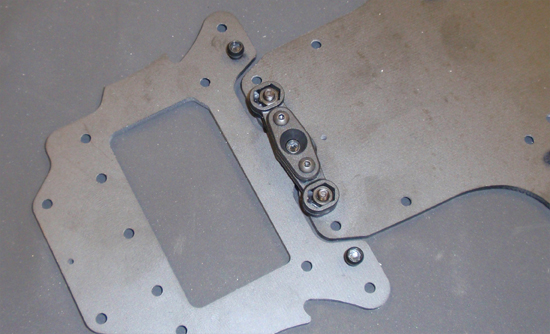 Insert a pair of M3 nuts into the pivot ball assembly and mate the lower rear pod plate and the chassis as shown, but don’t tighten down the screws yet. Just make them snug.
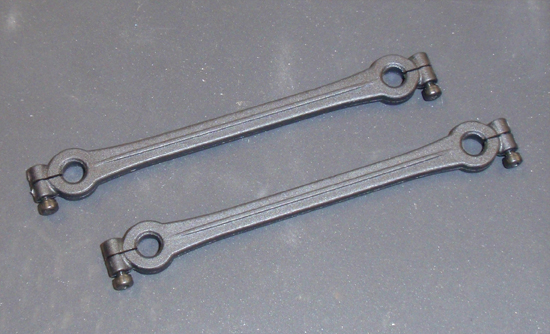 Build 2 side links. Don’t tighten down these screws yet.
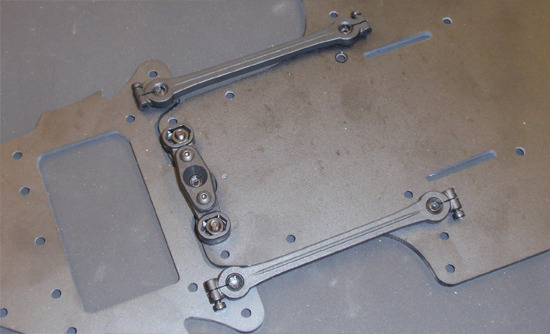 Pop the side links into place, making sure the raised ‘spine’ is pointed up. Also make sure the screw heads are facing out.
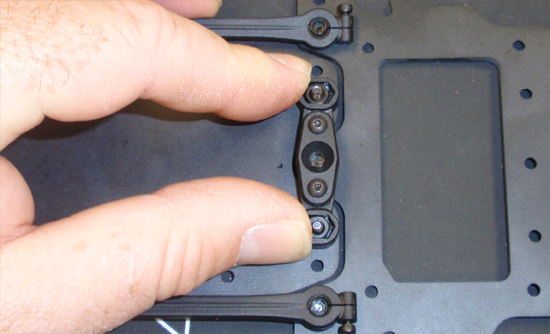 Apply a bit of pressure to the pivot ball assembly and tighten up the screws (the ones where my finger and thumb are). The idea here is to make sure the lower rear pod plate is ‘square’ to the chassis. Having the side links in place will help with that.
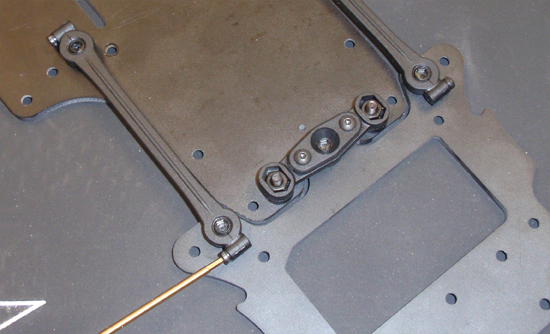 Once the screws in the pivot ball assembly are tight, tighten down the side link screws. Make them tight enough that there is still free side-to-side movement in the pod.
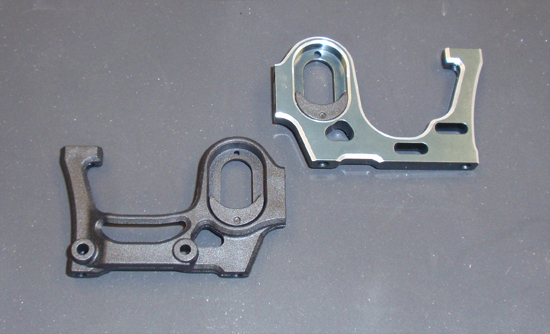 Install the ride height spacers into both rear pod pieces.
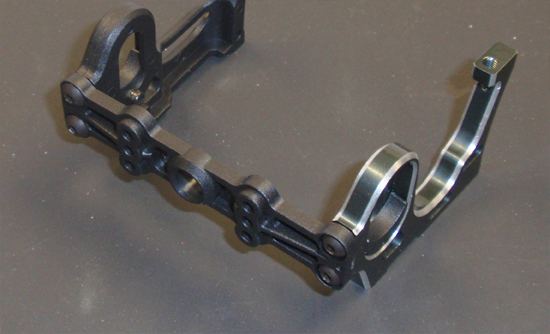 Attach the two pod plates using the rear wing mount. Do not tighten these screws yet.
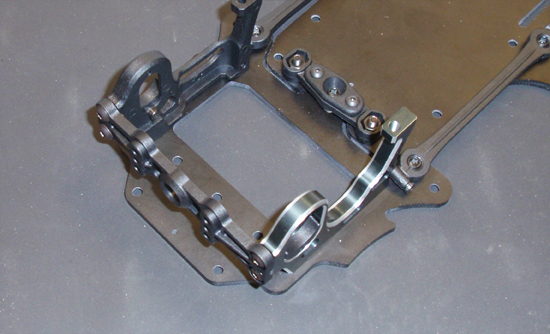 Attach the rear pod assembly onto the lower rear pod plate. Tighten down the screws, adding a small drop of threadlock to the screws securing the aluminum motor mount.
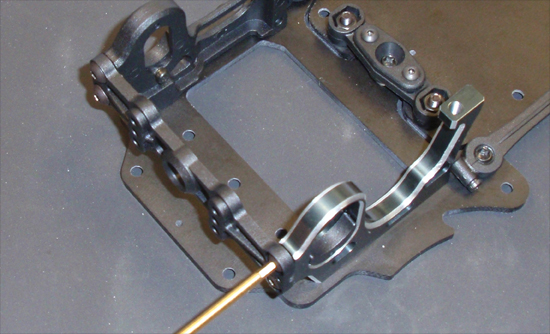 Finish off this step by tightening down the rear wing mount screws.
 Part 2 – Assembling the rear axle.
 Back to the Speed Passion LM-1 LeMans Build List
 CompetitionX CompetitionX is the most up-to-date source for RC Car News, Reviews and Videos for Radio Control. We also have the most comprehensive Manual Database on the web.
