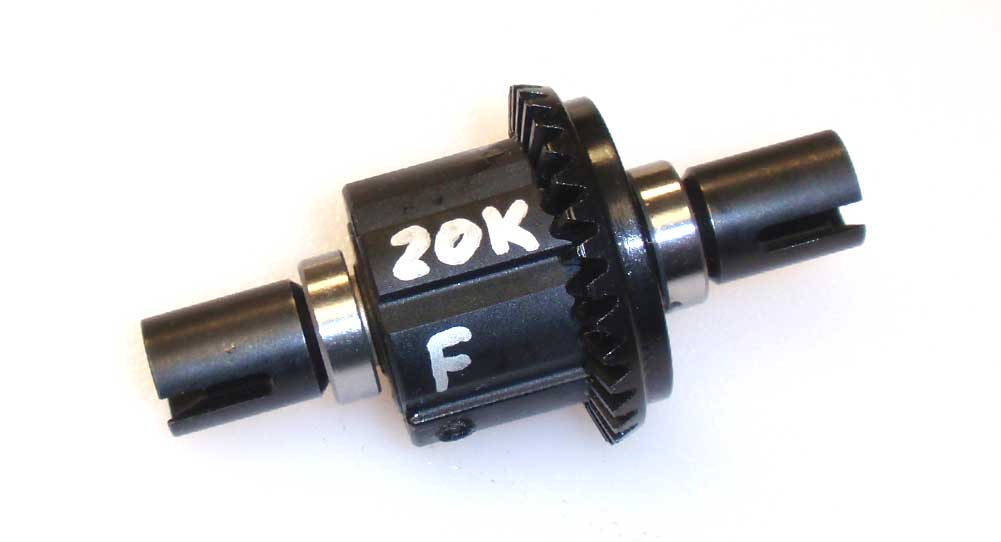
The Build – Part 1
The first thing Axial has you doing is building the front differential. It’s like any standard fluid-filled diff, however it’s massively over-built to withstand the monster power you can run through this truck.
 This part of the build requires us to use diff fluid. It’s a good idea to have a clean working surface that is covered with a towel (or something similar) and some clean-up rags.
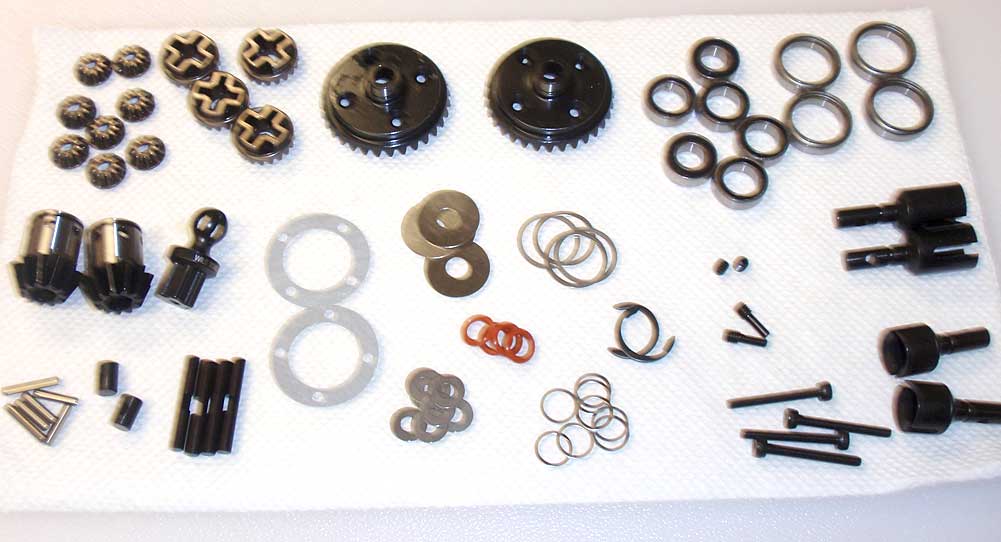
Since both the front and rear diffs are essentially the same (other than the drive cups), I started this part of the build by separating all of the parts to make it easier to recognize what I needed. Sorry for the blurry picture; not sure what happened there.
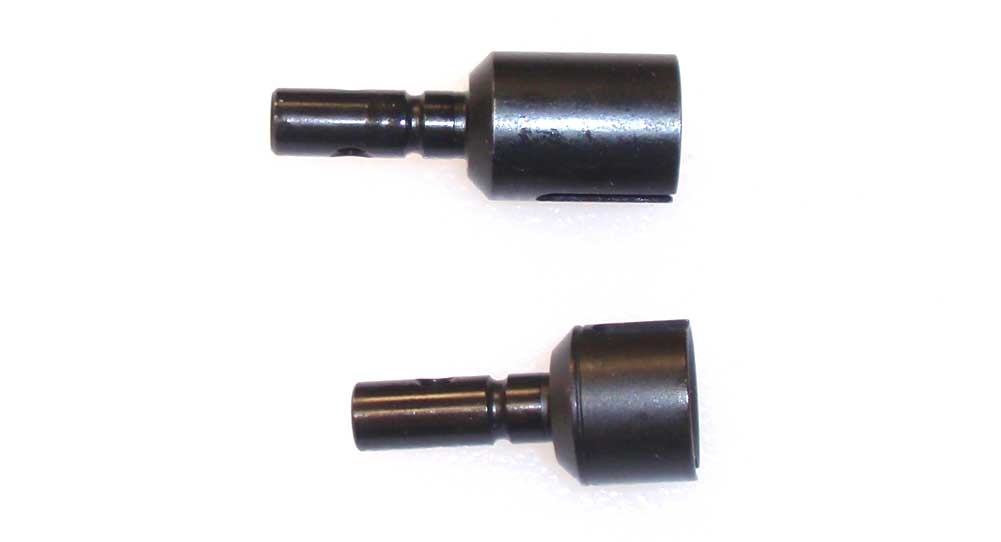
Speaking of the drive cups, I’ve shown both here for reference. The top one is for the front (this build step), the lower one is for the rear.
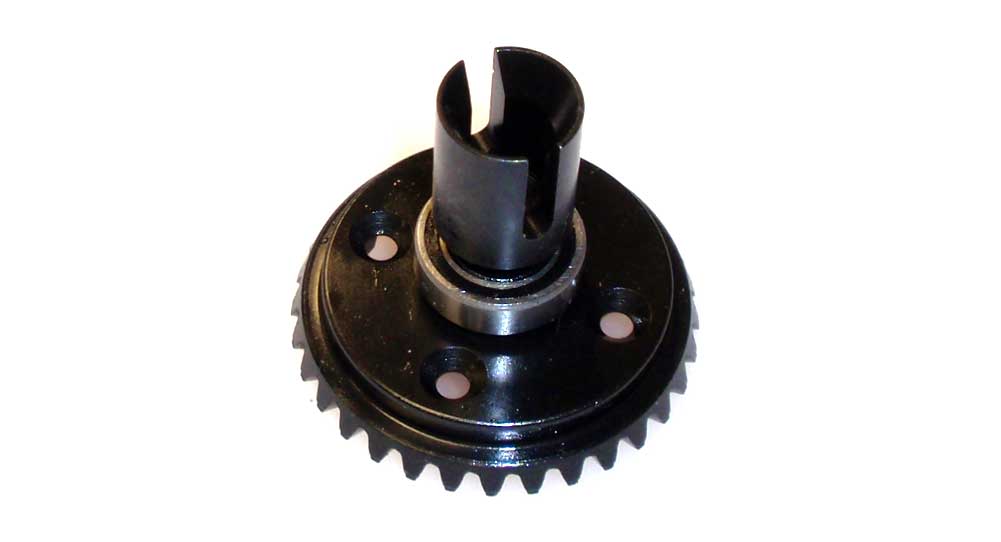
Slip one of the 8×16 bearings over the diff gear and slide the front drive cup through.
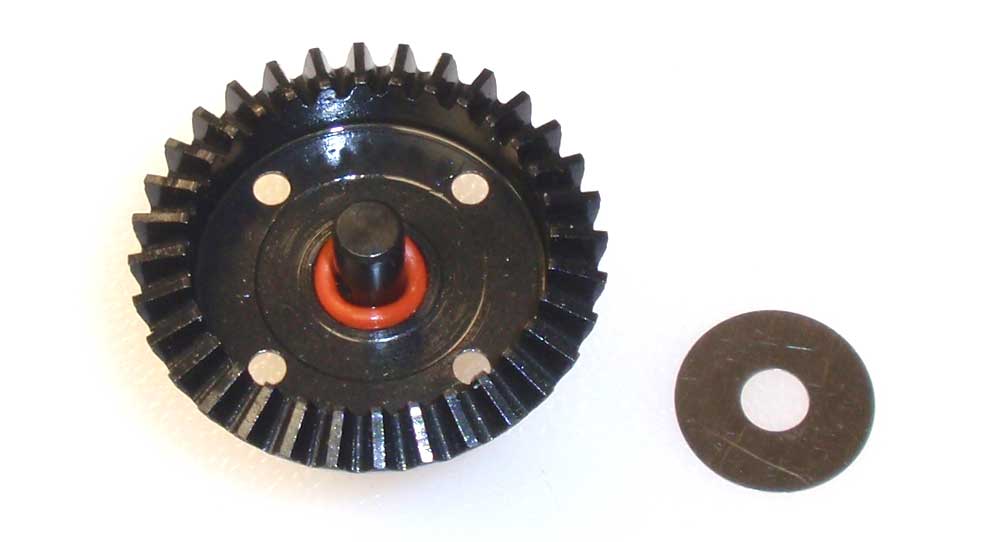
Flip the assembly over and slide a red o-ring over the drive cup shaft followed by a 6×19 shim. Press the shim down firmly to seat the o-ring.
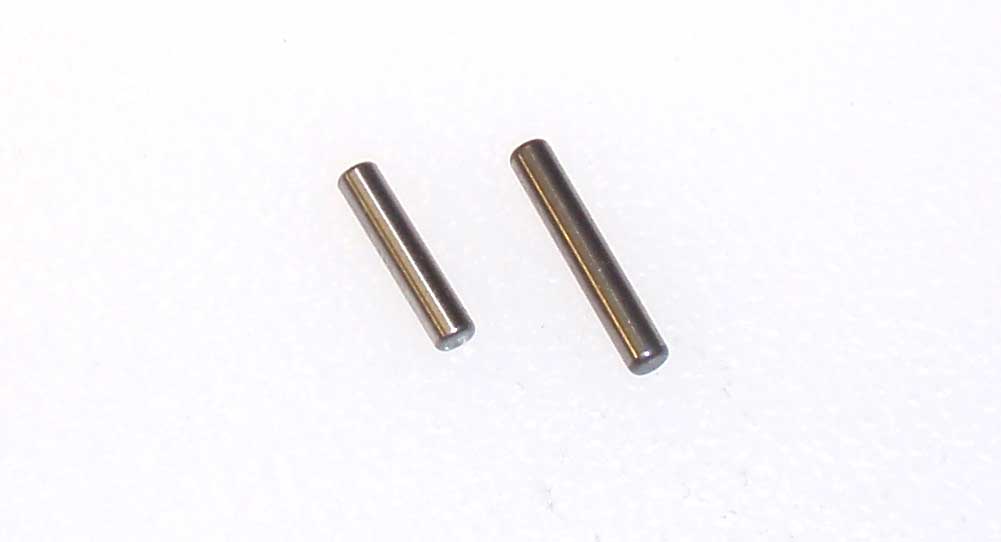
There are two lengths of drive pins as well. The short ones will be used during the diff build; the longer ones for the CVD build.
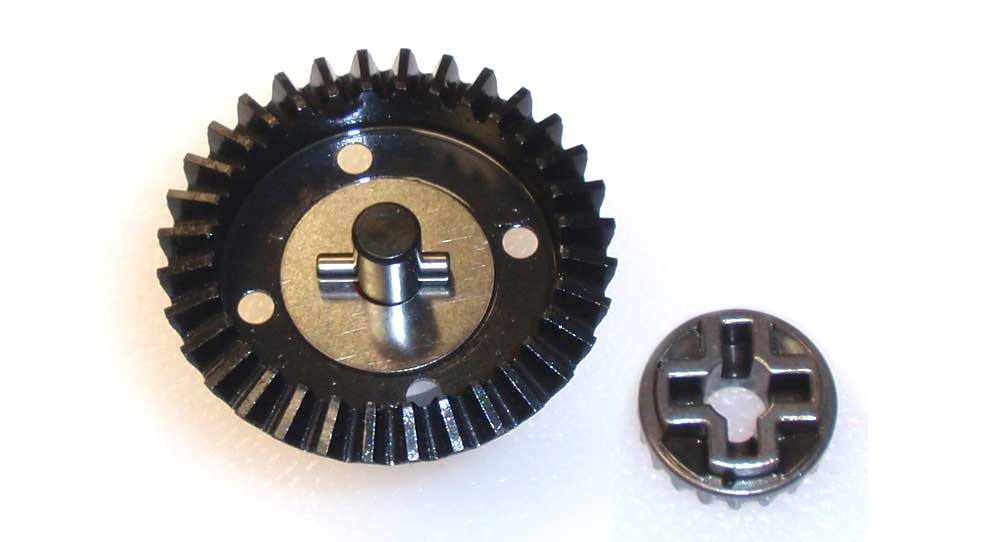
Slide one of the shorter pins through the drive cup shaft as shown. Take one of the metal sun gears, slide it onto the shaft and key it to the pin. Set this assembly aside.
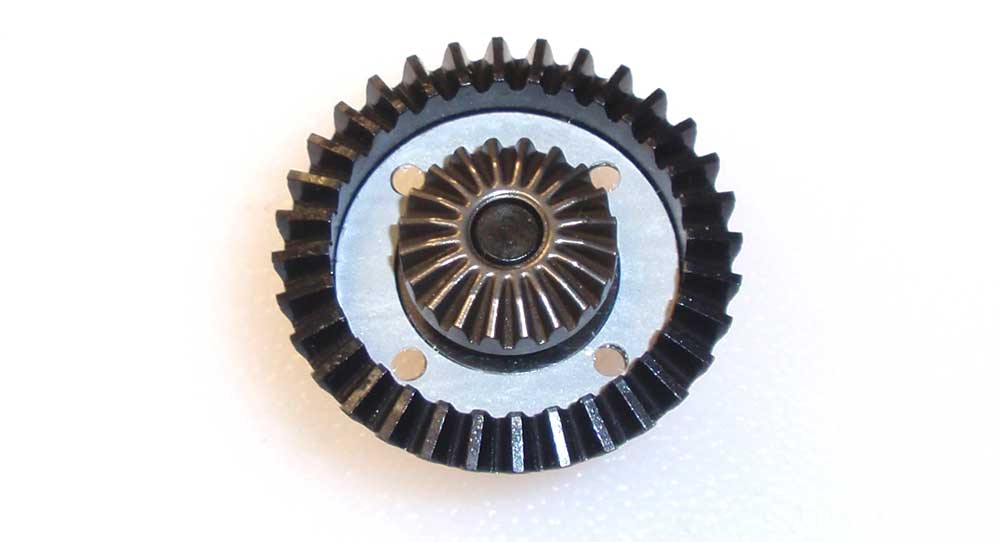
Carefully set the diff gasket into place, lining the holes up with the holes in the gear.
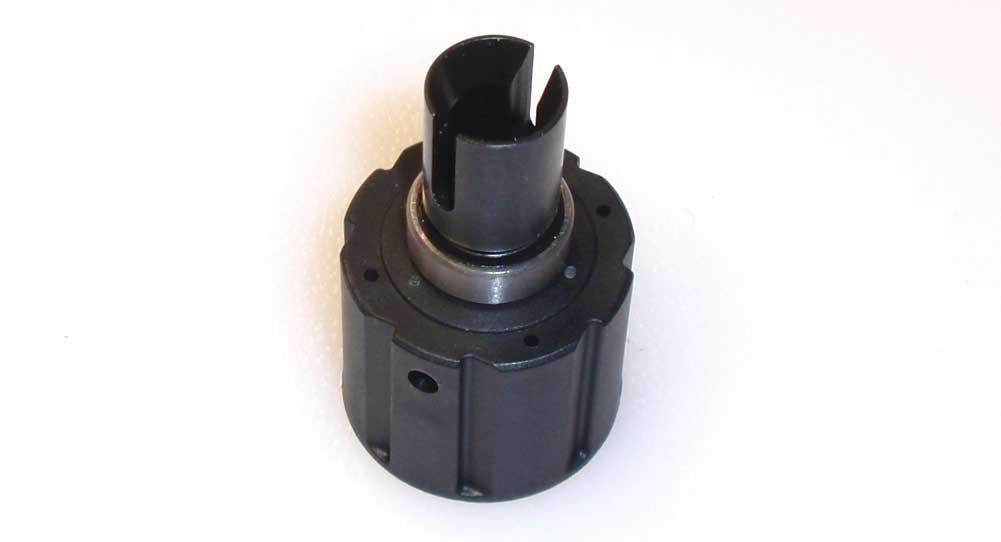
Slide one of the 8×16 bearings onto the diff housing as shown. Take the other front drive cup and slide it into place.
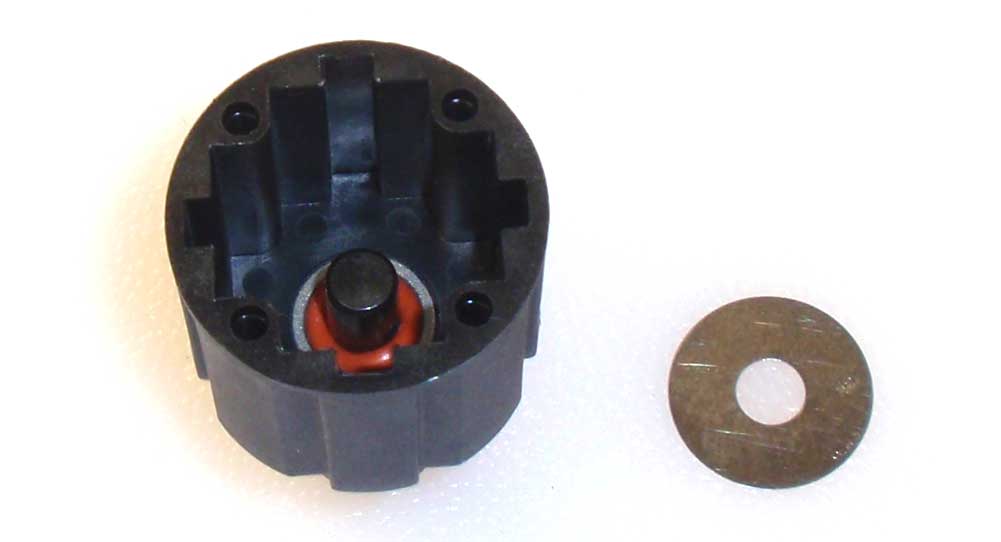
Flip the assembly over and slide a red o-ring over the drive cup shaft followed by a 6×19 shim. Press the shim down firmly to seat the o-ring.
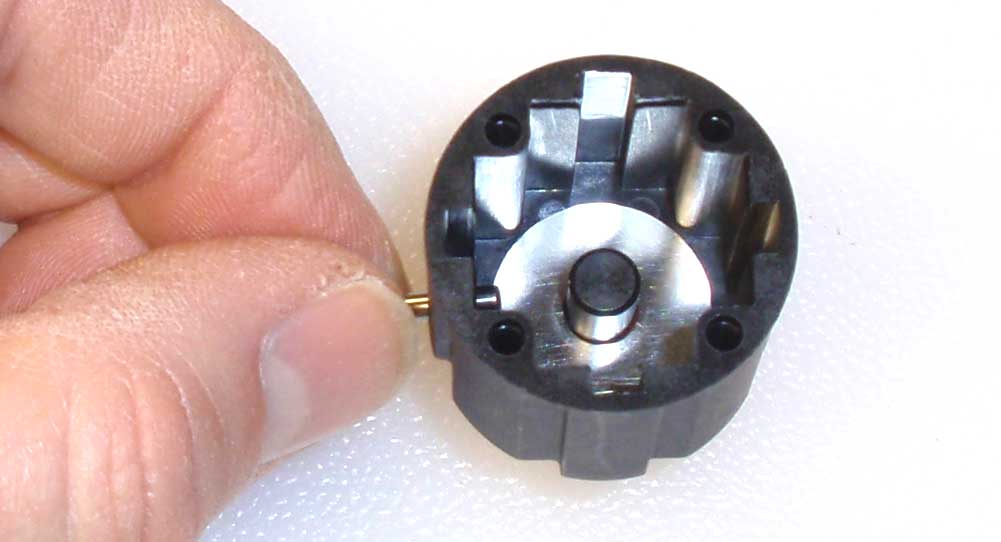
Line up the hole in the outer housing with the hole in the drive cup shaft. Slide one of the shorter pins through the housing and into the drive cup shaft.
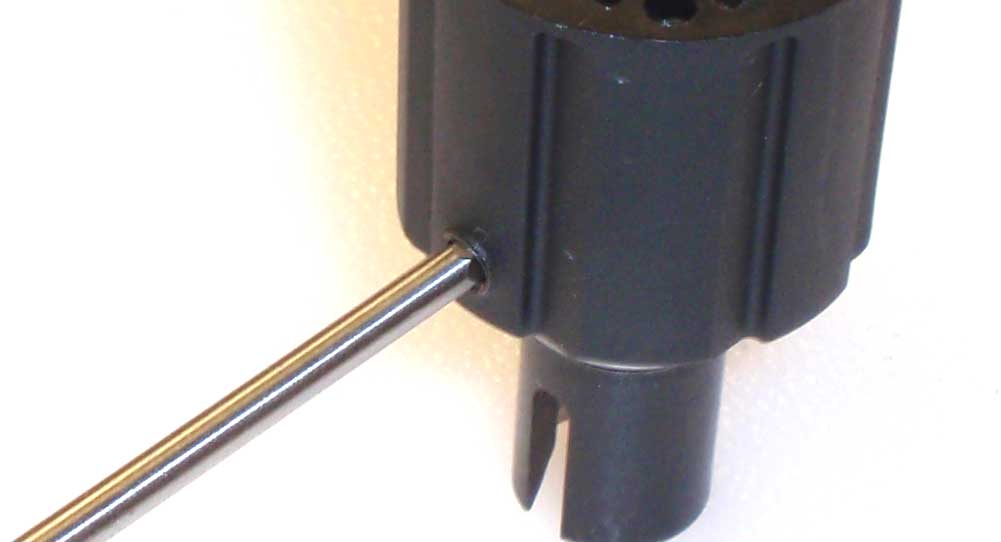
Once the pin is installed, screw a M4 setscrew into the hole and make it flush with the outside of the diff housing. This will seal the diff and keep any fluid from leaking out.
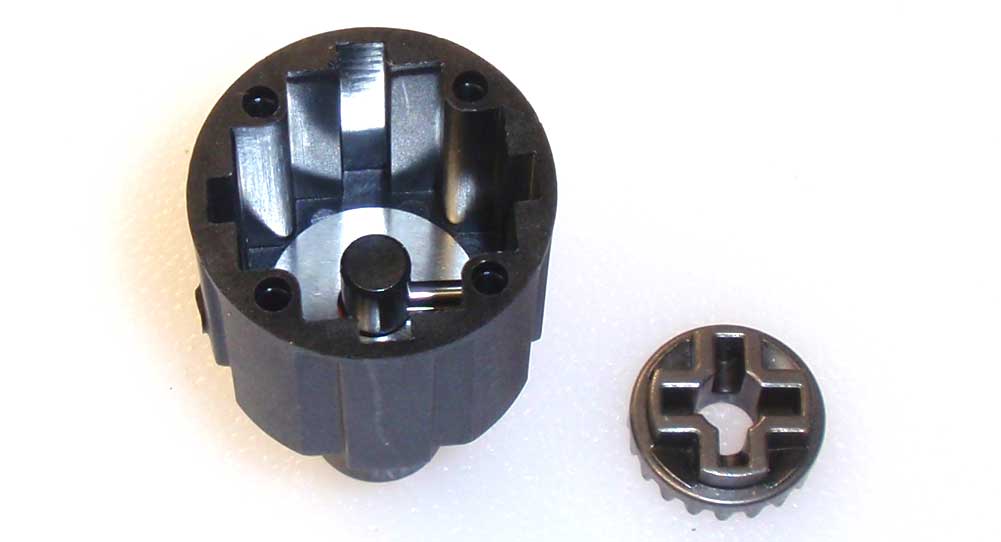
Flip the diff housing over and slide the sun gear over the drive cup shaft, keying it to the pin.
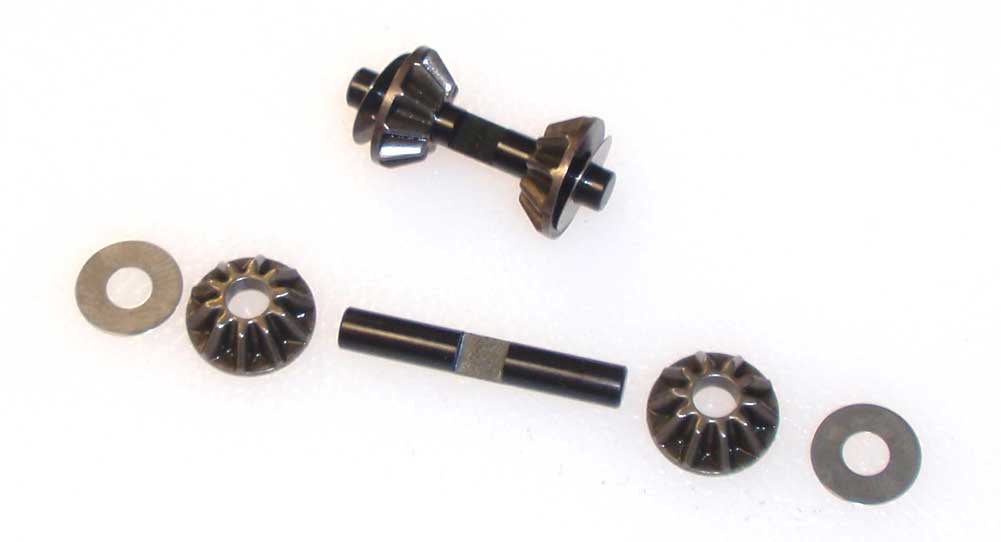
Build two sun gear assemblies.
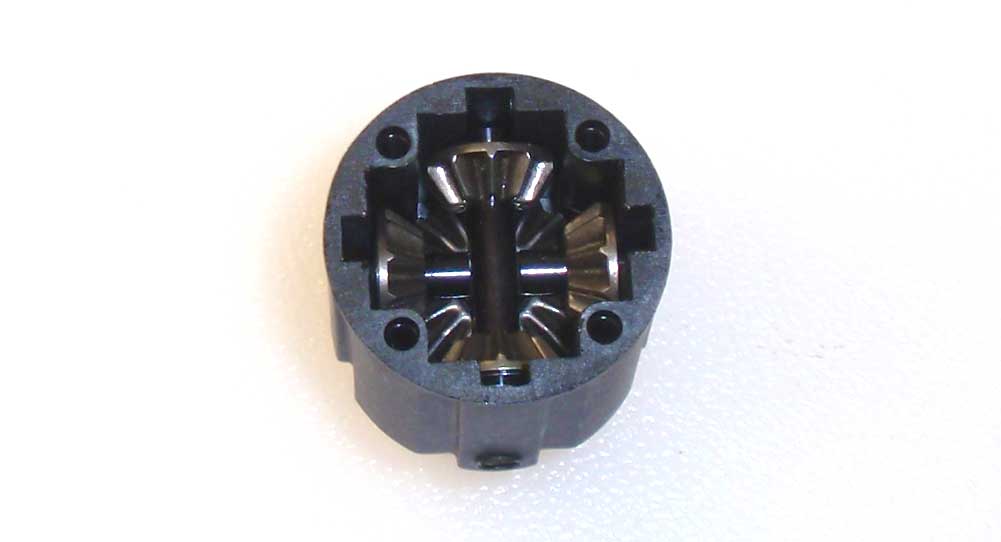
Lining the sun gear assembly shaft up with the notches in the housing, place one assembly into the diff, making sure the flat spot on the shaft is facing up. Place the second sun gear assembly into the diff, making sure the flat spot on the shaft is facing down. They two flat spots should key together. While holding the assemblies in place, slowly turn the drive cup to make sure both sun gear assemblies are completely seated.
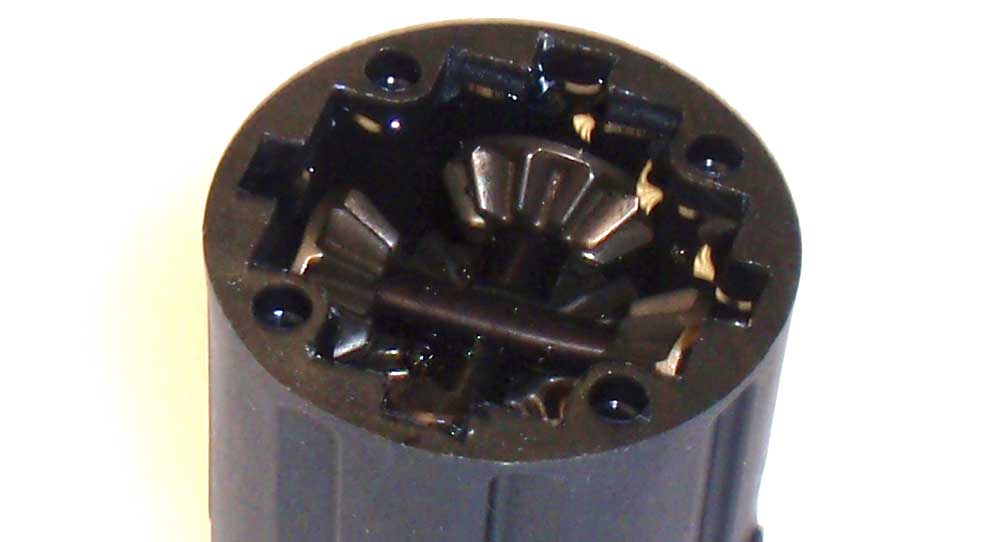
Fill the diff housing up with the included 20000CST fluid. Put just enough that it covers the top of the gears.
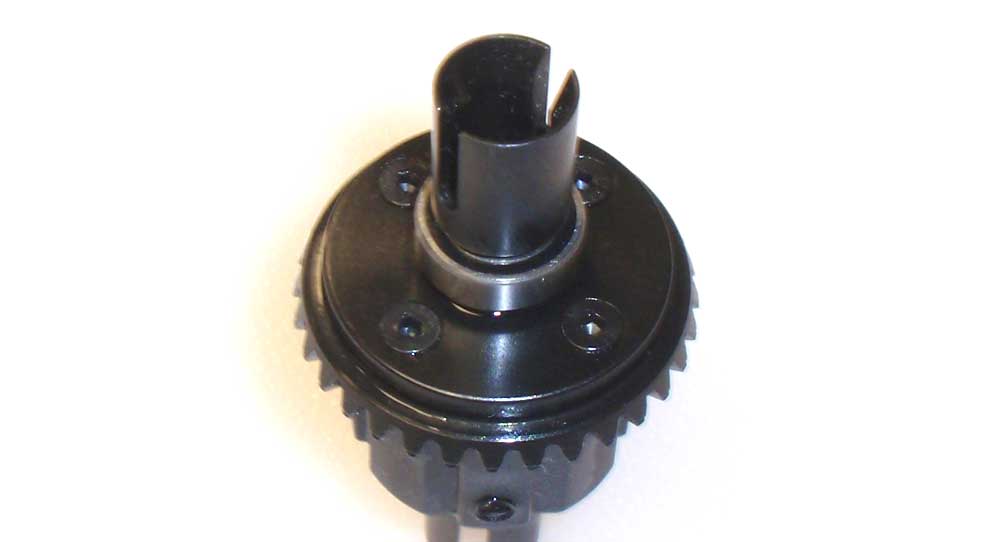
Take your gear-side assembly and flip it over onto the housing side, making sure you line up the holes in the gear to the holes in the housing. Screw together slowly, rotating the drive cups once or twice to make sure they are meshing correctly.
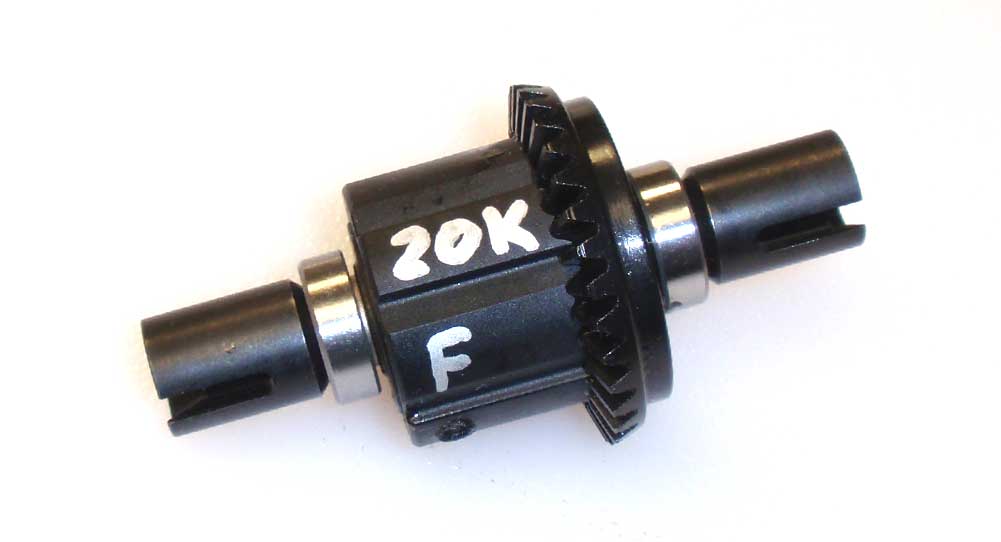
I like to write on the diff what fluid is in it as well as which end of the car it goes. Of course this is completely optional, but it is a good idea to help you keep track.
Front differential done!
 Axial Yeti XL Build – Part 1 – Front Differential
 Axial Yeti XL Build – Part 2 – Front Gearbox
 Axial Yeti XL Build – Part 3 – Rear Differential
 Axial Yeti XL Build – Part 4 – Rear Axle
 Axial Yeti XL Build – Part 5 – Front Suspension
 Axial Yeti XL Build – Part 6 – Steering
 Axial Yeti XL Build – Part 7 – Chassis
 Axial Yeti XL Build – Part 8 – Electronics
 Axial Yeti XL Build – Part 9 – Transmission
 Axial Yeti XL Build – Part 10 – Rear Suspension
 Axial Yeti XL Build – Part 11 – Shocks
 Axial Yeti XL Build – Part 12 – Body, Wheels, Tires
 CompetitionX CompetitionX is the most up-to-date source for RC Car News, Reviews and Videos for Radio Control. We also have the most comprehensive Manual Database on the web.

