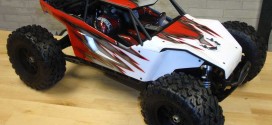
The Build – Part 9
Sitting in the center of this monster is the heart of the Yeti; a beefy 3-gear transmission that includes an external slipper clutch designed to take some major punishment.
 The Yeti comes equipped with a slipper that includes a pair of metal slipper pads as well as a pair of flexible pads. Toss the flexible ones aside; we need the meat of the metal ones for the XL.

Before we begin, take a look a the two bearings we’ll be using during this step. The 5×11 bearing on the left will be used on the top and center shaft; the 6×12 bearing on the right will be used on the lower output shaft.
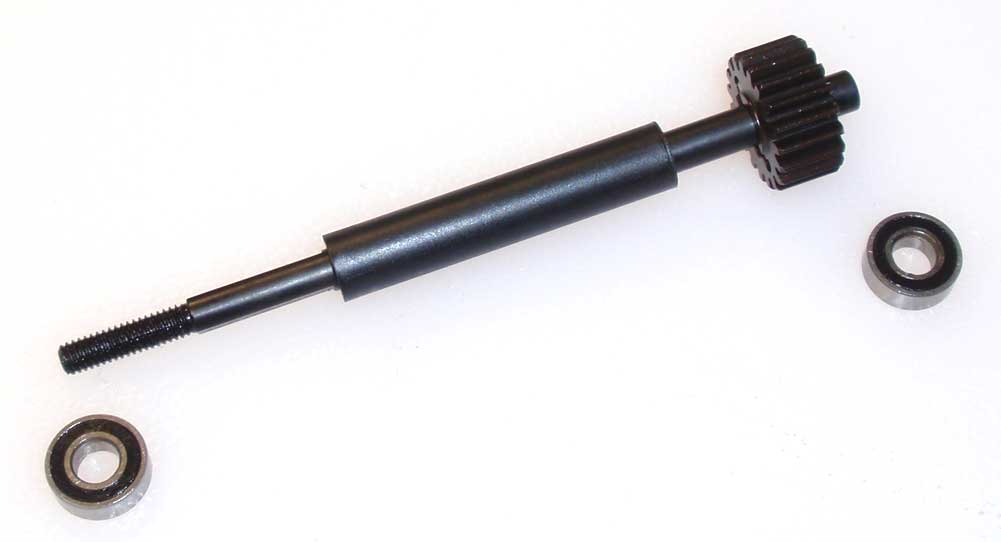
Insert a 2×10 pin in the top shaft followed by the top shaft gear. Slide the long plastic spacer over the top shaft and install a 5×11 bearing on each end.
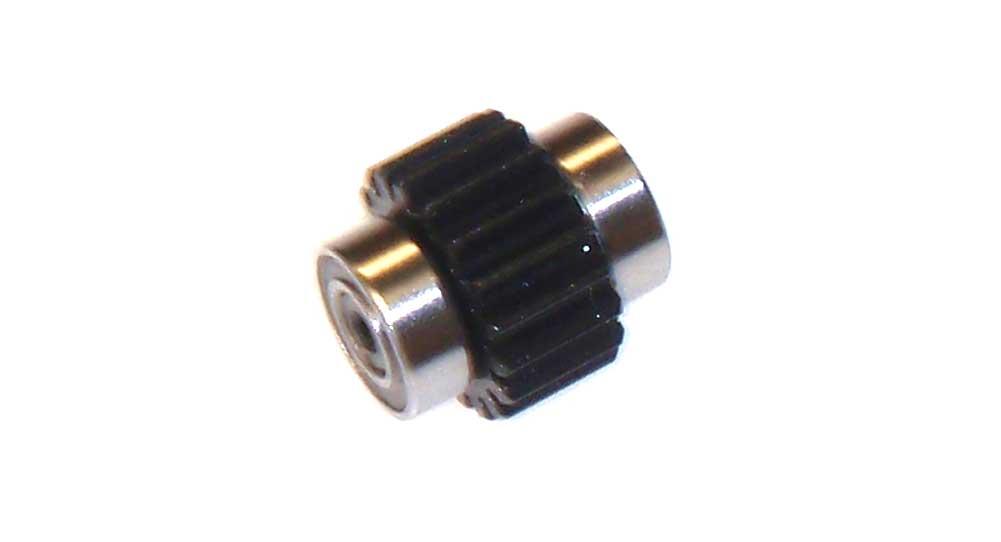
Insert a 5×11 bearing on each end of the center idler gear.
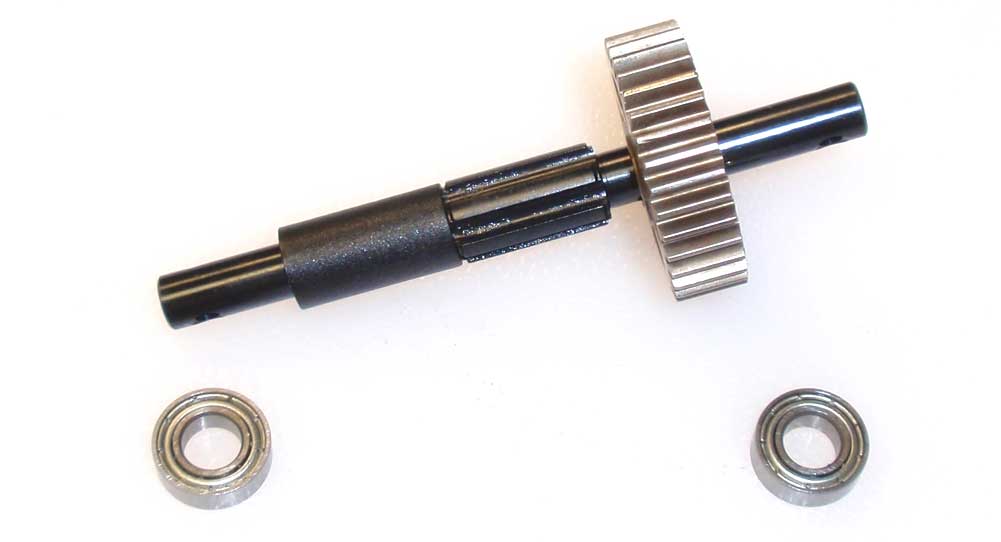
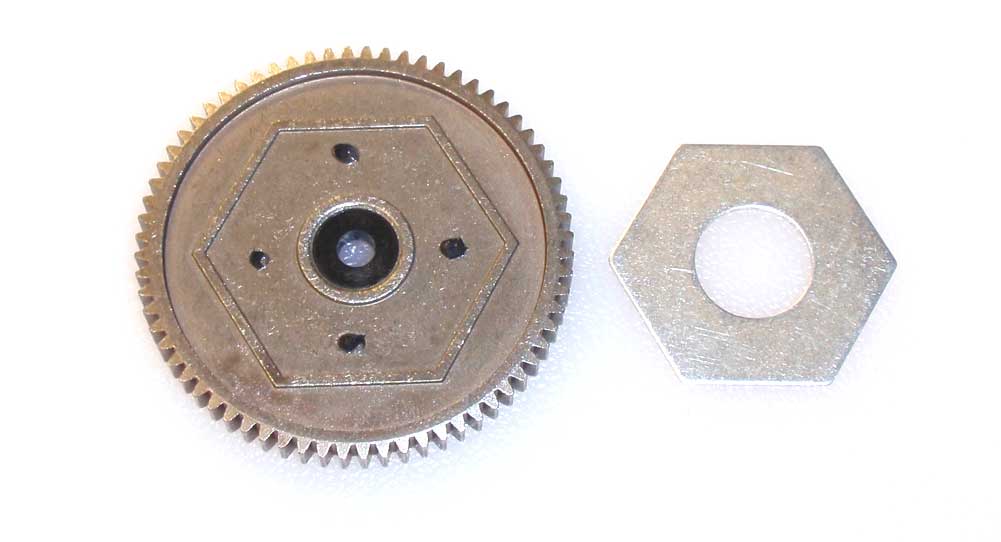
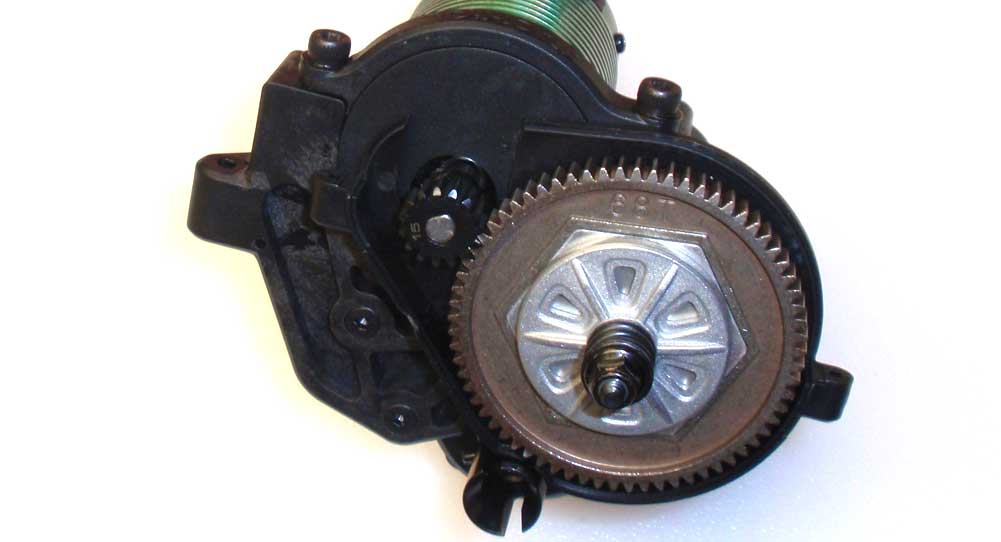
Insert a 2.5×12 pin into the output shaft followed by the 34T main gear. Slide the short plastic spacer over the output shaft, then install a 6×12 bearing on each end.
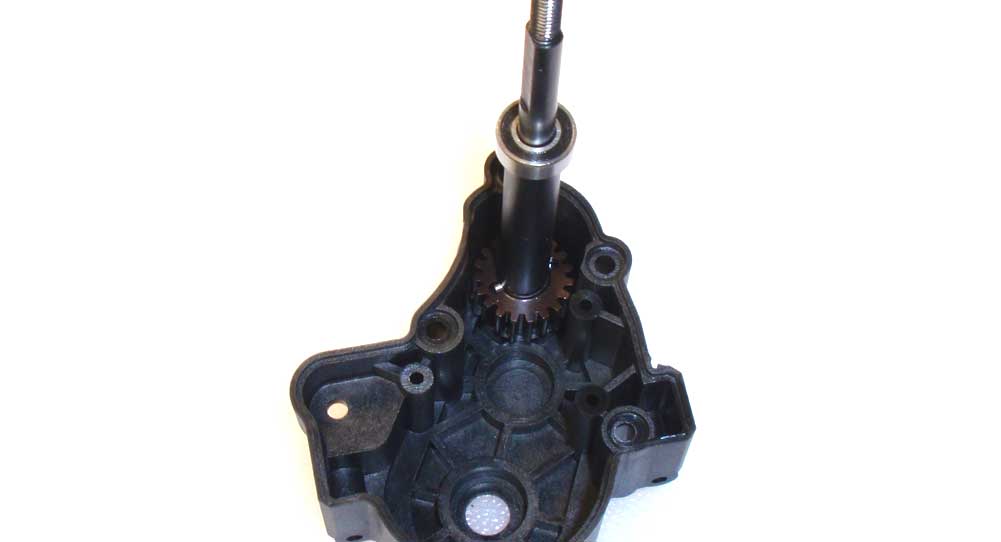
There is a method to installing the gears into the transmission case, so start by pressing the top shaft into place.

Next, press the idler gear into place.
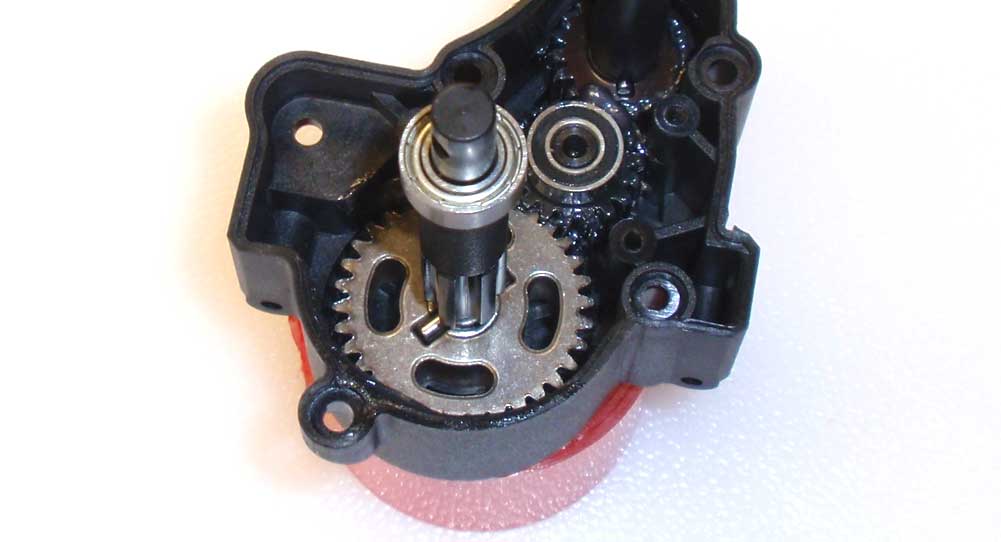
Apply a liberal amount of the included grease to the main gear and press the output shaft assembly into place. Rotate the output shaft a few times to spread the grease around. Finally, install the idler gear ‘cap’ and screw in place. Do not overtighten!
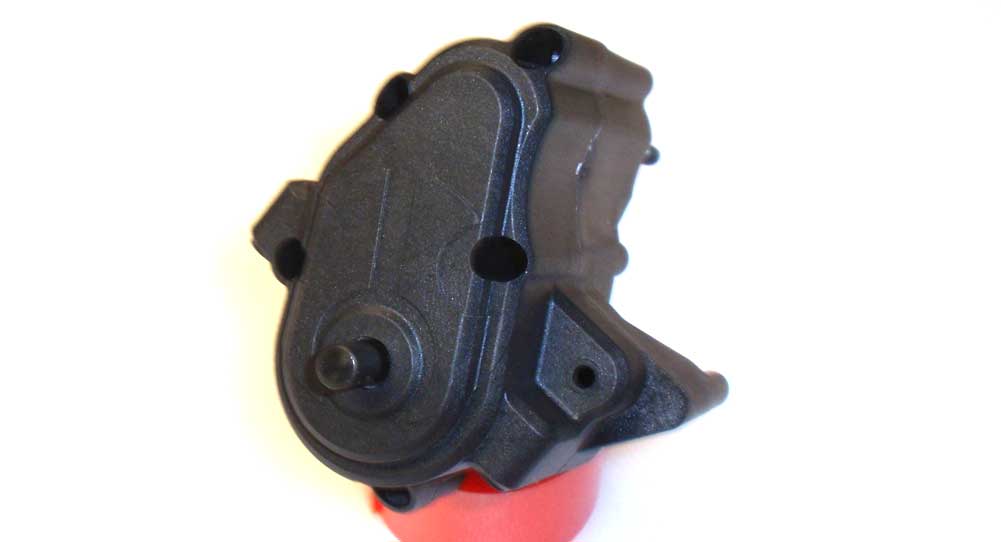
Mate and screw the two transmission halves together. Make sure the gears and bearing seat correctly before buttoning it all up.
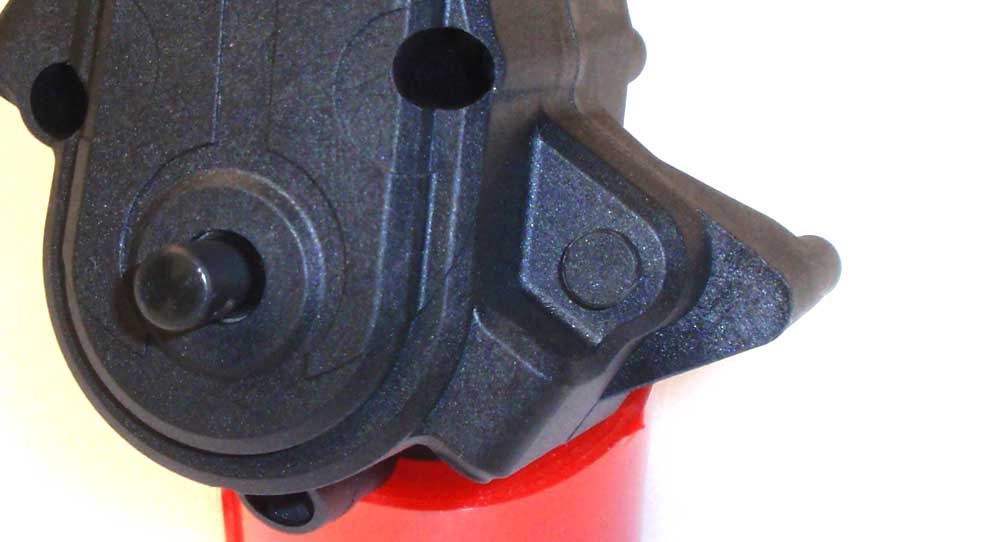
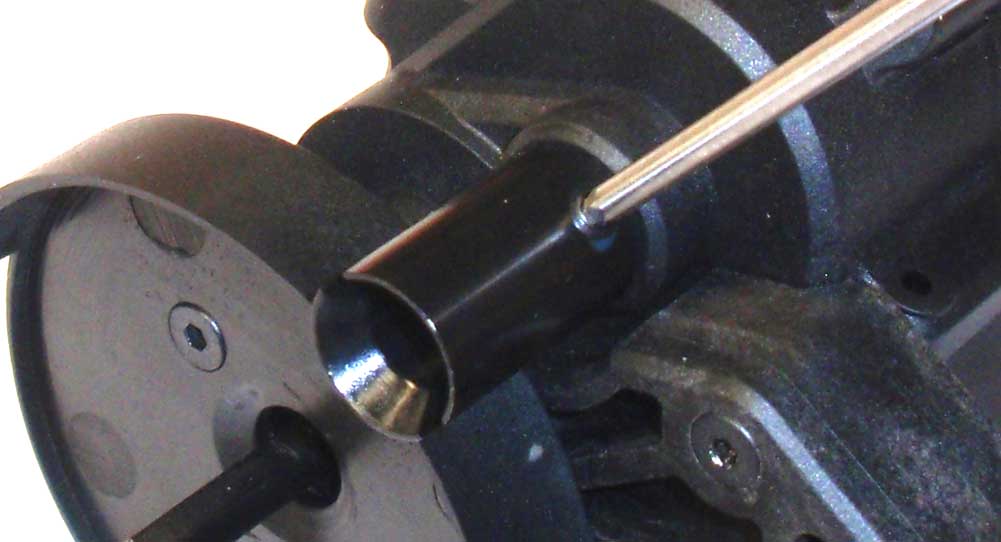
Press the rubber plug into place.
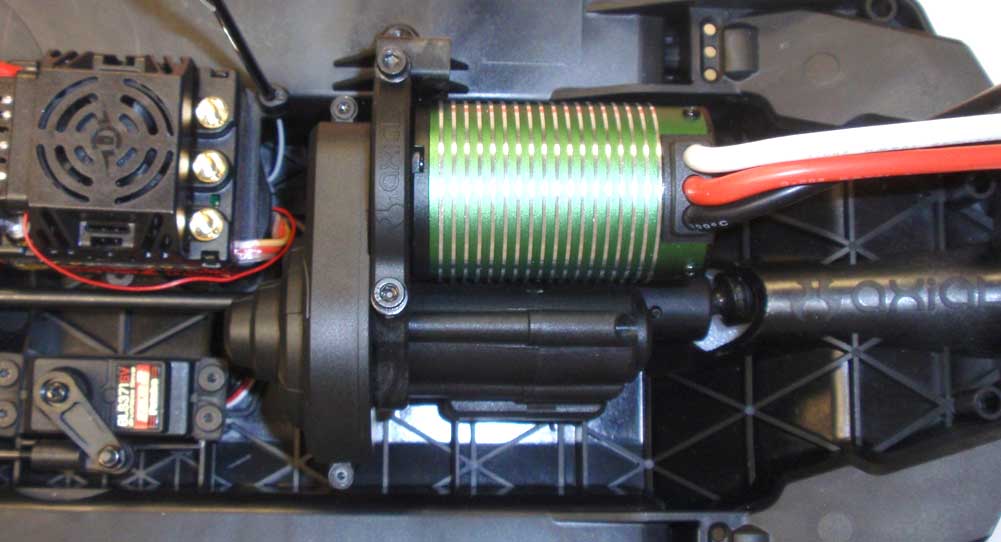
Attach the plastic motor mount to the transmission.
Attach the inner gear cover to the motor mount.
Slide the drive cup onto the output shaft and secure with the M4 setscrew. A drop of threadlocker is suggested here.
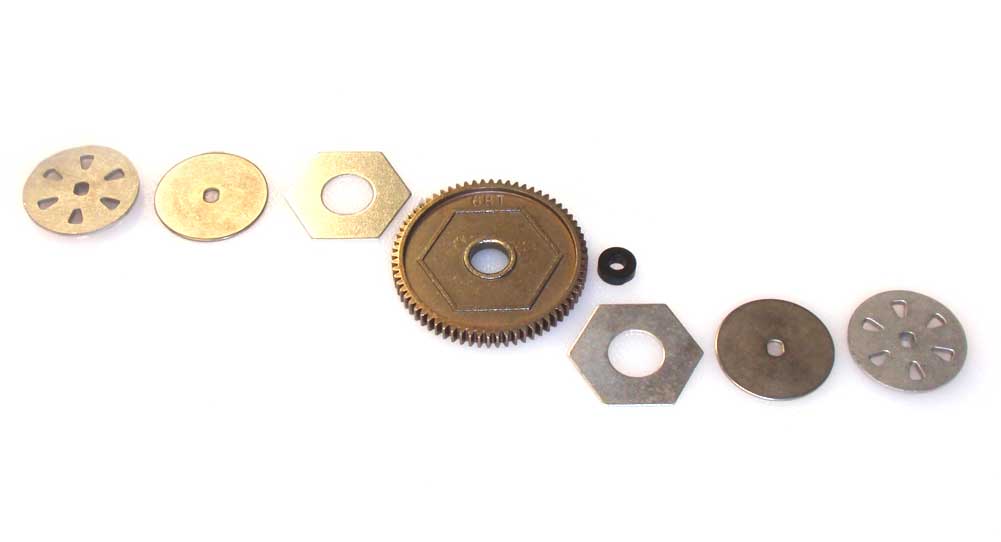
There’s quite a few parts that go into the slipper assembly. I’ve laid them out to show you how everything goes together.
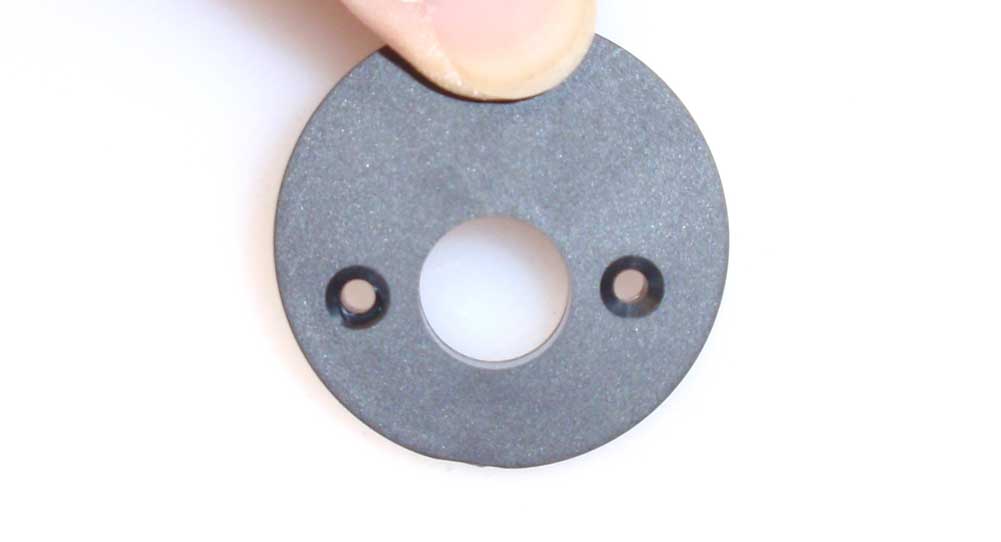
Press the plastic spacer into the spur gear and attach both slipper pads. I used a few small drops of black grease to hold the pads to the gear.
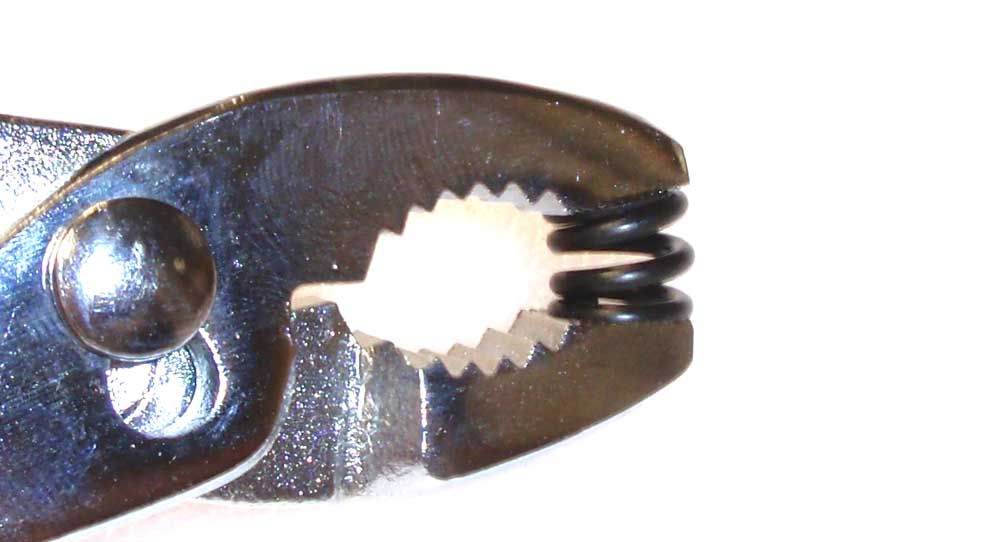
Pre-compress the slipper spring a few times to settle it in.
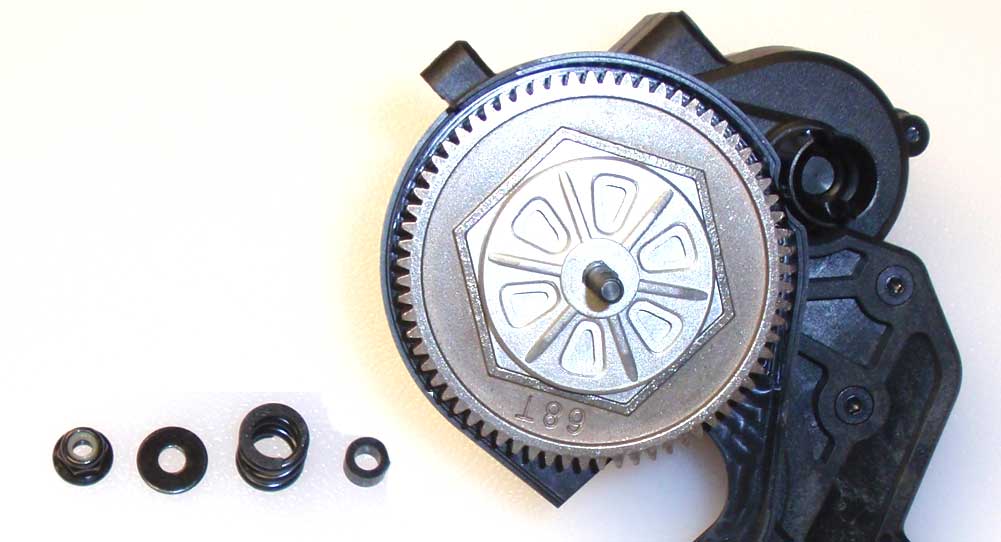
Slide the inner slipper hub on the top shaft followed by the slipper washer, spur gear assembly, another slipper washer and then the outer slipper hub. Install the plastic spring centering spacer, the slipper spring, a 4×11 washer and the slipper nut.
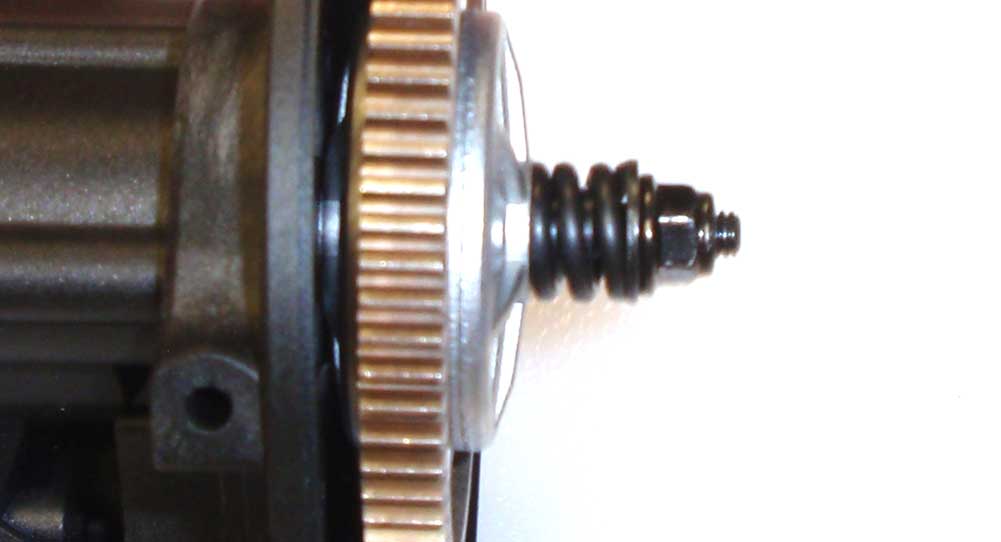
Tighten it down all the way and then back it off until there is about 2mm of thread showing.
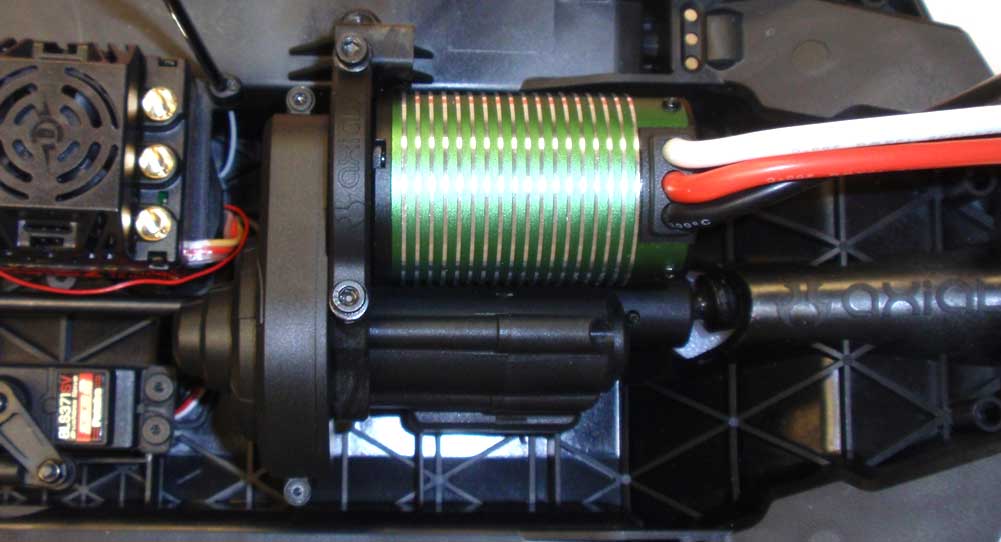
Assemble the motor mounting plate. It actually goes together in a few different ways but just make sure the screws holes align as shown in the picture.
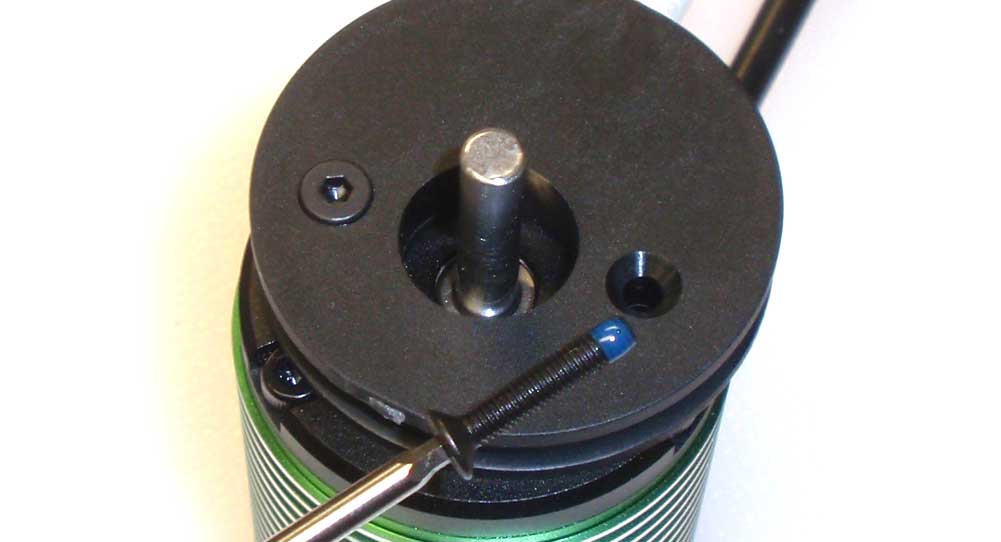
Attach the motor mount plate to the motor. A drop of threadlocker on the screws will help prevent them from coming loose during your ham-fisted playtime.
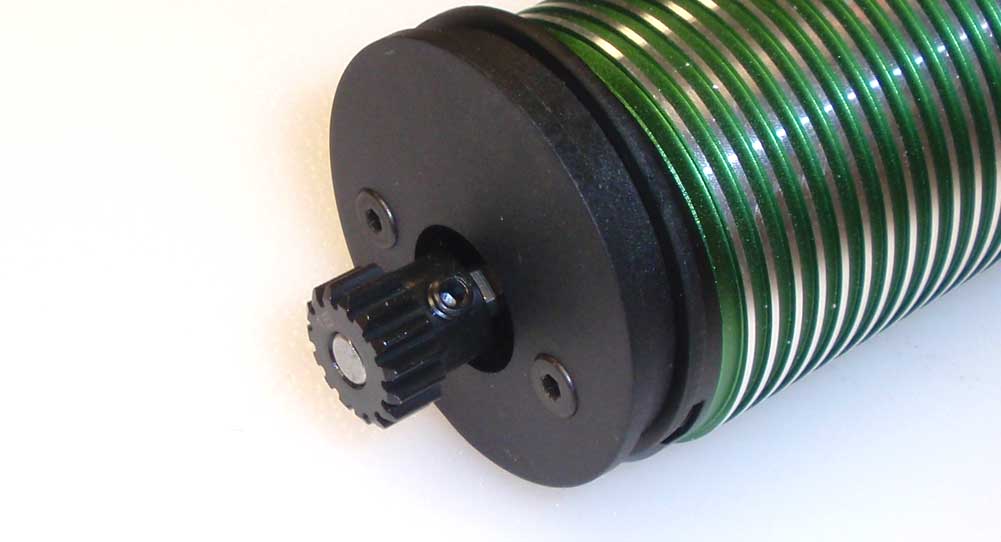
Install the supplied pinion, making it flush with the end of the shaft. We can adjust it, if neede, in the next step. Threadlocker on the set screw is suggested.
Slide the motor assembly into the grooves in the motor mount and capture with the plastic cap. Once you’ve set the gear mesh, tighten the screws down good and tight. You can now adjust your pinion in or out to match the spur gear.
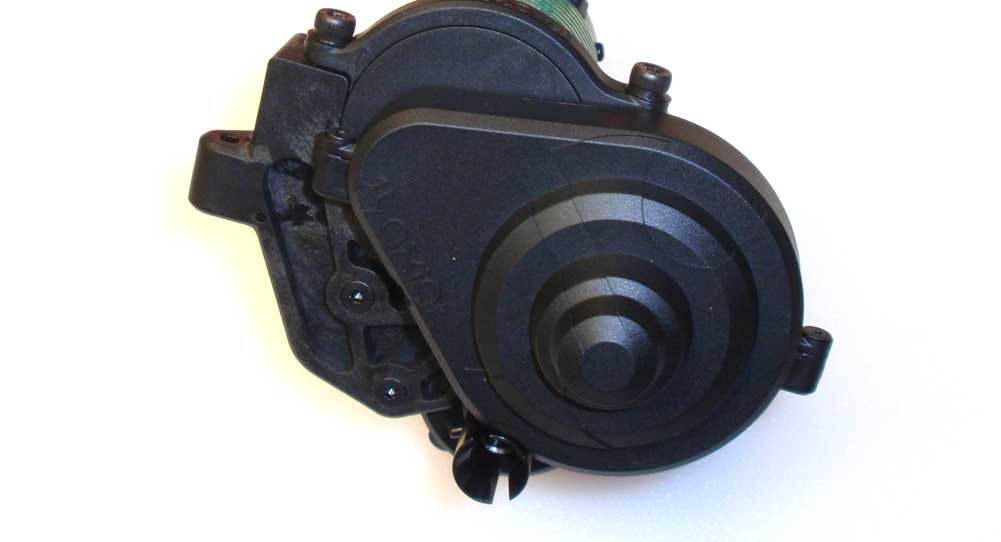
Install the gear cover.
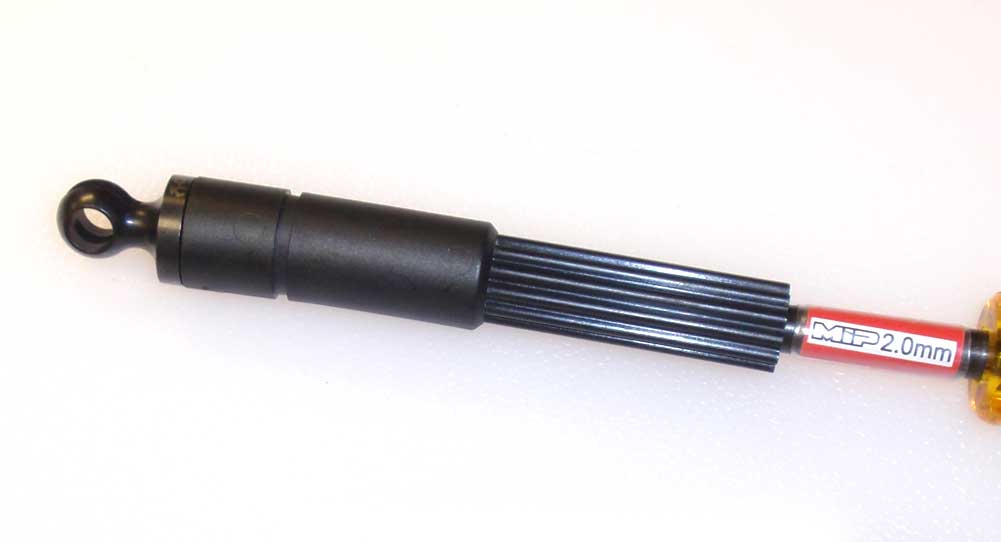
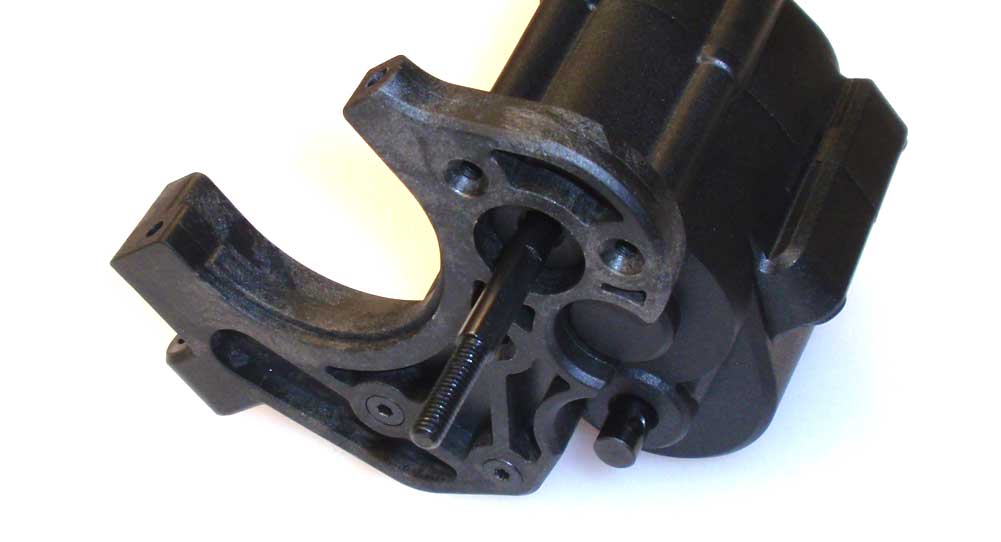
Attach the CVD stub to the slider shaft. Use a dab of threadlocker on the M3 screw.
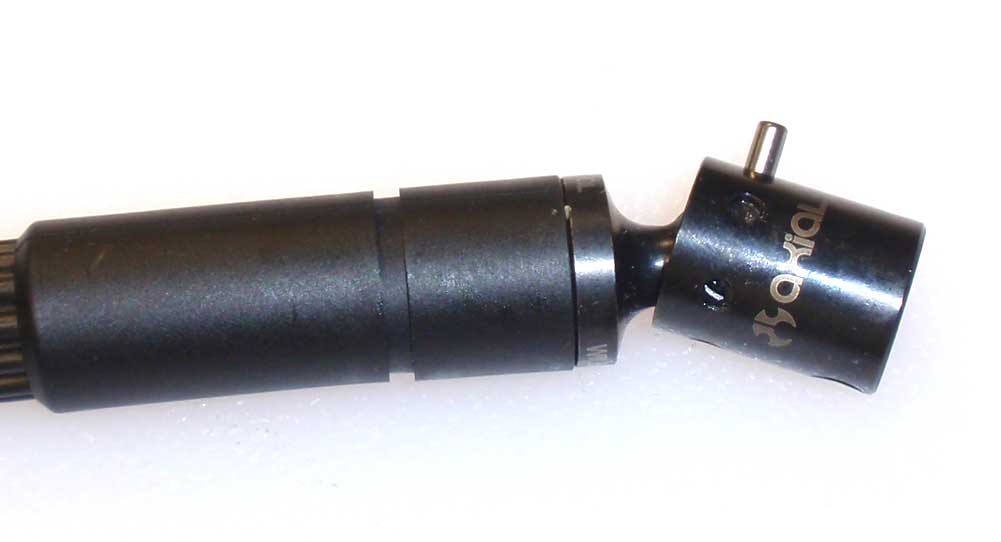
Build this axle like you’ve done with the other CVDs; barrel into the ball, cup over the ball and capture with the pin. Don’t forget the black grease.
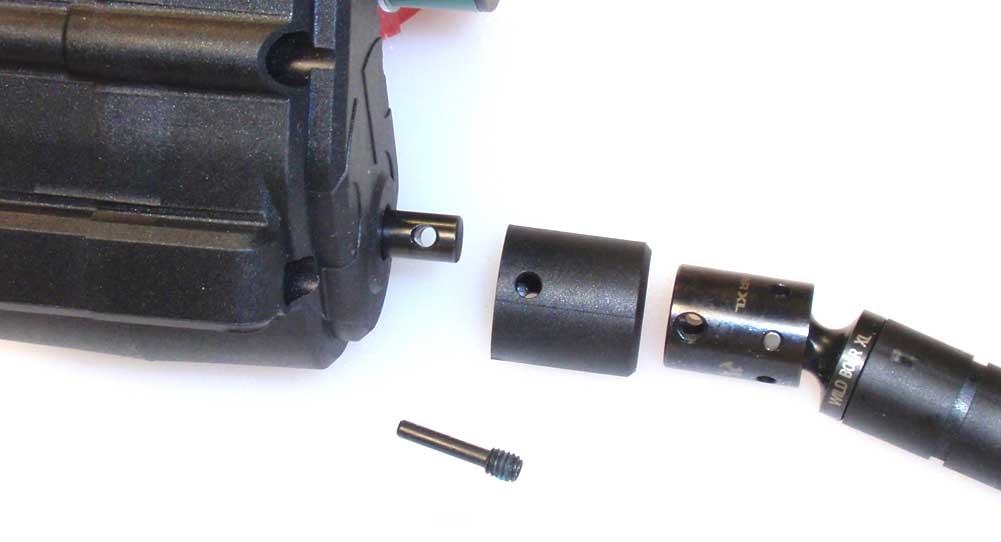
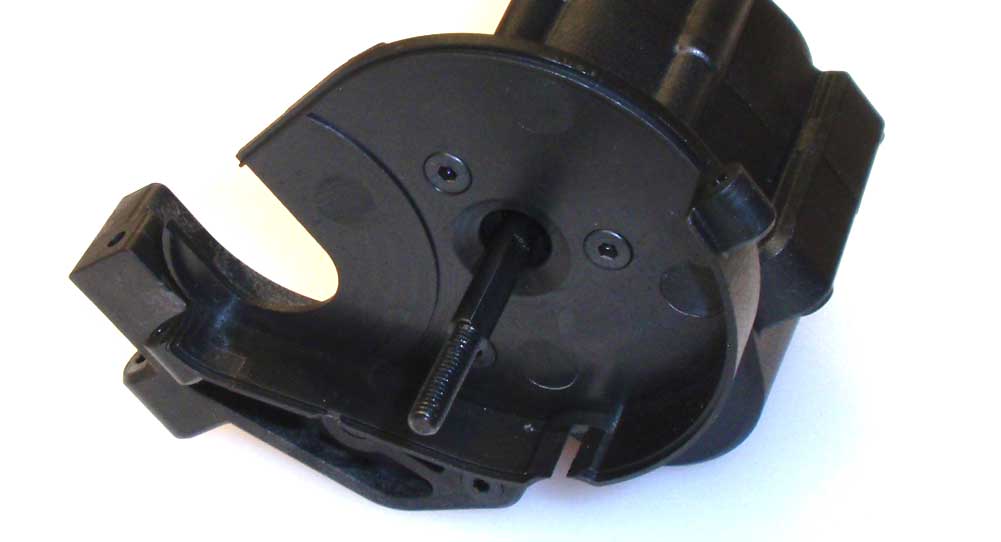
Slide the CVD assembly into the plastic cap. This cap is used to retain the pin you installed in the last step. Slide this assembly onto the outpt shaft and secure with the M4 set screw. Don’t forget a dab of threadlocker.
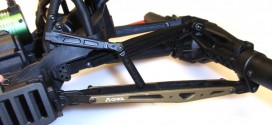
Slide the CVD slider through the opening in the rear of the chassis. Key the front drive axle to the output shaft on the other side of the transmission and lower into place. Attach the transmission to the chassis with the four M3x30 screws. Screw them in a little at a time until all four are tight.
Awesome job. Give the rear CVD a turn to make sure the drivetrain is rotating freely. There will be a little resistance depending on the motor you are using, but overall it should turn smoothly. Next up, the rear suspension.
Axial Yeti XL Build – Part 1 – Front Differential
Axial Yeti XL Build – Part 2 – Front Gearbox
Axial Yeti XL Build – Part 3 – Rear Differential
Axial Yeti XL Build – Part 4 – Rear Axle
Axial Yeti XL Build – Part 5 – Front Suspension
Axial Yeti XL Build – Part 6 – Steering
Axial Yeti XL Build – Part 7 – Chassis
Axial Yeti XL Build – Part 8 – Electronics
Axial Yeti XL Build – Part 9 – Transmission
Axial Yeti XL Build – Part 10 – Rear Suspension
Axial Yeti XL Build – Part 11 – Shocks
Axial Yeti XL Build – Part 12 – Body, Wheels, Tires