The Build – Part 8
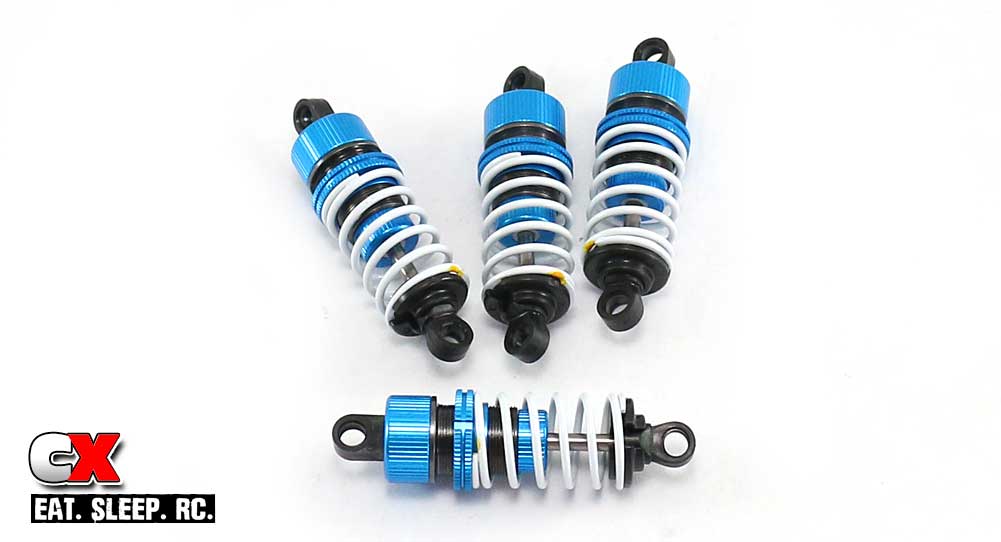
One area Tamiya has the edge on the competition and that’s their amazingly smooth shocks. The TA07 Pro comes with a full set of TRF dampers – an awesome addition that racers will love!
 As with any builds, the shocks can be a pretty messy step at times. Be sure to have a clean area with some extra rags available to clean up any spilt fluids.
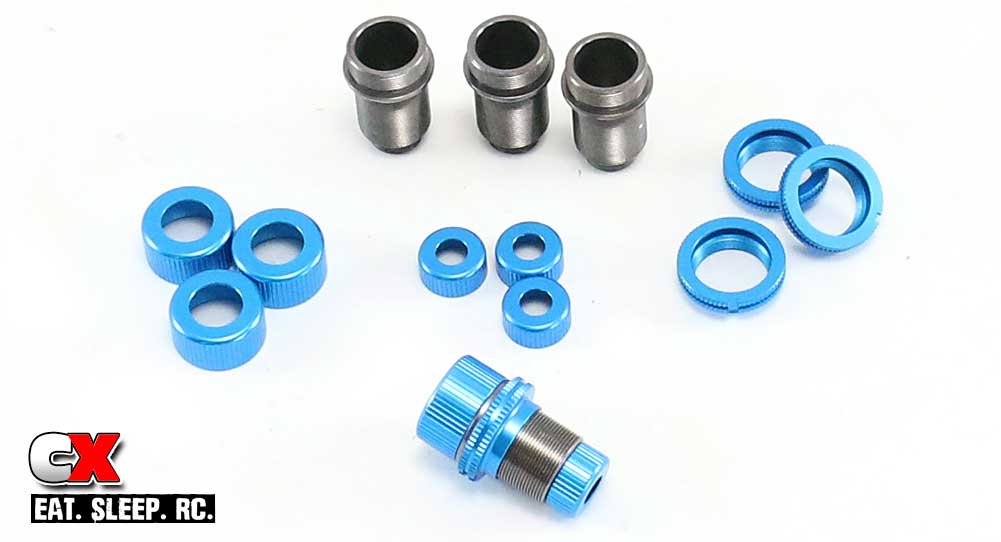
Tamiya’s shocks come pre-assembled, so you’ll need to separate everything before building.
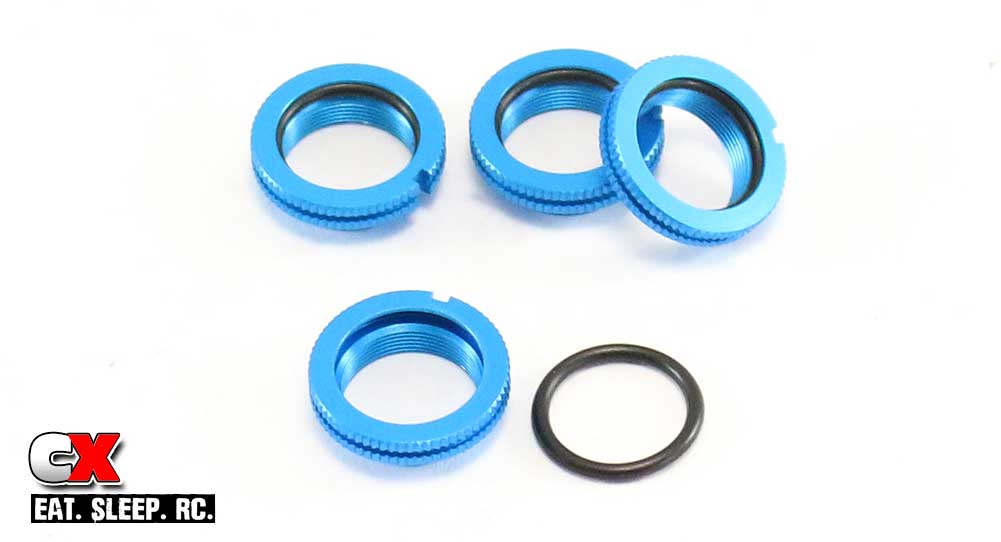
While this is a bit out of order, I always install the o-rings into the collars before anything else. Once your hands get any type of oil on them (and then transferred to the o-rings), this step can become a nightmare. Dry o-rings are easier to install.
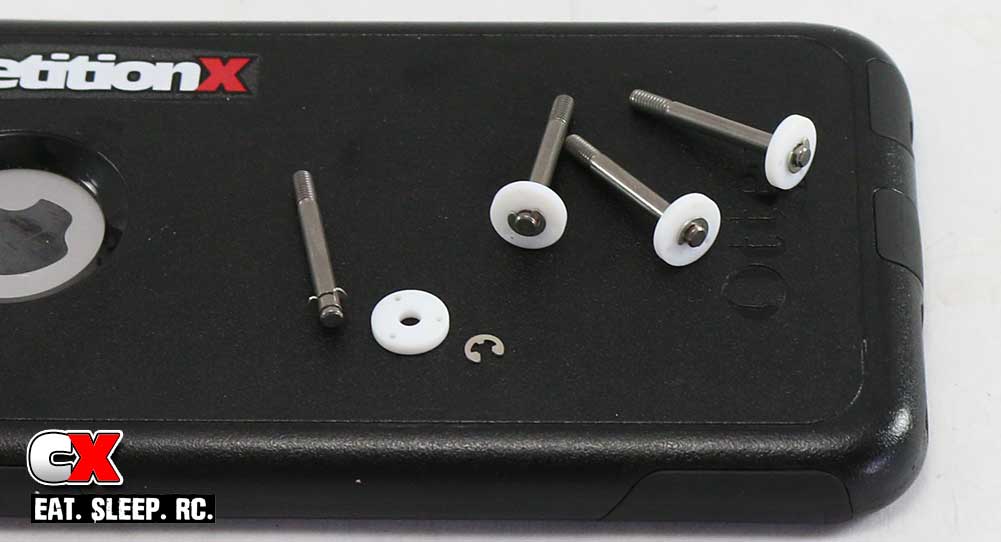
Snap an e-clip into the bottom groove on the shock shaft followed by the white pistons. Secure the piston by installing another e-clip into the top groove.
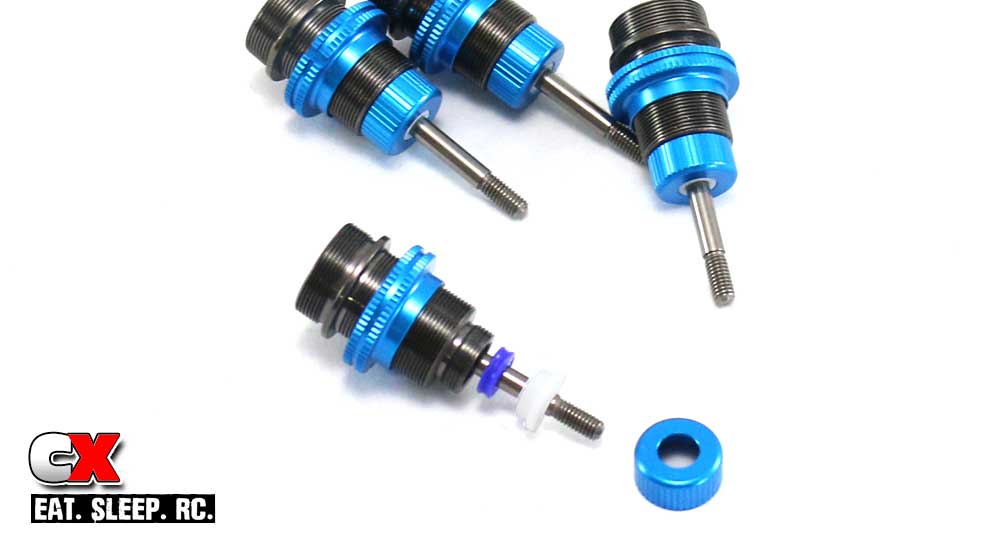
Place a small drop of oil on to the shock body, then feed the threaded collar on. Slide the assembled shock shaft down through the shock body, then apply a small drop of shock fluid onto the threads. Slide the blue o-ring and bottom plastic retainer on to the shaft and up into the bottom of the shock body, then install the bottom retainer cap.
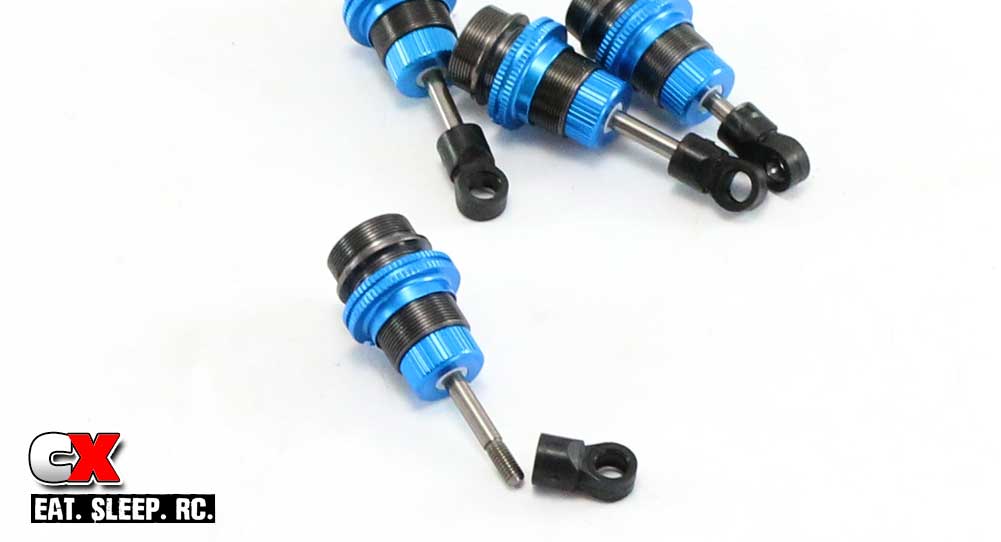
Attach the lower shock eyelet. Screw on until the threads on the shaft disappear. Make all four shocks equal length.
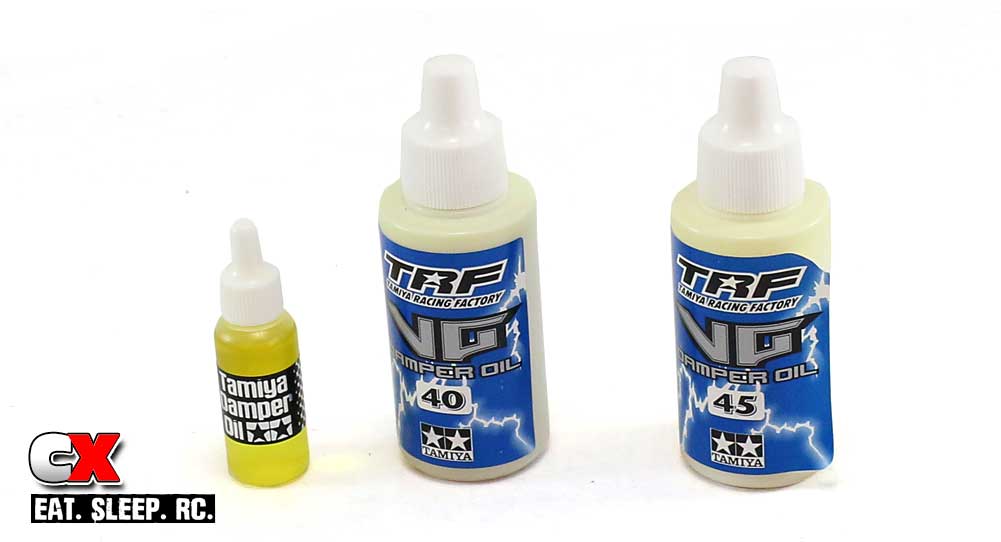
Tamiya usually supplies it’s kits with their generic yellow damper oil. This is ok for cruising around the cul-de-sac, but for performance purposes we’ll need to put some high-end fluids in. I’m opting for 45wt and 40wt oils, both from Tamiya’s TRF line.
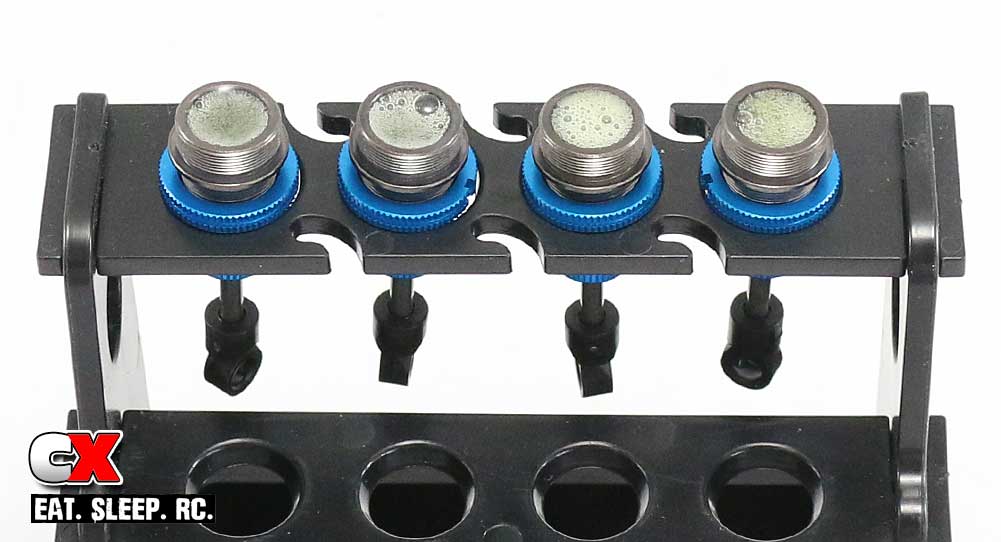
Fill the shocks up with oil. Slowly move the shock shaft up and down to release any air bubbles, placing them in a shock stand to allow the bubbles to disperse. As you can see, there’s quite a few bubbles in these shocks. Also, if you are using different shock fluids, make sure you mark the shocks so you don’t get them mixed up.
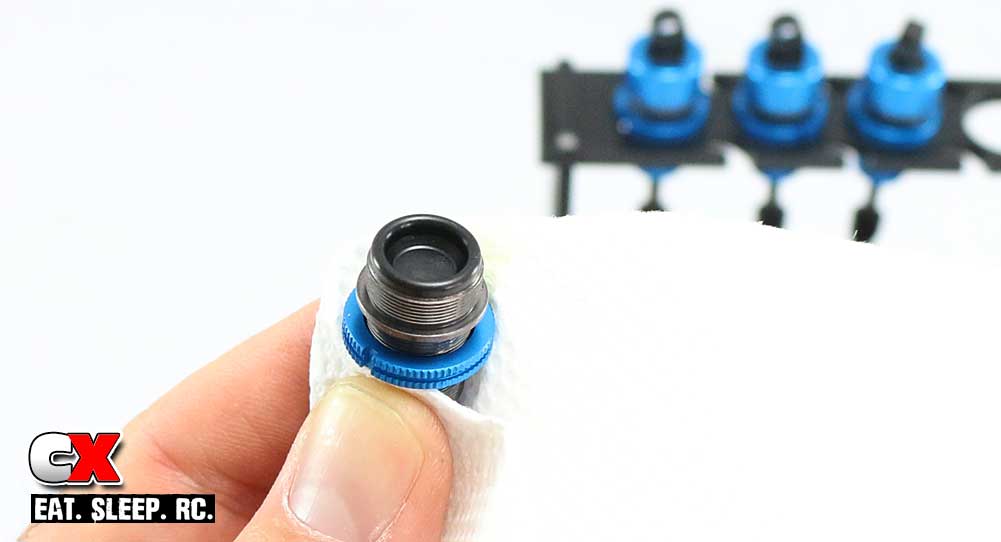
Once all the bubbles are gone, re-fill the shock to just below the top (if needed). When placing the rubber bladder on top, it will probably displace some of the oil; this is fine. Just make sure the bladder seats correctly on top of the shock (as shown in the photo).
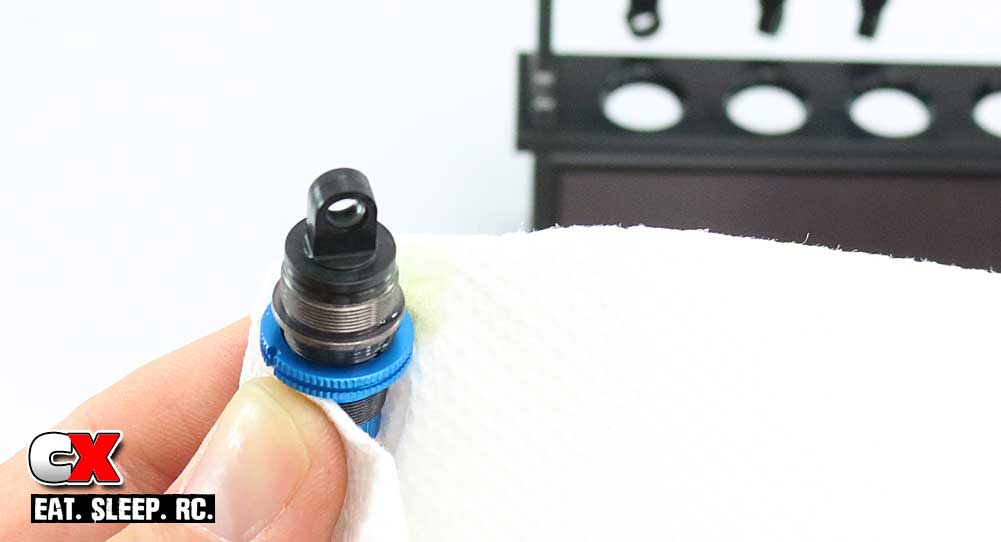
Place the plastic cap on top of the bladder…
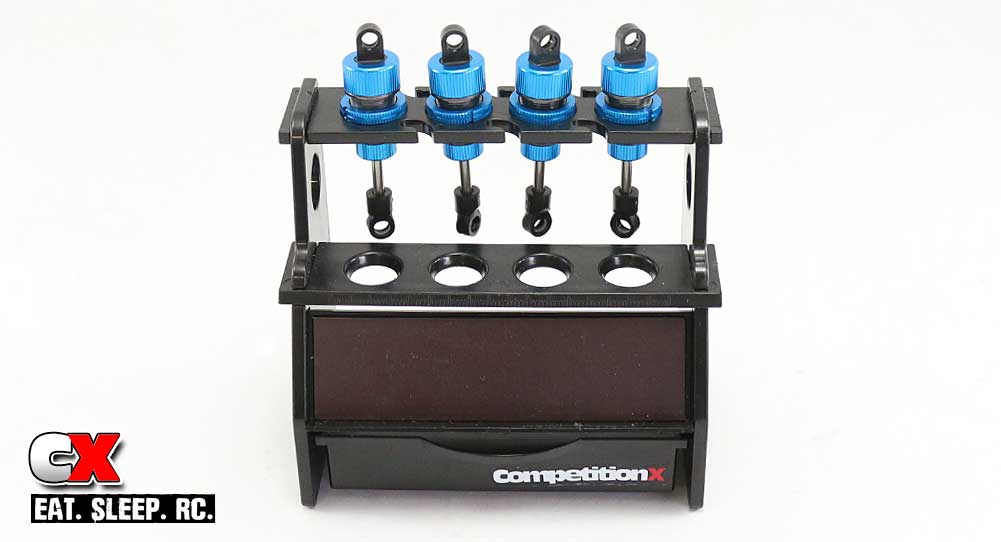
…and screw the aluminum shock cap on. Once done, you’ll have four little silky smooth dampers!
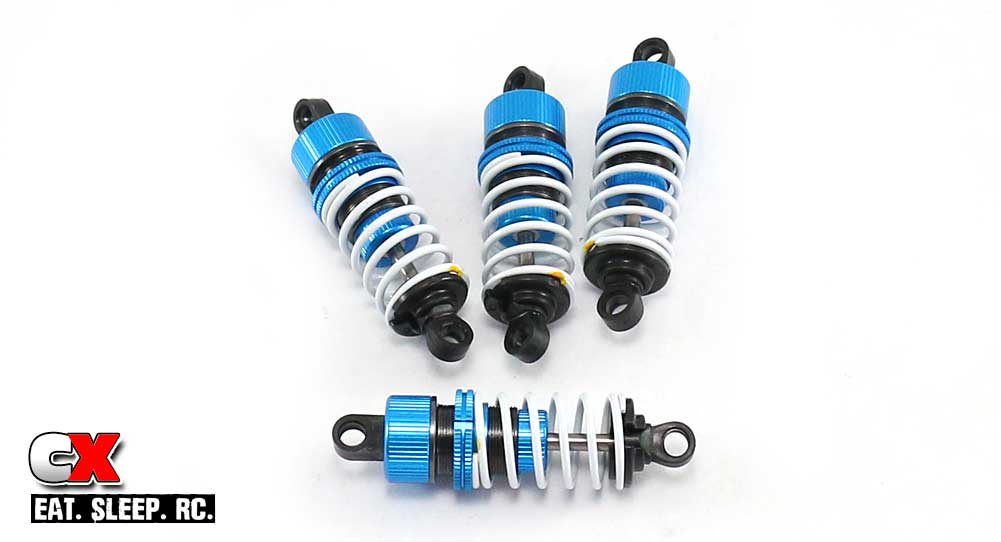
Slide the springs on and capture with the lower spring retainers.
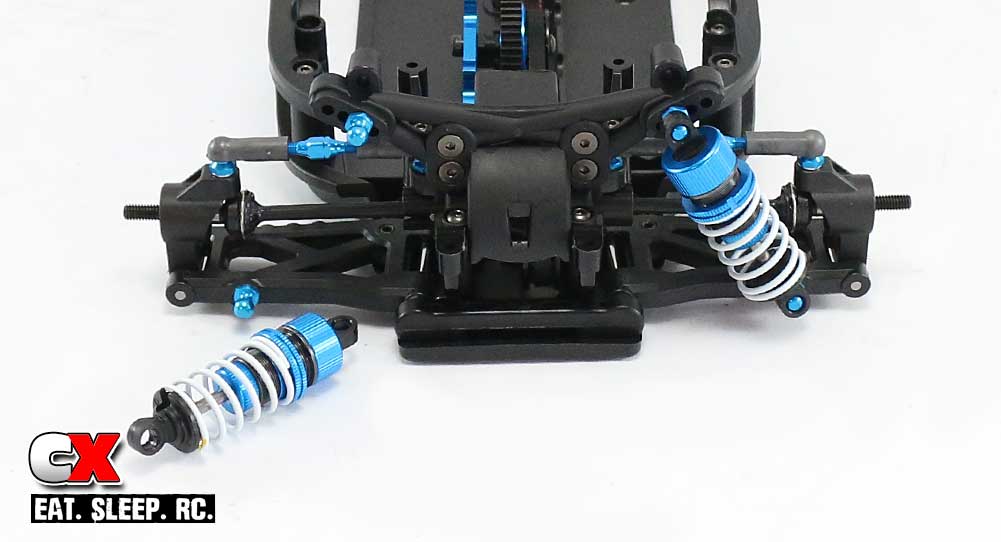
Assemble the rear shock tower and attach it to the diff bulkhead cap. Pop the shocks onto the blue ball ends.
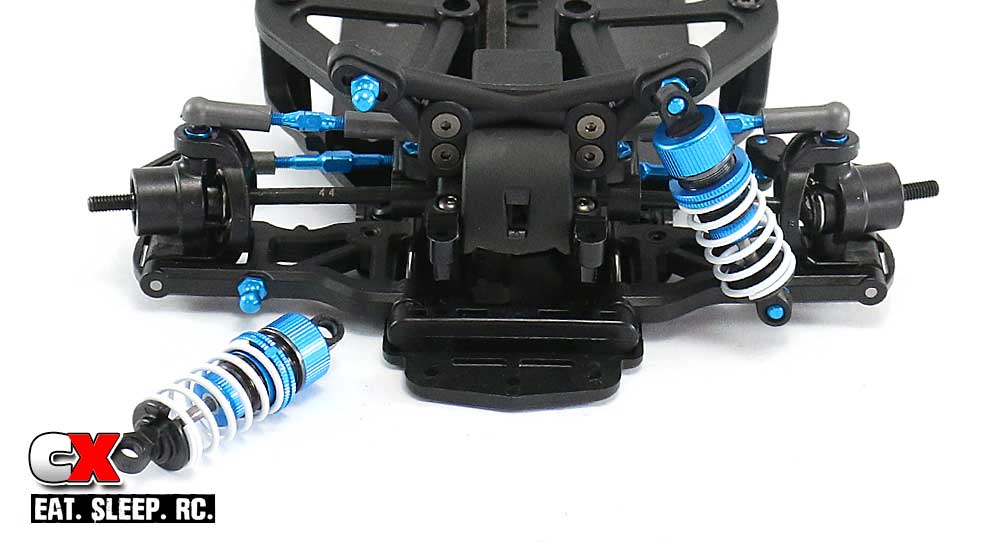
Assemble the front shock tower and attach it to the diff bulkhead cap. Pop the shocks onto the blue ball ends.
The shocks are done! Clean up your mess and let’s get to the next section – the electronics!
Tamiya TA07 Pro Build – Part 1 – Rear Suspension
Tamiya TA07 Pro Build – Part 2 – Front Suspension
Tamiya TA07 Pro Build – Part 3 – Motor Mount
Tamiya TA07 Pro Build – Part 4 – Differentials
Tamiya TA07 Pro Build – Part 5 – Motor Mount / Drive Belt
Tamiya TA07 Pro Build – Part 6 – Steering
Tamiya TA07 Pro Build – Part 7 – Knuckles / Rear Hubs
Tamiya TA07 Pro Build – Part 8 – Shocks
Tamiya TA07 Pro Build – Part 9 – Electronics
Tamiya TA07 Pro Build – Part 10 – Wheels / Body Mounts / Battery Tray
 CompetitionX CompetitionX is the most up-to-date source for RC Car News, Reviews and Videos for Radio Control. We also have the most comprehensive Manual Database on the web.
