As RC enthusiasts, we’re always finding ways to customize our gear to make it our own. We add flashy paint on our cars, mark our tools for better identification and even sticker up our pit mats, pit lights and chargers to add some character. One item I rarely see addressed, though, is the transmitter. I’m not sure why; it’s one of the most used tools in our arsenal.
Sadly, I have to admit that I’m one of these people. I’ve had my Futaba 4PX for a LONG time now and it’s still in it’s original state, so I figured it was time to give it a fresh look.
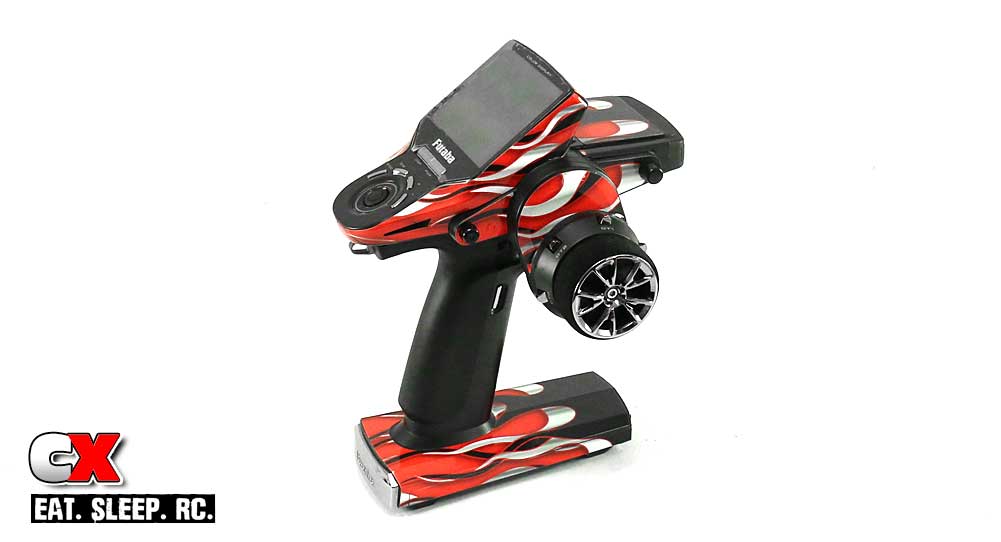
For this How To, I’ll be installing a custom FreqEskinz Hotrod Red Chrome vinyl wrap on my radio. I chose this design because it has a lot of red, white and black – those are my colors. It’s a pretty simple procedure that only takes about 15 minutes, but the transformation is pretty epic.
Items Needed For Install
• Isopropyl Alcohol to clean the case so the wrap will adhere.
• A heat gun (not a hair dryer). This helps soften the wrap to make it adhere to complex corners.
• An Xacto knife, preferably with a new blade. You may or may not need this – I did so I’m including it in the Items Needed.
• Good lighting, especially helpful if you’re installing a black wrap on the black radio.
Note: While we are using a wrap from FreqEskinz and a Futaba transmitter, this procedure should work with anyone’s wrap and radio.
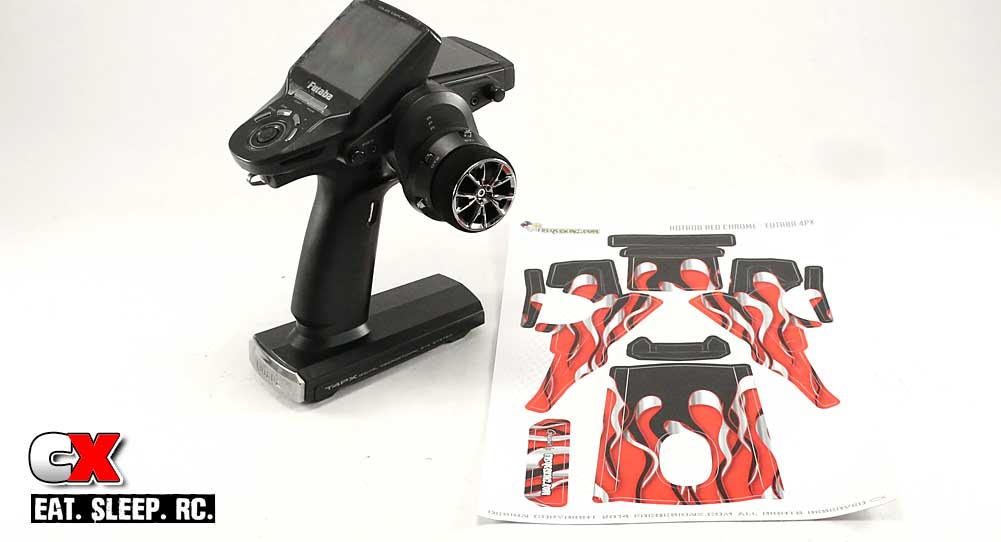
We received our FreqEskinz wrap in a strong, flat USPS envelope. It came with the wrap (shown here) and a few additional FreqEskinz sticker sheets.
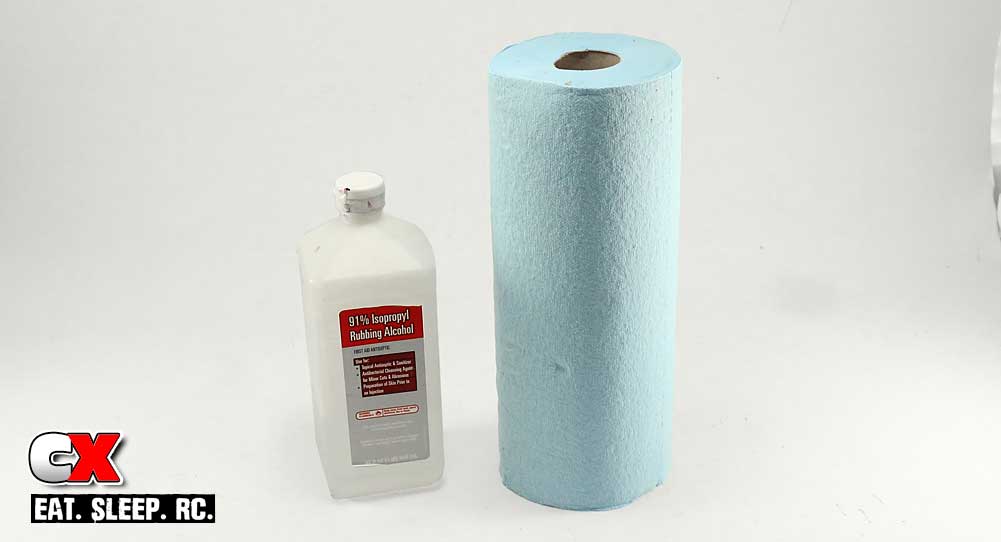
Before applying the wrap, we need to make sure the radio is completely free of oils or other residue. This will allow the wrap to adhere better for a longer lasting application. I’m using 91% Isopropyl Rubbing Alcohol, however a lower percentage version will work. This is from my wife’s stash – she won’t mind.
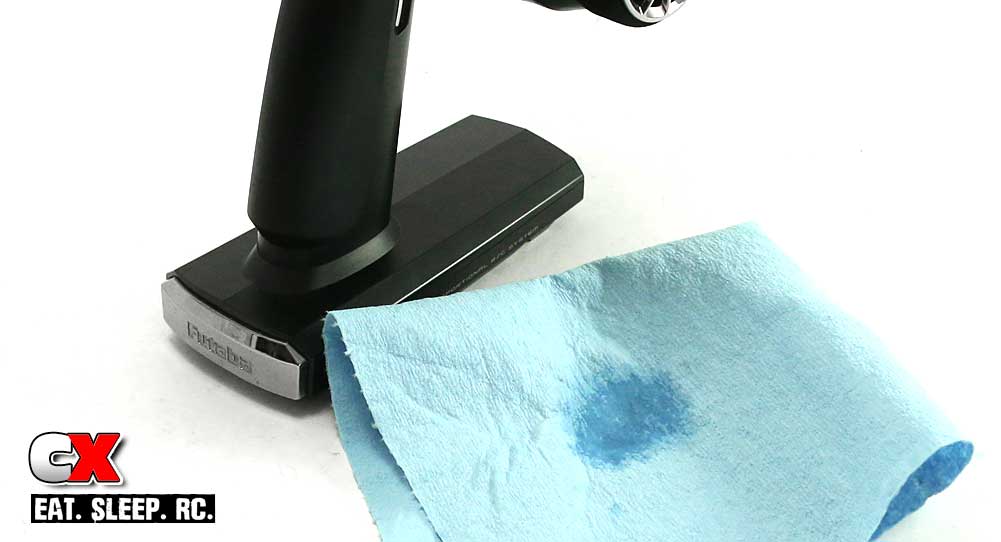
Squeeze a little of the alcohol onto your rag (or towel) and scrub the areas of the case the wrap will cover, ie, the base, top, sides, etc.
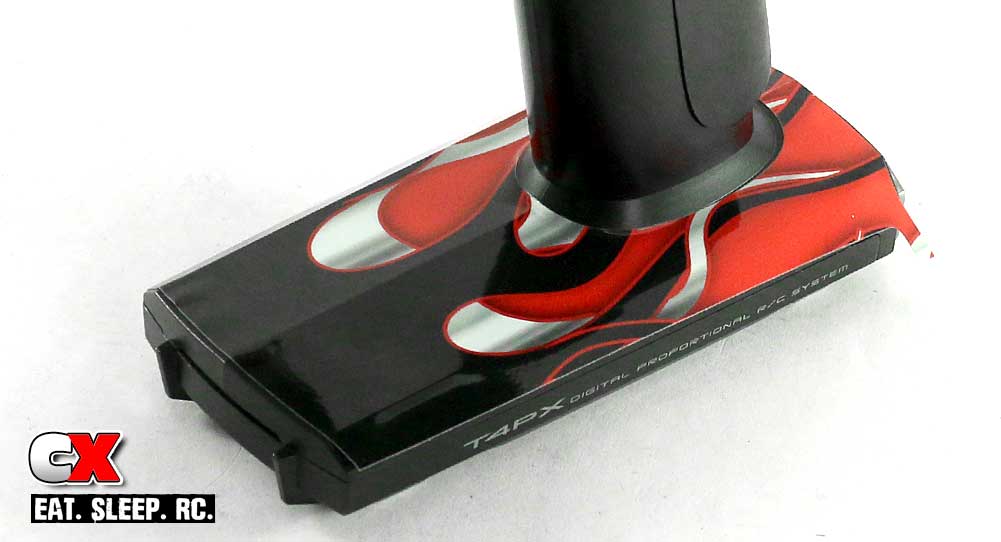
Once clean, you can apply the wrap. I started with the base, lightly setting it down at the front and working the wrap towards the back. It’s a semi-peel-n-stick design so you can pull it up and start again if you’re not happy with the initial placement.
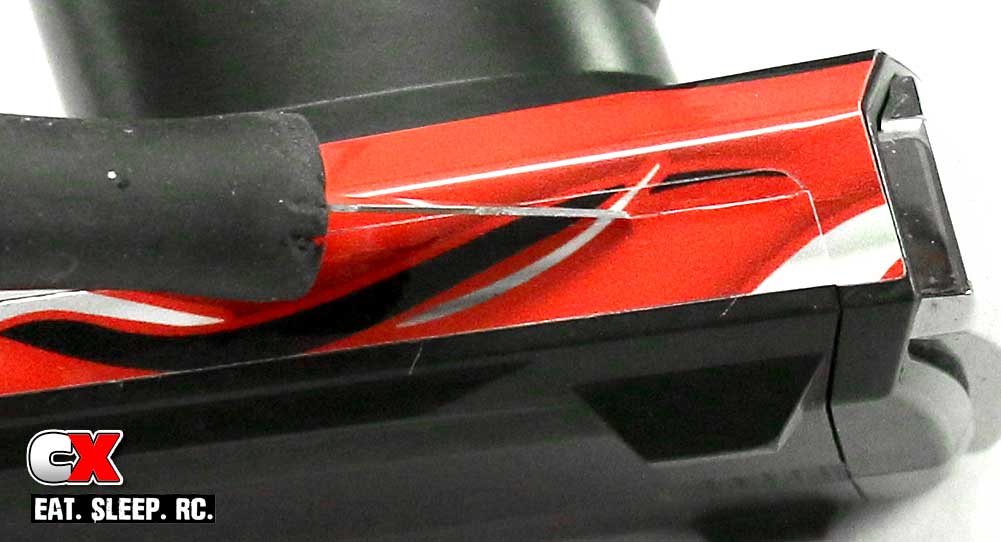
The wrap comes with separate pieces for the battery door but, because of a small gap, I chose to apply them flush with the base piece. This left a slight overlap on the battery door that prevented it from opening; here’s where the Xacto comes in handy. I just scored a new line and the battery door slid off like butter.
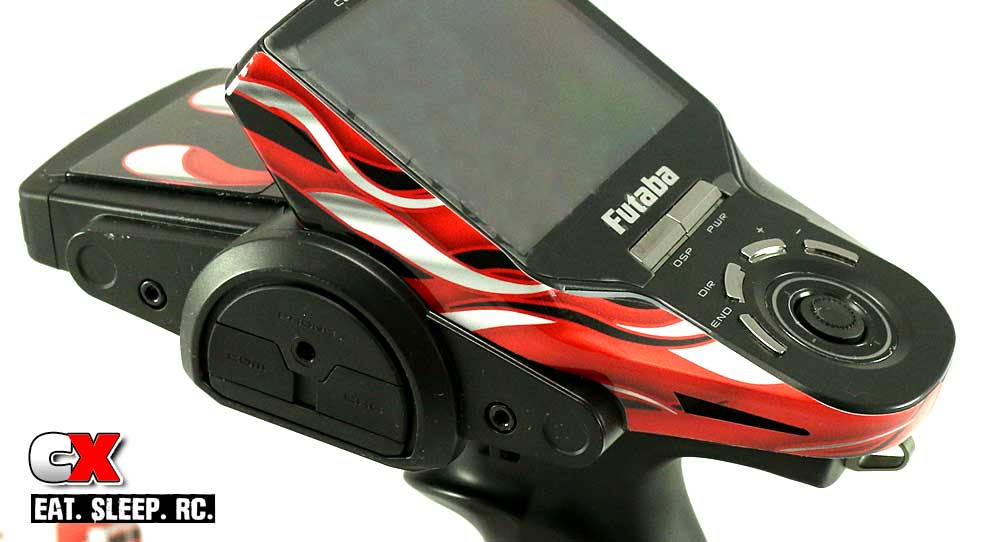
Continue applying the wrap as shown. Even though it feels pretty thick, it conforms to irregular shapes pretty good. To make sure it says conformed, we’ll follow this up with a little heat in a bit.
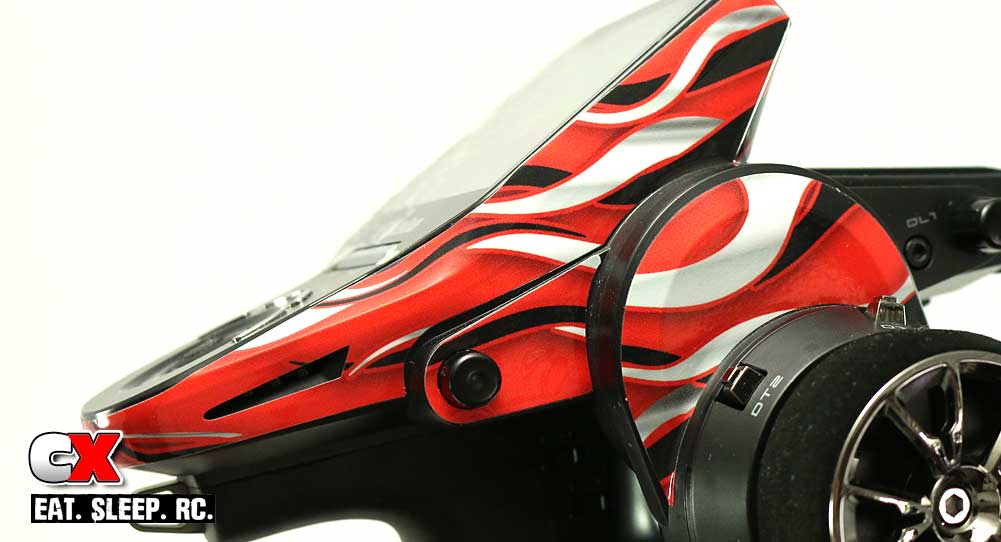
Wheel-side application. This is a little more tricky than the opposite side (due to the buttons and drop-down), just take your time and you’ll be good to go.
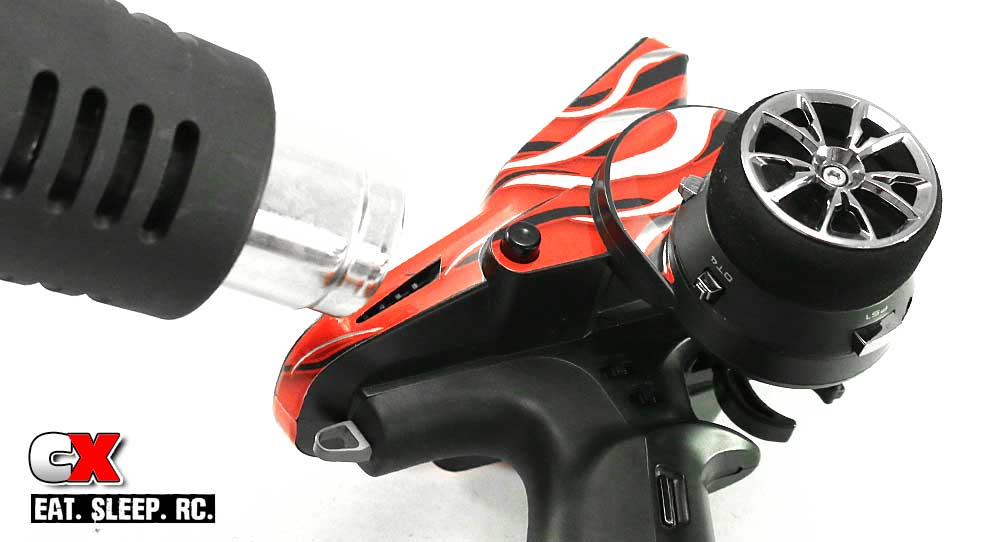
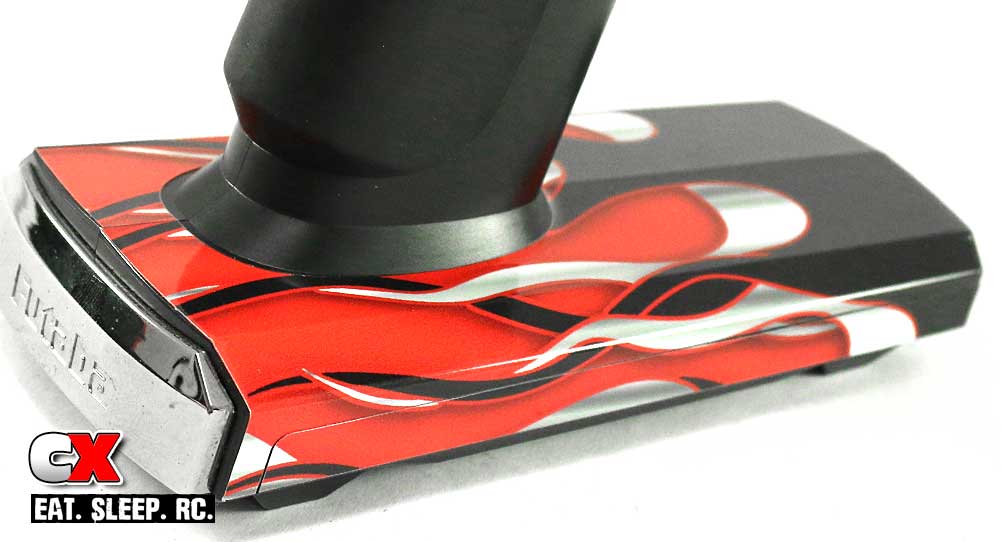
Once the entire wrap was installed, I applied a little heat to all the areas and firmly pressed the wrap into place. This activates the adhesive and creates a very strong bond to the radio. It also helps secure the wrap where we has to conform to any irregular shapes.

Boom – finished product. The install was a piece of cake and really adds a custom look!
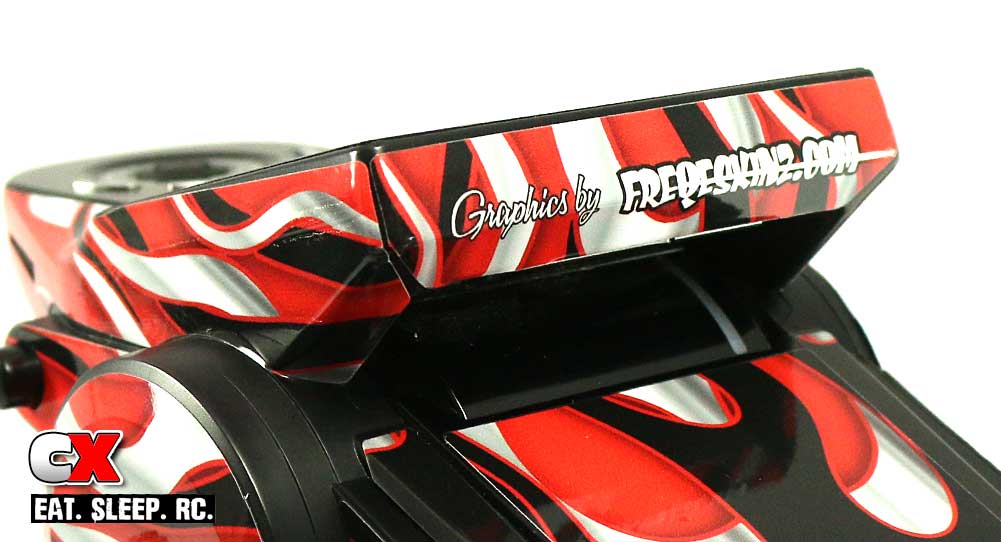
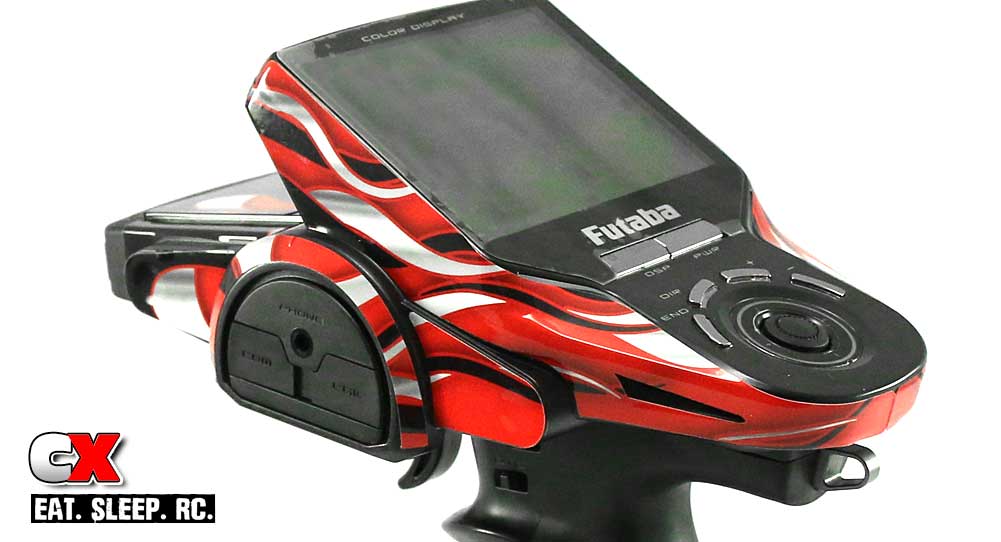
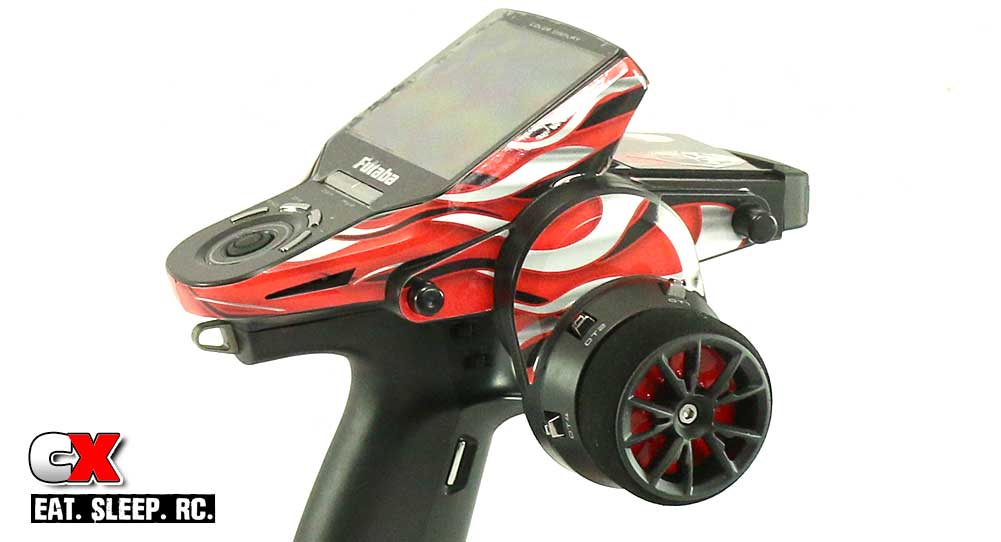
While I was tricking out the case, I also decided to go a step further in the customize department and painted the steering wheel and mounting plate – flat black and red respectively.
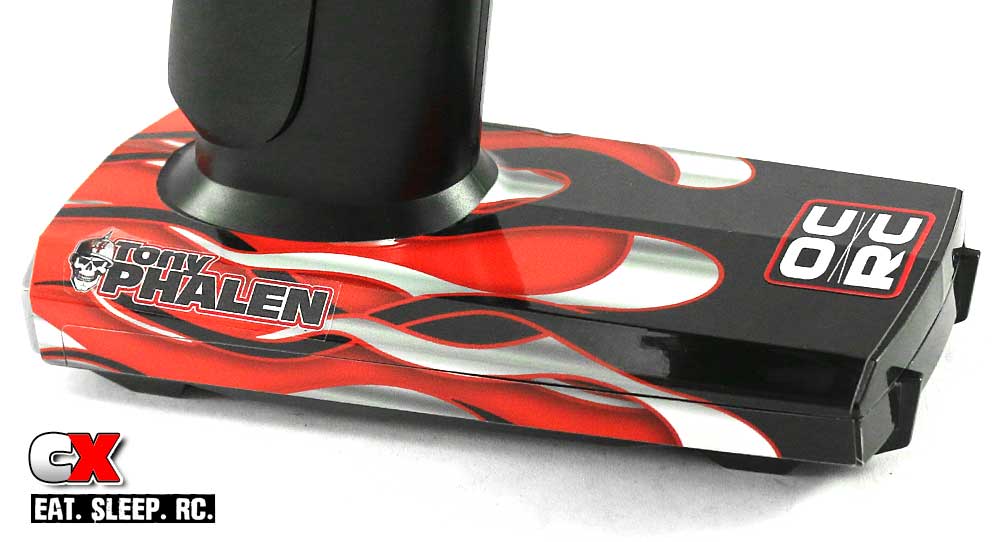
The final step is to add a few stickers; I added my name sticker, a CompetitionX sticker (opposite side) and a sticker representing my home track – OCRC!
Freqeskinz has wraps for quite a few different radios (and models) from Airtronics, FlySky, Futaba, RC4WD and Spektrum. I think it looks fantastic and for only $35, it’s a pretty inexpensive mod. So if you’re got the boring-transmitter blues, head on over to FreqEskinz and take a look at what they have to offer.
Links
FreqEskinz, www.freqeskinz.com
Futaba, www.futaba-rc.com
 CompetitionX CompetitionX is the most up-to-date source for RC Car News, Reviews and Videos for Radio Control. We also have the most comprehensive Manual Database on the web.
