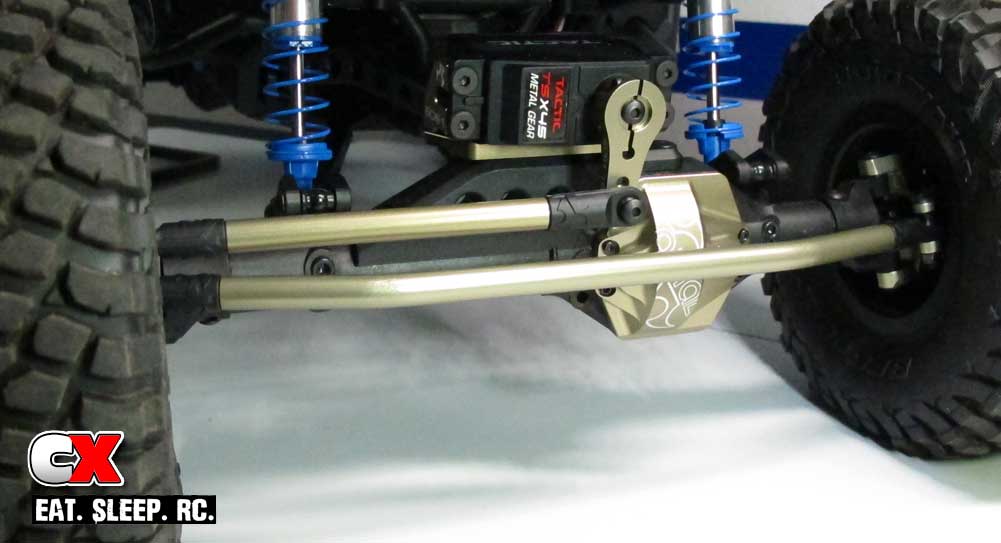
Crawlers, rock racers, scalers and the like are all the rage right now and are what some say is keeping the hobby alive. Custom rigs rule the off-road events, but there is plenty of RTR goodness to be found at your local hobby emporium. Many of those RTRs are courtesy of the dirt fanatics at Axial. Over the last few years they’ve continued to put out some awesome rigs at a friendly price point to get people of all ages into the hobby.
Like any RTR rig, though, there’s always room for improvement. Some of the RTR pieces are what they are due to cost measures to keep the RTR price point in a “window,” while other pieces are designed as flex points or built-in failure points to protect more expensive parts from over aggressive first timers behind the controller (admit it, we’ve all been there).
A perfect example of this is the steering setup on Axial’s fantastic RR10 Bomber. The all-plastic setup has enough forgiving flex built into it to prevent any damage to the steering knuckles or the steering servo. However, that steering flex also means that when crawling or trying get up and over obstacles your steering inputs might not do exactly what you want them to do. Taking that flex out means more precise steering, but also means you have to be a little more careful with your driving style as well.
There are many options out there to upgrade the soft plastic steering linkage to something beefier, but just like factory accessories for your 1:1 daily driver, when possible we like to use upgrade parts offered by the RTR manufacturer. They’re designed by those that designed the RTR so you know the fit and finish will be perfect. In the case of other Axial upgrades we already had in place, the anodized color of the aluminum will match perfectly (hey, I’m OCD like that!). Performing the upgrade is nothing more than standard bench work that can be handled with the kit supplied tools, so even if you don’t have dad’s killer set of tools (bonus points to those that get the reference!) this is an easy project to tackle.
The only part of the steering we didn’t upgrade at this time is the servo itself. Our RR10 is relatively new and the servo is doing a fine job for now. If we go more aggressive with our tires we might upgrade the servo then, just keep in mind the aluminum servo horn for the stock servo is a 25-tooth unit that fits the stock Tactic, Futaba, and Savox servos. Other brands of servos might require a different servo horn. Don’t worry, though, as Axial offers their hard anodized aluminum servo horn in 23- and 24-tooth options as well.
Items Needed For Install
• 1.5mm Driver
• 2.0mm Driver
• Blue threadlocker
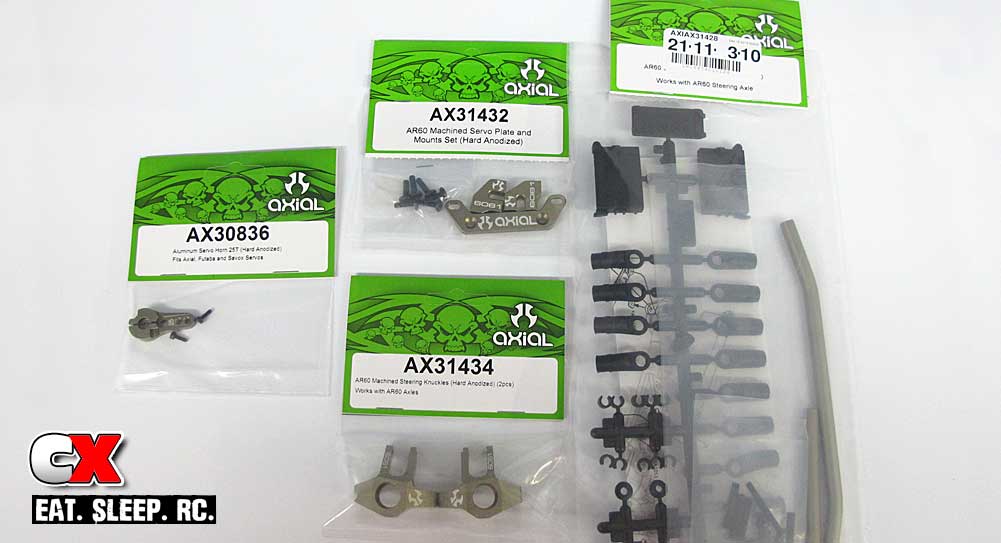
Axial offers a plethora of upgrades for every model in its lineup. These are the steering bits we’ll be using today, but we have full suspension, a brushless motor and ESC and more to throw at our RR10 in the near future.
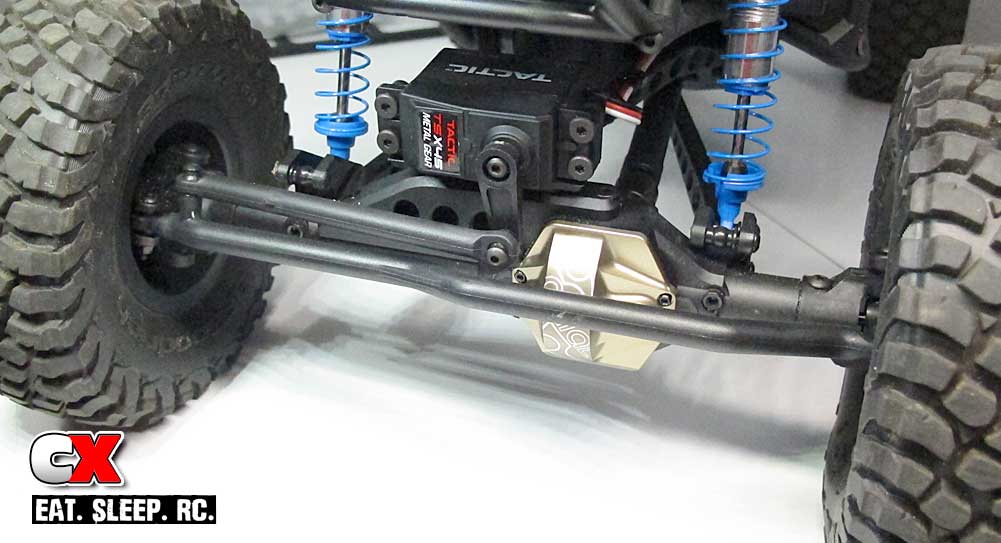
The stock plastic steering, while beefy looking, is made from soft plastic and has quite a bit of flex in it. Perfect for those new drivers attacking the rocks but for us, well, we need something a bit more precise.
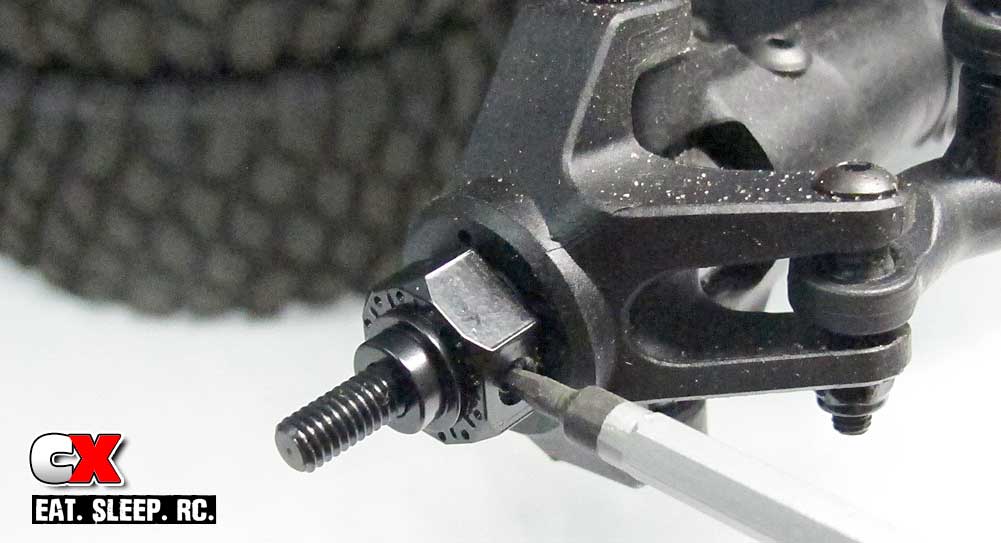
Start by removing the front wheels and setting them aside (I use them under the chassis for support since I don’t have a work stand). Using a 1.5mm driver, remove the locking set screw from the wheel hexes and pull the wheel hexes free. Remove the wheel hex cross shaft from each axle as well. These things like to roll off tables so store them in a secure place for the time being.
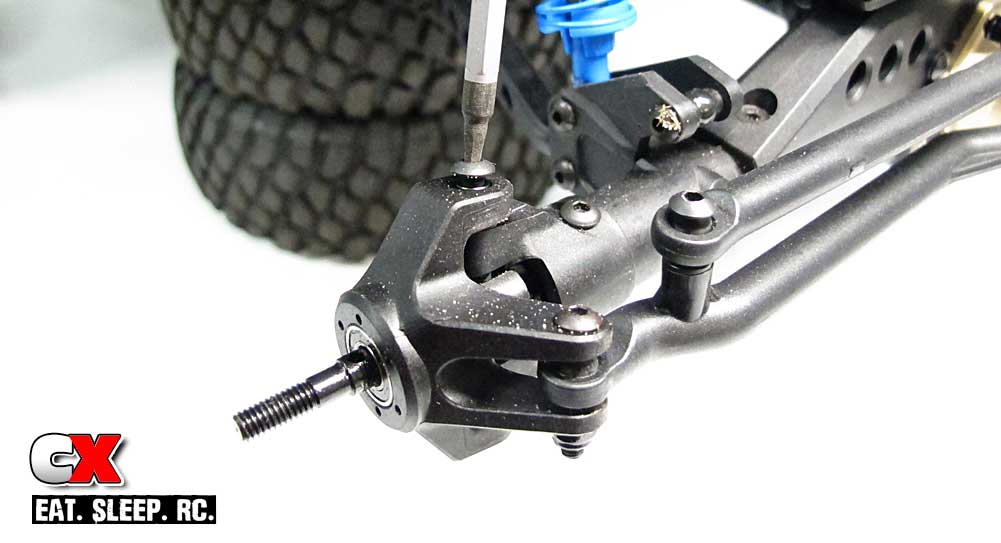
Using your 2.0mm driver, remove the top and bottom hex hardware from each steering knuckle and pull the knuckles outwards to disengage them from the axle shafts.
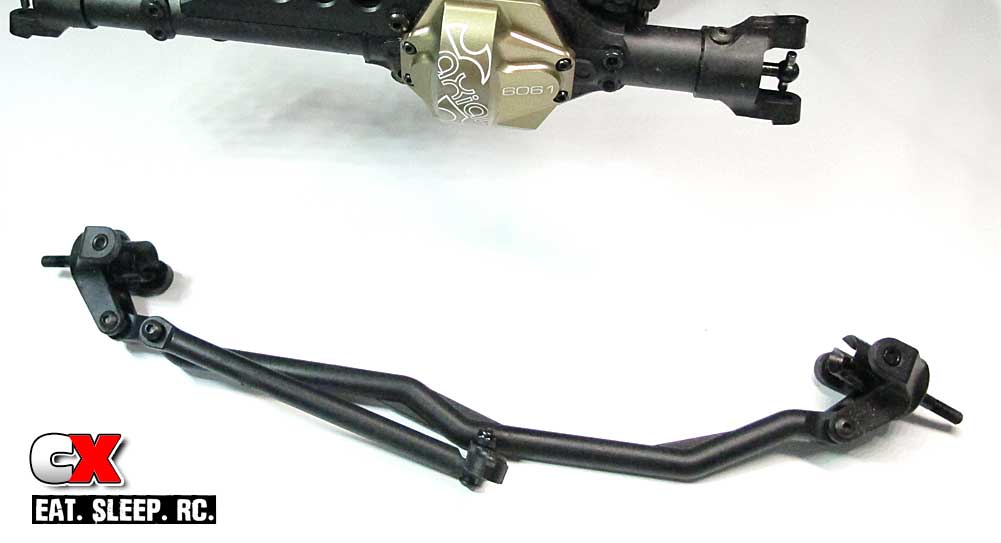
Lastly, remove the 2.0mm fastener securing the stock plastic servo horn to the servo itself. This will allow you to remove the complete steering system as an assembly.
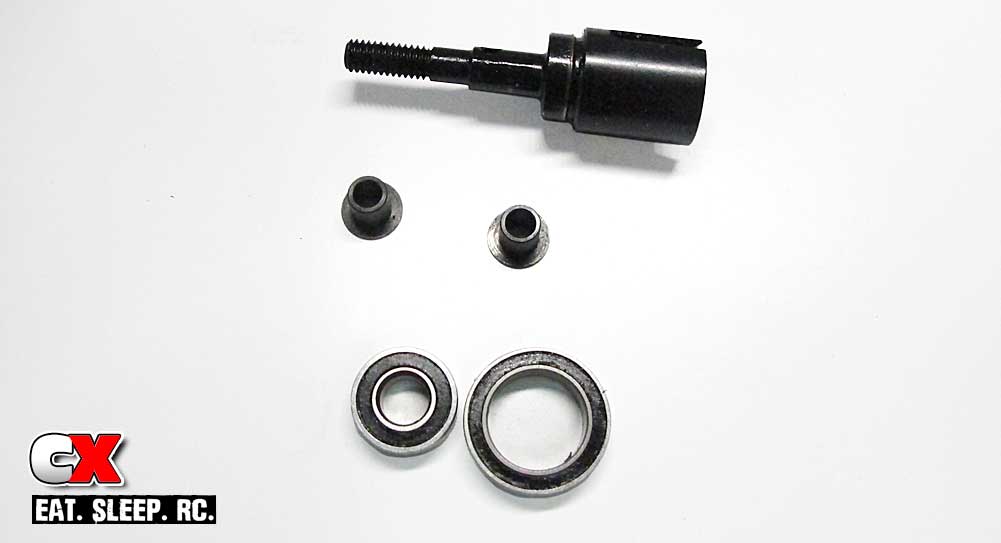
From the steering knuckles you will need to source the axle, inner and outer bearings and the upper and lower flange pipes. Set the rest of the old steering assembly aside for now as we will need a couple of the fasteners from this setup for the installation of our aluminum steering upgrade.
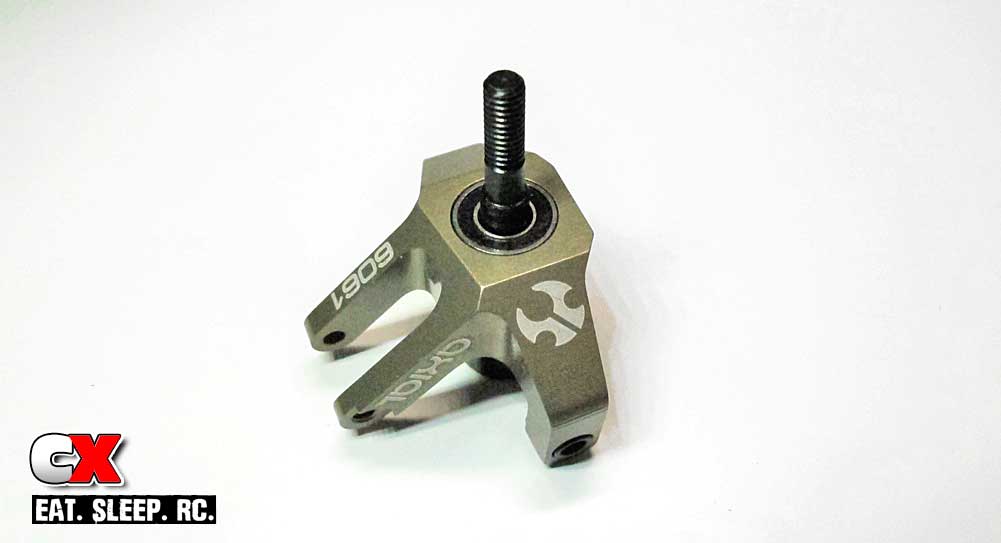
Transfer the inner and outer bearings, flange pipes and the axle to each of the aluminum steering knuckles. Ensure the flange pipes are installed with their flange to the inside of the knuckle as shown. Carefully install the assembled knuckles onto the front axle using a bit of blue threadlocker on the upper and lower hex hardware.
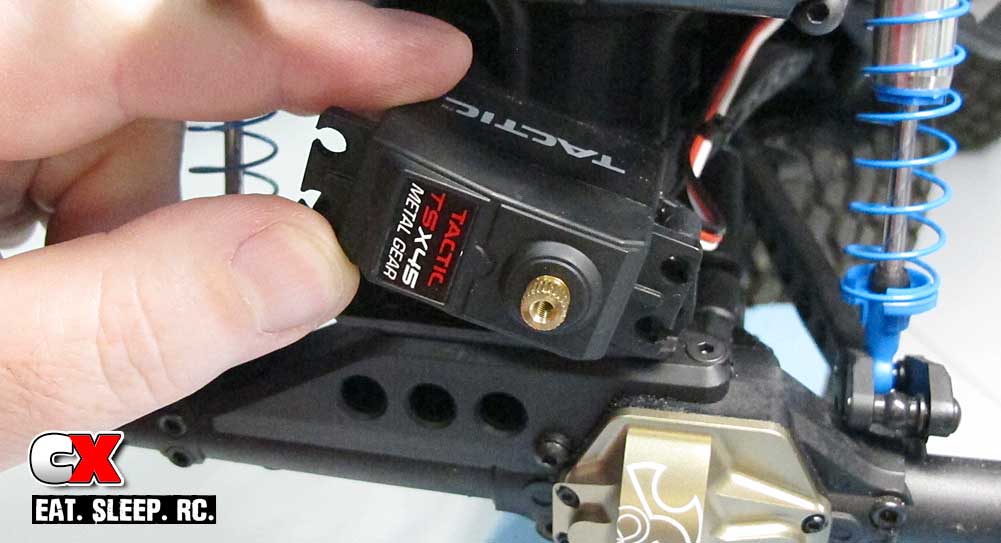
Remove the four 2.0mm retaining screws from the steering servo and set them aside. There’s no need to remove the servo completely or mess with the wiring unless you’re upgrading the servo at this time as well.
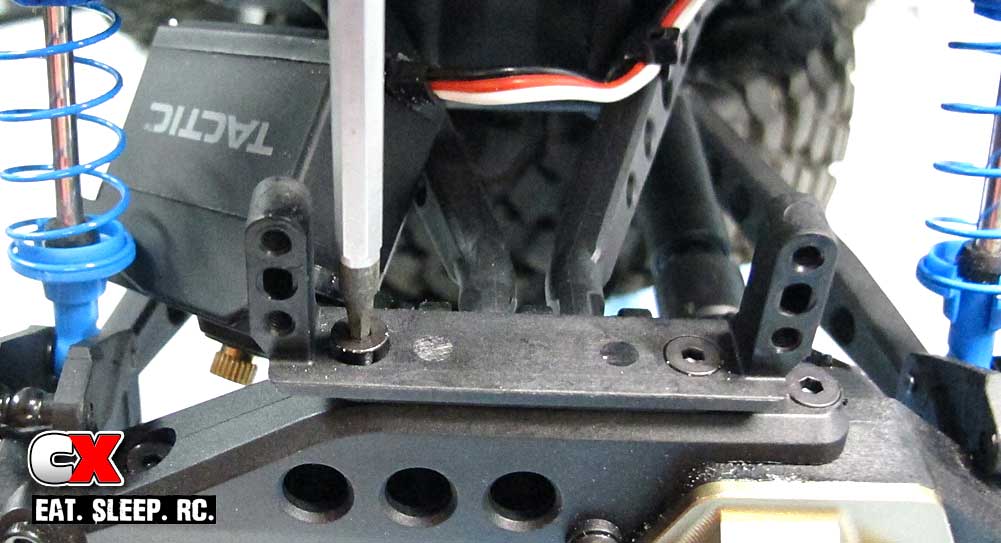
Two more 2.0mm fasteners secure the stock plastic steering servo mount to the top of the axle. These two screws will be reused so don’t let them get far. A long driver down through the front bumper is the easiest way to reach these two screws.
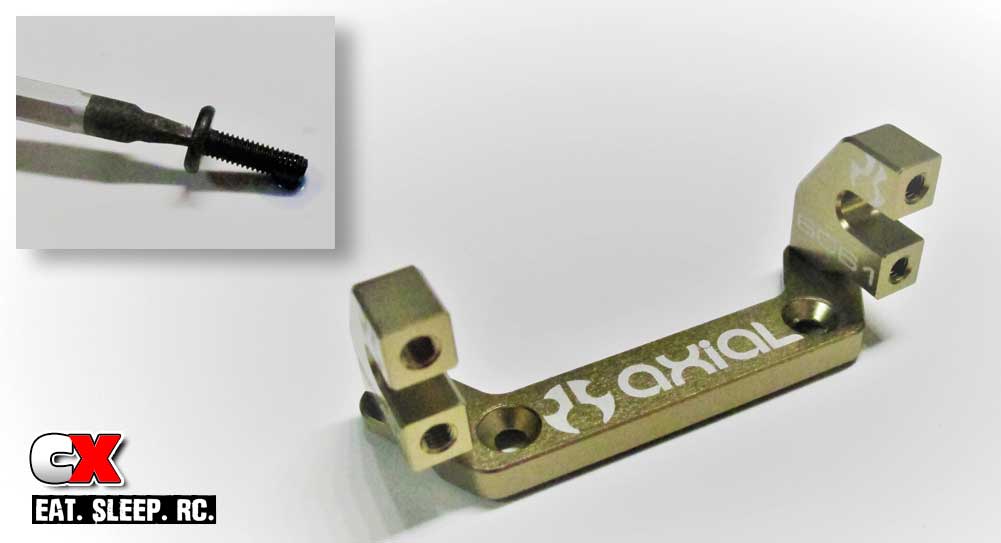
Prep the aluminum steering servo mount screws with a touch of blue threadlocking material and then assemble the servo mounting kit as shown. Leave the ends loose enough to allow a little movement so that they can be aligned to the servo.
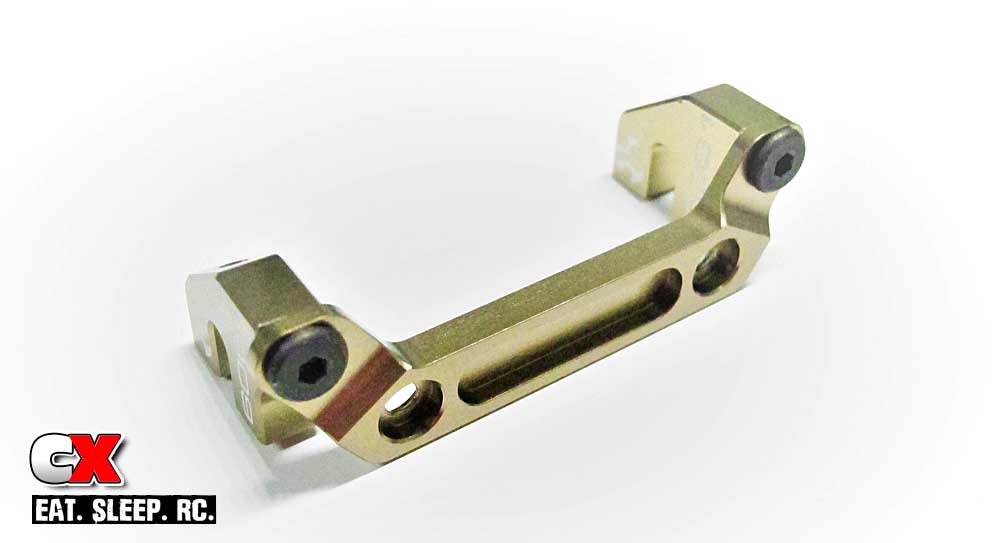
Slide the servo into the mount to test fit. Once the steering servo mounting holes have been lined up with the new mount lock down the two bottom retaining screws.
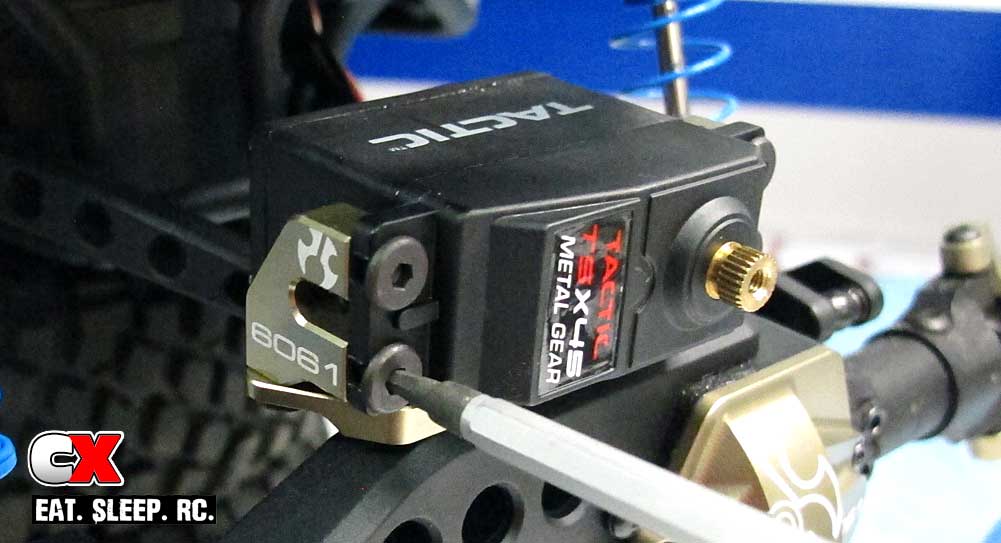
Install the new aluminum mount to the axle using the original screws from the stock mount, then re-install the servo to the new aluminum mount. A touch of blue threadlocker on the four servo mounting screws is suggested here as well.
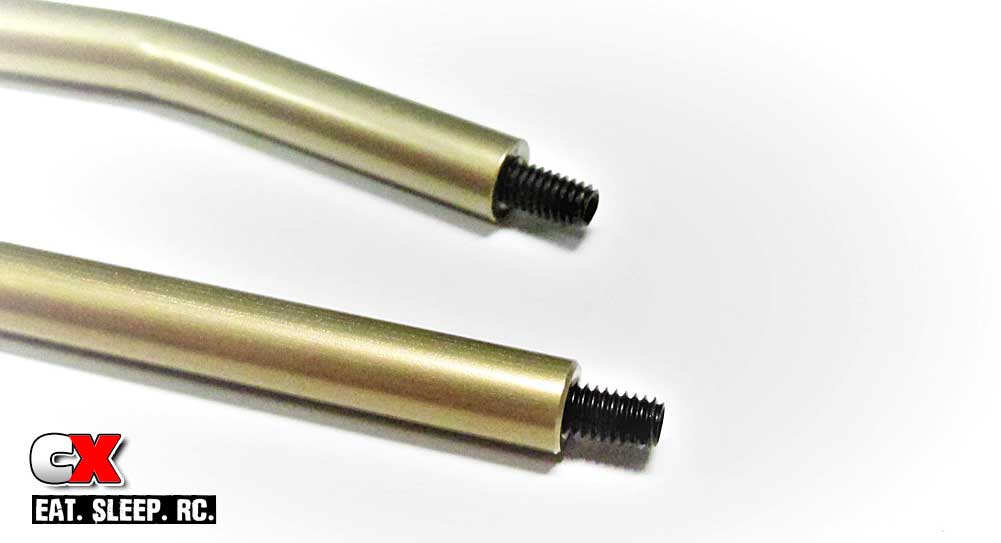
The aluminum steering links have threaded ends to accept the included set screws. Apply a small amount of blue threadlocker to the set screws and gently seat them into the steering link ends to the depth shown.
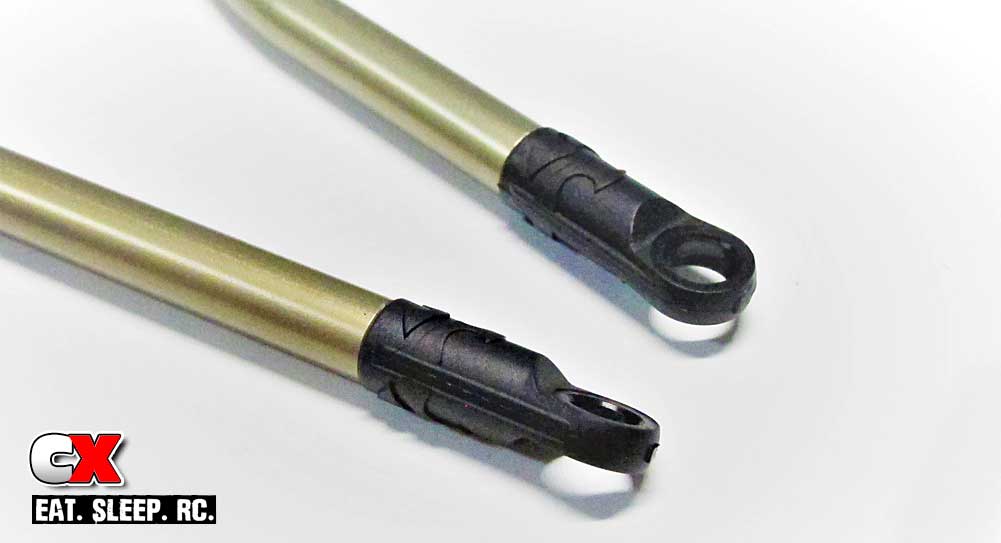
The included instructions show the correct angles the plastic rod end pieces need to be for proper alignment. There are several styles of rod ends on the parts tree, but you’ll only be using the straight ends from the kit.
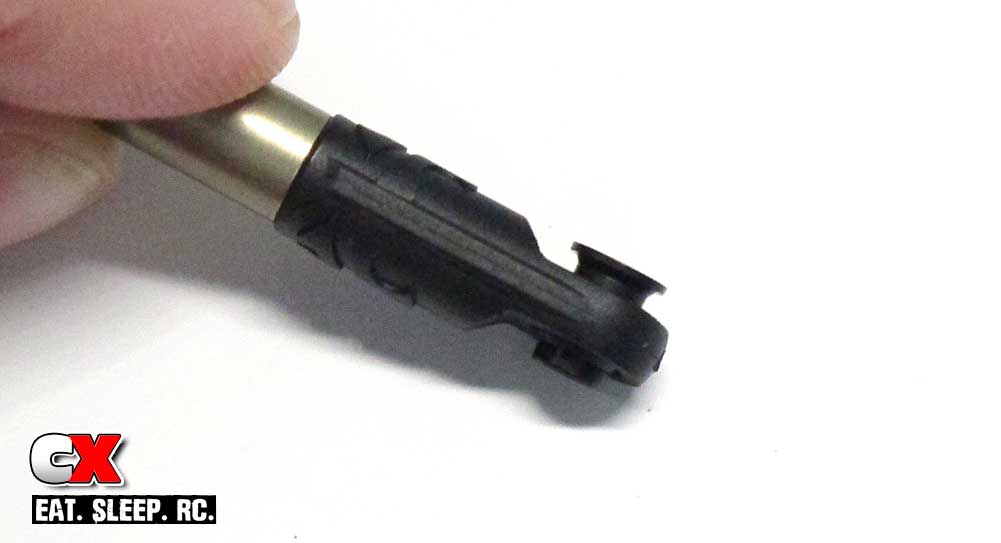
Each of the four rod ends will need a press-in pivot ball. Pay attention to the direction of the flat load bearing surface of the pivot ball and which way it should face on the steering link.
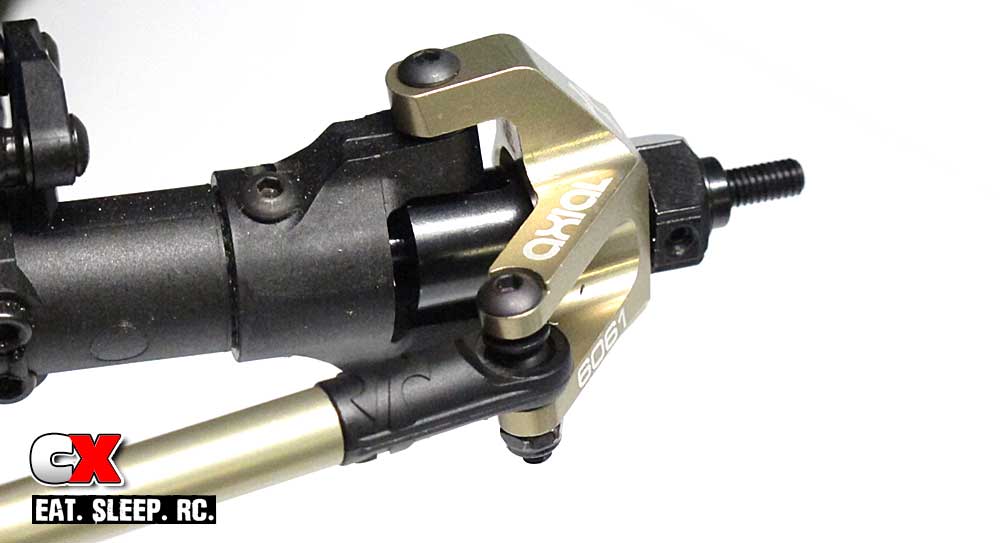
Assemble the aluminum steering links between the two knuckles using the original hardware from the plastic steering assembly removed earlier and the new longer screw from the aluminum steering kit (used on the right steering knuckle).
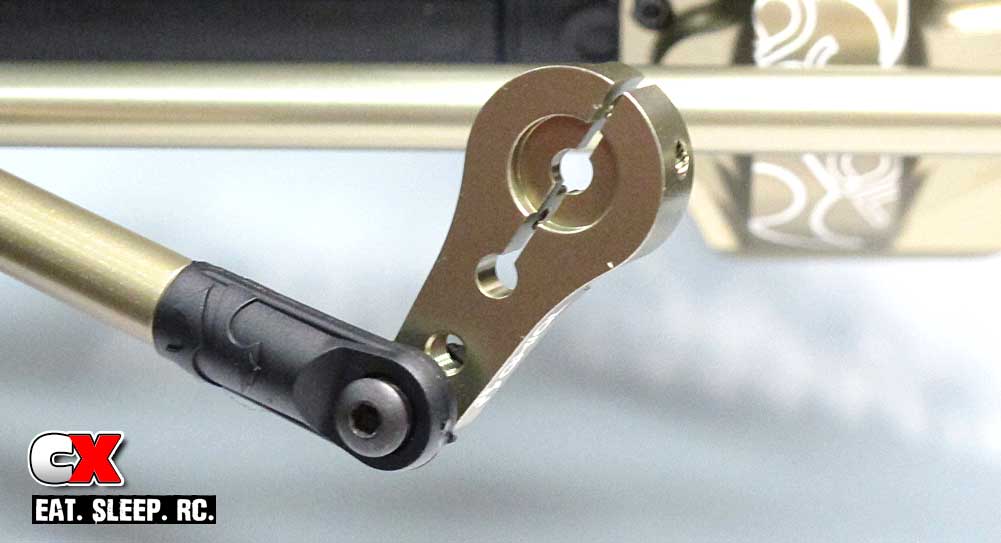
Install the new aluminum servo horn to the steering link. Ensure the side with the splines for the servo is facing the servo before mounting.
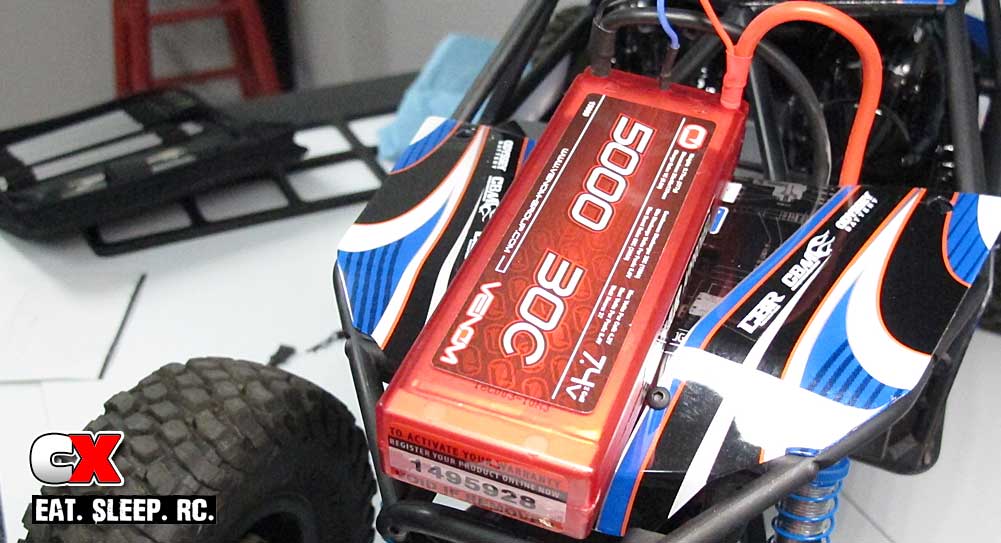
Before final assembly, we need to center the steering servo. Plug a battery into your RR10 to power the servo up (be sure your transmitter is already on).
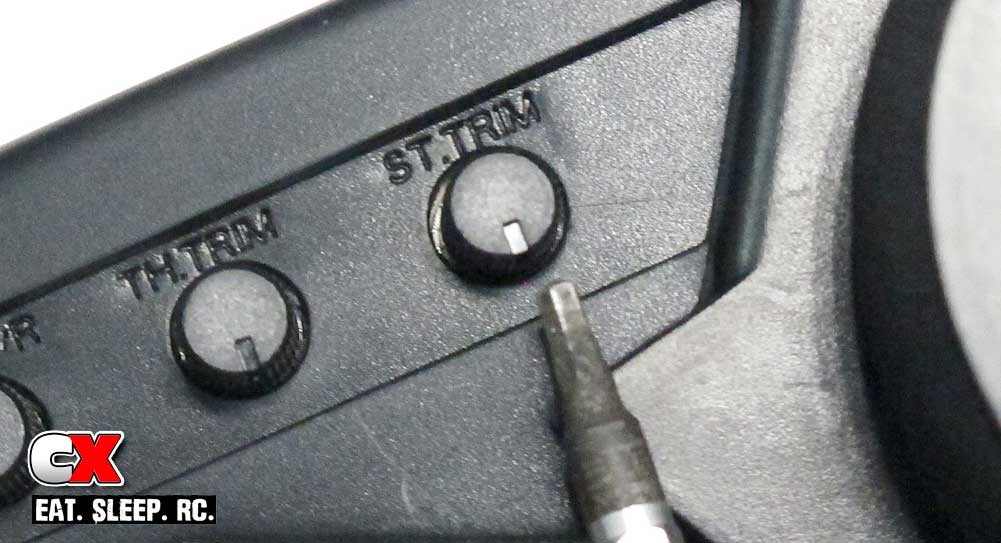
Center the steering trim on your transmitter and do not touch the transmitter’s steering wheel.
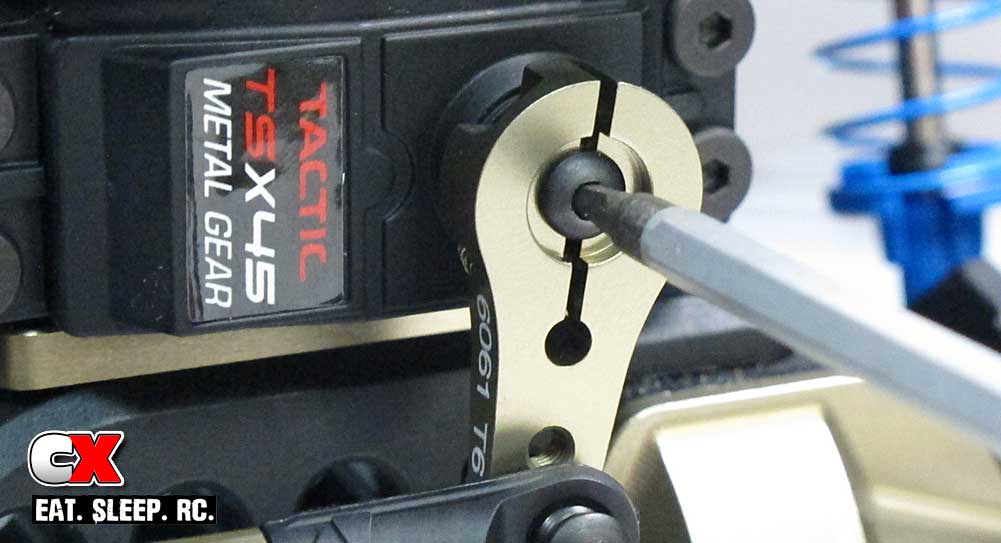
Center the front wheels on your RR10 and then carefully slide the new aluminum steering servo over the splines of the servo output shaft. Verify everything is still centered and then re-install the original 2.0mm retaining screw.
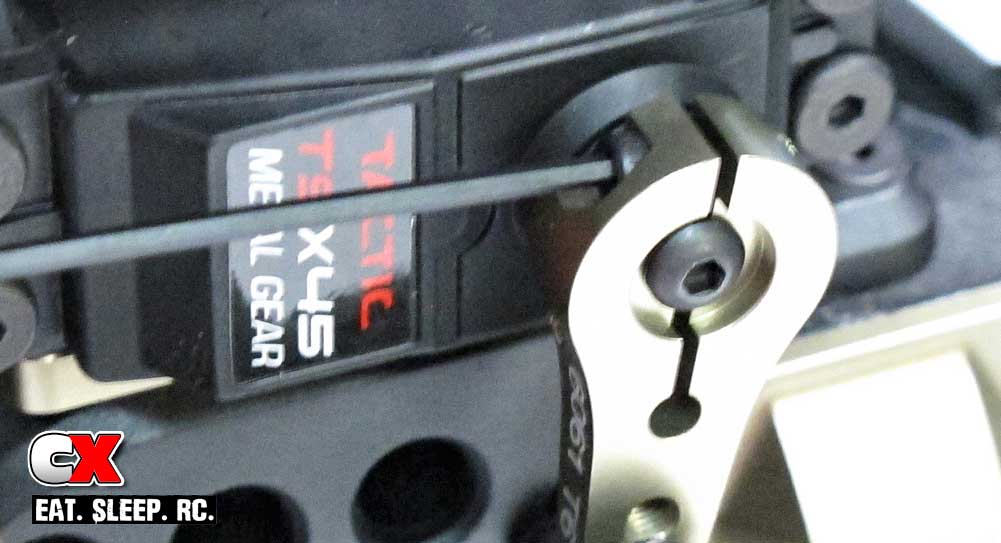
The clamping design of the aluminum servo horn requires a small hex screw to be fitted to the horn once it is installed. It simply needs to be snugged up; there’s no need to crank down on it.
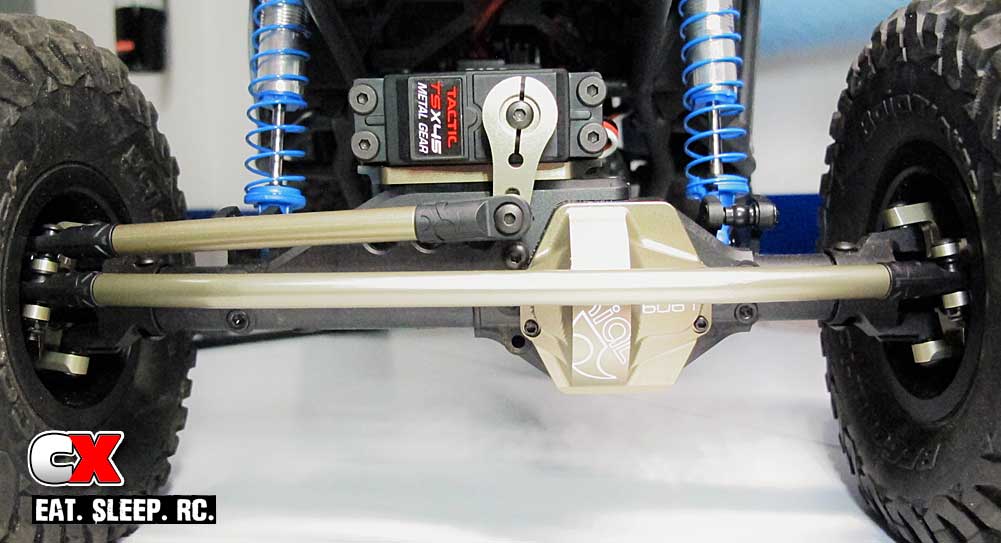
The finished steering upgrade not only looks tough, but is ready to perform on the rocks, offering more precise steering and a stronger setup. Time to hit the dirt!
Parts Used
AX31428 Axial AR60 Steering Upgrade Kit
AX31434 Axial AR60 Machined Steering Knuckles
AX31432 Axial AR60 Machined Servo Plate and Mount Set
AX30836 Axial Aluminum Servo Horn 25T
Links
Axial, www.axialracing.com
 CompetitionX CompetitionX is the most up-to-date source for RC Car News, Reviews and Videos for Radio Control. We also have the most comprehensive Manual Database on the web.

