The Build – Part 2
The next step in our RC4WD Trail Finder 2 Build revolves around the radio pad and rear body mounts.
 Have some blue threadlocker available and use a small dab on any screws that thread into aluminum parts.
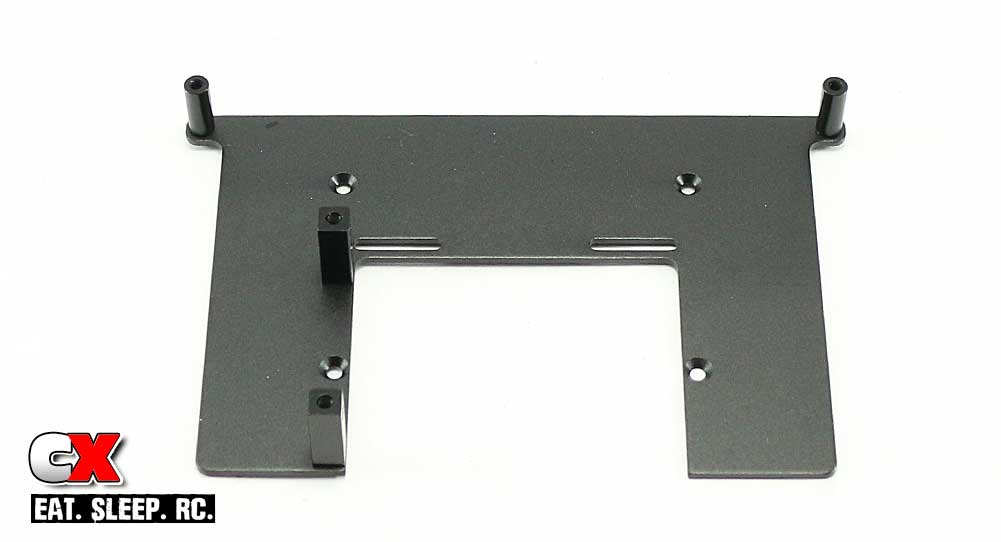
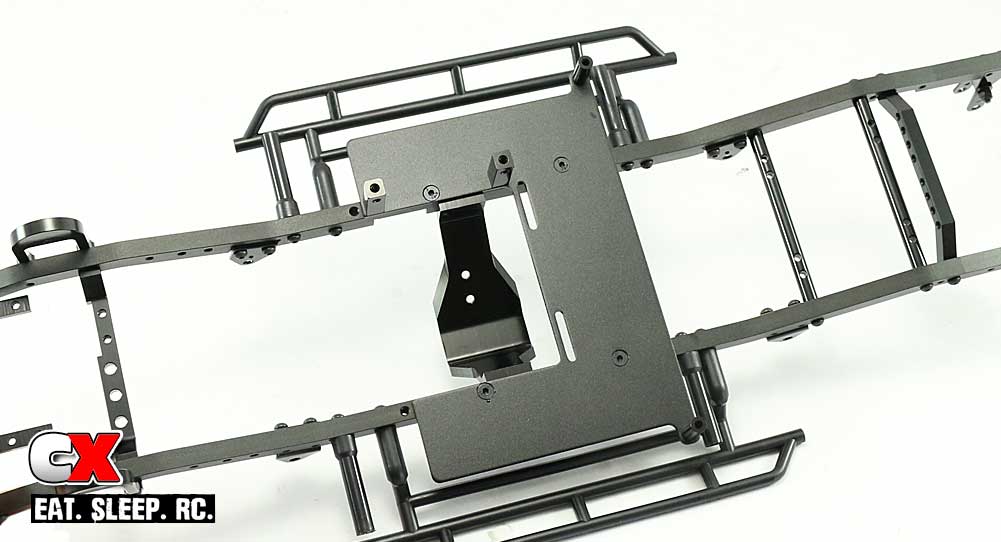
Assemble the radio pad as shown by attaching the two aluminum standoffs and the pair of servo mounts.

Set the radio pad in place on your completed frame rails and screw into place. You might notice that there are two sets of holes here to move the radio pad; use the rearmost set of holes.
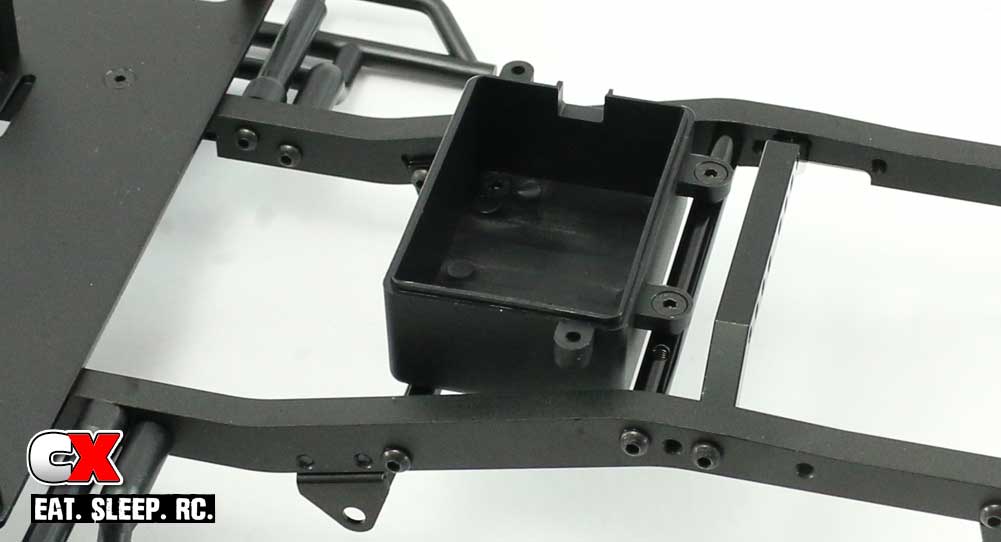
Attach the radio box. If you left the screws loose from Step 10 in Part 1 of the build, you’ll be able to rotate the tubes to line up the holes better. Once you have the box attached, tighten down the 4 tube screws.
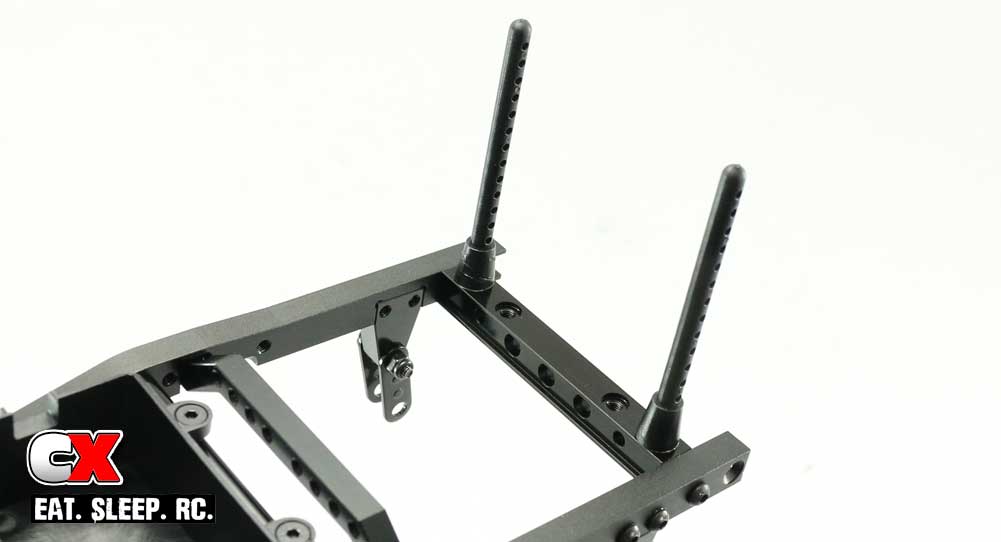
Attach the rear body mounts to the cross brace as shown. Note the orientation of the body mount holes; the body pin holes should be facing the sides of the rails.
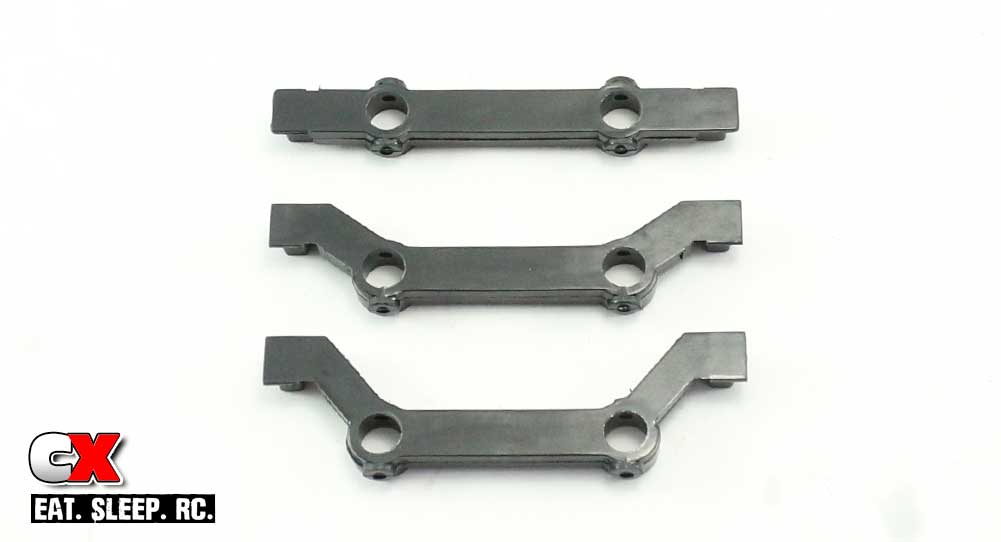
RC4WD has included 3 different bumper mounts with the TF2 LWB; the top mount is not used, the middle one is for the rear of the TF2 and the lower one for the front. Throw the top one back in the box, grab the middle one for this step and set the lower one off to the side for later.
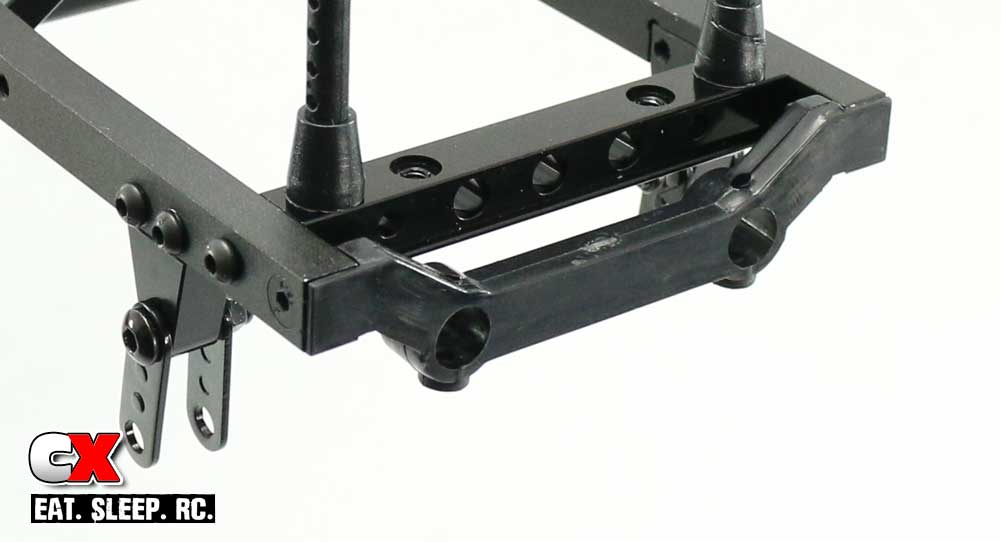
Attach the bumper mount.
There ya go – 6 easy steps and we’re almost done. Ok, not really, but it’s beginning to look more like a scale rig now, right? Let’s move on to the gearbox!
Trail Finder 2 LWB Trail Truck Build – Part 1 – Frame Rails
Trail Finder 2 LWB Trail Truck Build – Part 2 – Radio Pad, Body Mounts
Trail Finder 2 LWB Trail Truck Build – Part 3 – Gearbox
Trail Finder 2 LWB Trail Truck Build – Part 4 – Suspension
Trail Finder 2 LWB Trail Truck Build – Part 5 – Drivetrain
Trail Finder 2 LWB Trail Truck Build – Part 6 – Steering, Shifting
Trail Finder 2 LWB Trail Truck Build – Part 7 – Bumpers, Wheels and Tires
Trail Finder 2 LWB Trail Truck Build – Part 8 – Electronics
 CompetitionX CompetitionX is the most up-to-date source for RC Car News, Reviews and Videos for Radio Control. We also have the most comprehensive Manual Database on the web.
