The Build – Part 3
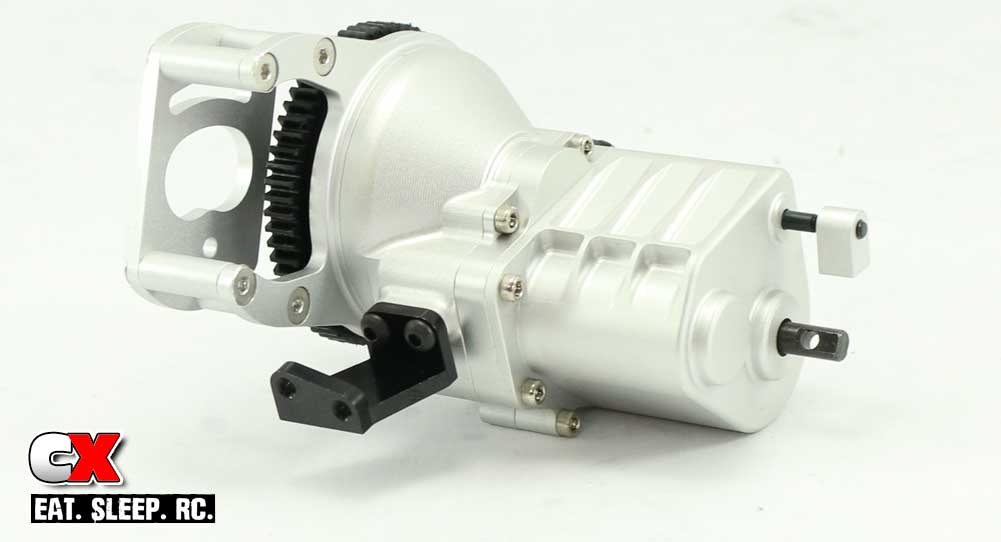
The next step in our RC4WD Trail Finder 2 build is attaching parts to the gearbox. The gearbox itself comes pre-assembled so there isn’t really anything to do except attach the mounts and drop it in place.
 Before installing the gearbox, I suggest you rotate the spur gear and plunge the two-speed shifting fork a few times to make sure everything works. I didn’t have a problem with mine, but things happen and it’s better to find out before you install it than after.
 Have some blue threadlocker available and use a small dab on any screws that thread into aluminum parts.
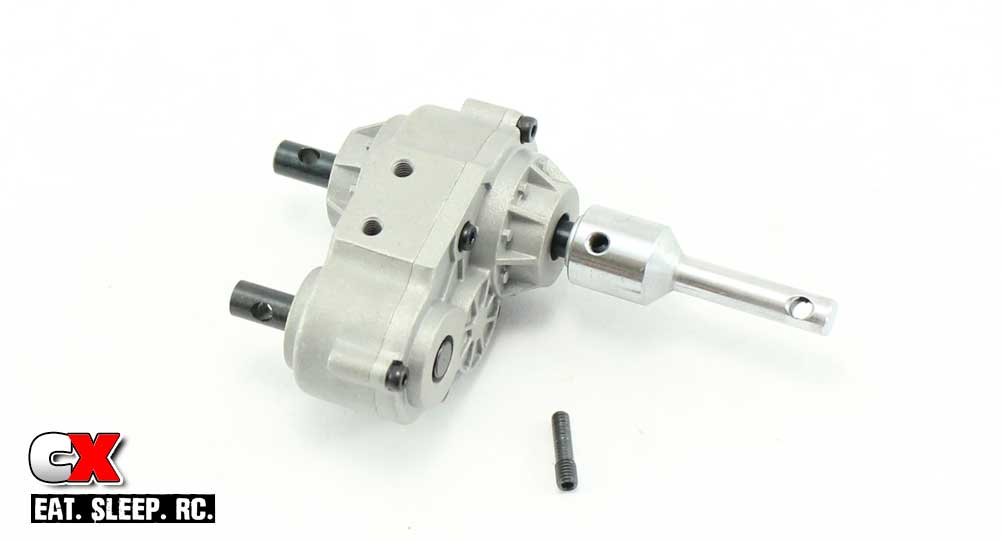
Prep the transfer case by installing the output shaft and threaded cross pin.
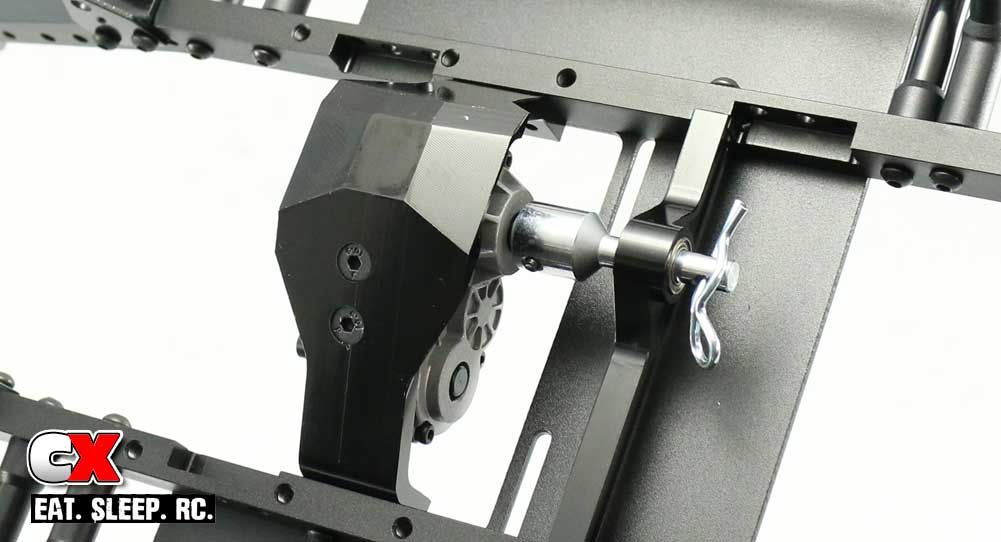
Feed the output shaft through the mount and attach the gearbox to the skid plate. Once in place, slide the bearing over the output shaft as shown. The bearing fit isn’t super tight, so chances are it’s going to slip out during the rest of the build – mine did. I used a spare body clip I had lying around and fed it through the output shaft to keep the bearing secure.

Attach the left-side motor mount.
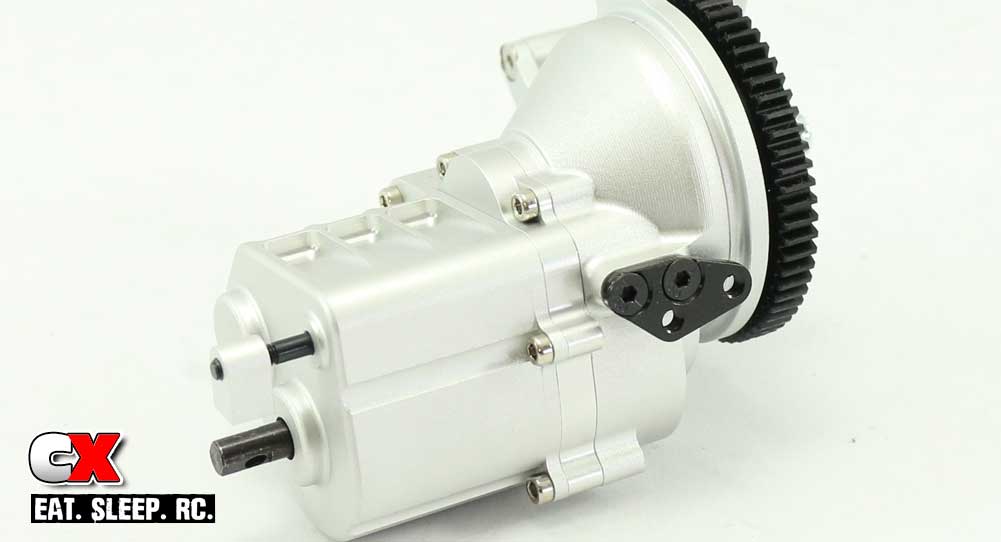
Attach the right-side motor mount.
That’s it for this step; set the gearbox aside for a later installation. Time to assemble and install the suspension!
Trail Finder 2 LWB Trail Truck Build – Part 1 – Frame Rails
Trail Finder 2 LWB Trail Truck Build – Part 2 – Radio Pad, Body Mounts
Trail Finder 2 LWB Trail Truck Build – Part 3 – Gearbox
Trail Finder 2 LWB Trail Truck Build – Part 4 – Suspension
Trail Finder 2 LWB Trail Truck Build – Part 5 – Drivetrain
Trail Finder 2 LWB Trail Truck Build – Part 6 – Steering, Shifting
Trail Finder 2 LWB Trail Truck Build – Part 7 – Bumpers, Wheels and Tires
Trail Finder 2 LWB Trail Truck Build – Part 8 – Electronics
 CompetitionX CompetitionX is the most up-to-date source for RC Car News, Reviews and Videos for Radio Control. We also have the most comprehensive Manual Database on the web.
