The Build – Part 5
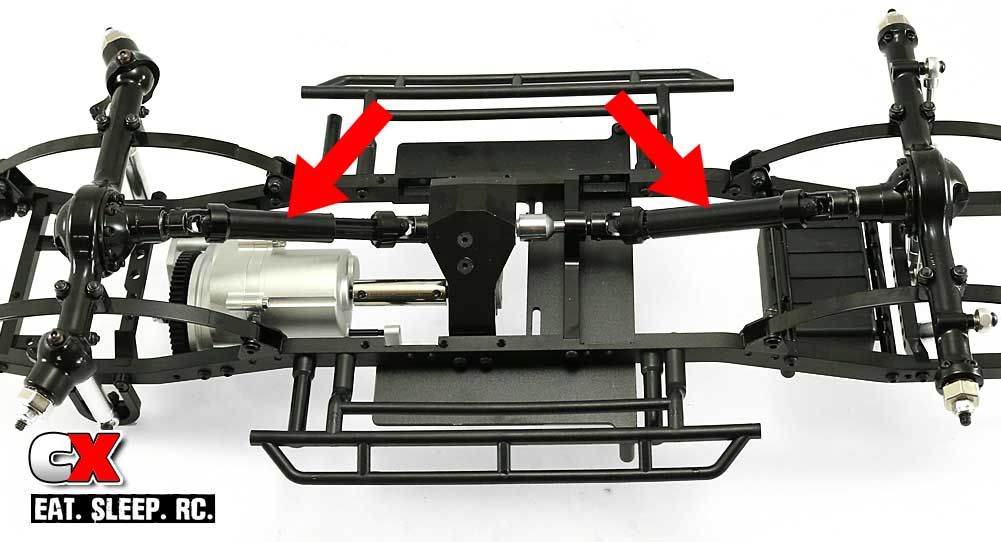
Part 5 of our RC4WD Trail Finder 2 LWB Trail Truck build has 4 easy steps – attaching the driveline to the axles.
 Have some blue threadlocker available and use a small dab on any screws that thread into aluminum parts.
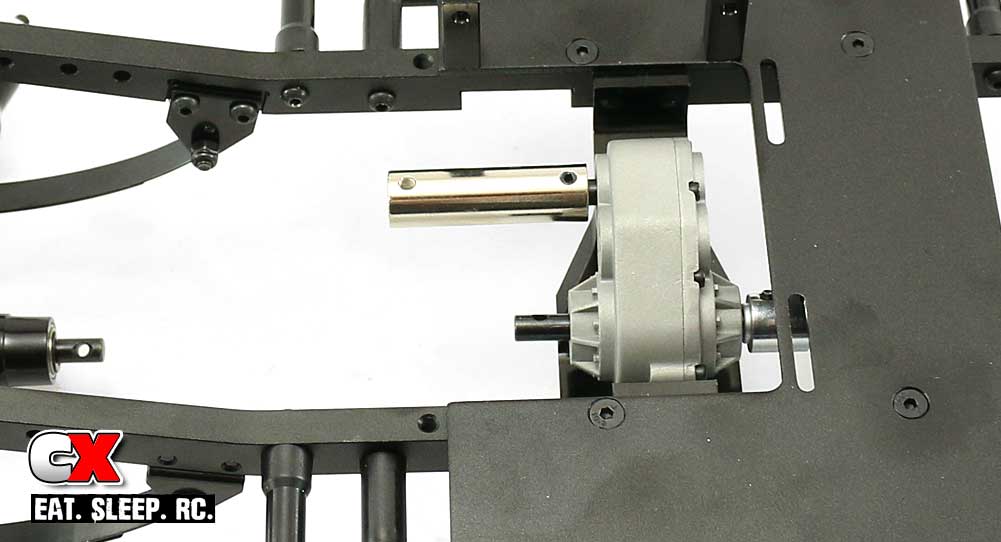
Attach the coupler to the transfer case, securing it with the M3 through-pin in place.
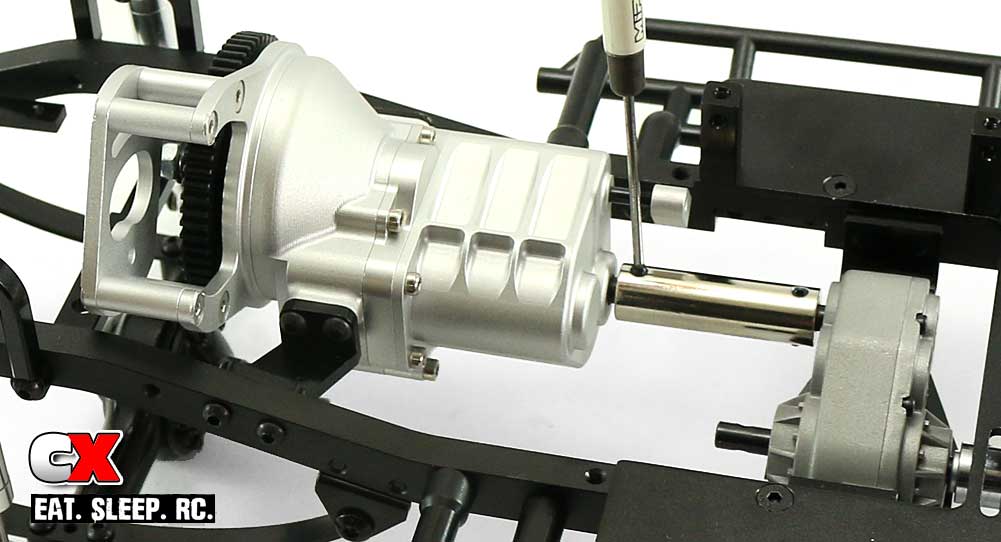
Align the output shaft on the gearbox (into the coupler) and slide into place – secure with another M3 through-pin. Attach the transmission to the frame rails with the 4 M3x10mm screws.
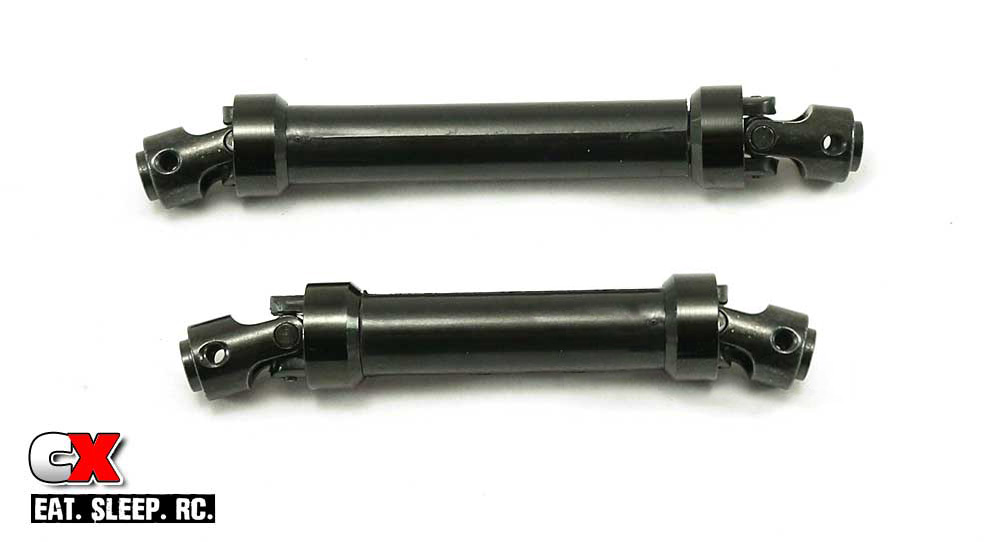
The driveshafts on the TF2 are heavy duty splined metal units. If they are not already mated, use the guide in the manual to properly slide them together. You’ll also notice they are two different lengths; the short driveshaft will go up front, the longer one to the rear.

Feed the driveshafts onto the output shafts on the front axle and transfer case and secure with M3 through-pins.
Boom, quick and easy! Before moving on, turn the spur gear to make sure everything is rotating freely. If everything feels good, let’s move on to the steering and shifting.
Trail Finder 2 LWB Trail Truck Build – Part 1 – Frame Rails
Trail Finder 2 LWB Trail Truck Build – Part 2 – Radio Pad, Body Mounts
Trail Finder 2 LWB Trail Truck Build – Part 3 – Gearbox
Trail Finder 2 LWB Trail Truck Build – Part 4 – Suspension
Trail Finder 2 LWB Trail Truck Build – Part 5 – Drivetrain
Trail Finder 2 LWB Trail Truck Build – Part 6 – Steering, Shifting
Trail Finder 2 LWB Trail Truck Build – Part 7 – Bumpers, Wheels and Tires
Trail Finder 2 LWB Trail Truck Build – Part 8 – Electronics
 CompetitionX CompetitionX is the most up-to-date source for RC Car News, Reviews and Videos for Radio Control. We also have the most comprehensive Manual Database on the web.
