The Build – Part 7
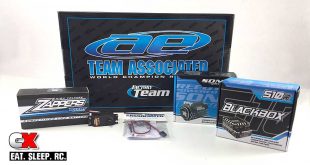
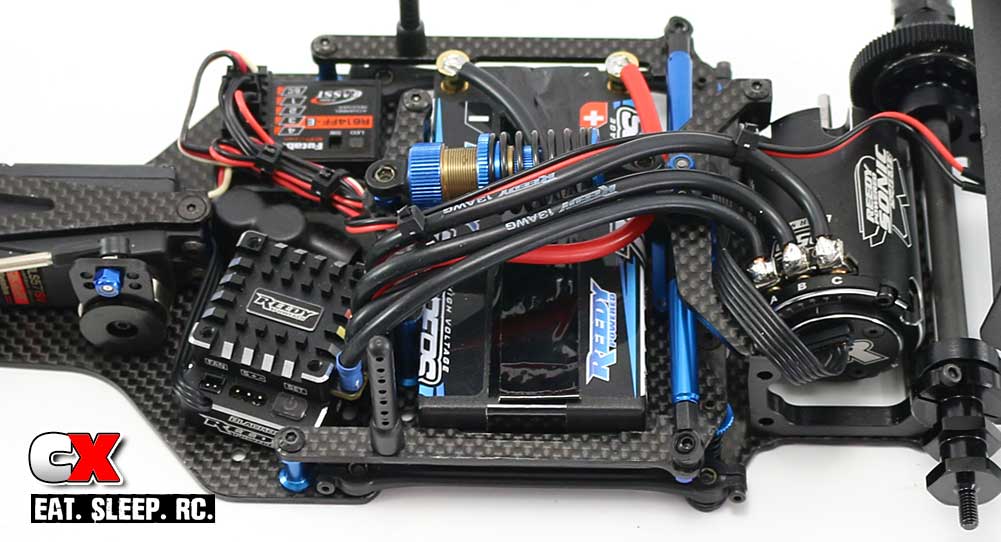
In this, the final step of the Team Associated Factory Team F6 build, we will be installing the rest of the electronics. We’ll be using a Reedy Blackbox 510R Competition ESC, Reedy Zappers 3600mAh 7.6V HV Shorty LiPo and my Futaba 4PX radio system.
 Team Associated supplied their Reedy Blackbox 510R Competition ESC for this build, but I would have preferred a much smaller unit. The 510R is great, but a bit big for this chassis so I may swap it out for an 800Z at some point.
 Depending on the system you use, you may need to have a soldering iron handy to wire everything up. Make sure that, during the install, you don’t hinder the mobility of the rear pod. This can cause serious handling issues.
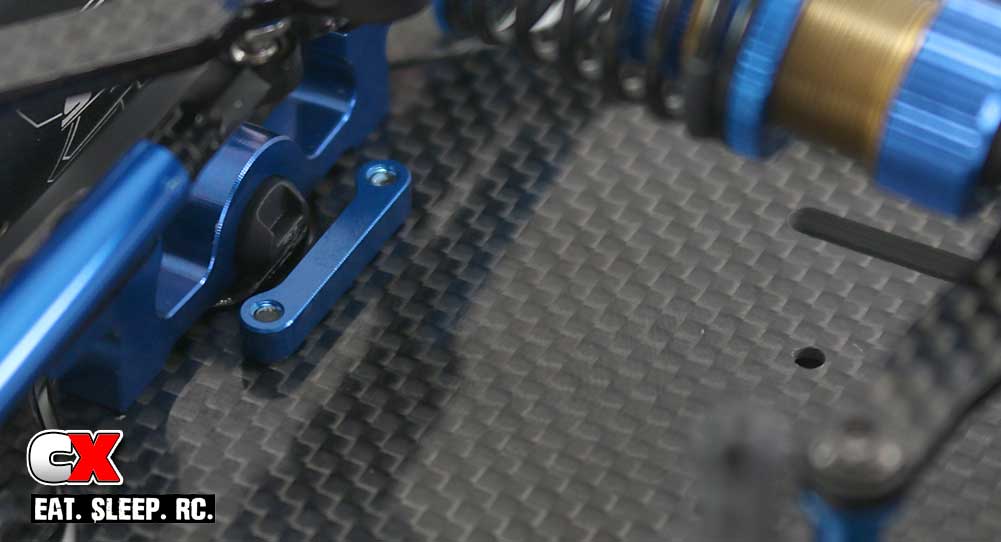
Attach the rear battery retainer to the chassis as shown. This step is necessary whether you’re using the standard battery mounting or the inline.

I’m not going to get all into the electronics install; it will really be dependent on what system you use. I suggest test fitting everything prior to taping things down; this will ensure you wires reach and there is room for things like a transponder or external capacitor.
The Blackbox 510R was a bit big and made it slightly difficult to run the wires correctly, so I had to angle it slightly. As you can see I also taped the battery in sideways. I’ll experiment with inline mounting at a later time.
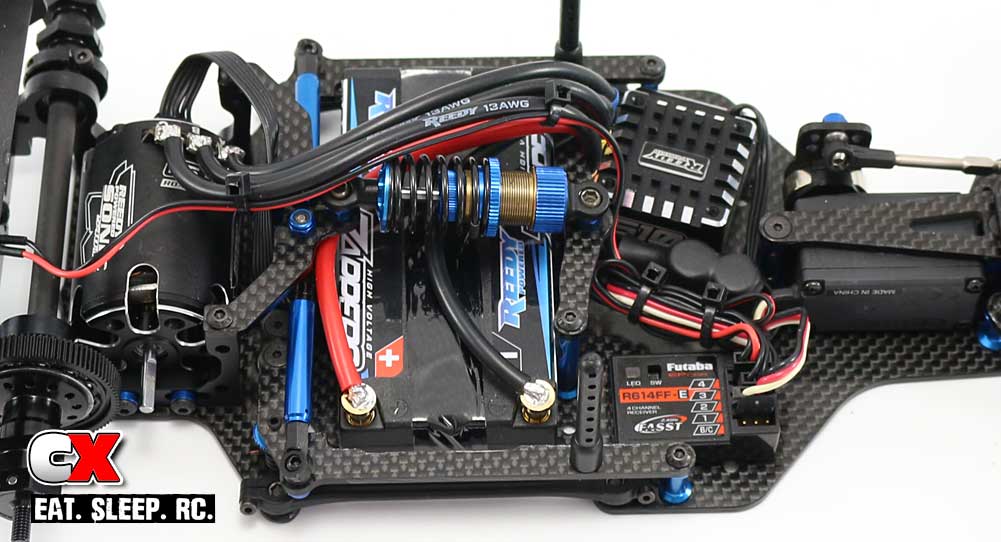
A reverse shot of the electronics mounting. You can see the blinking brake light wiring running to the receiver in this shot as well.
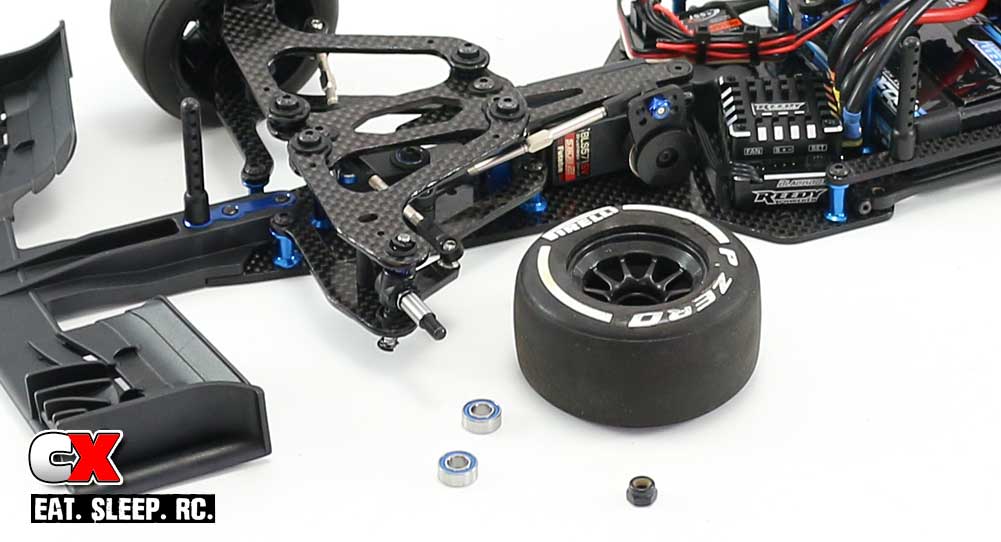
Insert a pair of the 5x10mm bearings into each front wheel (blue shield facing out) and slide onto the front axle. Secure with the M4 locknut.
Slide the rear wheels onto the rear axle and secure with the M4 serrated locknut.
Congratulations on finishing the build of your Team Associated Factory Team F6.
I’m not showing the body mounting since there are quite a few different ones to choose from, but I would suggest marking the mounting holes prior to painting. This will make it much easier to mount.
Team Associated Factory Team F6 Build – Opening Page
Team Associated Factory Team F6 Build – Part 1 – Shock, Damper Tubes & Turnbuckles
Team Associated Factory Team F6 Build – Part 2 – Front Suspension & Servo
Team Associated Factory Team F6 Build – Part 3 – Steering
Team Associated Factory Team F6 Build – Part 4 – Rear Suspension
Team Associated Factory Team F6 Build – Part 5 – Rear Axle
Team Associated Factory Team F6 Build – Part 6 – Wings
Team Associated Factory Team F6 Build – Part 7 – Electronics
 CompetitionX CompetitionX is the most up-to-date source for RC Car News, Reviews and Videos for Radio Control. We also have the most comprehensive Manual Database on the web.

