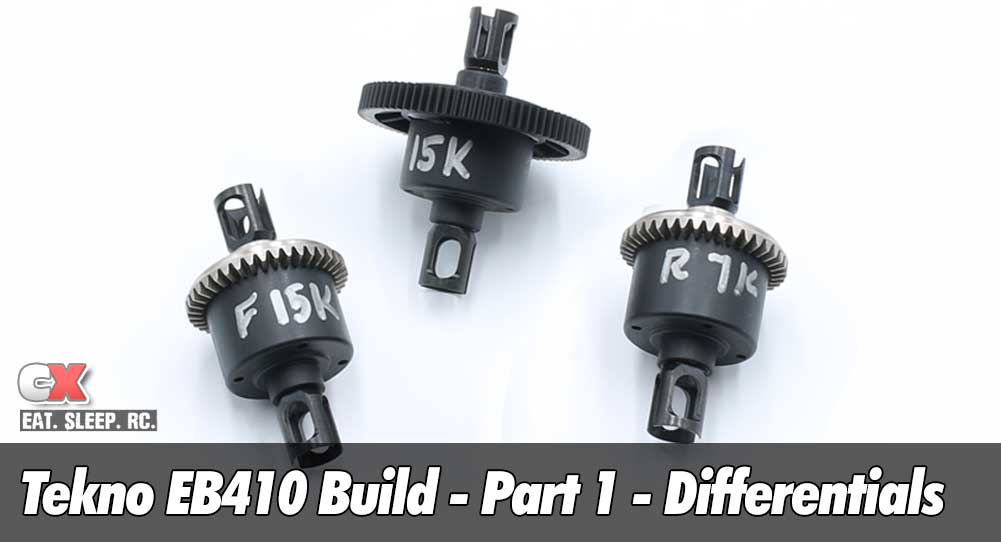
Tekno’s EB410 comes equipped with 3 high-quality fluid-filled gear differentials. The front and rear use steel gears while the center (spur gear) comes with a strong molded plastic gear.
Build Notes:
 Building diffs can be a bit messy, so make sure you are working on a protected surface with plenty of rags or towels for clean up.
 Building diffs can be a bit messy, so make sure you are working on a protected surface with plenty of rags or towels for clean up.
Step 1:
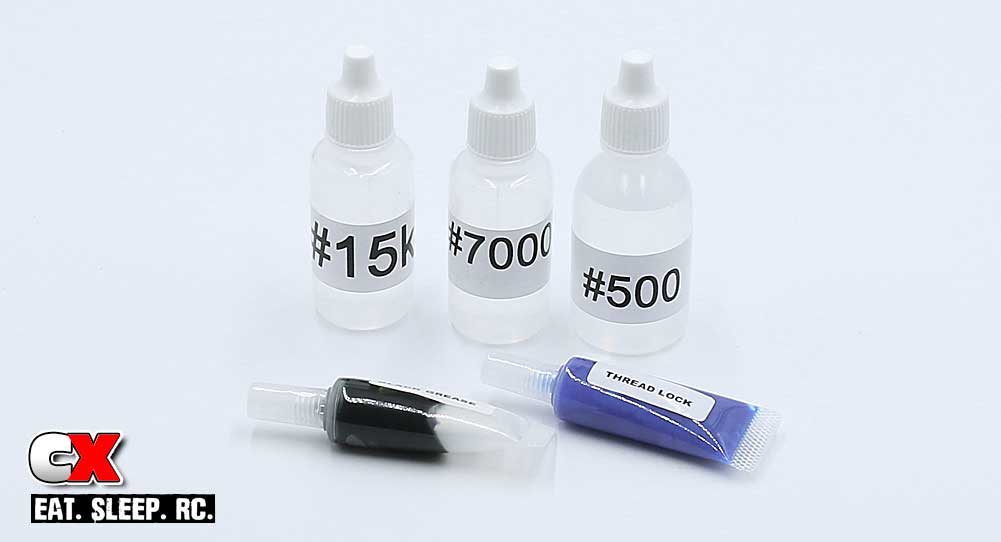
Before we start building, let’s take a quick look at the fluids Tekno has included with the EB410. There’s a small tube of both black grease and blue threadlocking compound as well as 15K fluid (for the front and center diffs), 7K fluid (for the rear diff) and 500wt shock fluid. There’s enough here for the build and a couple rebuilds.

Before we start building, let’s take a quick look at the fluids Tekno has included with the EB410. There’s a small tube of both black grease and blue threadlocking compound as well as 15K fluid (for the front and center diffs), 7K fluid (for the rear diff) and 500wt shock fluid. There’s enough here for the build and a couple rebuilds.
Step 2:
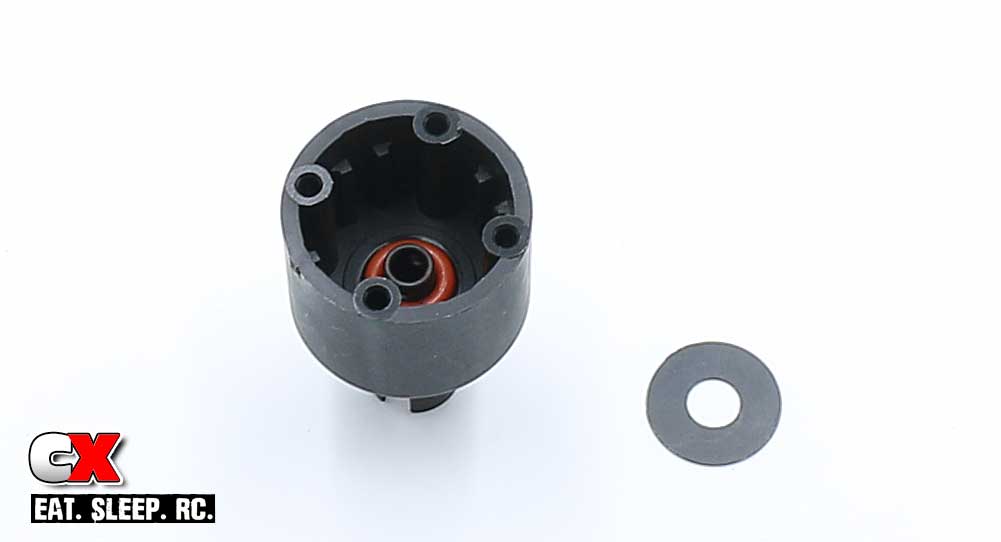
Ok, let’s start by building the center diff. The first step is to apply a liberal amount of black grease to the groove in the outdrive and slide it into the diff housing. Follow that up with a red o-ring and 14mm diff shim.

Ok, let’s start by building the center diff. The first step is to apply a liberal amount of black grease to the groove in the outdrive and slide it into the diff housing. Follow that up with a red o-ring and 14mm diff shim.
Step 3:
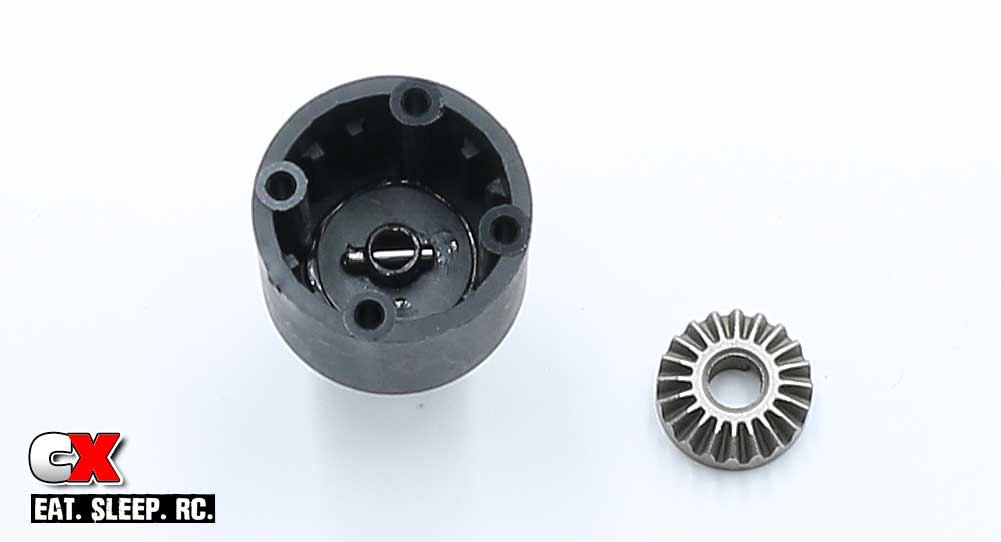
Press the 14mm shim down to seat the o-ring, then slide the chrome pin through the hole in the outdrive. Apply a small amount of black grease to the back of the sun gear and drop it into place, keying it to the chrome pin.

Press the 14mm shim down to seat the o-ring, then slide the chrome pin through the hole in the outdrive. Apply a small amount of black grease to the back of the sun gear and drop it into place, keying it to the chrome pin.
Step 4:
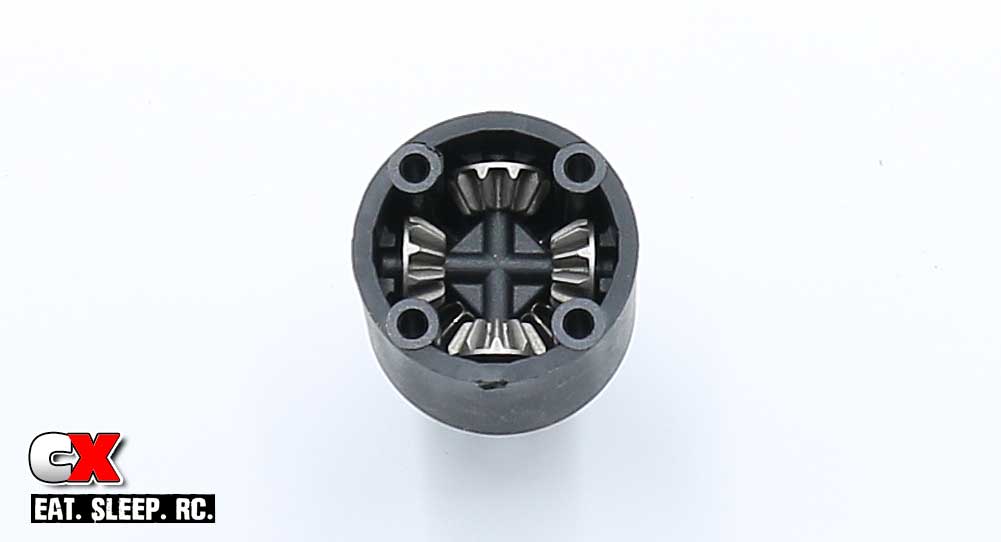
Build the 4-gear satellite assembly and drop it into the diff housing as shown. You may need to wiggle it around slightly to get the gears to correctly mesh.

Build the 4-gear satellite assembly and drop it into the diff housing as shown. You may need to wiggle it around slightly to get the gears to correctly mesh.
Step 5:
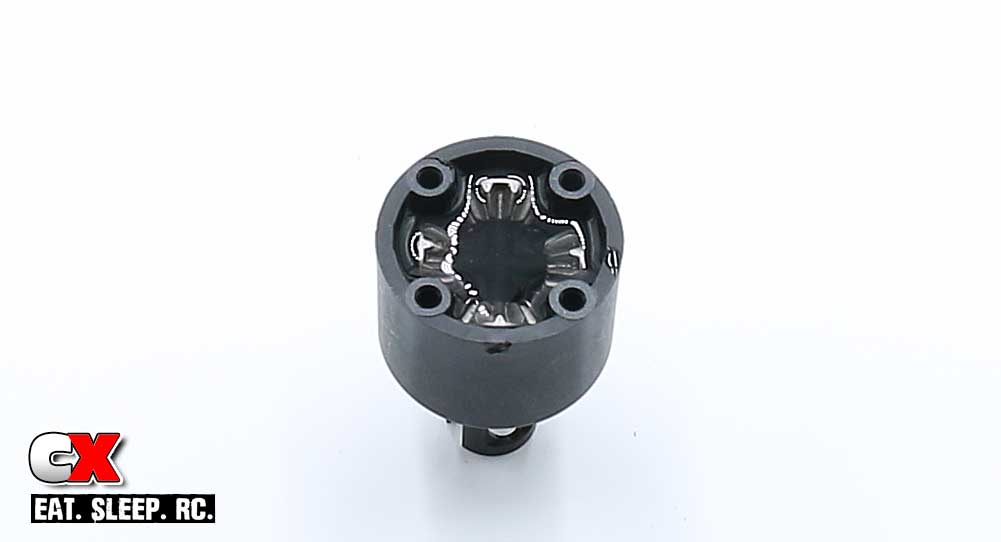
Using the 15K fluid, carefully fill the diff until the fluid is just at the top of the gears. Let it settle for a few seconds and refill if necessary.

Using the 15K fluid, carefully fill the diff until the fluid is just at the top of the gears. Let it settle for a few seconds and refill if necessary.
Step 6:
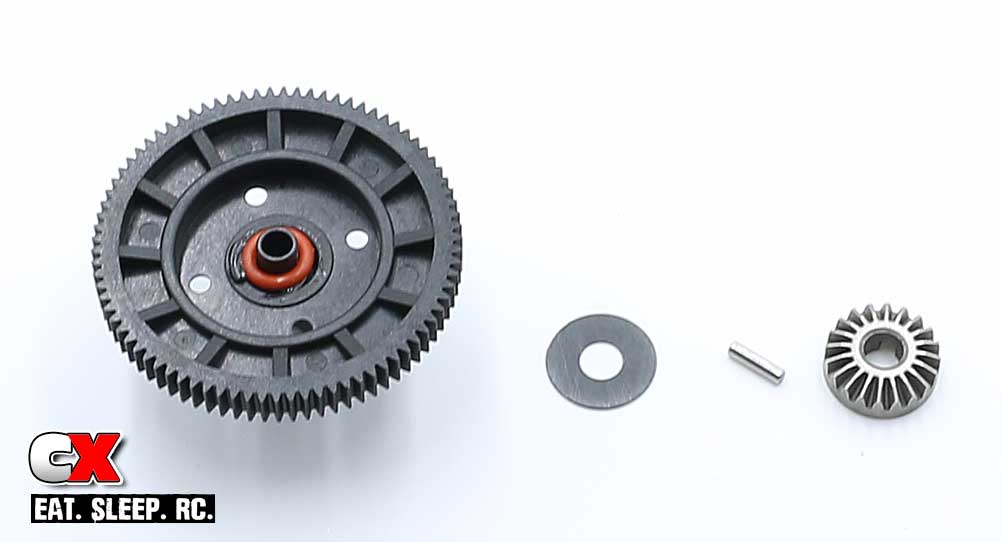
Apply black grease to another outdrive and slide it through the spur gear. Drop the o-ring in place followed by the 14mm shim, chrome pin and sun gear. Again, use a little black grease on the sun gear prior to assembly to help keep it in place.

Apply black grease to another outdrive and slide it through the spur gear. Drop the o-ring in place followed by the 14mm shim, chrome pin and sun gear. Again, use a little black grease on the sun gear prior to assembly to help keep it in place.
Step 7:
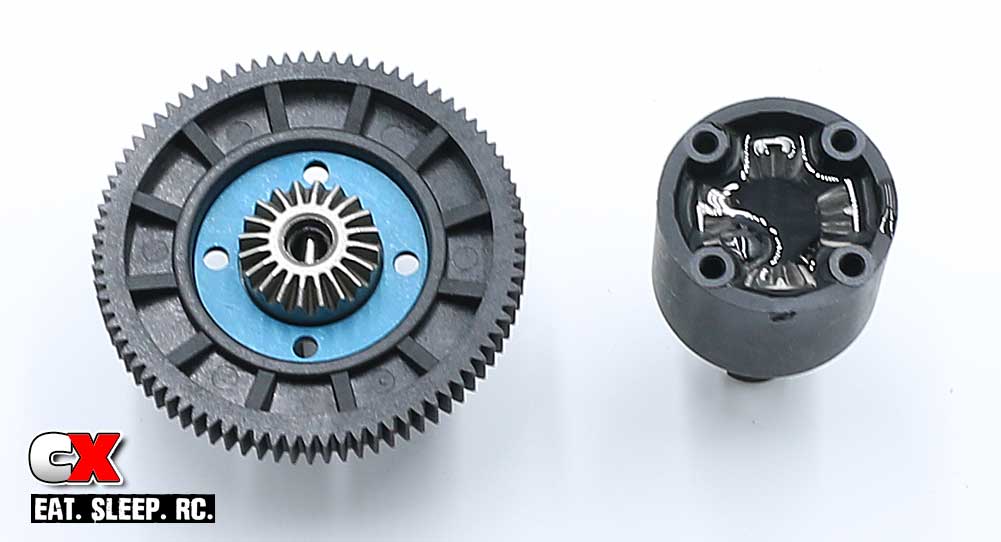
Set the blue gasket into the gear, making sure to line up the holes. Carefully mate the two diff halves together, rotating the outdrives slightly to make sure all the gears mesh correctly. Secure with the M2.5x10mm screws.

Set the blue gasket into the gear, making sure to line up the holes. Carefully mate the two diff halves together, rotating the outdrives slightly to make sure all the gears mesh correctly. Secure with the M2.5x10mm screws.
Step 8:
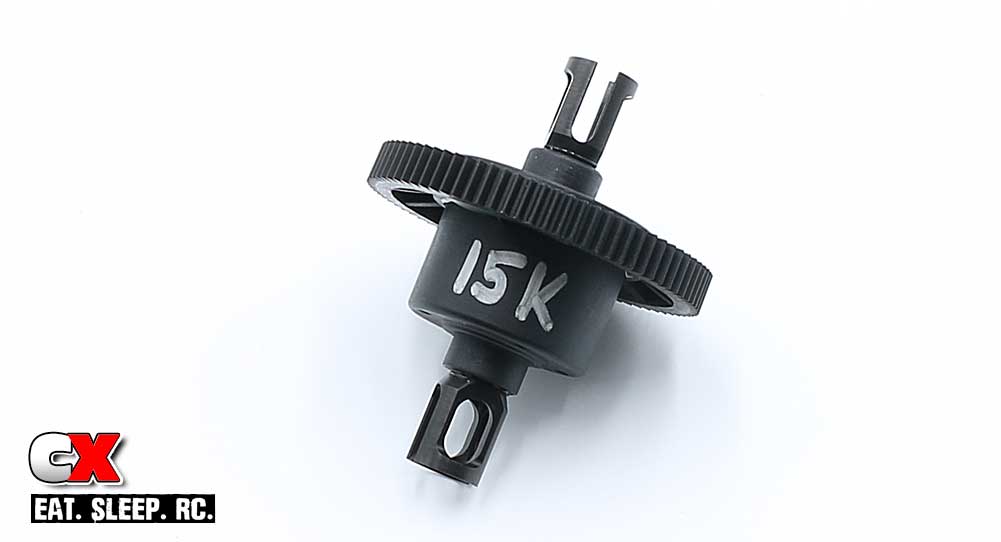
As a final step, I like to write the fluid weight on the outside for future reference.

As a final step, I like to write the fluid weight on the outside for future reference.
Step 9:
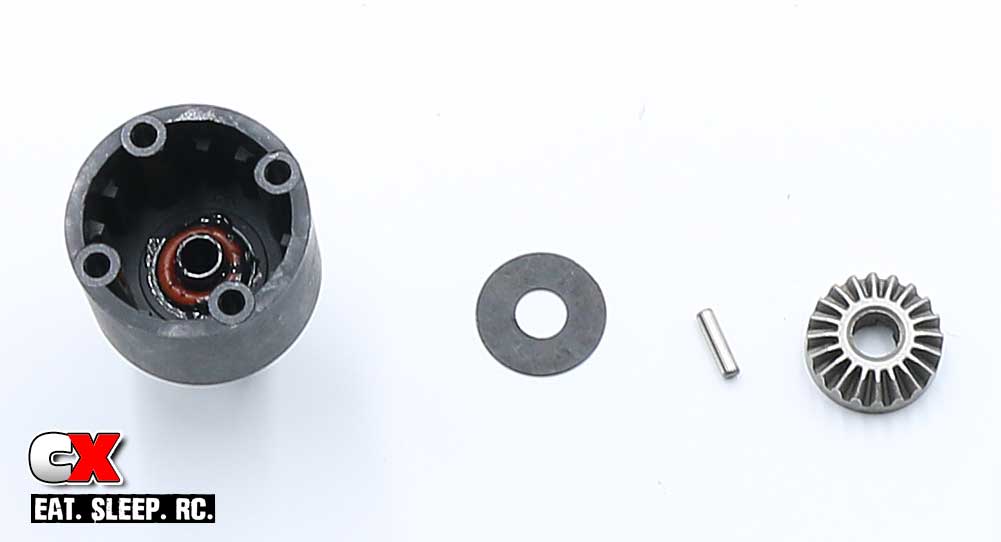
Assembling the front and rear diffs is similar to the center one; add grease to the outdrive, insert into the housing, press the red o-ring into place followed by the 14mm shim, chrome pin and sun gear.

Assembling the front and rear diffs is similar to the center one; add grease to the outdrive, insert into the housing, press the red o-ring into place followed by the 14mm shim, chrome pin and sun gear.
Other than the diff fluid, the front and the rear diffs are identical – you can build both at the same time.
Step 10:
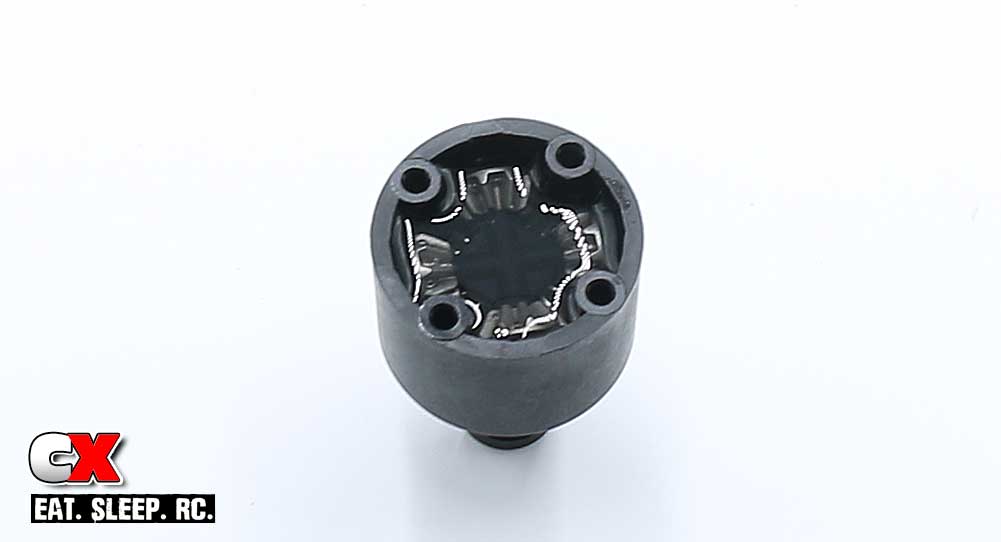
Build the 4-gear satellite assembly, drop into place and fill the housing up with fluid (15K for the front, 7K for the rear).

Build the 4-gear satellite assembly, drop into place and fill the housing up with fluid (15K for the front, 7K for the rear).
Step 11:
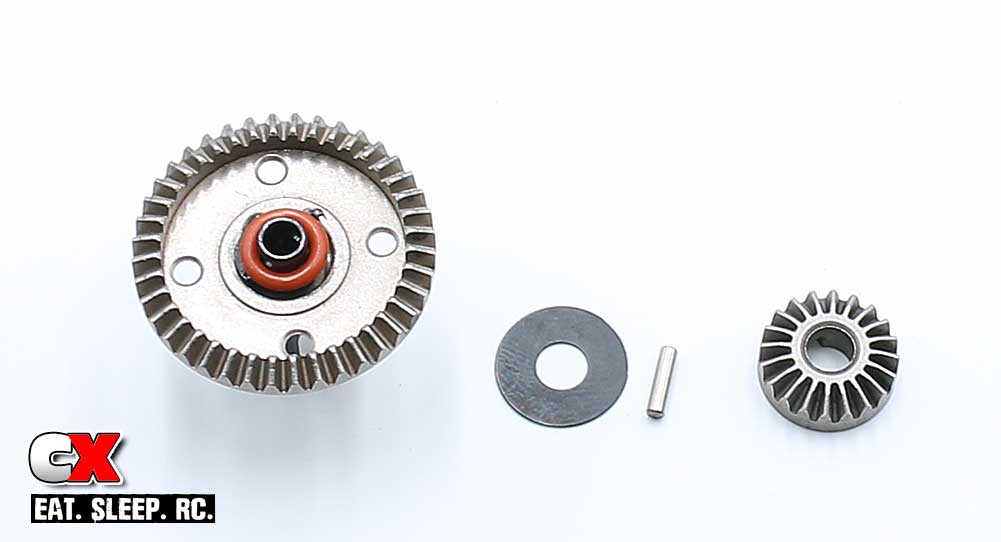
Grease up the outdrive, slide it into the metal diff gear, drop a red o-ring and 14mm shim into place and secure with the chrome pin. Final step is the sun gear.

Grease up the outdrive, slide it into the metal diff gear, drop a red o-ring and 14mm shim into place and secure with the chrome pin. Final step is the sun gear.
Step 12:
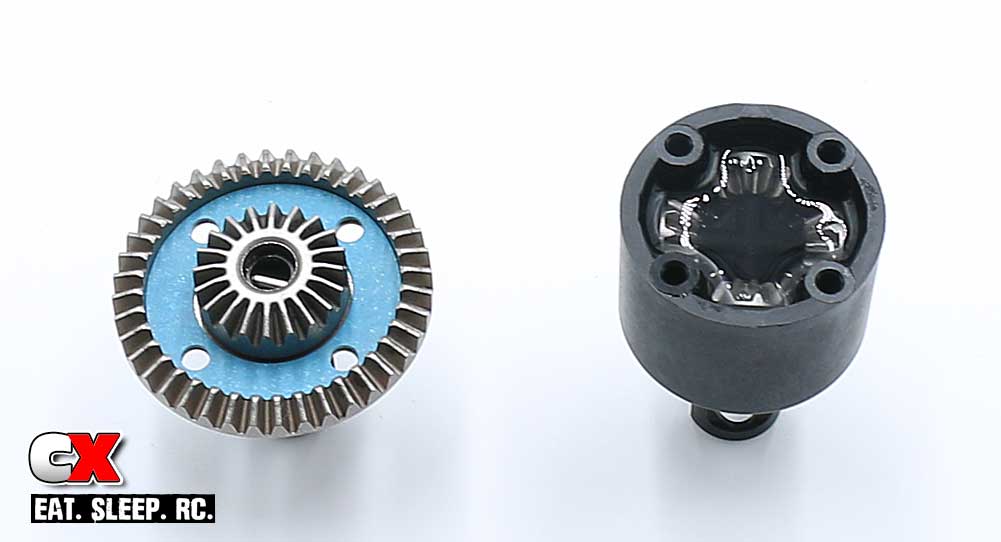
Press and align the blue gasket and mate the two halves together. Again, you might need to rotate the outdrives to get the gears to correctly seat.

Press and align the blue gasket and mate the two halves together. Again, you might need to rotate the outdrives to get the gears to correctly seat.
Secure the assemblies with the M2.5x10mm screws.
Step 13:
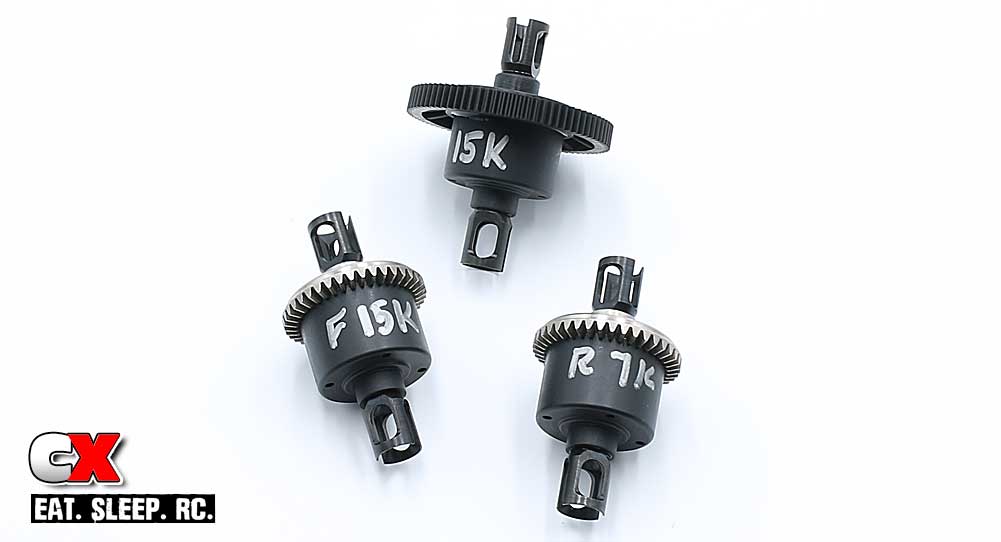
Like the center diff, I write the weights on the front and rear ones as well. Not only is this good for reference, it also makes it easier to discern which diff we need to grab during later assembly.

Like the center diff, I write the weights on the front and rear ones as well. Not only is this good for reference, it also makes it easier to discern which diff we need to grab during later assembly.
Clean up any excess fluid with a rag and some motor spray, set them aside and we’re off to the next step.
Tekno EB410 Buggy Build – Opening Page
Tekno EB410 Buggy Build – Part 1 – Differentials
Tekno EB410 Buggy Build – Part 2 – Steering and Bulkheads
Tekno EB410 Buggy Build – Part 3 – Rear Suspension
Tekno EB410 Buggy Build – Part 4 – Front Suspension
Tekno EB410 Buggy Build – Part 5 – Chassis
Tekno EB410 Buggy Build – Part 6 – Shocks
Tekno EB410 Buggy Build – Part 7 – Final Assembly
 CompetitionX CompetitionX is the most up-to-date source for RC Car News, Reviews and Videos for Radio Control. We also have the most comprehensive Manual Database on the web.
