
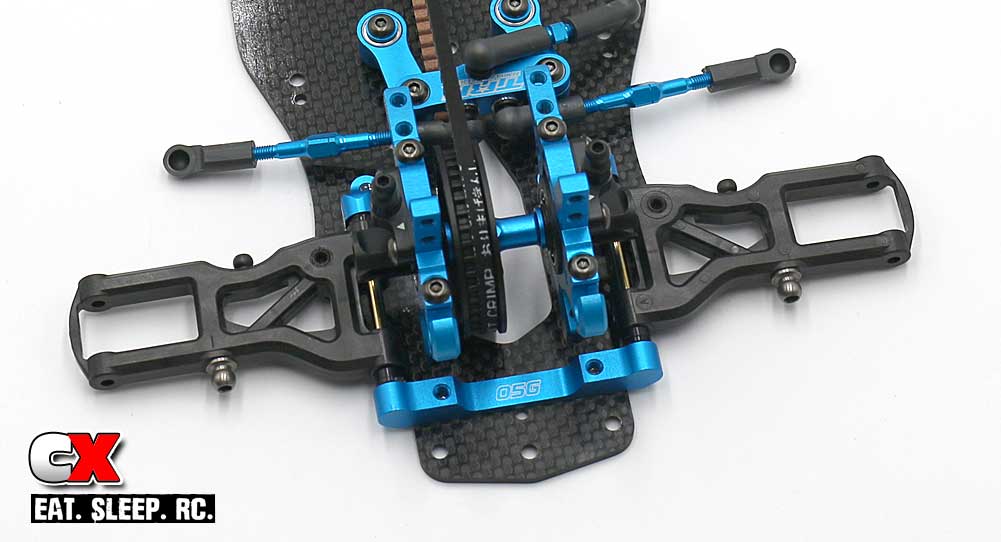
The suspension on the Tamiya TRF419XR has always been one of the best in the industry. Precision-molded arms, aluminum arm mounts and the super-slick TRF shocks all compliment this ride’s amazing drive quality. It even comes with double cardan drive axles on the front as standard equipment.
 Everything went together fine in this step, right up until Step 19. You’ll need to insert some .5mm shims that are kind of a pain. I show you, in Step 19, the way I figured it out – you may come up with a better solution.
Tamiya includes a cap of their thick anti-wear grease. This stuff works wonders but can be a bit messy. Use with care.
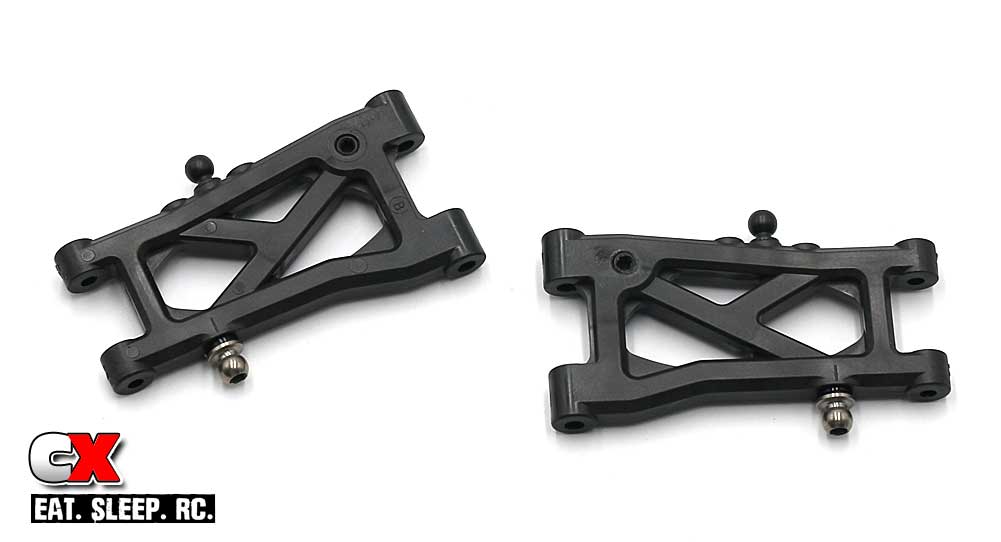
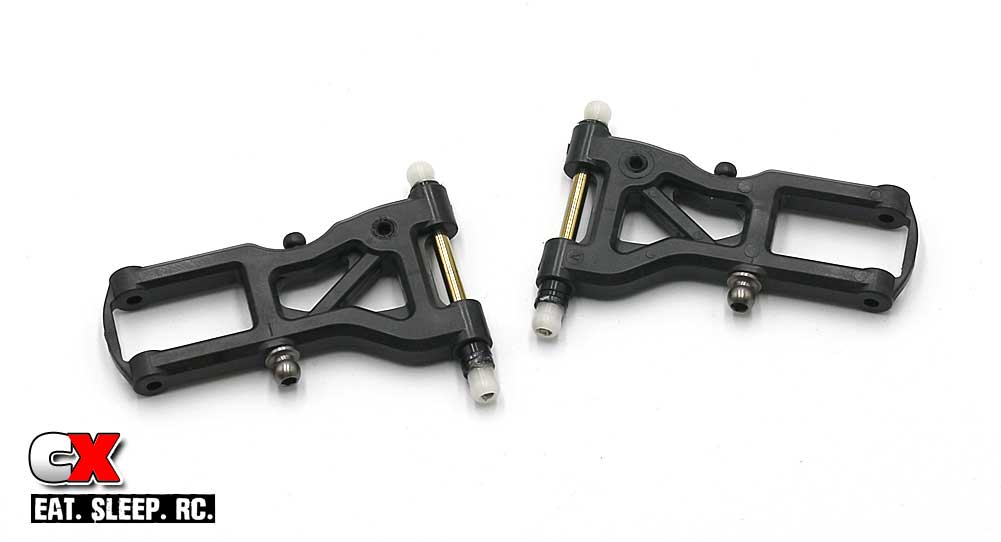
Start off this step by assembling a pair of rear arms. I sort of guesstimated the rear droop screws; I’ll give the car a full setup walkthrough prior to its first run.
Slide the inner hinge pin through the arm and slip the 3mm, 1mm and .3mm shims into place. A light dab of Anti-Wear Grease on both ends (before slipping the 5mm suspension balls on) will help keep everything in place.
Slide the rear suspension arms into place, then capture with the 1E aluminum suspension mount. Blue threadlocker into the 1E mount is suggested.
Build the front arms. Process is similar to the rear arms (Steps 1 and 2).
Set the front arm assemblies into place, the capture with the 05G aluminum mount. Blue threadlock is suggested into the 05G mount.
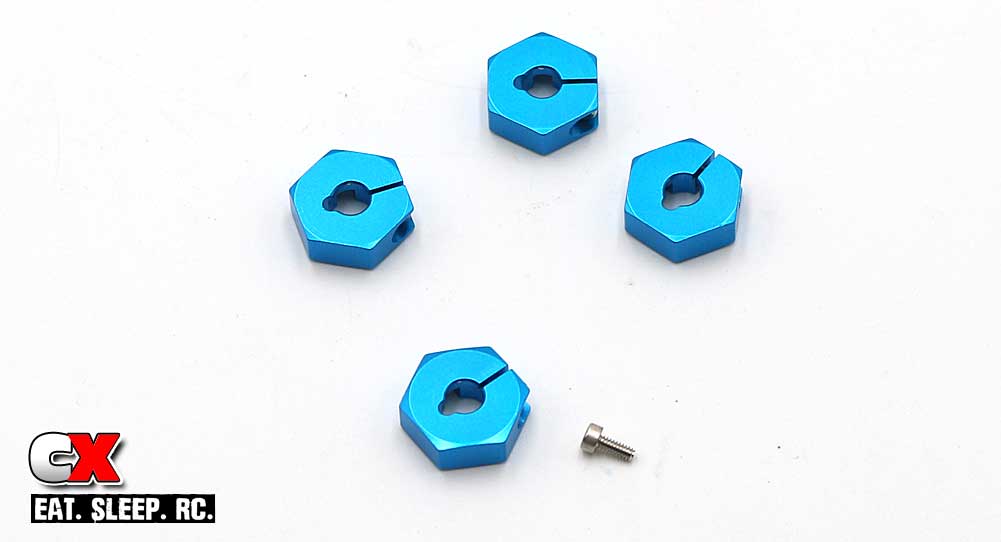
Assemble the 4 aluminum wheel hexes.
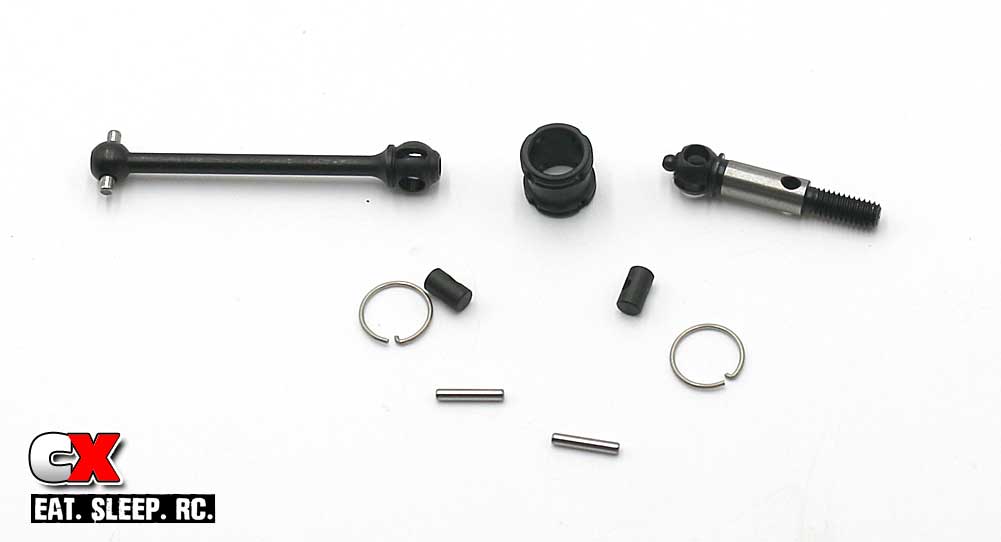
Assemble the rear universals. Anti-Wear Grease is suggested here. A little patience is also required while installing the axle ring.
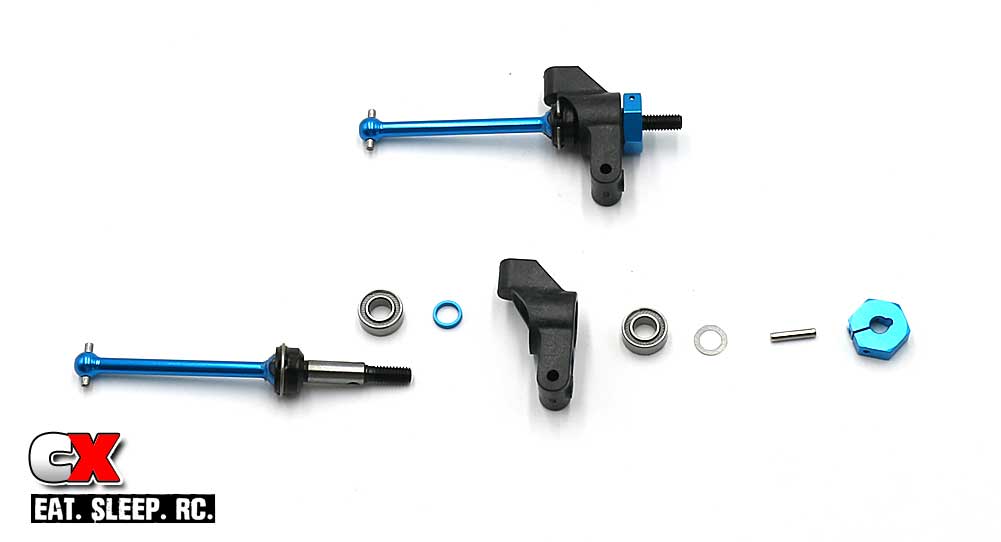
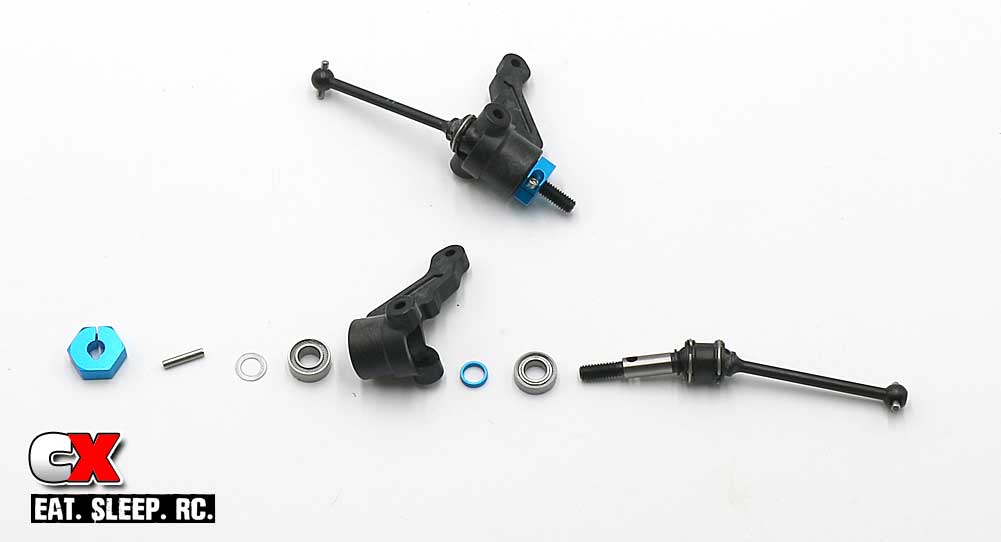
Assemble the rear uprights. Only thing to note here is the 2.5mm holes required in the uprights for the set screw. I would suggest doing this PRIOR to assembling the rest.
Flex and install the white axle savers.
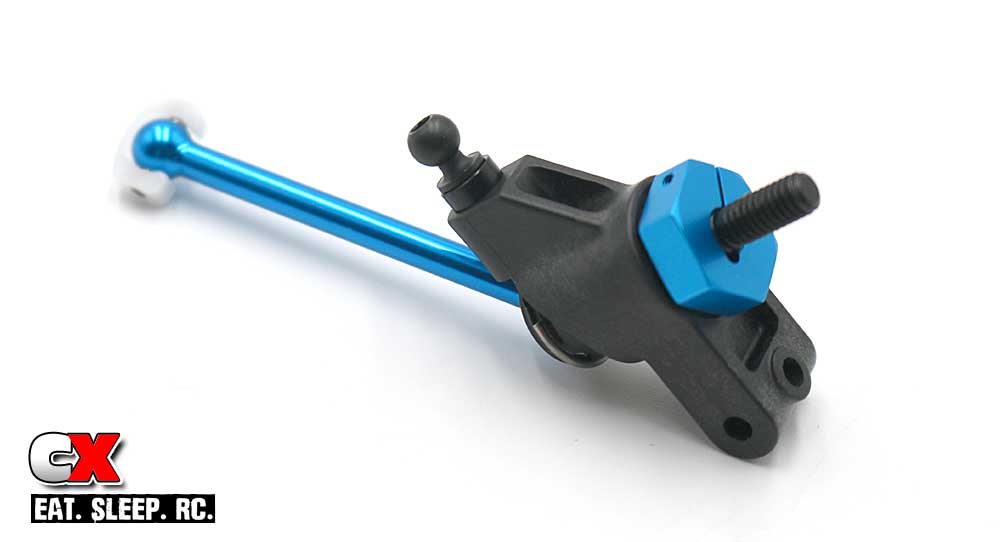
Install the 8mm ballstud and 2mm spacer on each upright. Your final assemblies should look like this.
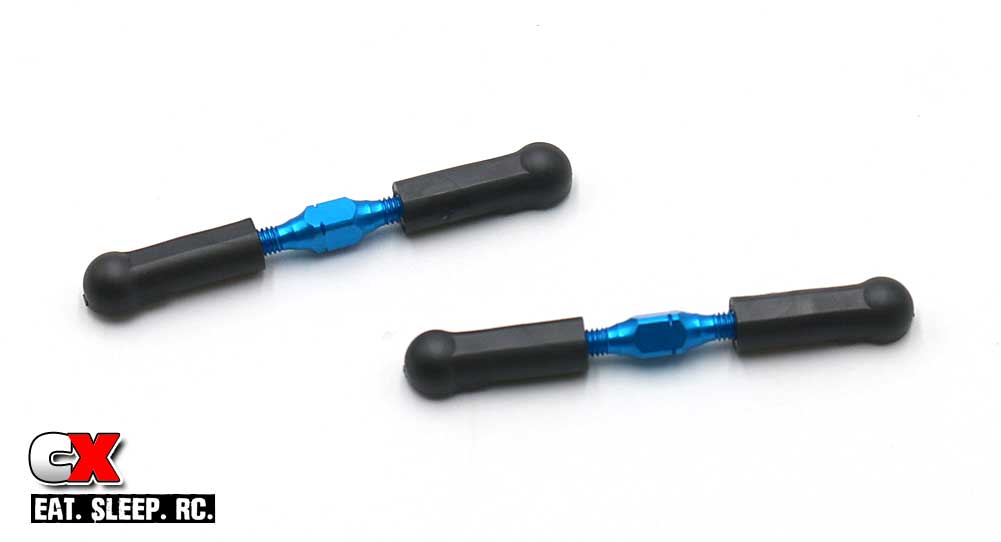
Build a pair of rear turnbuckles.
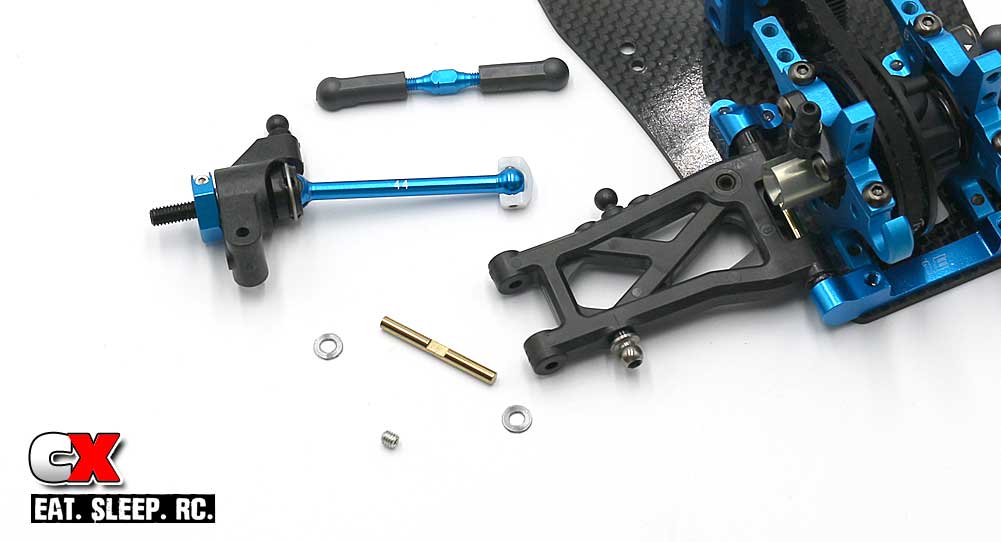
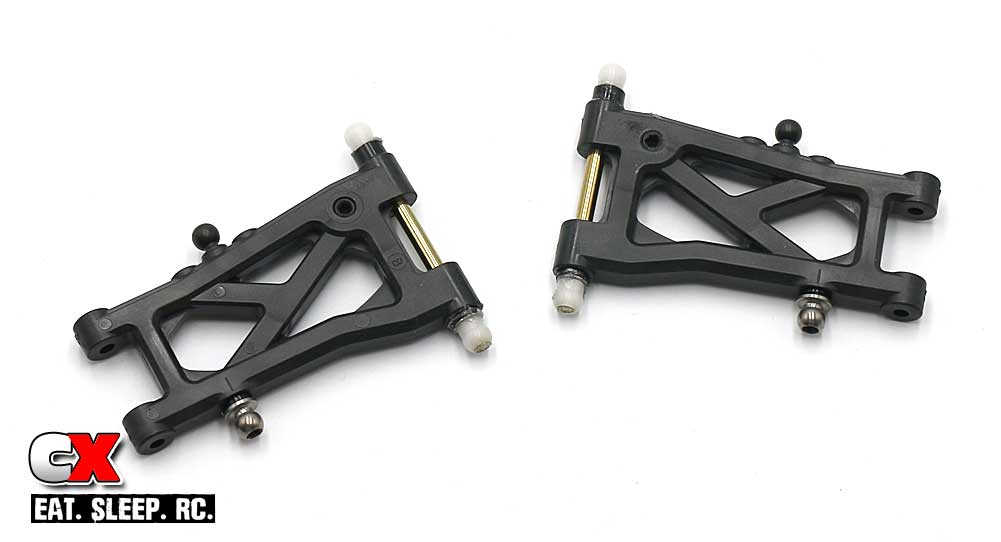
Attach the rear upright assembly to the rear arms. Make sure you get the small .5mm shims on each side of the upright assembly.
Manual shows a little bit of Anti-Wear Grease into the outdrive; I would suggest only a very little as to much could make it spray all over after the first run.
Note: the hinge pin needs to be installed with the flat spot facing out. The 3mm setscrew needs to come in contact with the flat spot to secure the hinge pin.

Here’s a look at the final rear assembly.
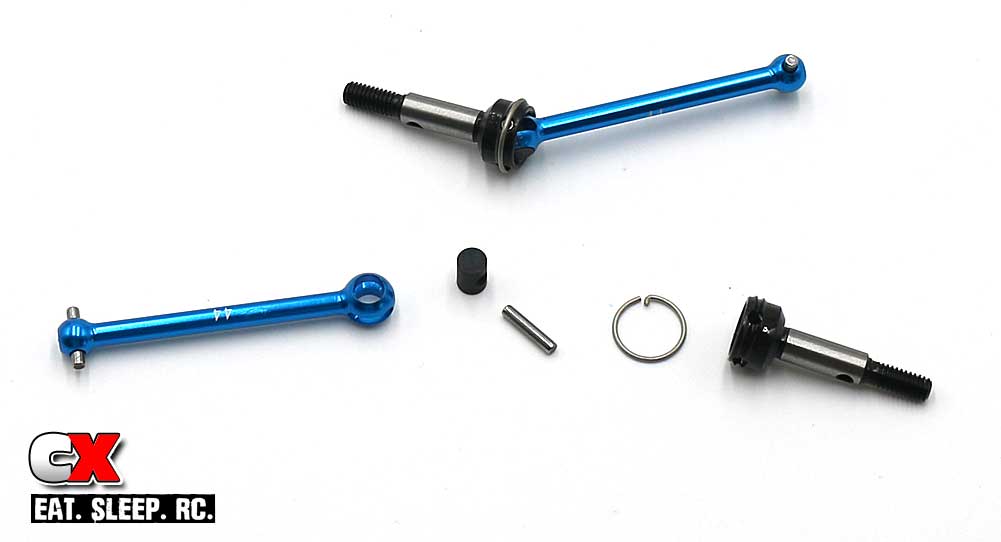
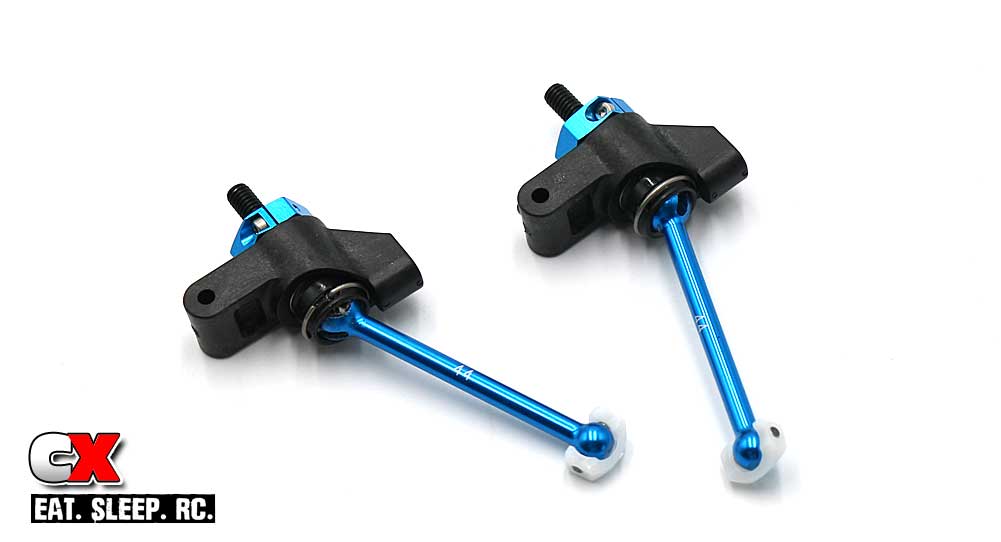
Build a pair of front double cardan joints. Yes, two axle rings – double your fun.
Don’t forget the Anti-Wear Grease.
Assemble the left and right steering arms.
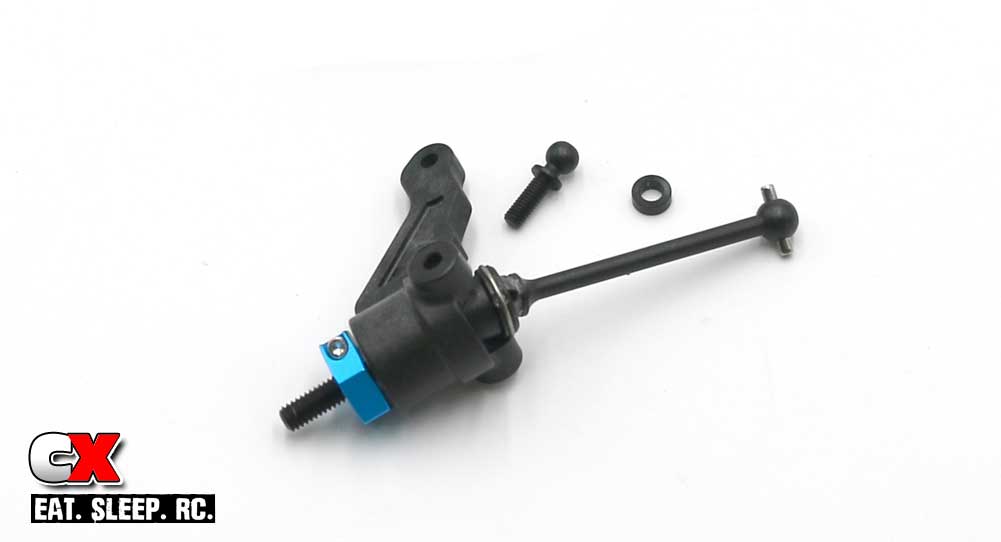
Attach the 8mm ballstud and spacer.

These two little guys will be used in the next step. This is to show you that they are different heights; the short one goes on top, the tall one goes on the bottom.
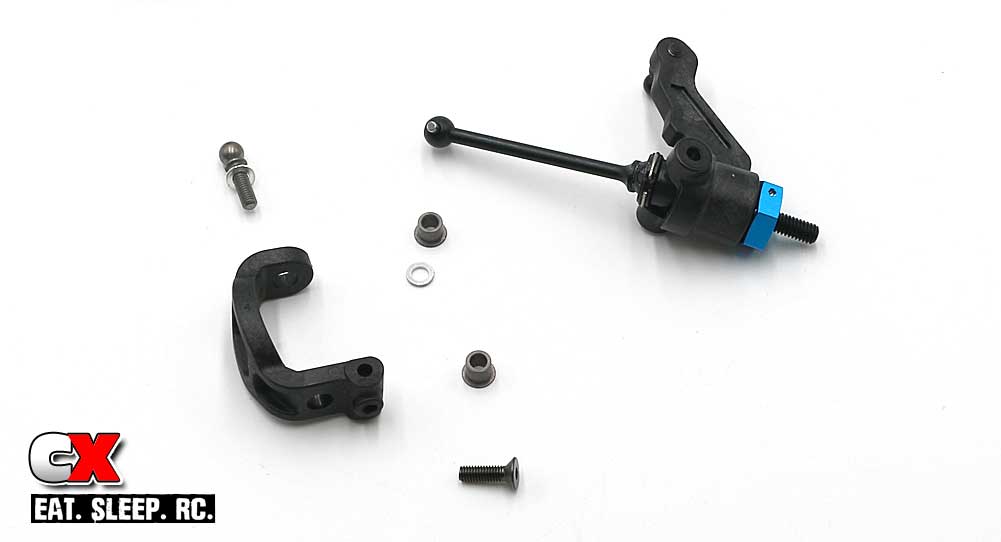
And here’s the assembly. I would suggest installing the bottom 10mm screw first to hold everything in place before attempting the upper 9mm ballstud.
You’ll also want to make a 2.5mm hole in the bottom of the caster block for the set screw in Step 21.
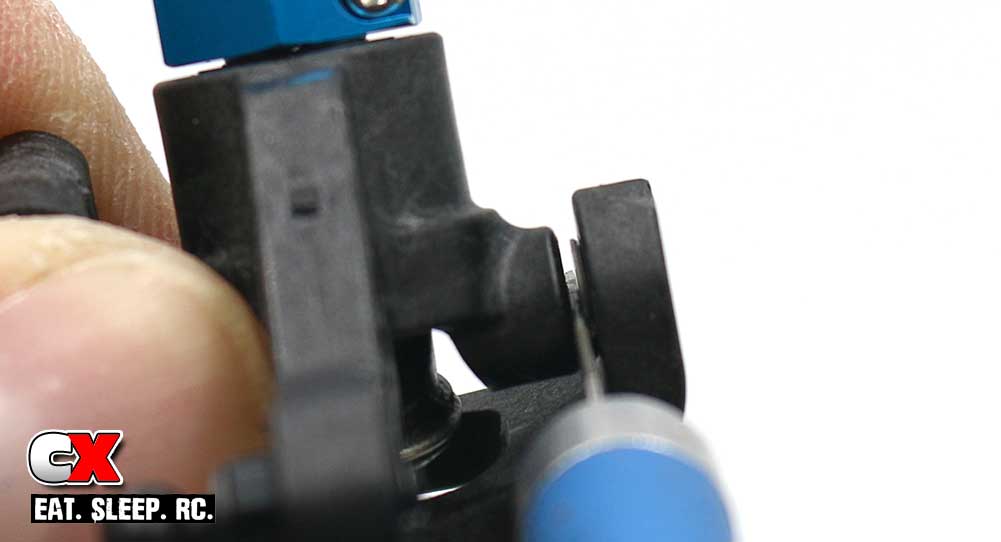
Now, here’s the tricky part. We need to slip a .5mm spacer into this gap, but doing that and installing the 9mm ballstud (and spacer) is a bit difficult with only two hands. Oh, and chubby fingers don’t help.
So, my solution was to wedge an Xacto knife in the space (to keep the 3.9mm flanged tube out of the way), slide the .5mm shim into place and then install the 9mm ballstud. Wah-lah – success.
I’m not going to lie – there was a bit of cussing going on prior to this solution.
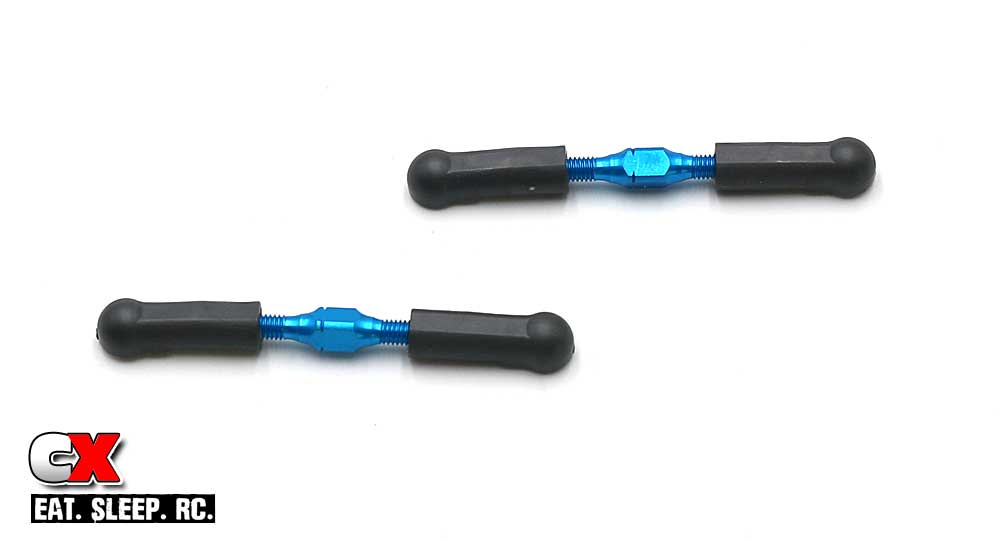
Build a pair of camber links.
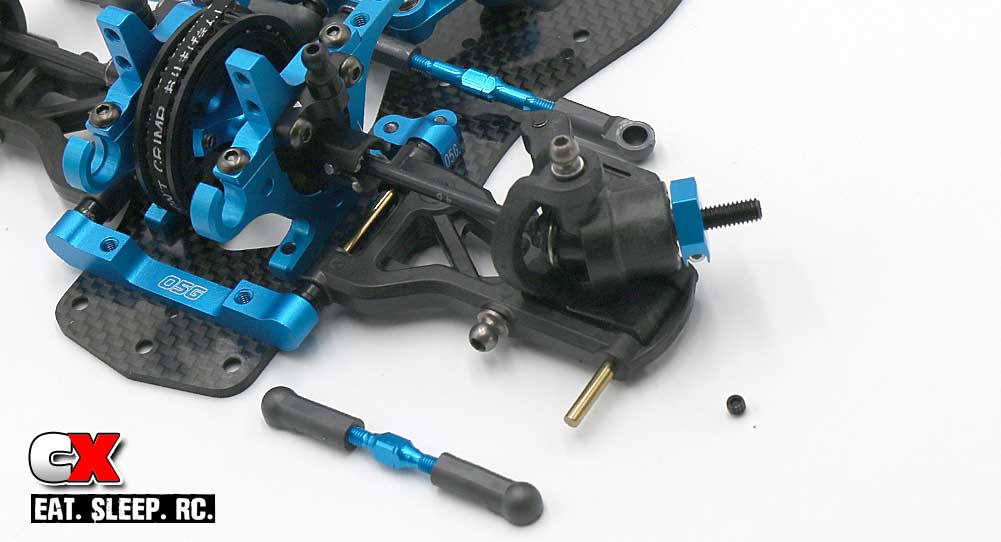
Attach each steering assembly to the front arms. Make sure the flat spot on the hinge pin faces down so the set screw can catch hold of it.
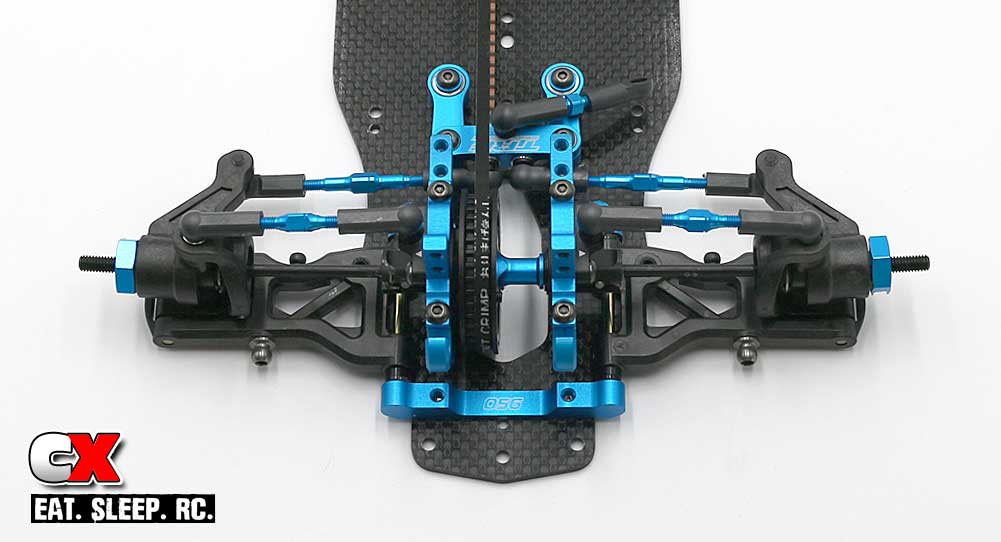
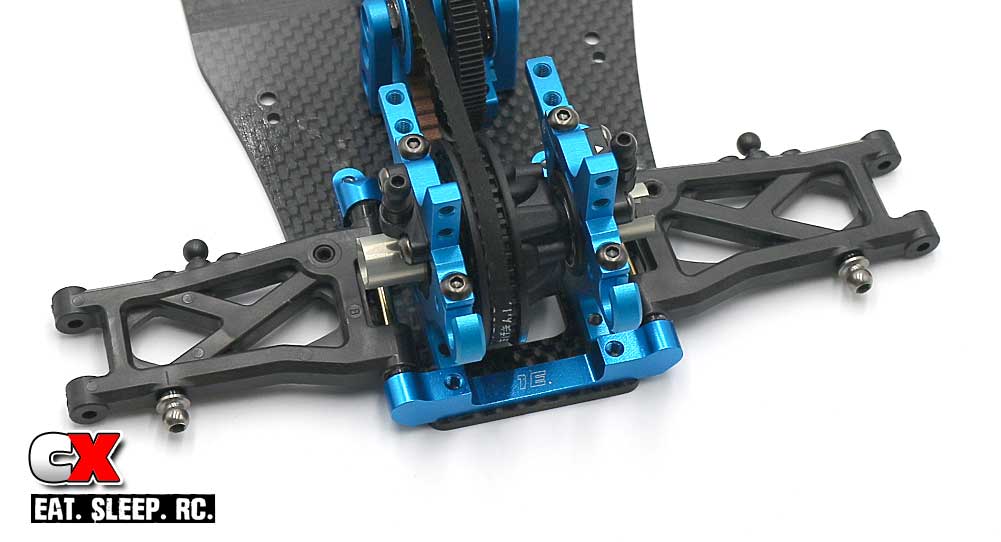
Front suspension done! Swing all 4 arms up and down to make sure they move freely.
Longest step so far, but it’s beginning to look alot like a Touring Car! Let’s roll to Step 6 and attach the Anti-Roll Bars!
Tamiya TRF419XR Touring Car Build – Opening Page
Tamiya TRF419XR Touring Car Build – Part 1 – Chassis/ Bulkheads
Tamiya TRF419XR Touring Car Build – Part 2 – Rear Differential
Tamiya TRF419XR Touring Car Build – Part 3 – Driveline
Tamiya TRF419XR Touring Car Build – Part 4 – Steering
Tamiya TRF419XR Touring Car Build – Part 5 – Suspension
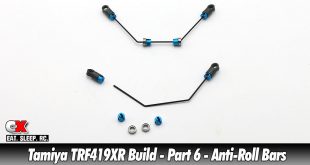
Tamiya TRF419XR Touring Car Build – Part 6 – Anti-Roll Bars
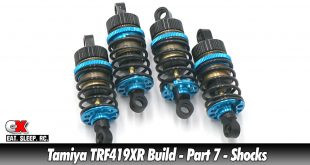
Tamiya TRF419XR Touring Car Build – Part 7 – Shocks
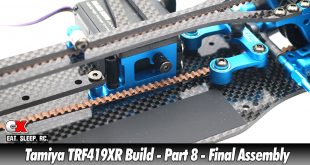
Tamiya TRF419XR Touring Car Build – Part 8 – Final Assembly

One comment
Pingback: Tamiya TRF419XR Touring Car Chassis Build | CompetitionX