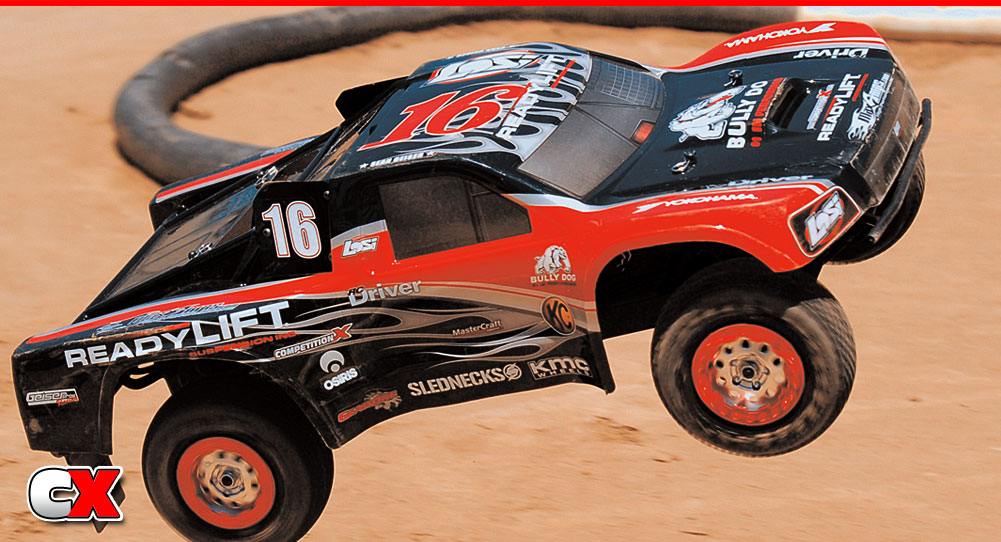
There are pros and cons to most Ready-To-Run vehicles. In short, RTR’s are budget builds of a manufacturer’s full-blown race vehicle. Parts made of titanium are replaced with steel. Machined aluminum parts are substituted with stamped aluminum. In some cases, even the plastic that the parts are made of is different. The result is a still a very good vehicle but at a greatly reduced price.
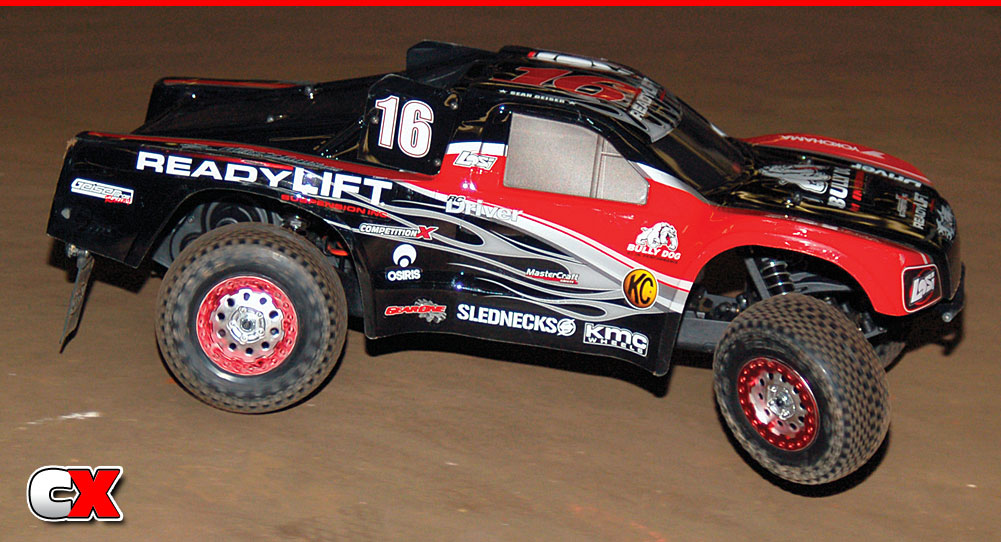
 So, why not just race an RTR? Well, truth be told, not all RTR’s can compete at the same level as a race-built kit. Better tires, electronics and even plastic parts can be the deciding factor between winning and losing a race. I wrangled up a test-and-tune day with Frank Root, Losi’s Product Manager (and one of Team Losi Racing Team Drivers) to do a Pro-Prep article on the Losi XXX-SCT RTR truck. Follow along as we perform a three-step process to turn your XXX-SCT Ready-To-Run in to a XXX-SCT Ready-To-Race!
THE TEST
Frank and I took the XXX-SCT to OCRC Raceway in Huntington Beach, California. This well-known SoCal track is famous for its awesome track layouts and high level of competition. What better way to test the limits of an RTR than at a place like this? We installed an AMB personal transponder to keep tabs on our progress.
PHASE 1 – THE RTR-TUNE
Phase 1 of the article is based around basic setup changes. The XXX-SCT is really good out of the box but could use a few minor changes to bring it alive. On our baseline run, we put down some pretty good laps. Our top 10 averaged out to a 23.887 with a fast lap of 22.981. Frank and I headed back to the pits where he started his reconstruction of the XXX-SCT.
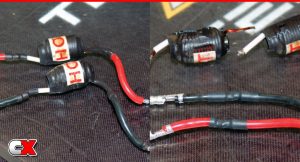 Step 1: The first thing Frank suggests is to remove the two large capacitors that are soldered to the motor wires as these rob quite a bit of power. You will need to re-solder the wires back together so be careful if you decide to cut them. If you don’t have a soldering iron, someone at the track (or the track shop) should be able to help you out.
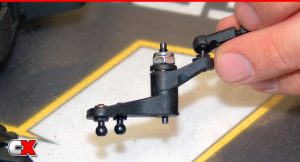 Step 2: The next step is to tighten down the servo saver. Remove the servo saver assembly (you can do it while it’s in the truck but it is much more difficult). Tighten it down as shown in the picture. The spring tension is pre-set a little light to help protect the servo from damage, but this also reduces the steering the truck could have. Tightening this down will certainly help navigate the truck around the track.
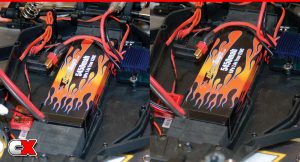 Step 3: The Losi comes with three foam blocks in front of the battery. The final step is to relocate one of the foam battery spacers behind the battery. This moves the battery forward for better weight transfer.
PHASE 2 – THE SPORT-TUNE
The next phase is a little more involved and will take a bit more time. We saw some great progress with Phase 1 and Frank assures me Phase 2 will be even better!
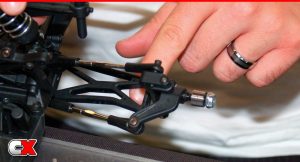 Step 1: The first thing we will do is remove the screws securing the bottom of the shocks to the suspension arms. Once removed, move the suspension arms up and down to make sure they move freely. If not, you will need to check to see why they aren’t and fix that problem.
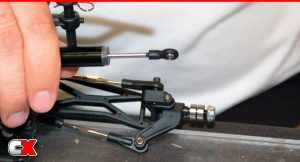 Step 2: Take the front shocks and unscrew the lower shock end two full turns. This puts more droop in the front of the truck’s suspension.
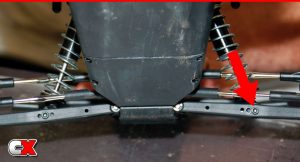 Step 3: Now re-attach the front shocks to the suspension arms but, instead of putting the shocks back in the middle hole, move the lower mount to the outside hole.
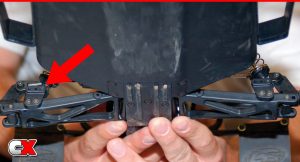 Step 4: Re-attach the rear shocks to the suspension arms but, instead of putting them back in the outside hole, move the lower mount to the inside hole.
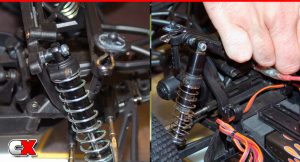 Step 5: With the body off, check the ride height of the front and rear of the XXX-SCT. Loosen the shock spring bands and set the ride height to 35mm at all four corners.
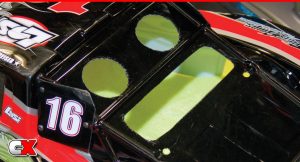 Step 6: The final step is to flight-prep the Losi body. Frank suggests cutting a happy face in the rear deck lid. The two ‘eyes’ are where the fan stickers are while the ‘mouth’ is located in the panel directly below that. It is already scored so follow the lines. This lets air flow through the body while it’s in the air and helps keep the attitude of the truck level during long flight times.
Once Phase 2 was complete, we headed back out to the track to see how it went. The results were pretty surprising! Our top 10 average was now down to 21.633 with our fast lap being a 21.398! As you can see, both our average top 10 and fast lap improved by almost another full second…and we still haven’t spent anything on upgrades!
PHASE 3 – THE PRO-TUNE
For the final phase of this Pro-Tune, I told Frank he had carte blanche as far as tuning. He could change tires springs, oils, etc, while still keeping it as affordable as possible.
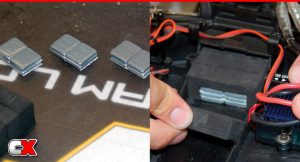 Step 1: Frank adds weight toward the back of the truck to help with traction and balance. He showed me a cool little cocoon he makes out of the foam spacers and three ounces of lead weight. Take your weight and split it up into three blocks of two. Remove the three foam spacers from the back of the battery box. Glue them together and cut a pocket into them so the weight fits snugly into the space. Now set it back into the rear of the battery box and move one more foam spacer from the front to the rear.
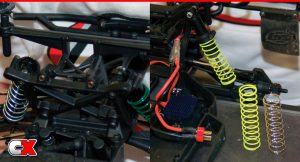 Step 2: Remove the front Silver Springs and replace with Losi’s Green Spring. Remove the rear Silver Springs and replace with Losi’s Yellow Springs. Reset the front and rear ride height to 30mm.
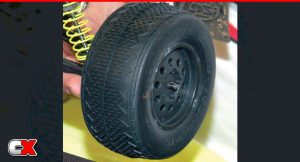 Step 3: Frank removed the stock tires and replaced them with a set of JConcepts Gold Barcodes. These tires are the preferred tire at OCRC Raceway but may not be the ones you want at your track. Check to see what the fast guys are running and mount up a set of those tires instead.
In trying to keep the cost down on this Pro-Tune, we opted to not replace any of the electronics and see exactly where Phase 3 would put us. We took the XXX-SCT on its final run and after 10 minutes of running, we checked our final times. Our average top 10 laps had once again dropped to 20.799 with a fast lap of 20.213. That’s a ½ second on our average laps and a full second on our fast lap…and we are still on the stock RTR electronics!
FINAL THOUGHTS
As you can see, the only items we had to purchase were a full set of tires, lead weight and some springs. With that and some minor tuning, we were able to improve the Losi XXX-SCT’s time by almost two seconds per lap! Frank also had a few other suggestions that would further improve lap times. He suggested changing the shock oil in the front and rear shocks to 32WT, adding a high-torque/high-speed servo and a quality brushless motor system. While the servo and brushless system are a bit more on the costly side, these upgrades could definitely drop your lap times substantially and should be considered if you are looking to continue racing the XXX-SCT RTR.
LINKS
Losi, losi.com
 CompetitionX CompetitionX is the most up-to-date source for RC Car News, Reviews and Videos for Radio Control. We also have the most comprehensive Manual Database on the web.

