Turning the House Racer into a Zippy Mouse Racer
Words and Stuff by: Mini Guinea
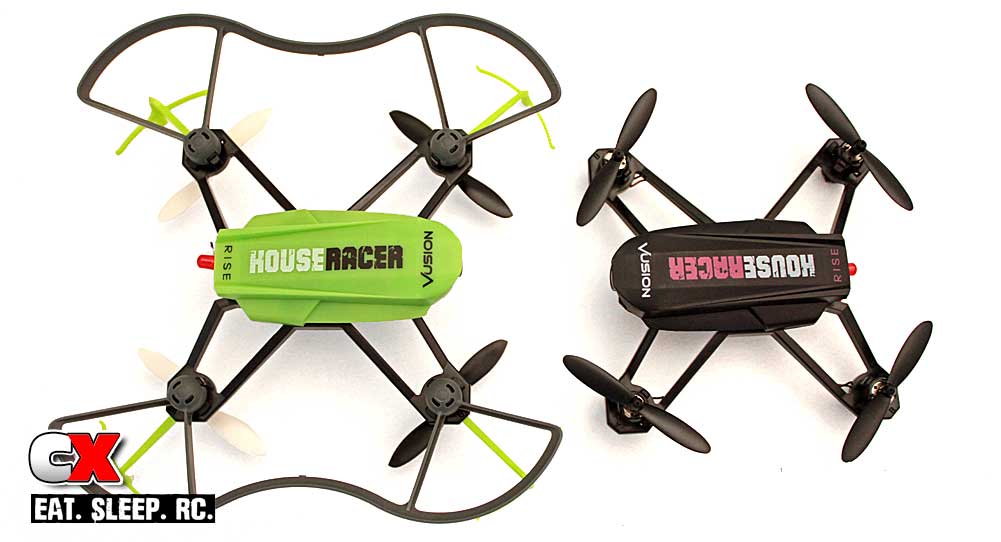
FPV is quickly becoming the most popular facet of drone flight and many a new pilot owe their flying skills to the RISE House Racer. I have had a few of them personally and they really can’t be beat for their durability and speed. As a matter of fact, the model is a little too fast for the average house. That’s not really a bad thing, but it does pose a steeper learning curve for beginners that are cutting their teeth within the confines of their living room.
That being said, the House Racer is the perfect machine for learning to fly FPV outdoors in little to no wind … until you plant it on the grass and the props refuse to spool back up. Sure, the downward facing props offer protection, but they also hinder the outdoor prowess of the House Racer. Hence, the Mouse Racer … a tractor-prop conversion that allows owners to stretch the legs of this awesome little rig. A beautiful side effect of the top-mounted props is the fact that the little Mouse is much more responsive and fast.
ITEMS NEEDED: (Aside from the House Racer … duh)
• Hobby knife with new blade
• Foam or plastic for spacers
• Dromida Kodo props (DIDE1502)
HOW IT’S DONE
It’s really quite simple and as long as you can handle a hobby knife and change a motor, you’ll be fine. The biggest hurdle in this adventure will be how to restrain each motor in their pod once reversed, but let’s not put the proverbial cart before the horse, eh?
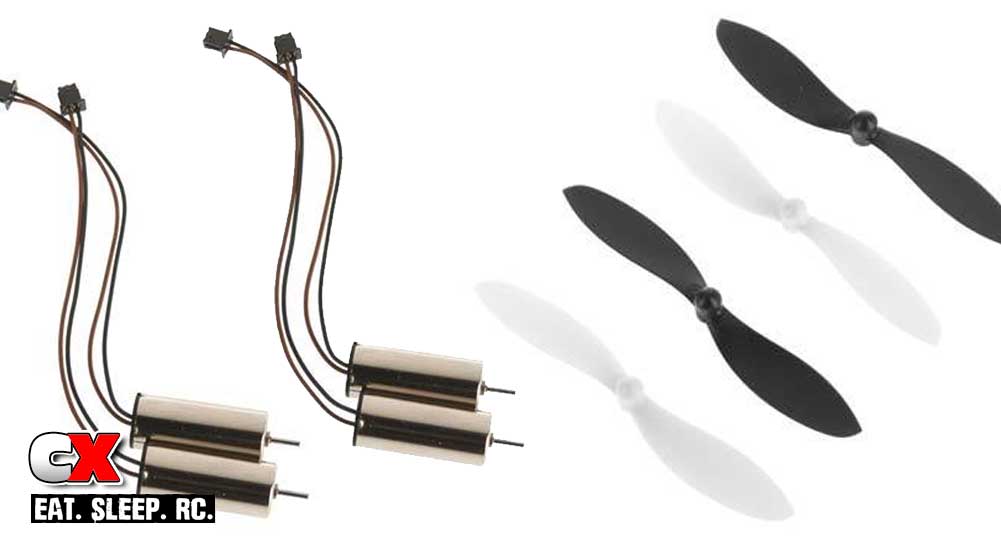
FIRST – After removing all the motor mount locks and props, take all four motors out and rotate them by one spot (it doesn’t matter which direction). Make sure to note which color wires go where and that you carefully remove all the wire leads from the bundlers, plugs and pods.
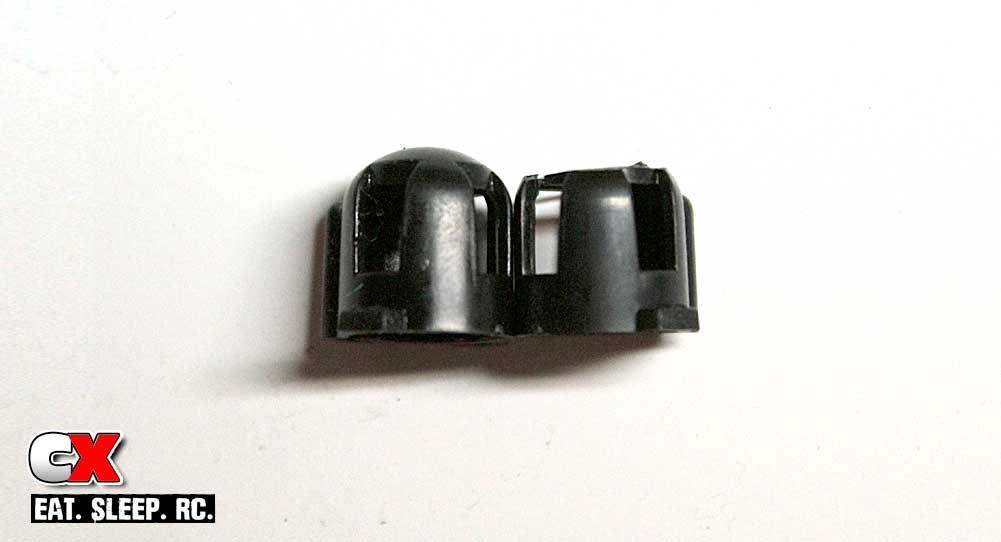
NEXT – Using a nice new hobby knife or razor blade, shave 3mm off the top of each mount lock. You basically want to cut the top of the dome off so the motor shaft can stick out and the prop hub can spin unencumbered. Cut carefully and use a small vice if necessary.
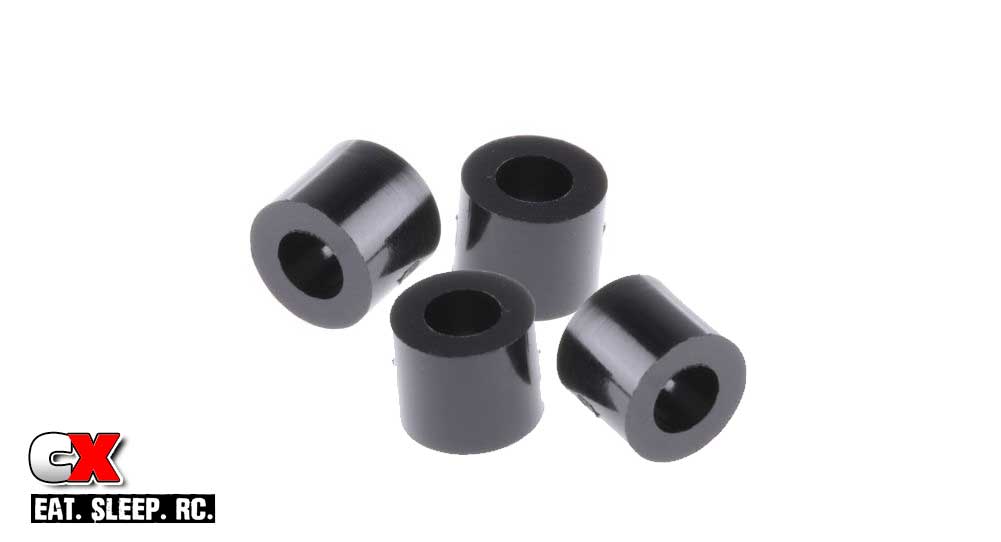
AFTER THAT – You’re going to need some 4mm spacers under each motor, inside the pods. This is because the dome you just chopped off each lock has a spacer to push the stock mounted motors snug to the bottom of the pods. I used some dense foam, cut with a hobby knife, but you could easily use some small plastic bushings or spacers.
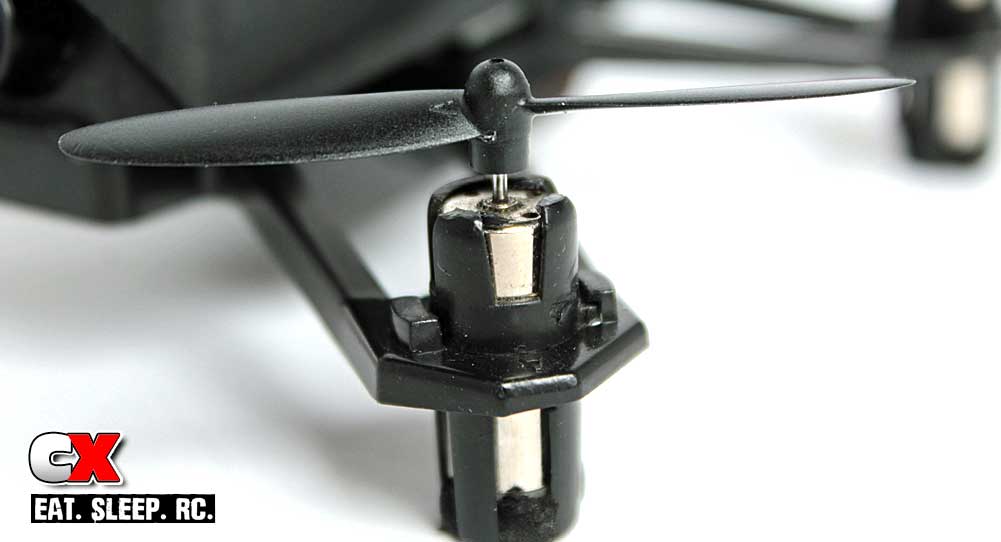
THEN – Remount each motor, but with the shafts pointed skyward and the spacers under the end-bells, then replace each motor lock and ensure there is ample clearance for the prop.
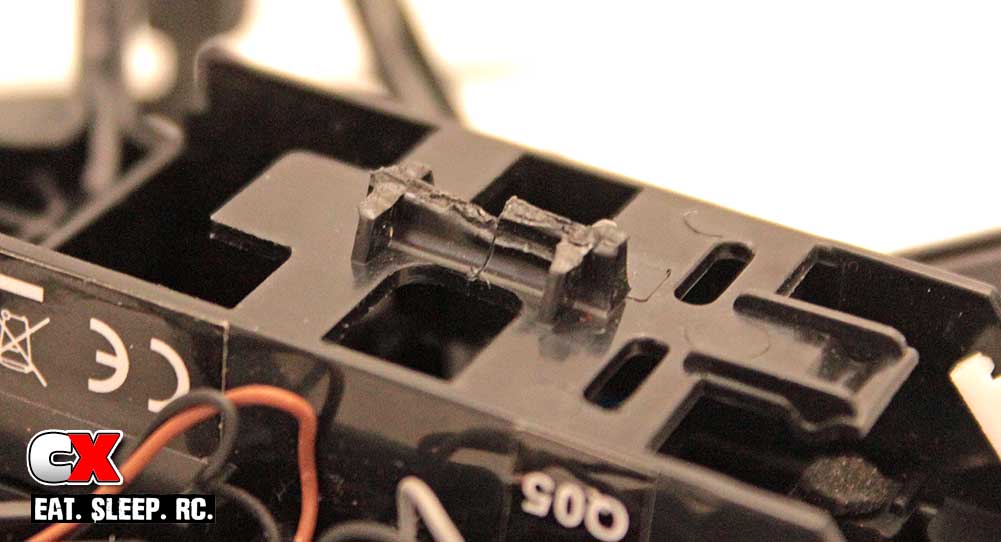
FINALLY – Chop the bottom fin off and charge a battery to go fly your new Mouse Racer!
Notes:
First, let me just say this “Mouse” is the third incarnation of my creation. First, I just reversed the motors after rotating them, glued them in place with some CA and went flying with some random bullnose micro props I had. It flew like a dream, but I had to shave the front fins off the canopy with a Dremel to clear the front blades and the props were super brittle, breaking easily. Also, hitting anything would almost always knock a motor loose. No bueno.
The second iteration of the Mouse saw the motors get capped with the shaved locks, but soon after, I ran out of those awesome little bullnose props. After a long search, I finally discovered that the props on my Dromida Kodo were a perfect fit! Voila, Mouse Racer 3.0 and the final product.
Flight Impressions
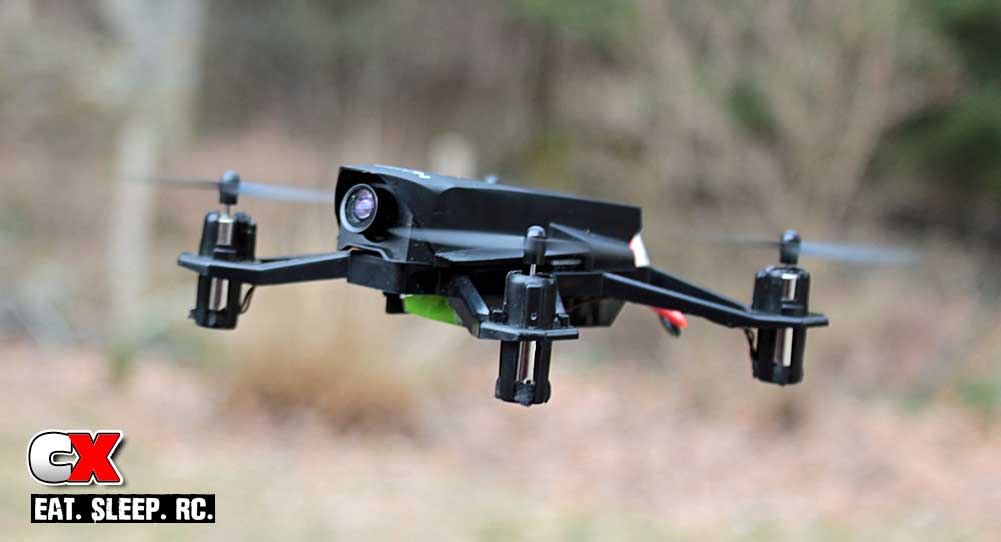
With the tractor prop setup, the Mouse Racer is noticeably faster than the stock version, which was surprising, until I noticed the steeper pitch on the Kodo props. I love ripping it outdoors and even when I happen to plant it in the neighbor’s bushes, simply turning the transmitter off sounds the lost model beeper. I also spend a good deal of time beating up on brushed and ducted micro FPV rigs at my local RC race track, where we have a drone playground set up over the turf surface track. The Mouse still isn’t as precise as a fine-tuned 200-class brushless racer, but it does feel more like a full-size race rig than other brushed models. It is far more nimble with the props on top as well.
 The obvious benefits of doing this aren’t only the added flight capabilities and the ability to fly from grass, but also to take full advantage of the camera system on the House Racer. The 600TVL camera and the 25mW vTX offer far superior resolution and sensor compensation than any other AIO mounted on an RTF or FPV-Ready rig out there, just begging to be flown outdoors. Not only that, but the vTX has an LED display for channel and band right on the back, so you’re never second guessing your frequency band.
 I noticed no decrease in flight times with the Mouse, but am now able to hit much smaller gaps without the feet mounted (Yes, you can still use them if you like). If I have to name one flaw, I do go through more props, but the Kodo blades do take a ton of abuse and believe me, my Mouse gets pushed quite hard on a regular basis. While other pilots are usually gluing their motor mounts or props shrouds back together, I’m still out ripping laps.
Wrap Up
I’m not a big fan of rodents in my house, but the Mouse Racer is A-okay with me. I have literally hundreds of flights on mine and the only things I have had to replace are props and motors after they get tired. This conversion makes the footprint of the House Racer much smaller, but it also makes the model much faster and more nimble, while sacrificing a negligible amount of durability (props alone). As of the time of this writing, I am still searching for some three or four-blade prop options for better punch-out power, but even as it sits currently, the Mouse is my go-to favorite for micro FPV action.
Links
Dromida, www.dromida.com
Hobbico, www.hobbico.com
RISE, www.explore-rise.com
 CompetitionX CompetitionX is the most up-to-date source for RC Car News, Reviews and Videos for Radio Control. We also have the most comprehensive Manual Database on the web.
