My first competition-level radio was the Futaba Magnum. I remember the first time I pulled it from the box and was ecstatic about how cool I was about to become at the local track. It had an analog battery meter, a pair of large trim knobs and a cool, tinted plastic door that opened to reveal a slew of tuning pots. A large, silver antenna telescoped into the handle and it weighed about as much as my RC10 buggy. Oh, and this was WAY before 2.4GHz … in fact, this particular model ran on AM crystals; yup, we had 30 different channels to choose from (well, really only 15 since you couldn’t use odd number and even number frequencies together because of frequency bleed).
Fast forward almost 20 years to the present day, and oh how times have changed. Futaba is still going strong and they have just released their newest flagship surface radio, the 4PX. This beautiful controller is taking the next step in transmitter evolution by including some features not yet seen in other radios. The styling is gorgeous, the controls are functional and, for those of you with ailing eyes, the screen is stunning. There’s a lot to talk about, so let’s delve into the inner workings of Futaba’s amazing 4PX.
360° OVERVIEW
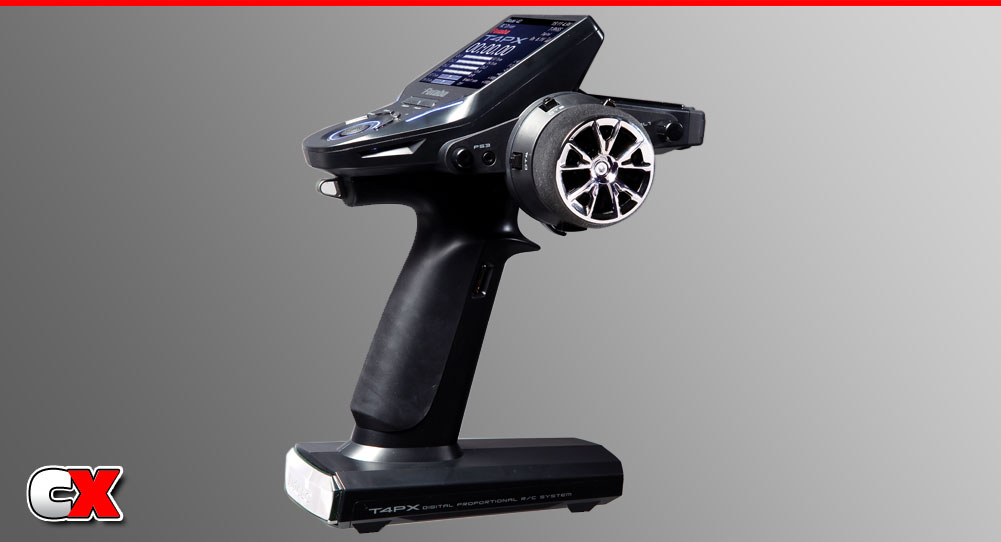
The most obvious thing, of course, is the interface. The button arrangement on the front panel is similar to earlier models; a center, lit jog button is surrounded by four menu-edit buttons. The three-position power switch has been replaced by a pair of black chrome buttons; a display button and power button (complete with Auto Off functionality). Rising above the control panel is a backlit, QVGA 3.5-inch TFT color LCD display, the largest screen to date on any surface transmitter.
Moving to the right brings you to the 1.95-inch steering wheel (wrapped with two-stage foam) and a plethora of dials and switches. A push switch is located to the left of the wheel, a digital dial to the right. Surrounding the wheel are five digital trims, four up top and one down below. There are three more tuning dials on the grip; two digital switches and a single push switch. Oh, and don’t forget the thumb switch.
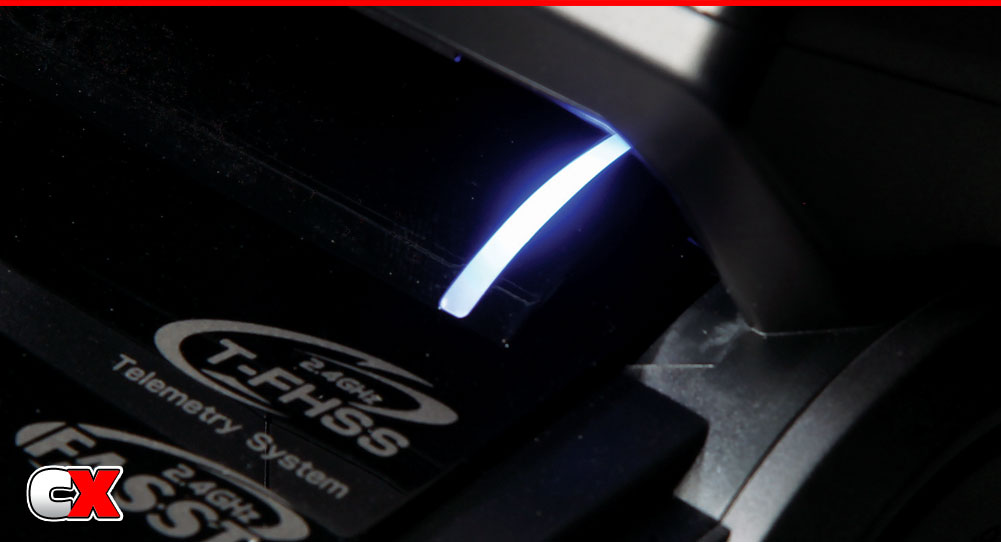
 Circling around the front of the 4PX, you can see the non-telemetry LED indicator light. This light glows when the telemetry is turned off, useful if you’re at an event where telemetry is not allowed. One trick feature is the new 2.4GHz swivel antenna design. From the factory, the antenna is set in the horizontal position, allowing excellent range and giving the 4PX a completely stealth look. If you feel the signal (or range) is not optimum, you can rotate the antenna 90 degrees to the vertical position. Doing so also reveals a microSD card slot. This slot can be used to save and log telemetry to a microSD card. In addition, when 4PX software updates are available, you can use this slot to update the transmitter as well.
Rotating the radio one more time brings you to the backside where there is an earphone jack, the charging jack and a communications port. This com port allows you to make direct-link adjustments to your ESC, servos and telemetry sensors.
Finally, there is one more external button that should come in handy to most drivers. At the back of the radio down at the base is a chrome push switch. While driving, simply tap the switch against your belly to record your data. I’m officially calling this the ‘belly button’ however, I’m pretty sure I’m not the first to do so.
MENU
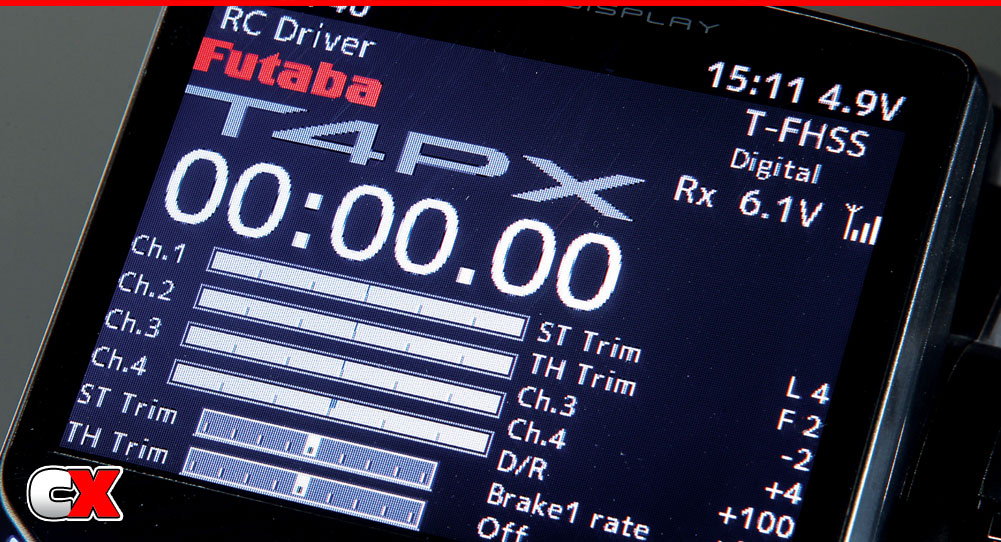
Pressing the power button boots the 4PX to the home screen, accompanied by a short musical tone. You are greeted with an amazingly clear, color display that shows many of the critical settings a driver requires; Model number, user name, clock display, battery voltage, receiver type currently in use (i.e., T-FHSS), servo type currently in use (i.e., Digital), telemetry function (if activated), racing timer, real-time operation of both steering and throttle, trims for both steering and throttle and settings for your function trims (DT1-DT6).
Once you’ve wrapped your head around all that info, clicking the jog button in any direction will send you to a screen one of the 4PX’s very clean menu system. From here you are greeted with the following functions:
 • Model Menu: You can select different models here, copy them and name them. It also features a very easy ‘Data Reset’ button; basically used to clear the model.
• Curve (EXP): A function that allows you to adjust the sensitivity of both the steering and throttle.
• Speed: This function delays the signal to the servo (steering) or ESC (throttle) to compensate for conditions, such as too fast of a steering servo or slippery track conditions.
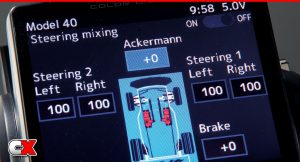
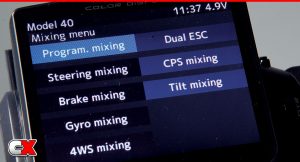
• Mixing Menu: When you open this menu function, you are greeted with eight additional mixing menus; Program mixing, Steering mixing, Brake mixing, Gyro mixing, 4WS mixing, Dual ESC, CPS mixing and Tilt mixing. These functions allow you to ‘mix’, or combine, channels for certain types of vehicles, i.e., 4WS mixing or Dual ESC mixing for crawlers.
• A.B.S.: Anti-Lock Braking System. If you have this function on your car and never tried it, you should!
• Acceleration: A function that bumps the servo to its input position at its maximum possible speed.
• Idle Up: This function raises the idle speed when trying to start a nitro or gas powered vehicle.
• Engine Cut: Assigning this function to a switch (or button) sends the throttle servo to a preset position, effectively cutting off an engine.
• Start: A function that allows you to accelerate smoothly on slippery surfaces.
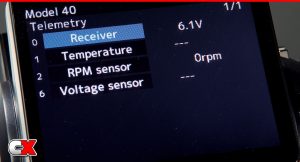
 • Telemetry: If activated and the sensors are installed, you can monitor (and record) up to 31 different systems.
• End Points: Also known as EPA, or End Point Adjustments. Allows you to set the maximum position of your steering or throttle points.
• Sub Trim: A function that allows ‘internal’ adjustment of your trims. This leaves your ‘external’ trims (trim buttons) at the zero point for further tuning on the fly.
• Ch. Reverse: Channel reverse, i.e., servo reversing or throttle reversing.
• Receiver: This function allows you to switch between receivers. The 4PX can be used with the following receivers: R304SB, R304SB-E, R614FS, R614FF-E, R2104GF, R204GF-E & R203GF.
• Fail-Safe: Should the 4PX lose signal at any time, the receiver will send the servo and throttle to the neutral position. This helps prevent runaways. This is a function I wish was standard on all transmitters. That’s a lot of features… But wait, that was only on page one! Flipping to the next screen we have a few more settings. Let’s check them out:
• System Menu: This menu allows you to change all of the system settings, such as Display settings, Sound settings, User Name, etc.
• Trigger: Modify the trigger’s setting, including forward/brake ratios.
 • Response: This function allows you to change the response ‘feeling’ of either the steering or throttle.
• Sensor: This menu registers the telemetry sensors used with the 4PX.
• Auxiliary: This menu allows you to check the operation of channels 3 and 4.
• Dial Select: This menu allows you to reprogram the digital function trims (DT1-DT6).
• SW Select: Similar to Dial Select, but you can reprogram the Push Switches here (PS1-PS5).
• D/R, ATL: Dual Rate adjustments for steering, brake rate adjustments.
• Servo View: This menu basically duplicates the real-time operation of the steering and throttle that you have on the home page.
• S.Bus Servo: This menu allows you to program programmable servos.
• MC-Link: You can use this menu (in conjunction with the comm. port on the back of the 4PX) to make direct-link adjustments to your ESC, servos and telemetry sensors.
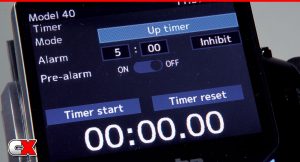
• Timer: Using this function allows you to set up one of four timers; Up timer (default), Fuel-Down timer, Lap timer or Lap Navigate timer. Whichever timer you choose will display on the home page.
 • Lap List: An integrated lap counter. You can see up to 60 laps. So we’ve skimmed over the functionality of this radio, but you still want more. Well how about these facts?
• The 4PX is 15g lighter than the 4PKS; 562g with four “AA”’s (lighter with a LiPo).
• Under the plastic shell, the 4PX has an aluminum skeleton to help strengthen the structure, giving it a really solid feel.
• The response time of the 4PX has been optimized and is 30 percent faster than the 4PKS-R.
• The 4PX has a 40-model memory. That’s a LOT of vehicles.
I’m hooked, but I already have one! So to convince you to buy it, I guess the next thing to do is tell you how it works.
THE DRIVE
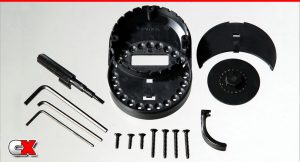
I’m sure I’m not alone when I say that I’m a doer and not a reader. That being said, I pulled the 4PX (and receiver) out of the box, installed the batteries and flipped it on. The manual (and spare parts) were set aside until the time when I really needed them―which wasn’t now. The menu system is really quite easy to use and, with the screen being so big, the menu buttons were also easy to read. I cruised through the menu, switched to Model 40, set up my user name and bound the radio to the receiver. Within minutes I had the receiver in a car and headed out the door to do a little driving. On the ‘Feel-O-Meter’, I was already loving the larger grip (over my 4PKS-R). The 4PX feels substantial, probably due to the aluminum cage under its plastic skin. It’s also very ergonomic, even for me and I’m a ‘drop-down steering’ type of guy. I wasn’t a fan of the trigger; the gap between my finger and the brake-side of it was rather large. This made my braking attempts a bit inconsistent, but thankfully Futaba caters to people like me by including a spare trigger in the box. I ran inside and swapped this out―now we’re talking!
 To test out the programming functions, I set up the ‘belly button’ (PS4) to start/ stop the Lap Timer and PS3 (to the left of the steering wheel) to activate the Telemetry Speech. I installed Futaba’s SBS-01T Temperature Sensor into the car and wrapped the temperature hoop around the motor. After a few test laps utilizing the ‘belly button’ Lap Timer switch which, I must say, is kind of addicting, I activated the PS3 Temp Sensor Switch and immediately the 4PX starting chanting out the motor temps in roughly 1 second intervals; “Temperature 98, 98, 99, 99, 100, 101”. After 30 seconds or so it got to be a bit much, even with the sultry voice whispering in my ear, so I pushed the PS3 button again to turn her off, but I can see how monitoring your telemetry would certainly be helpful.
Now that we’ve gone through all the features, given the transmitter a test drive and hooked up some telemetry to hear the voice output, let’s talk once more about the 4PX’s QVGA 3.5-inch TFT color LCD display. In the office, the display is exceptional! The colors are vivid and everything is crystal clear. While outside testing, however, we did notice it wasn’t very easy to read on a sunny day. Because of the larger screen, it tends to accept more glare than the smaller screens. As a comparison, I grabbed my 4PKS-R and set them side-by-side. The 4PKS-R was readable in just about any condition and from any angle. The 4PX, however, required you to move and tilt it until you found the right angle to read it. Is this a deal breaker? You’ll have to decide for yourself, but this minor inconvenience is worth what I’m getting in the entire package.
WRAP UP
Futaba’s 4PX is certainly on the cutting edge of transmitter technology. There are others that have similar features, but the 4PX has taken the styling and functionality to the next level. The menu system is concise, the display is beautiful and the telemetry has real promise, especially with the voice output. This is the high-end radio all the others want to be; unfortunately now they have to play catch-up. This is a serious radio for serious drivers. Get one if you’re serious about winning.
LINKS
Futaba, futaba-rc.com, (217) 398-8970
 CompetitionX CompetitionX is the most up-to-date source for RC Car News, Reviews and Videos for Radio Control. We also have the most comprehensive Manual Database on the web.


