The ROCHobby Type82E Kommandeurwagen is an amazing piece of 1/12 scale engineering, being super scale with the opening doors, hood and truck. On top of that, they’ve hidden all the electronics, given it a scale rear-engine layout (with the actual motor in the rear) as well as a full LED light kit.
To compliment the unboxing video, ROCHobby has supplied a 3-part article on the build process of the Type82E. We’ve put it in blog post form here for those that want to see what goes into building this little gem. Enjoy!
Part 1: ROCHobby Type82E Build Process – Part 1
Part 2: ROCHobby Type82E Build Process – Part 2
Part 3: ROCHobby Type82E Build Process – Part 3
Founded in 1937, Volkswagen’s first product for the civilian market was the heirloom classic, the Beetle, then known as the KDF Wagen, which was widely used during World War II and shared the same chassis as the famous military jeep Type 82 Kubelwagen barrel car. For more information about the Type82 Kubelwagen,please refer to https://www.youtube.com/watch?v=_mHQw2yjx1o&t=67s.
Today let’s take a visit at FMS factory to see how this Type82E/87 Military Beetle is produced.
Since its release, the ROCHobby 1/12 Kubelwagen has received great reviews from users all over the world, not only from a large number of modelers but also from industry media, reviewers, real car collectors, military experts and more. We are glad that people like this kind of dynamic model, and we will continue to bring you a richer line of 12th scale products that can carry figures.
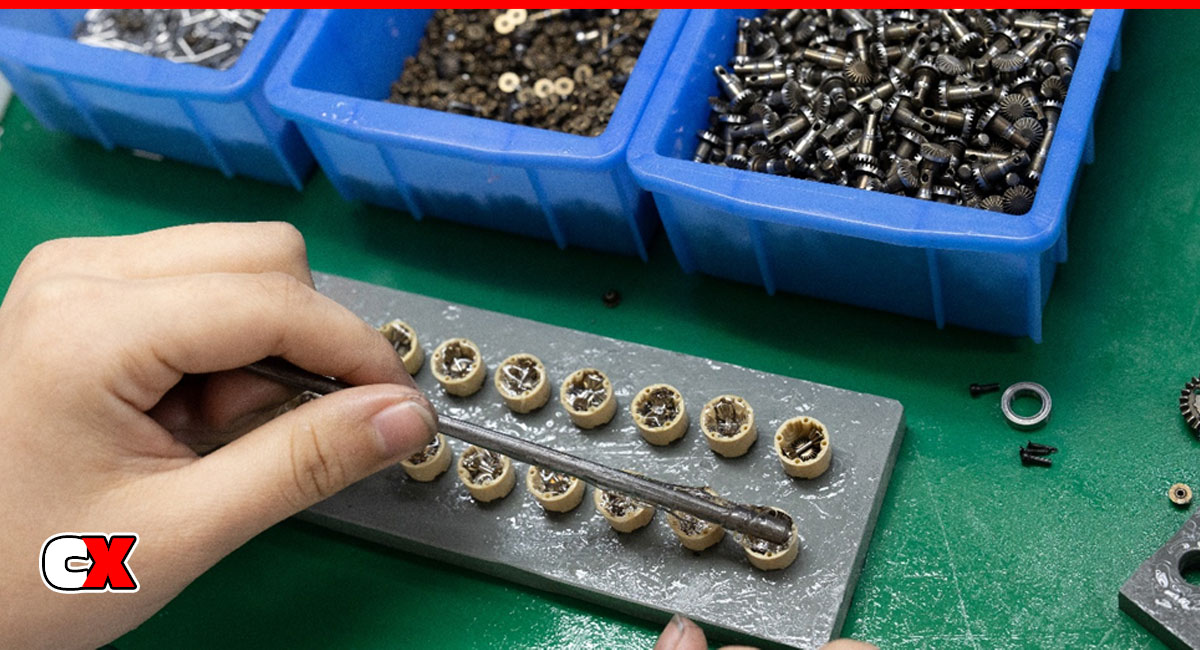
The differential is a nylon housing with a diameter of only 11.8mm, about the size of a girl’s thumbnail and is fitted with two half-shaft gears, two planetary gears and a pin, all made of metal.
The differential of the 1/12 Kubelwagen makes it possible for smaller turning radius which is very important for the simulation of RC cars whose main scenes are driven indoors, but sacrifices a certain off-road performance, and the experience of driving outdoors is not ideal. According to the user’s suggestion and test, we fill the silicone oil with viscosity 100W CTS in the differential.
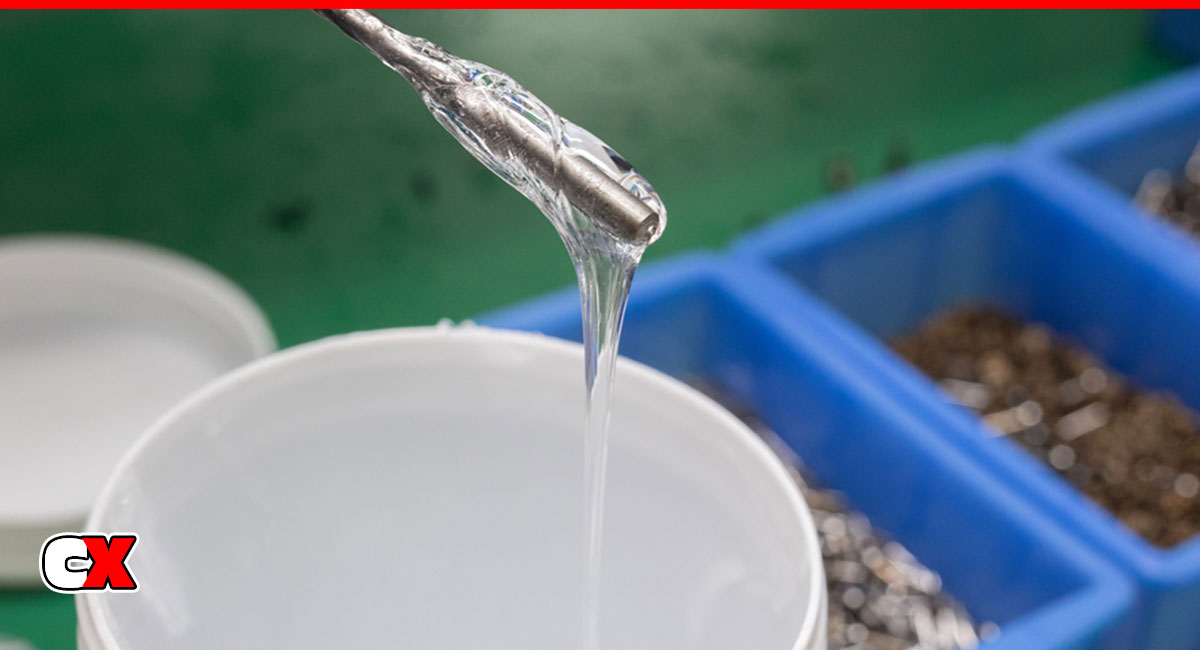
The viscosity of the silicone oil can be comparable to maltose, which makes the differential work in a semi-open state, mimicking the effect of the ZF limited-slip differential used in real cars so that it will not slip and idle when encountering cross-axle conditions.
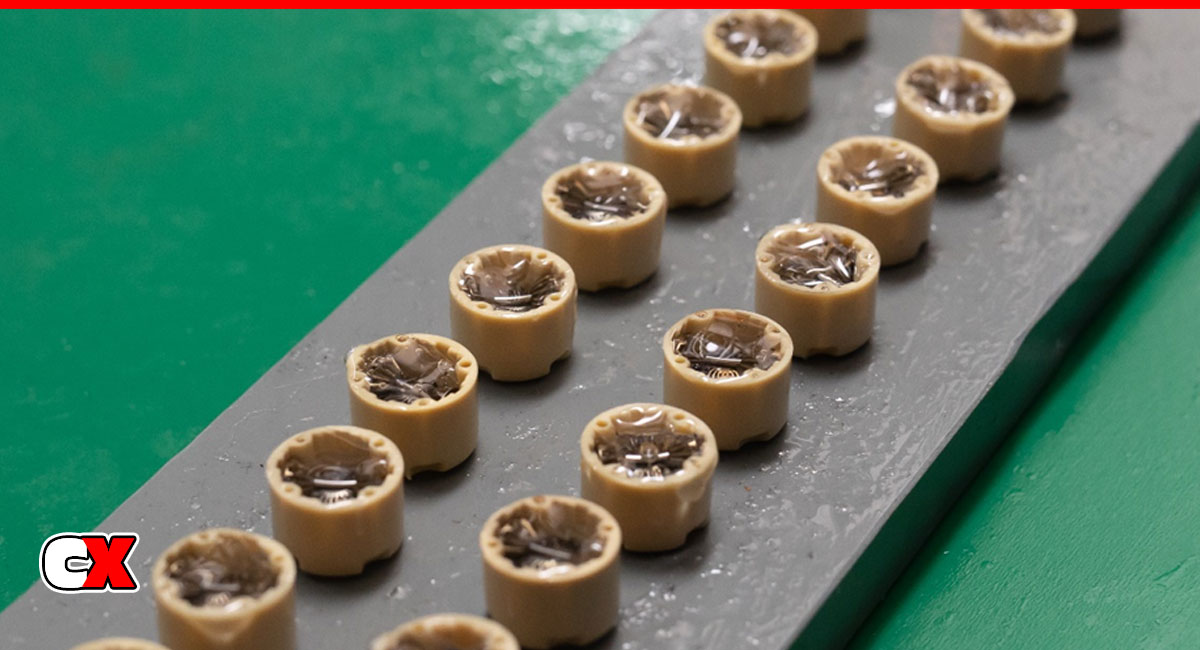
The differential filled with silicone oil should be left to stand for 2 minutes and the fluid level should be smoothed out before installing the large gear outer cover.
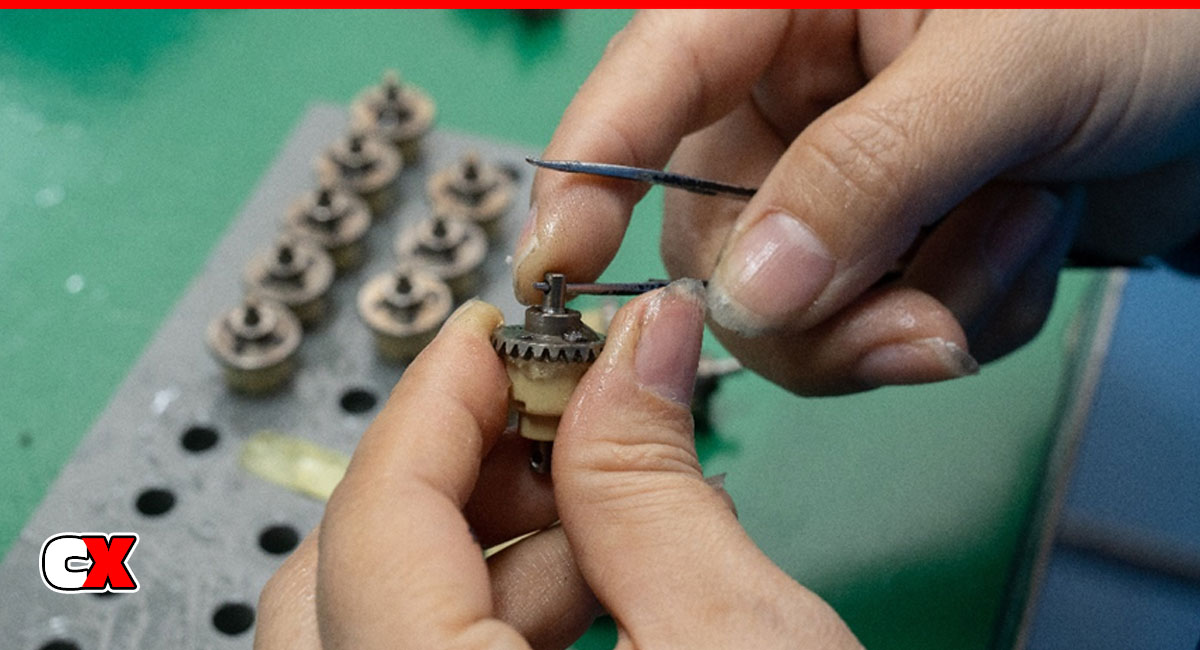
The assembled differential assembly. The worker is turning one side of the bevel gear shaft to check for smoothness.
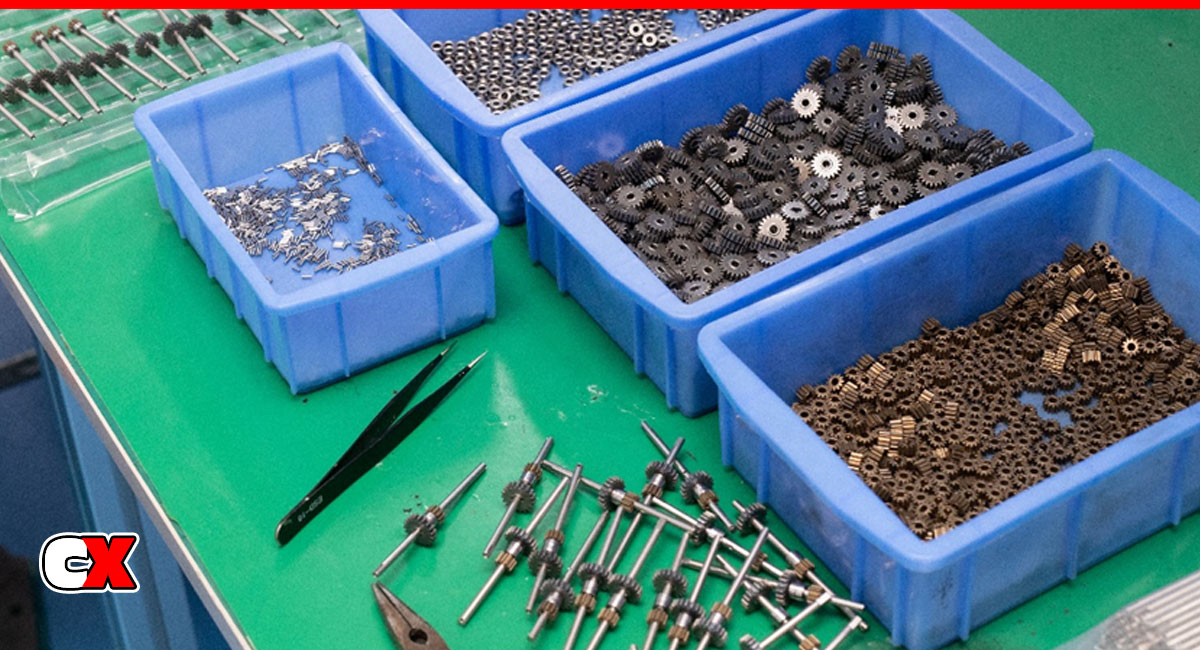
This station is assembling a set of gears used to drive the rear axle differential in the gearbox.
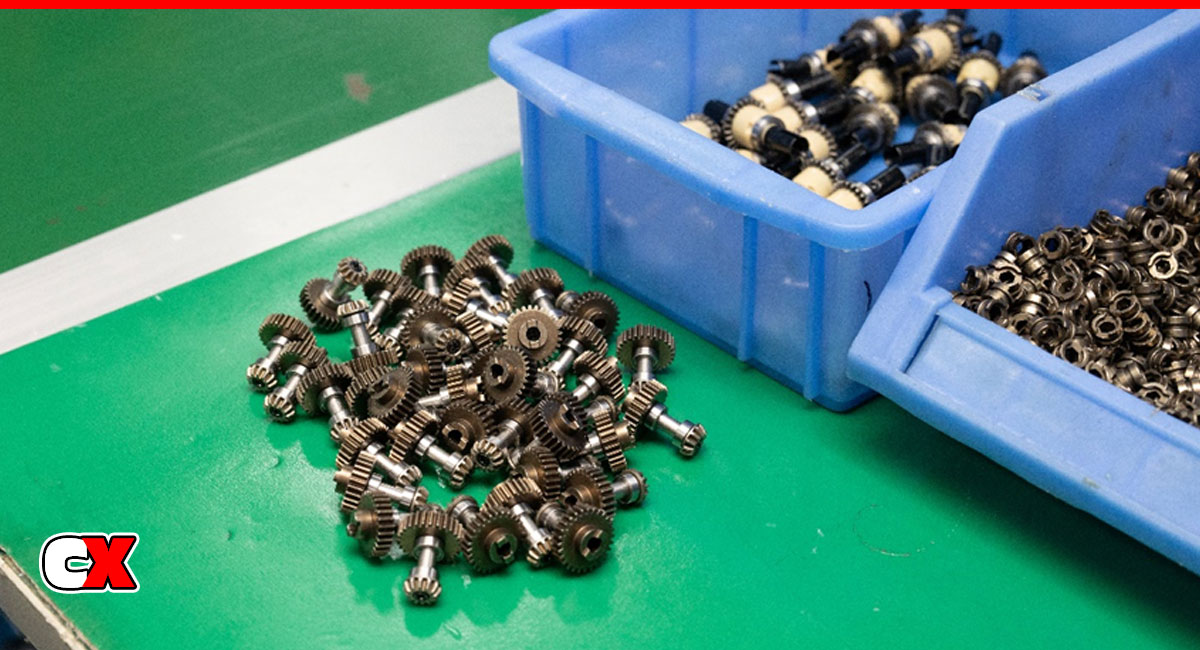
On this set of gears, the small bevel gears are used to drive the rear wheel differential. Above the large gears are the four-wheel drive and rear-wheel drive joiners.
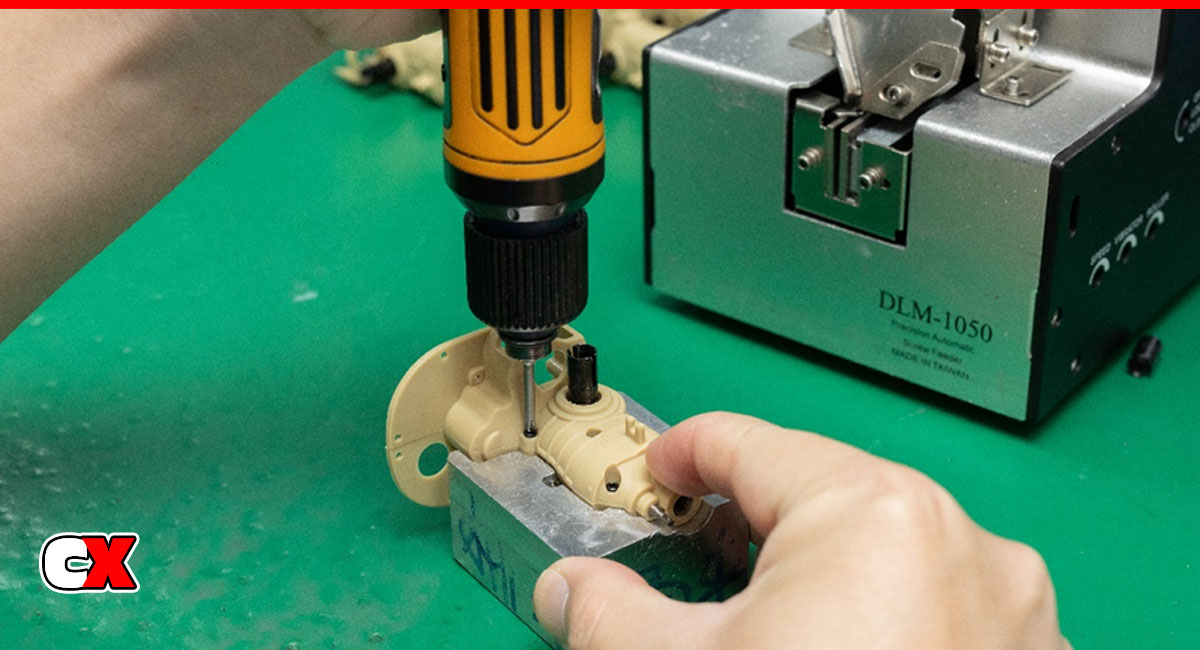
A differential is fitted into the gearbox housing and the short stainless steel shaft exposed at the front is the fork puller for switching between RWD/4WD.
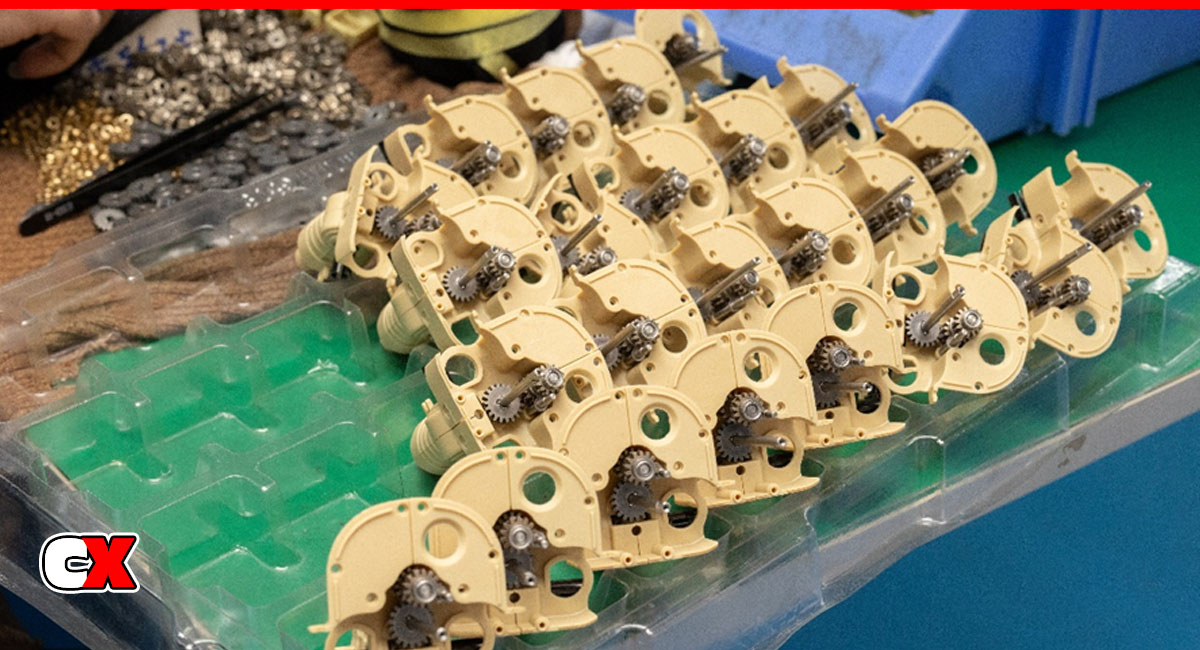
The “gearbox” assembly is over for now. Next is to install the real two-speed mechanism which is hidden in the middle of the engine cylinder.
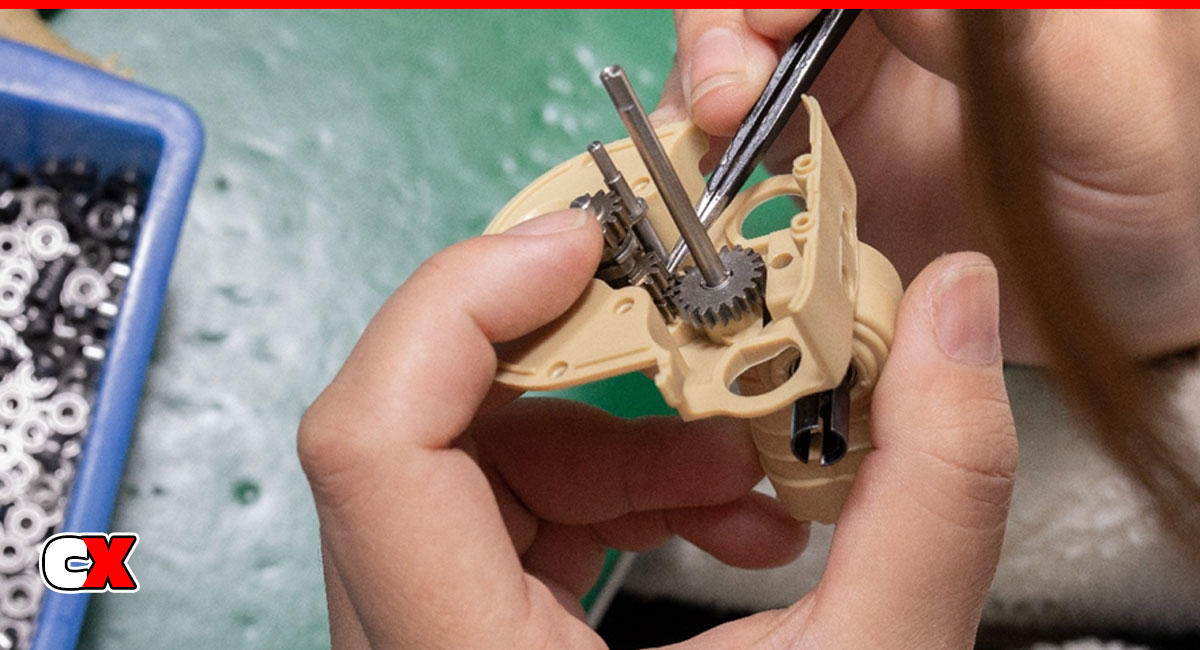
Assembling the two speed transmission fork.
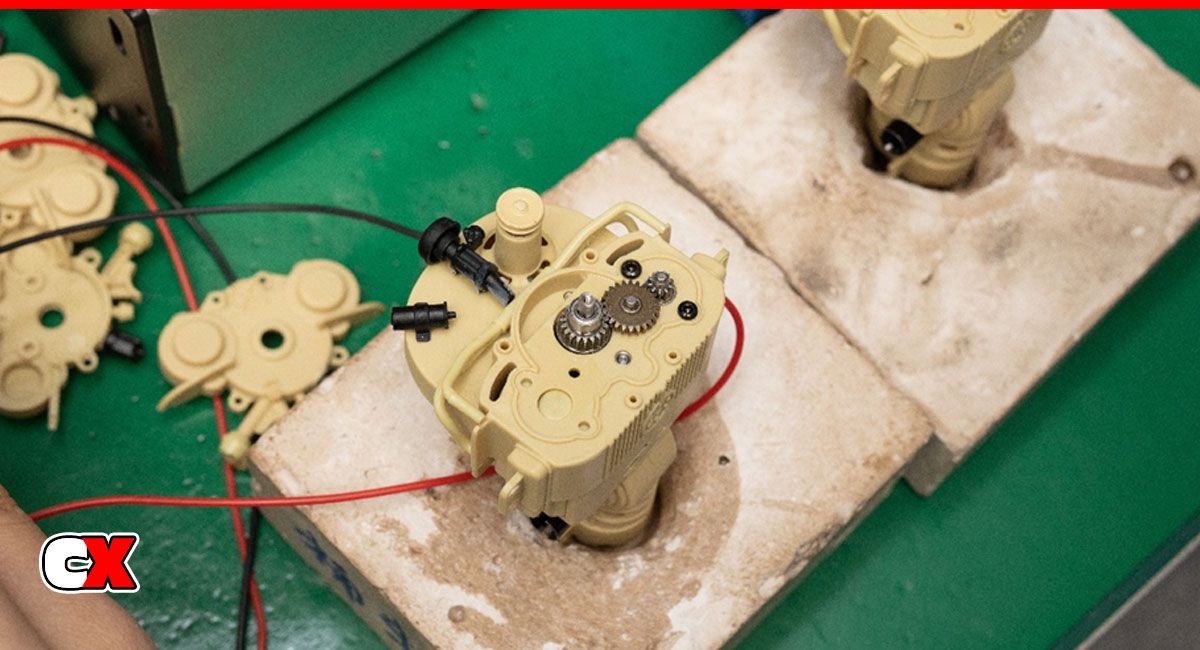
The two speed transmission has been installed. The yellow on the left is a stand-in for the 130 motor while the space on the right is the location of the included drive motor.
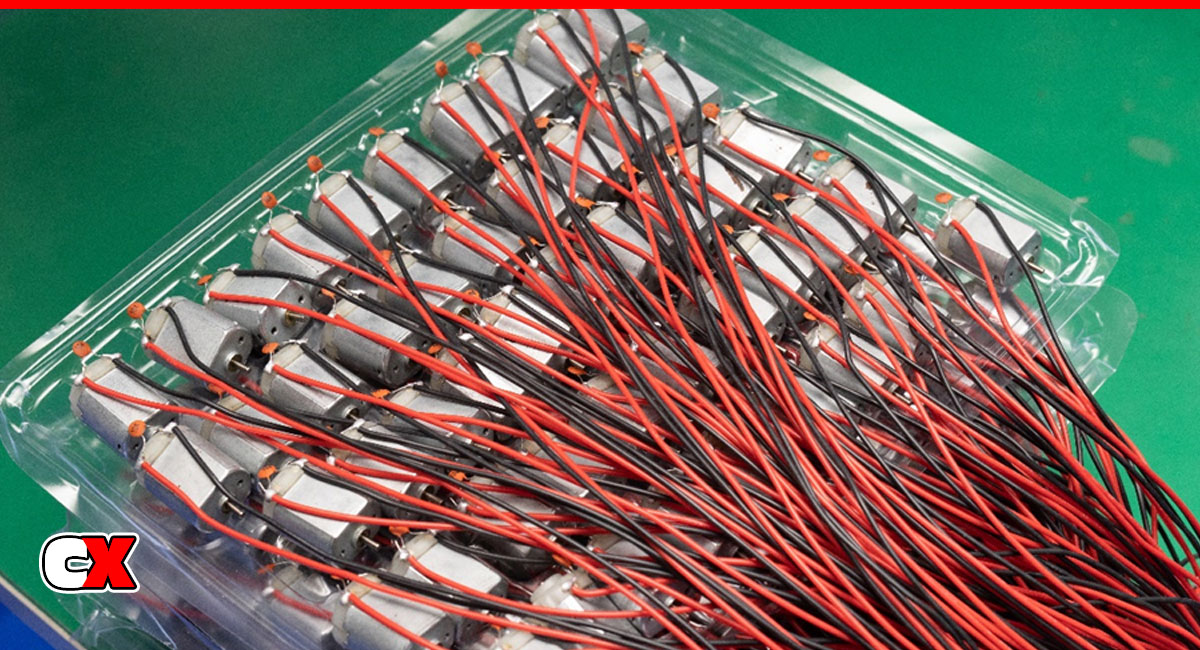
The motors! At the end of each motor is a dissipative capacitor The motor wire is very long to reach the front of the chassis where the ESC is located.
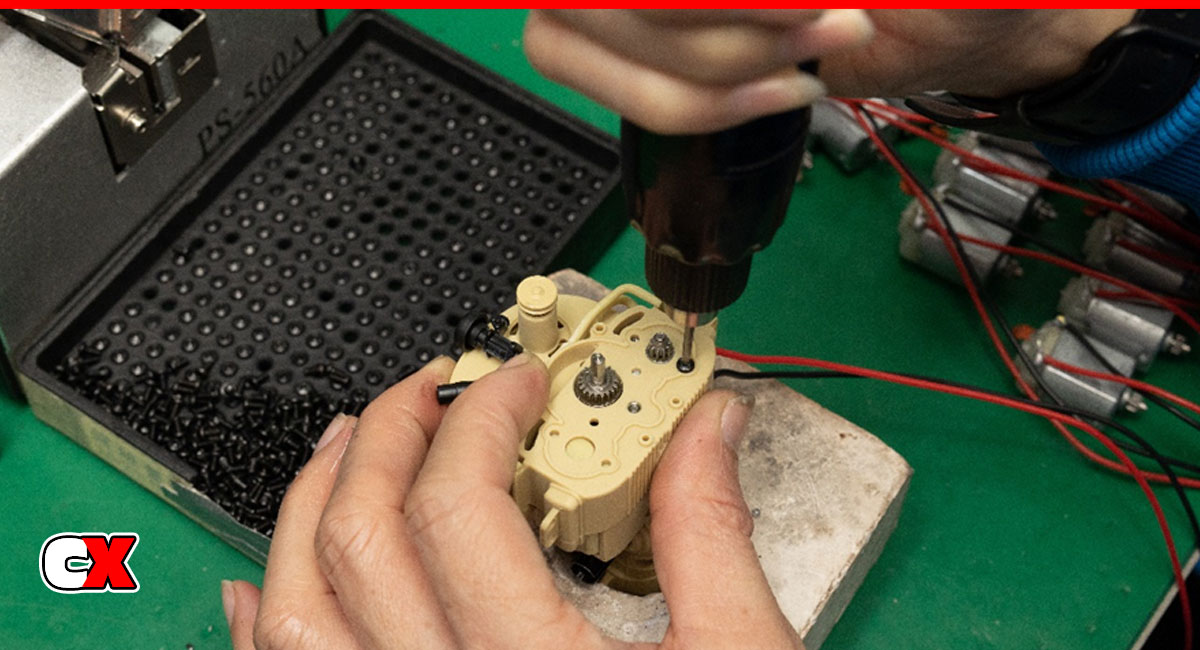
Locking the motor into place. The 130 motor is mounted on the right side of the engine with the left side reserved for a future dual-motor model.
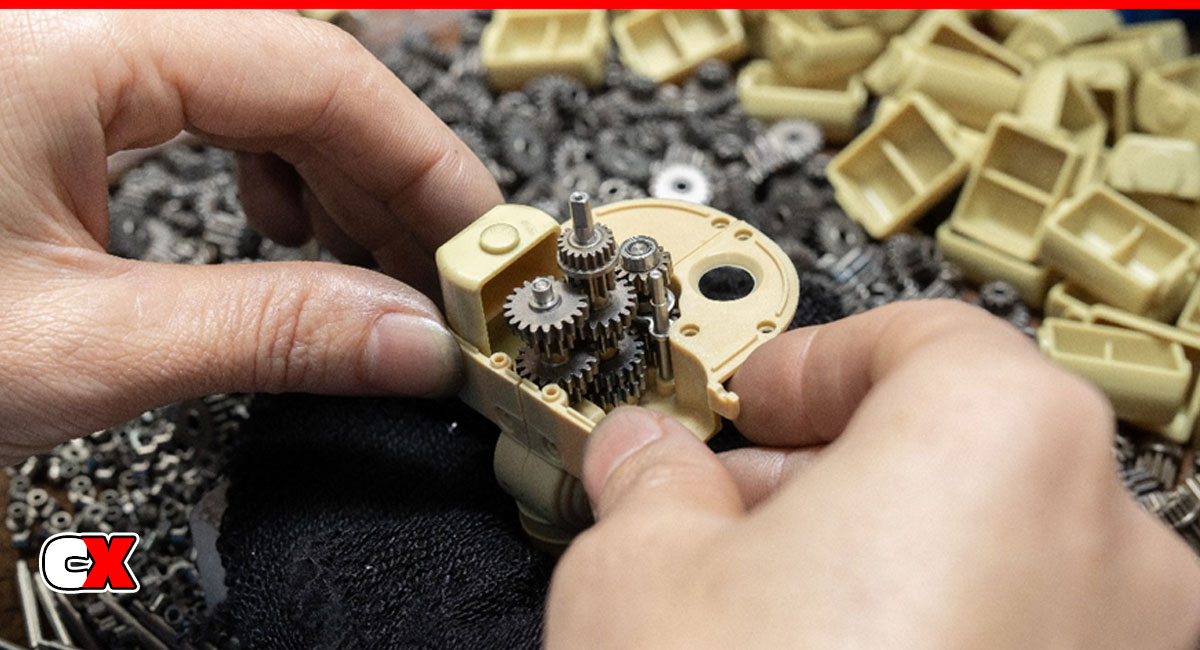
Installing the primary reduction gear and the center shaft bearing.
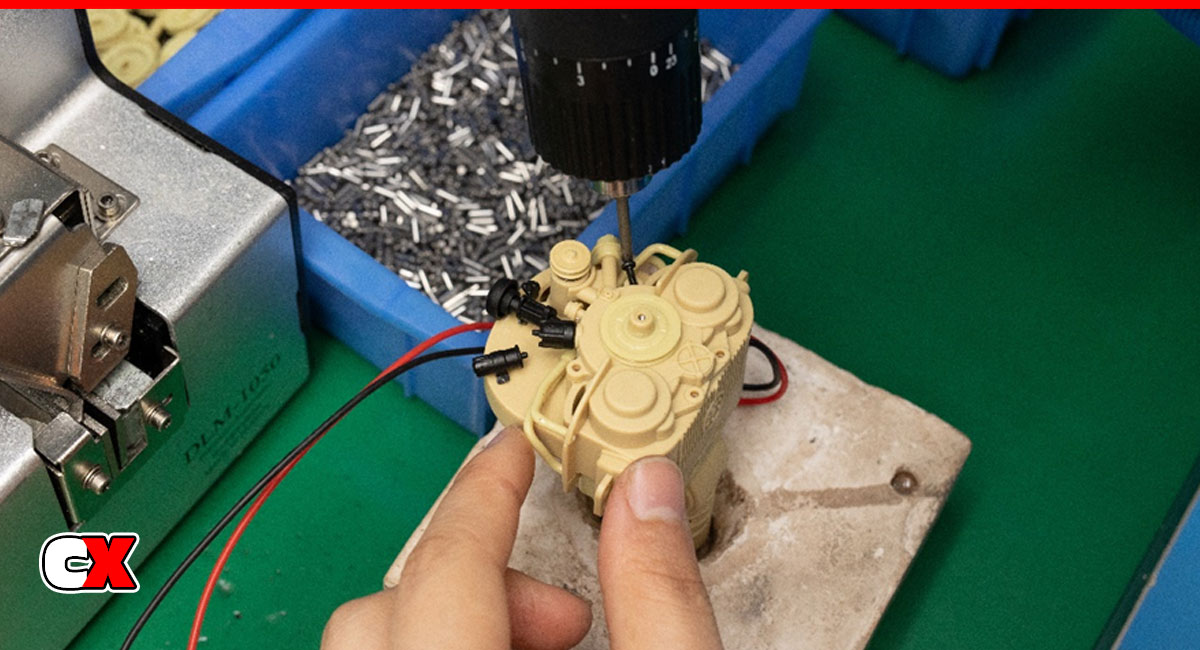
The whole engine assembly is completed when the engine outer cover is mounted into place.
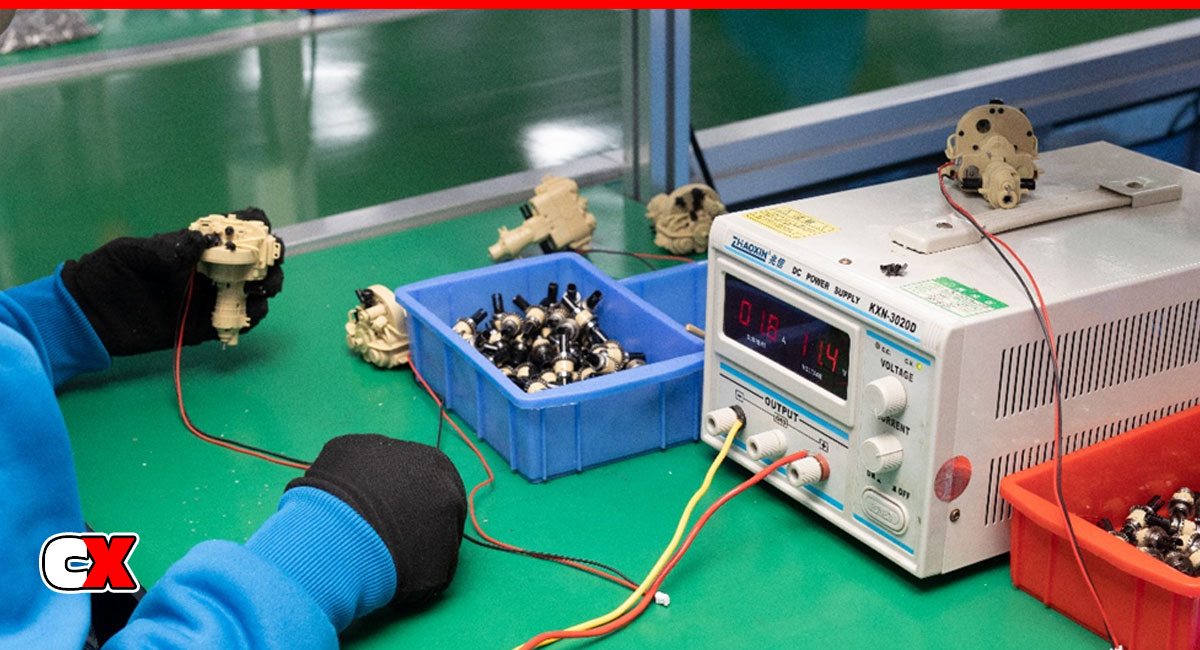
Power on test – each completed assembly needs to be tested for motor speed, operating current and noise.
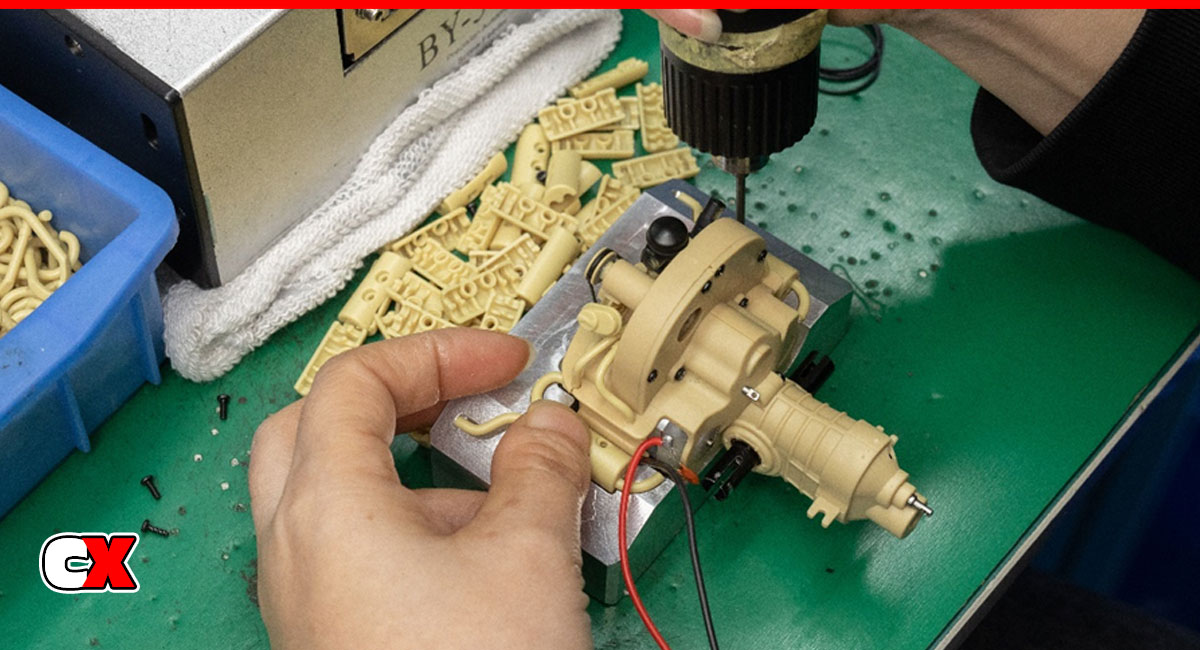
The assembly is inspected and finally fitted with the exhaust, flywheel and belt.
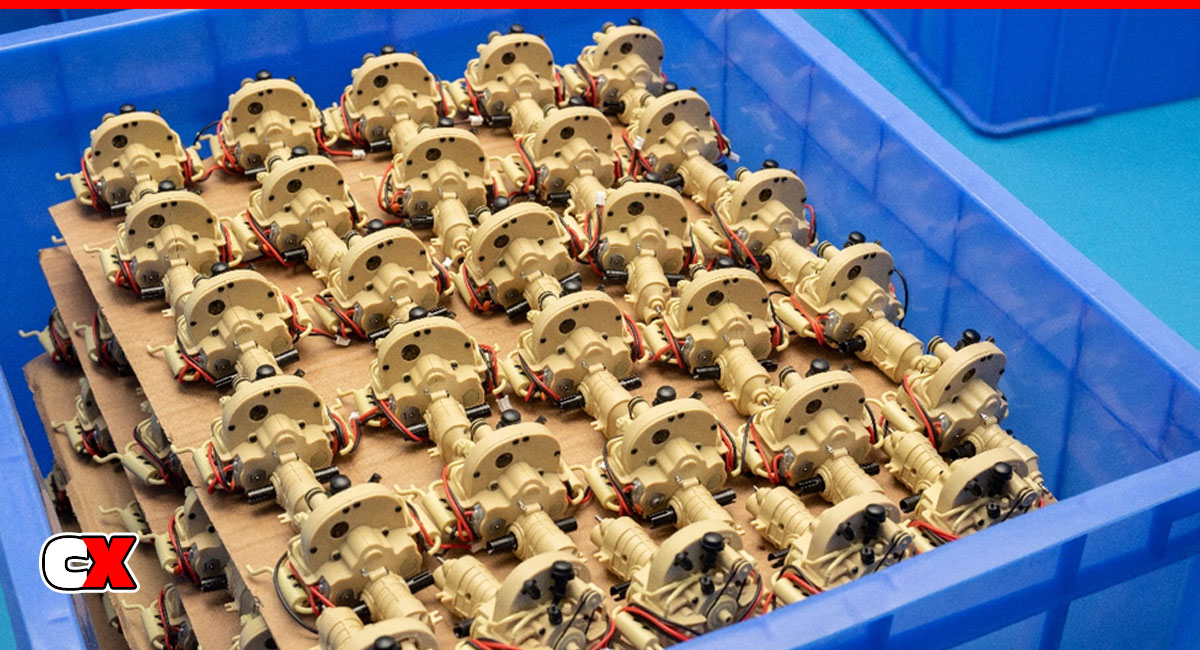
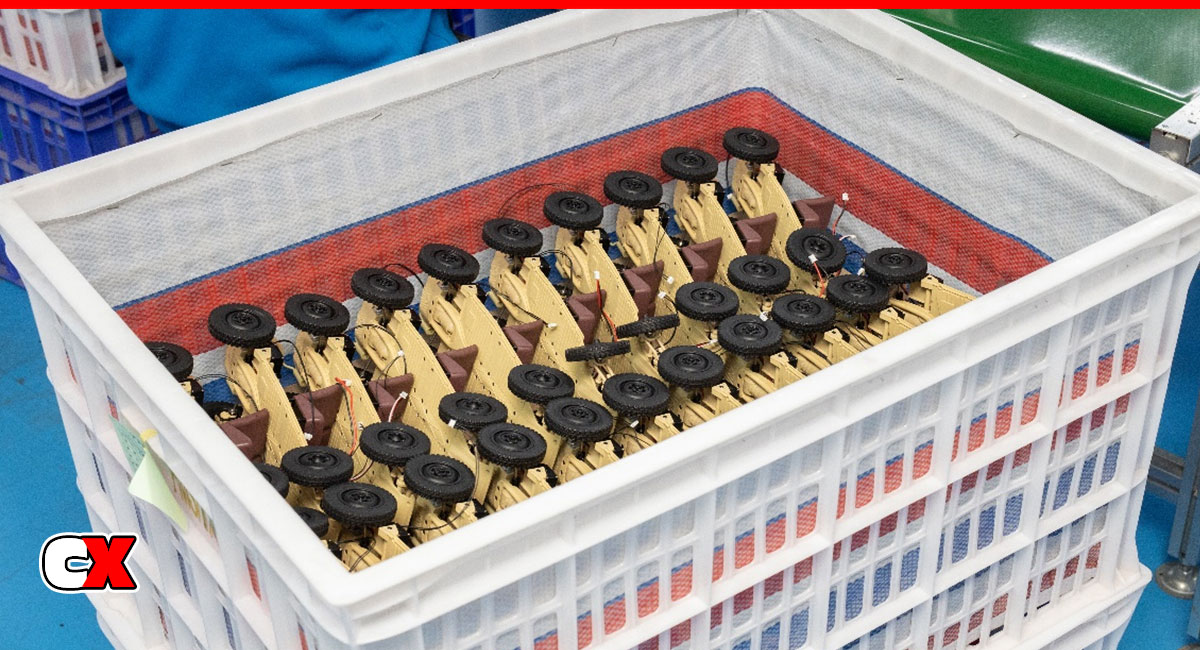
Perfect for OCD people. All placed neatly like crabs, waiting for the next assembly process.
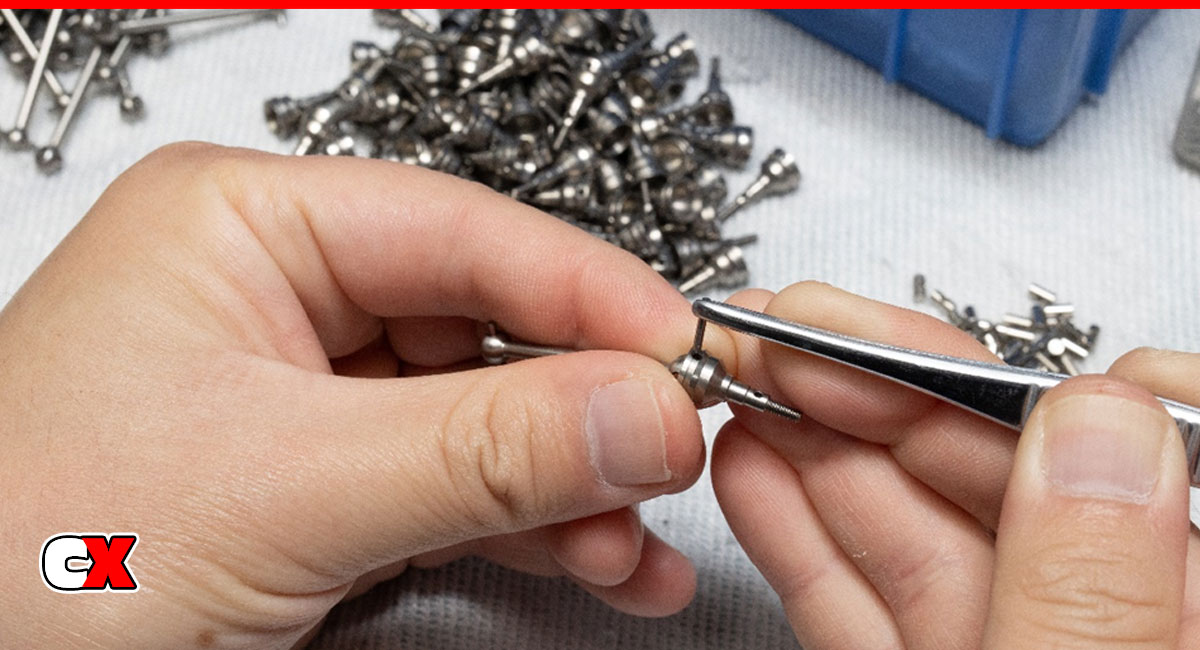
This is the front wheel CVD universal joint drive shaft that is being fixed with the threading pin – all stainless steel.
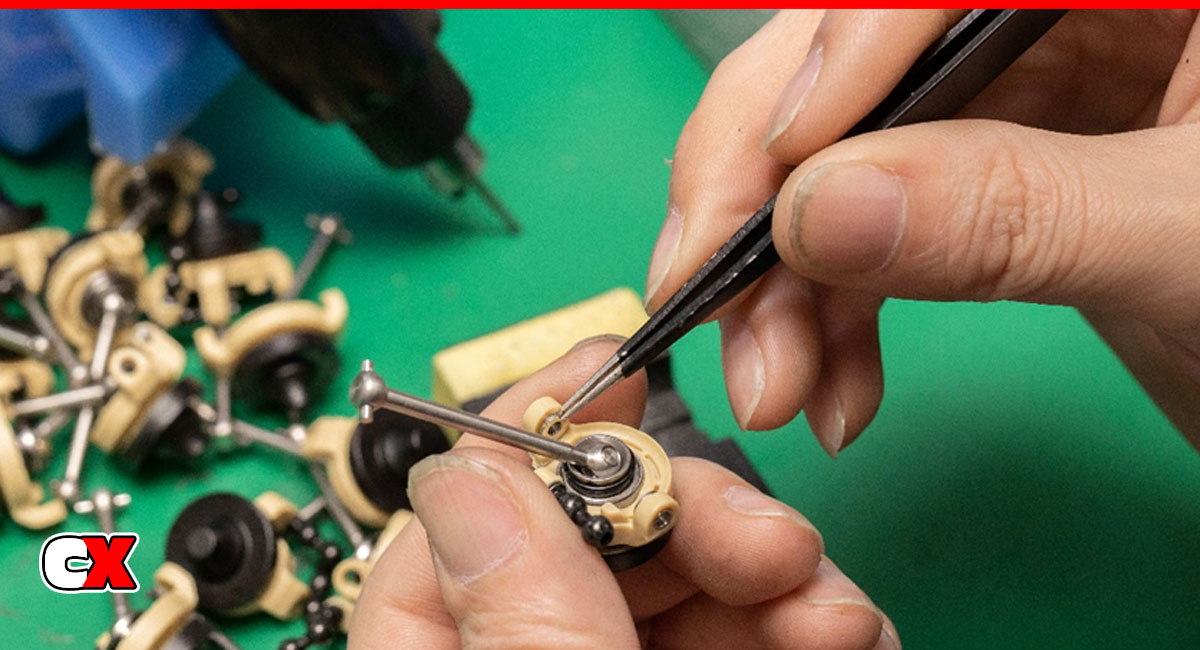
Installing a T-sleeve in the steering cup to reduce steering friction.
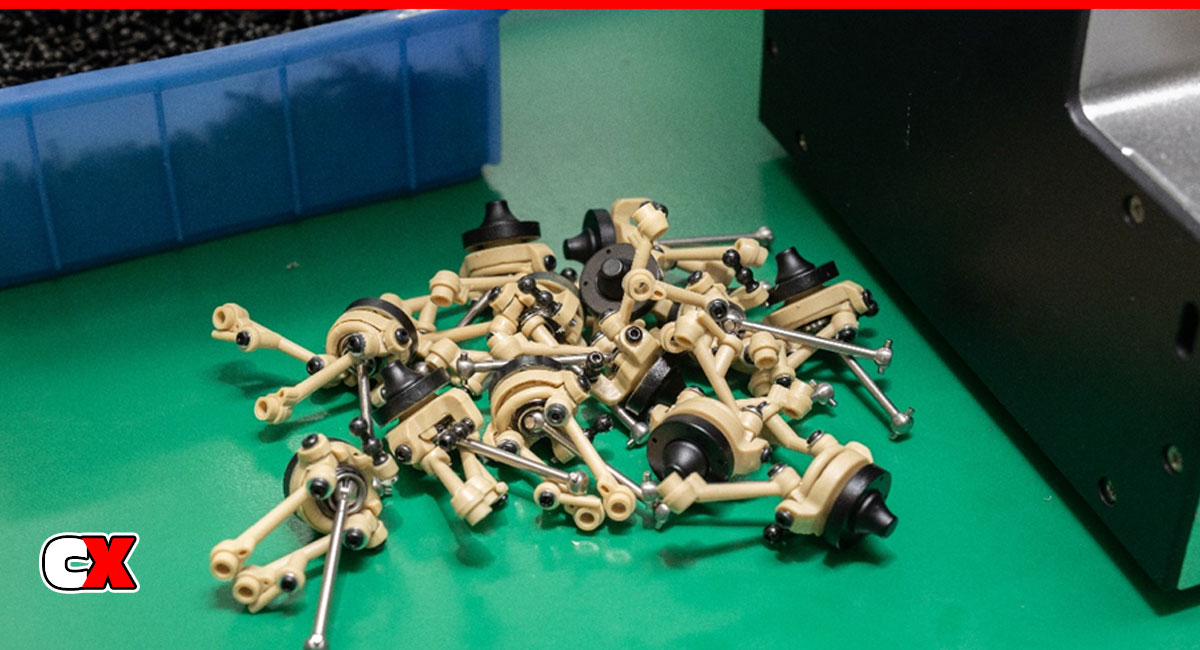
Assembly of Porsche’s patented trailing arm suspension assembly is completed.
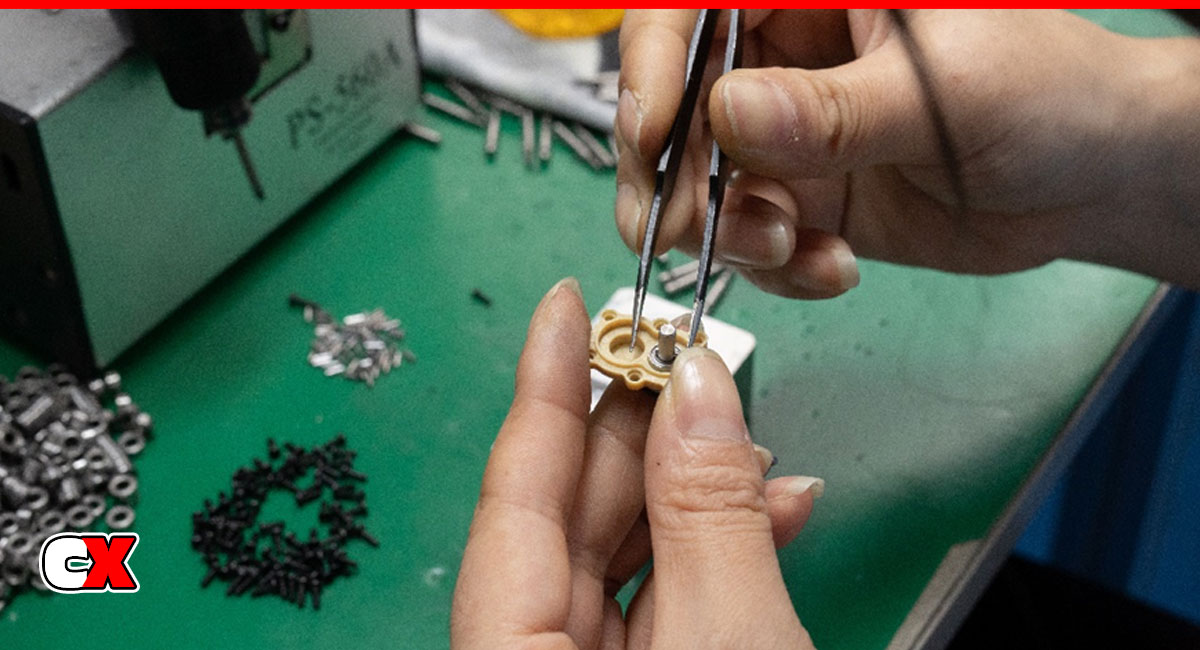
Bearings are being assembled into the rear wheel portal axle. Four ball bearings and two metal gears are being installed as well.
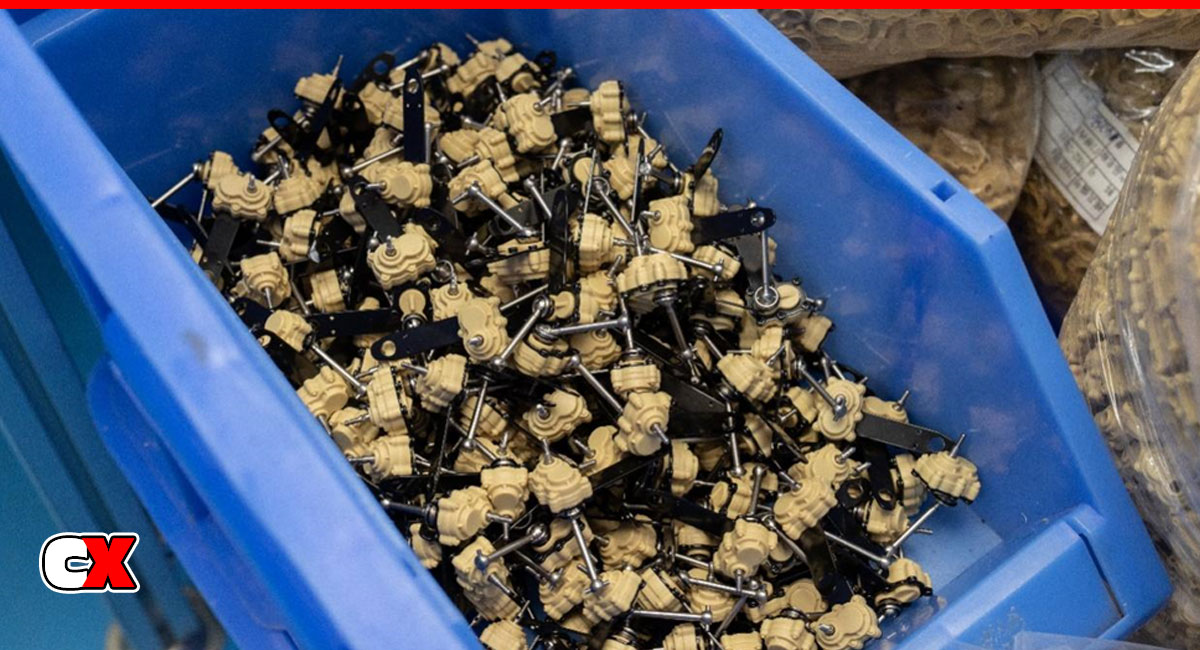
The pic shows the assembled rear portal axle assembly in which the yellow is the portal axle gear box. The black part is the metal swing arm and silver is the CVD universal joint.
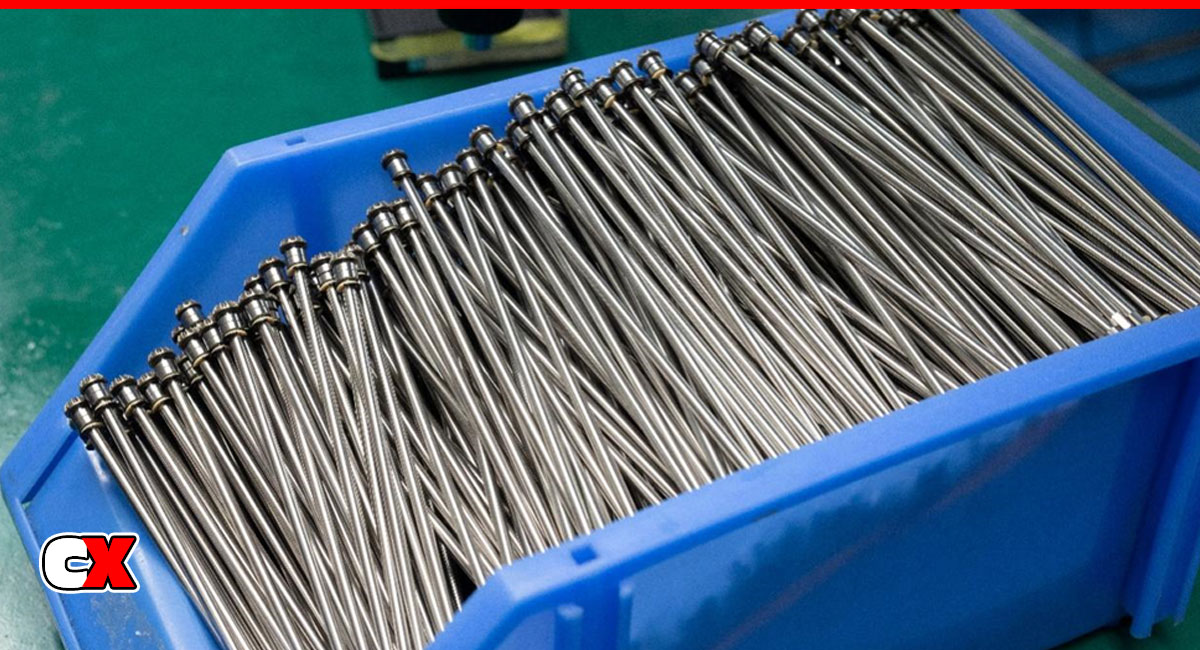
The central driveshaft is assembled. The small umbrella gear in front is used to drive the front wheels when switching to 4WD.
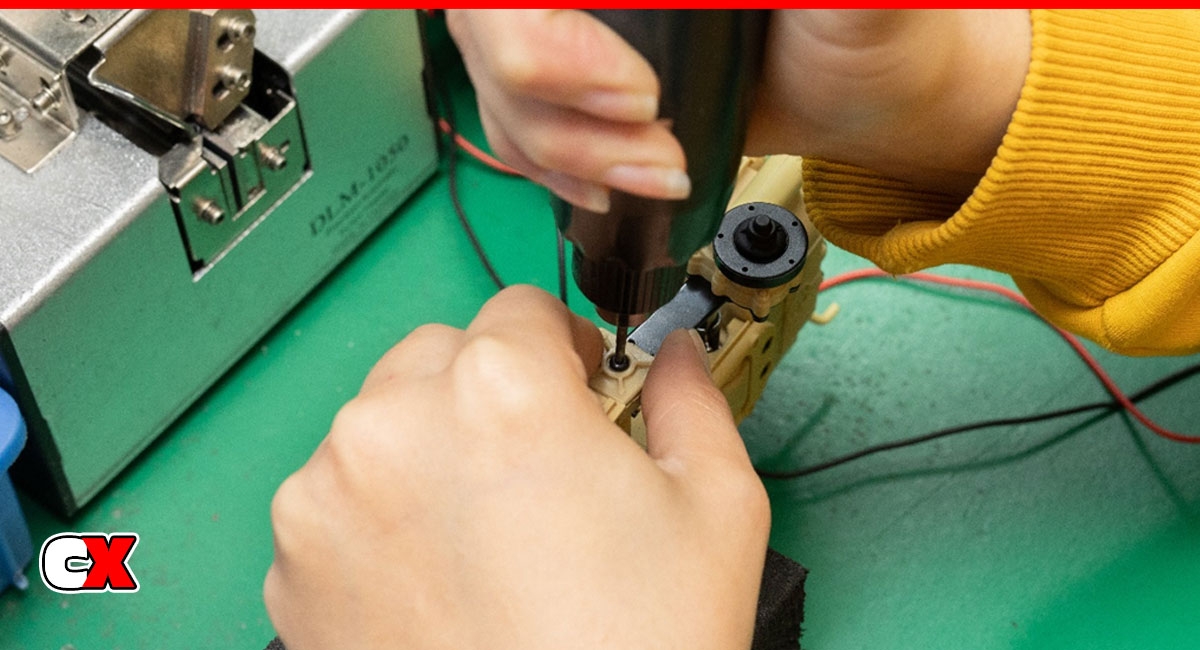
Installing the black metal rear suspension oscillating shaft.
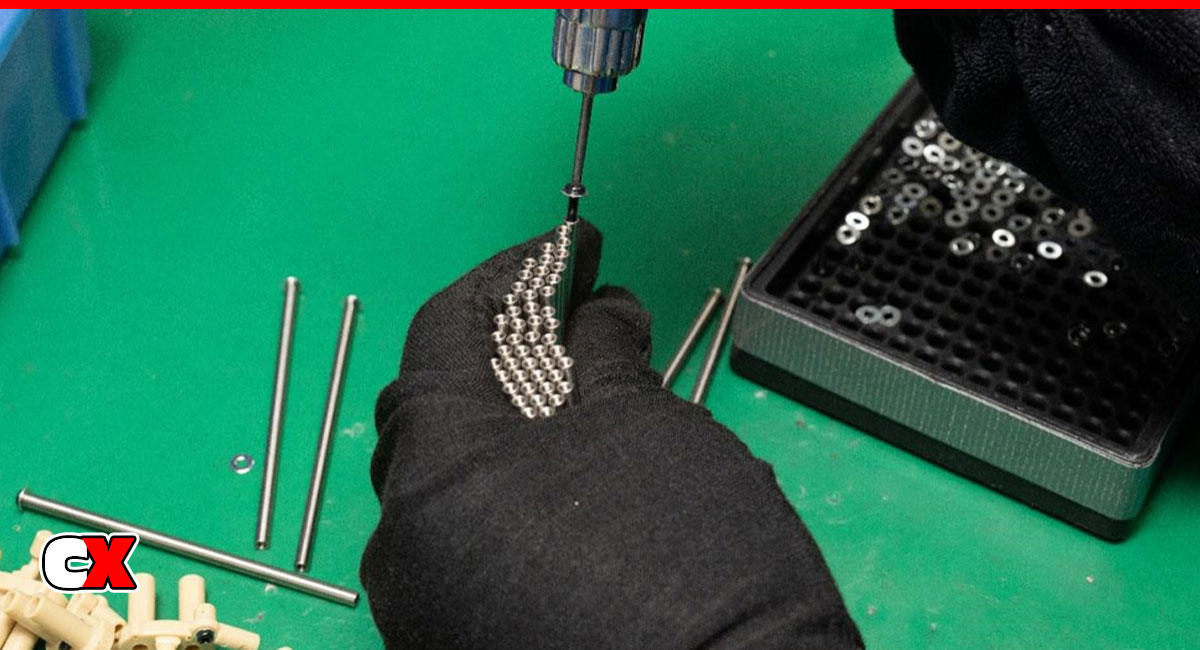
The front suspension will be fixed to two heeled stainless steel posts.
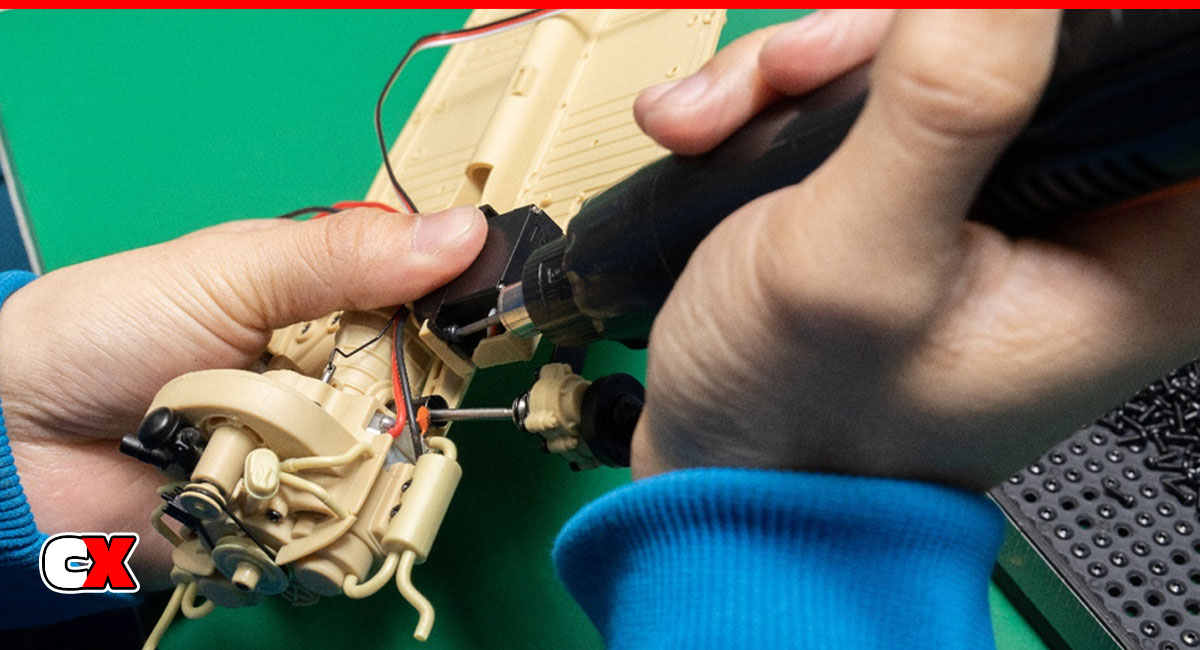
Installing the servo. The right side is the shift servo while the left side is the RWD / 4WD switch servo.
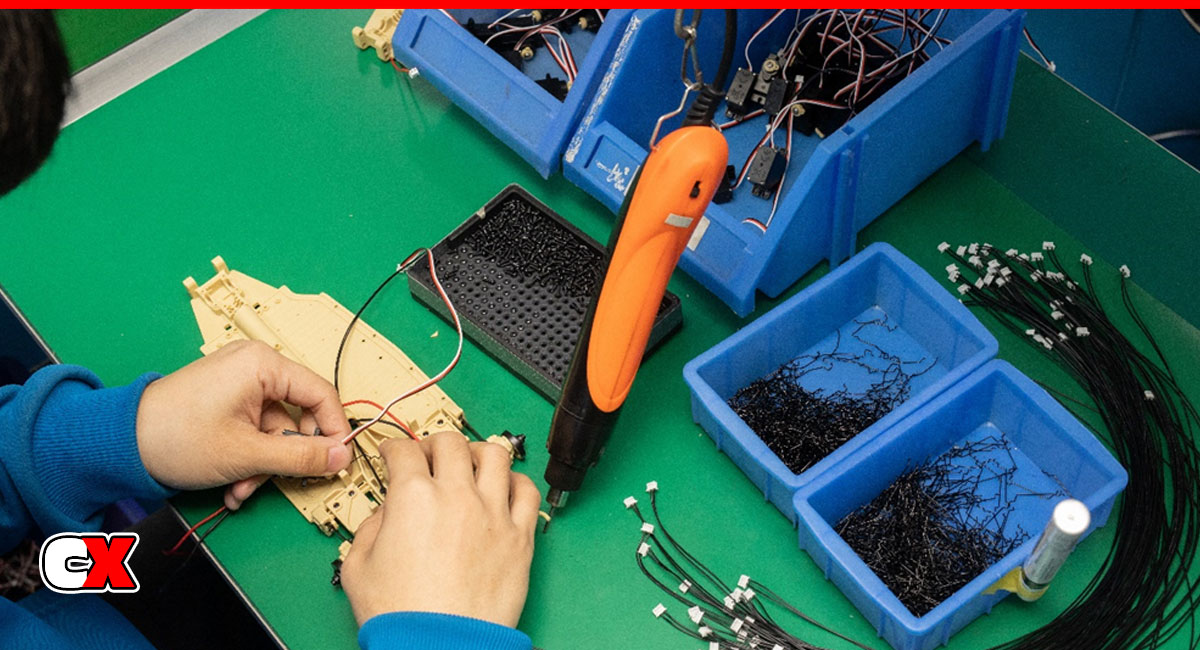
Two sets of steering wires, two sets of light wires and one set of motor wires all go through a central channel in the chassis to the front where the receiver is located.
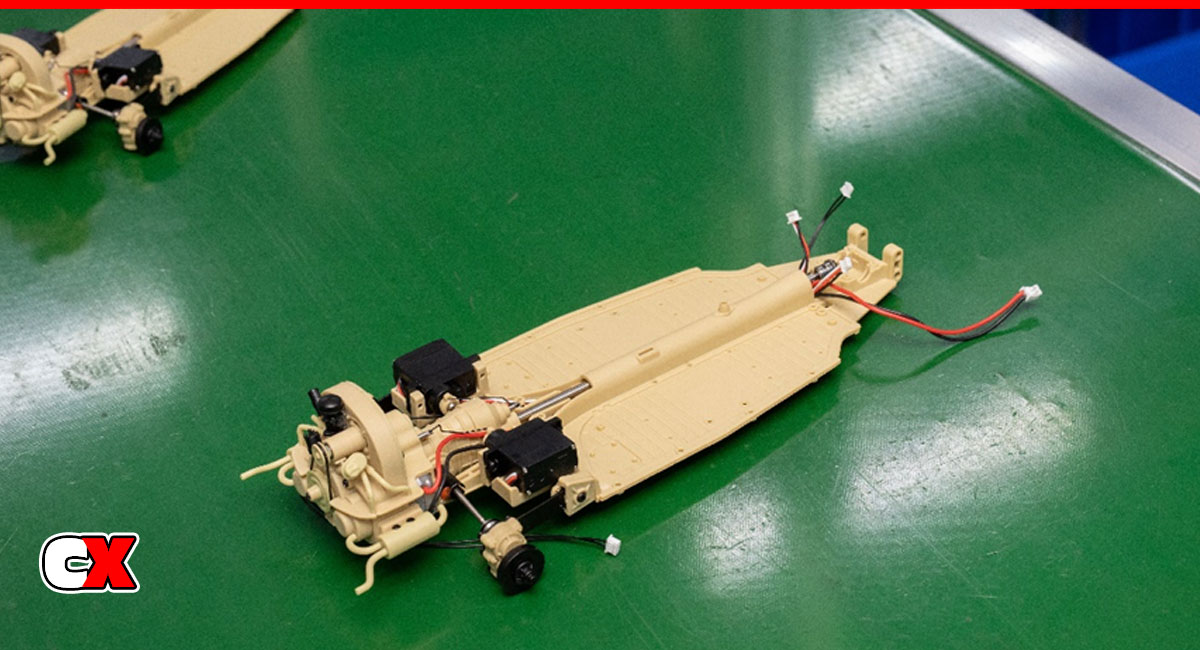
The assembled chassis’ are put on the conveyor belt and sent to the next station.
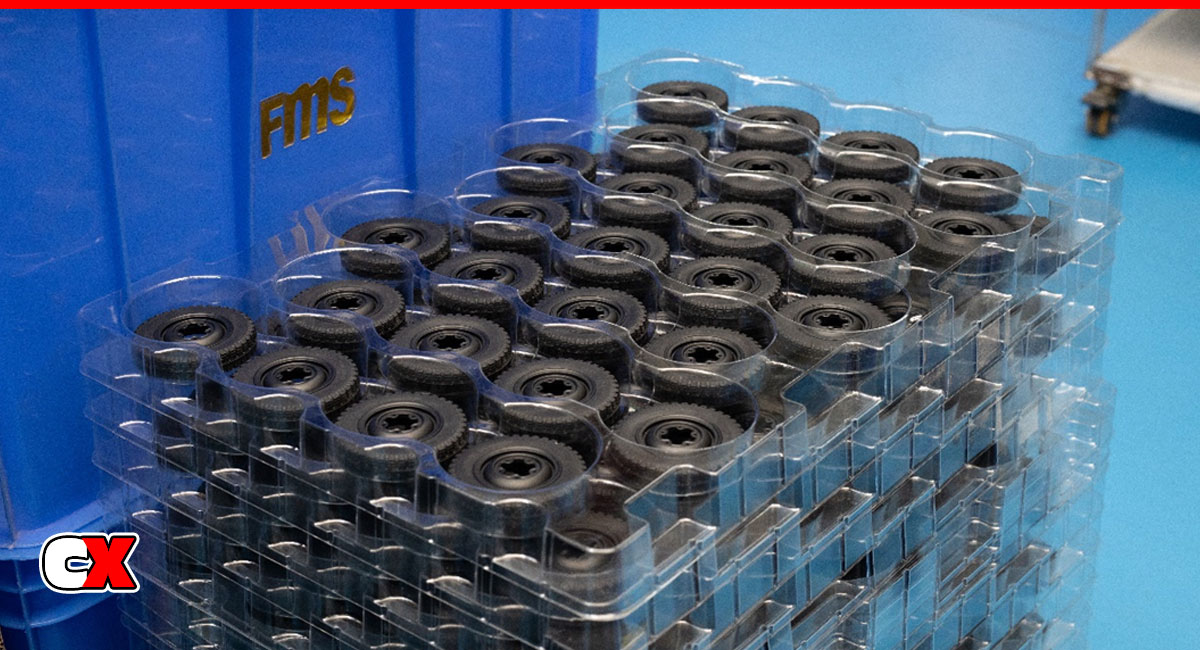
This station is responsible for wheel assembly. The wheels and tires have been assembled in advance, using a wheel assembly that features a clip structure without screws or glue. It can be assembled with bare hands and is the patent technology of FMS.
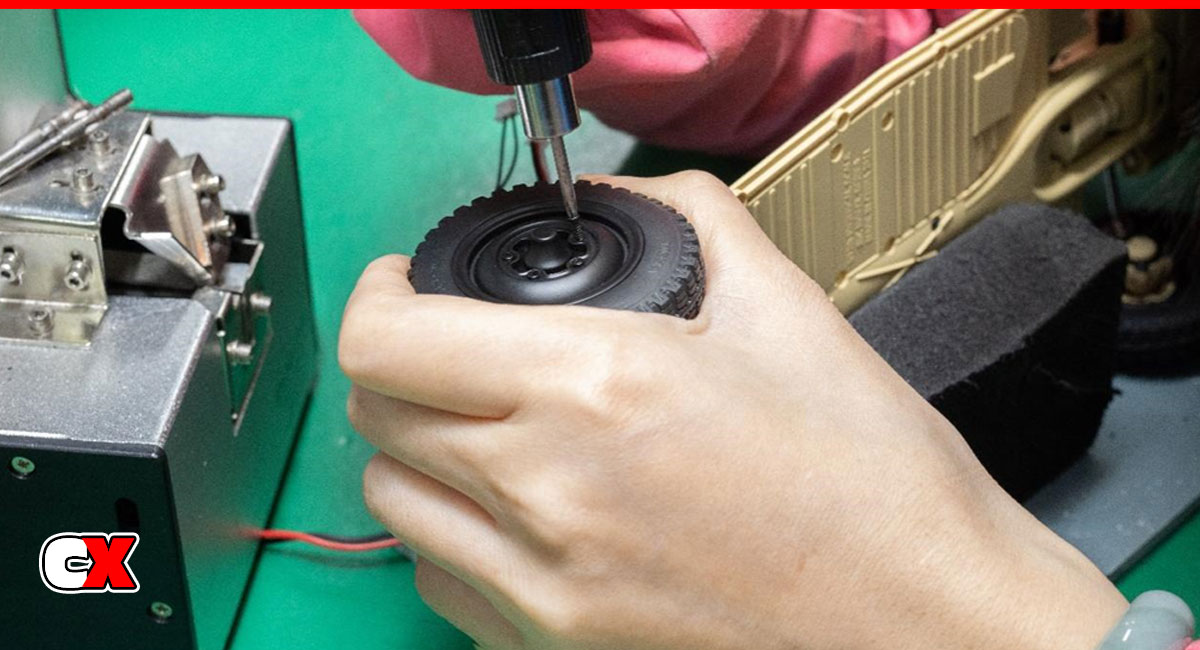
The wheel uses 5 holes, simulating the actual car. The central wheel locking nut is covered by the simulation parts.
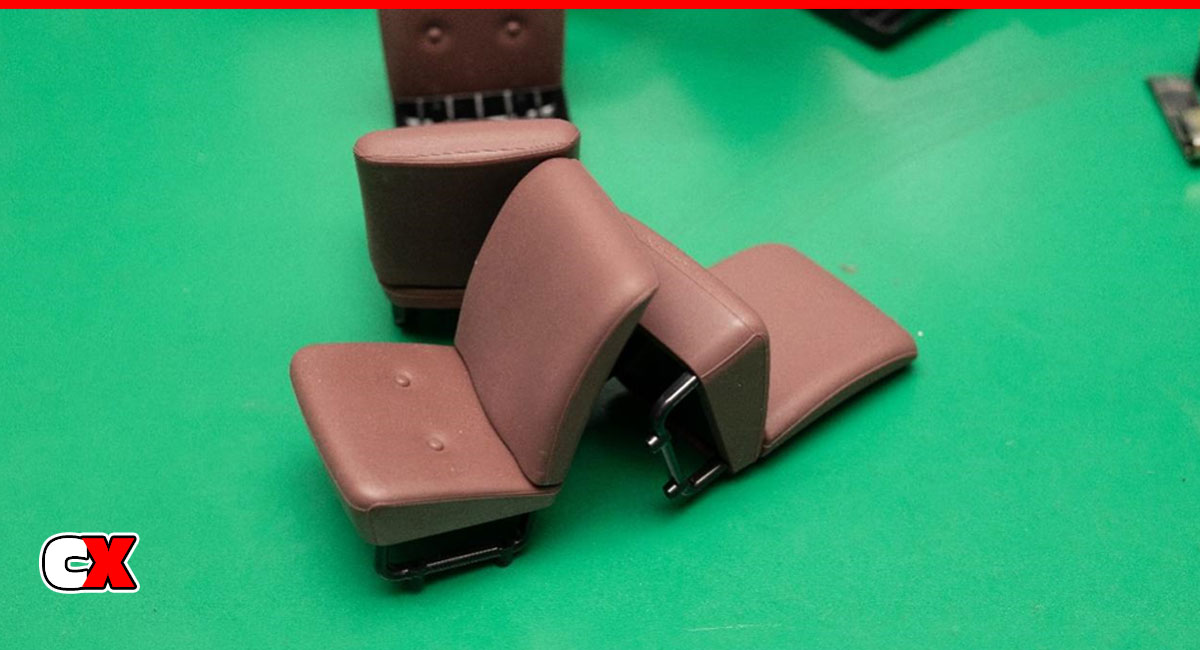
The seat assembly is next. The seat and backrest are wrapped with silicone cover making it very soft and easy to fix 1/12 dolls.
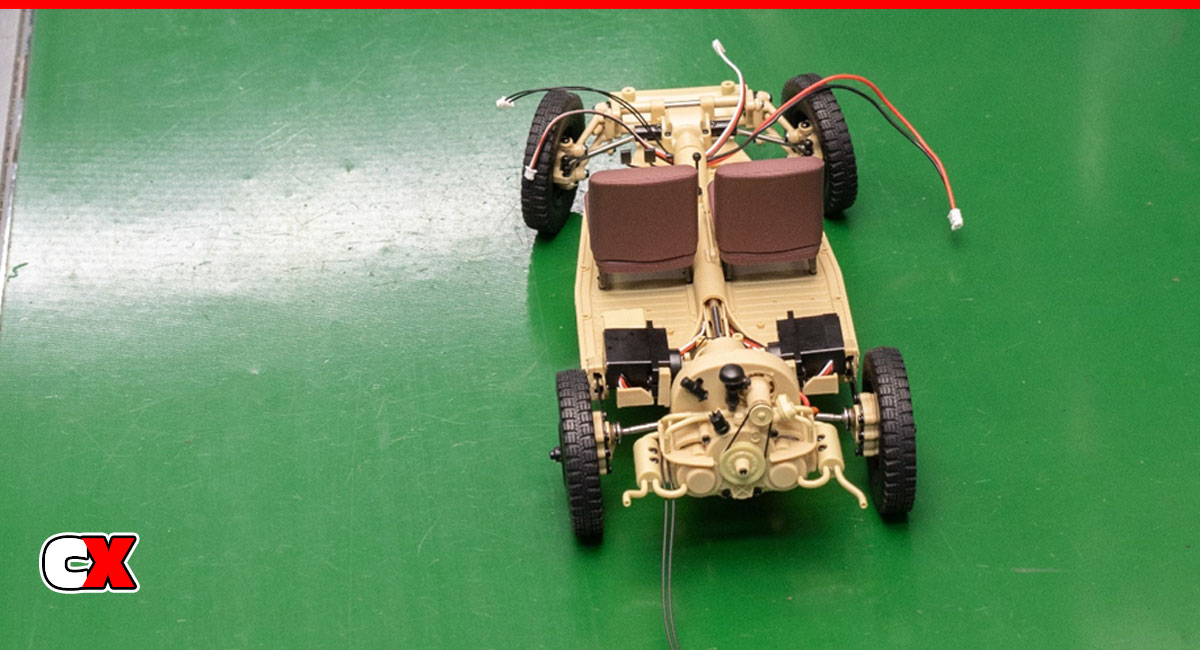
At this point, the chassis assembly is complete!
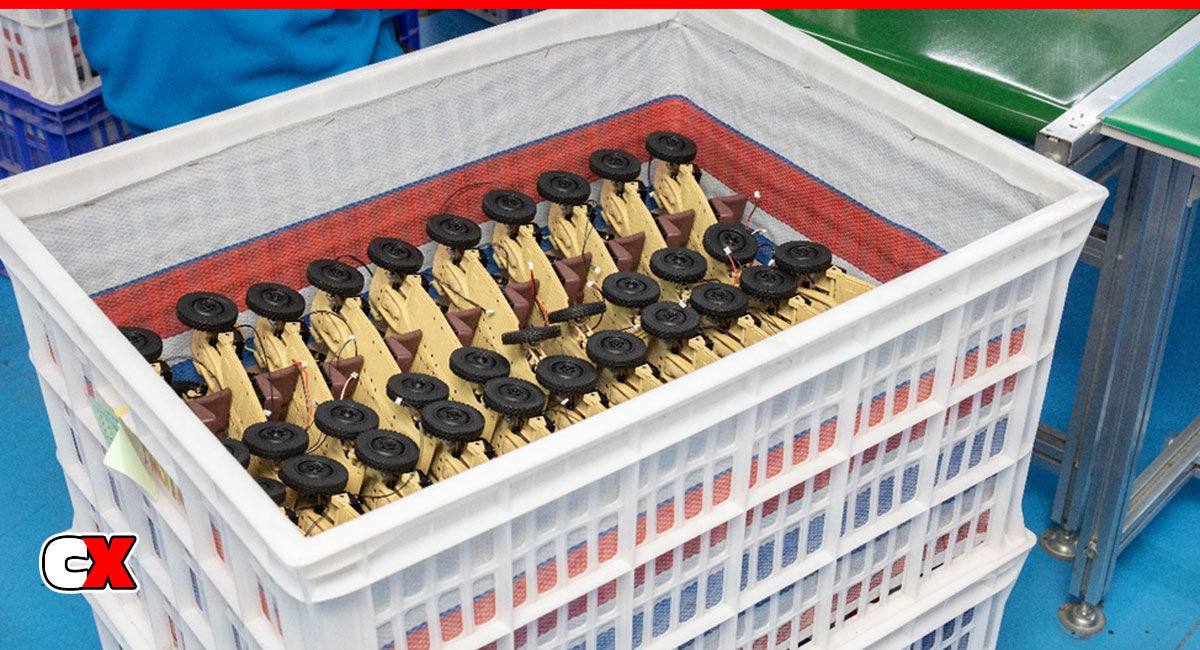
The completed chassis’ lying quietly in the trunk, waiting to be united with the car shell.
There ya have it – Part 1 of the ROCHobby Type82E Kommandeurwagon build process. Parts 2 (Body Assembly) and 3 (Final Assembly) will be posted soon!
In the meantime, make sure you check out our unboxing video of this cool little 1/12 Beetle: Video: ROCHobby Type82E Kommandeurwagen | CompetitionX
Sites to buy:
FMS Model: https://bit.ly/3QHFm5t
Fair RC: https://bit.ly/3KSIJoj
Amazon:
US: https://amzn.to/3G0lx3r
JP: https://amzn.to/3qS2Lao
 CompetitionX CompetitionX is the most up-to-date source for RC Car News, Reviews and Videos for Radio Control. We also have the most comprehensive Manual Database on the web.
