In Part 1 of this Series, we showed you the assembly process of the chassis of the ROCHobby Type82E Kommandeurwagon 1/12 scale Beetle. In Part 2 we assemble the entire body and get it ready to mate to the chassis.
Part 1: ROCHobby Type82E Build Process – Part 1
Part 2: ROCHobby Type82E Build Process – Part 2
Part 3: ROCHobby Type82E Build Process – Part 3
Ok, on to the build!
Founded in 1937, Volkswagen’s first product for the civilian market was the heirloom classic, the Beetle, then known as the KDF Wagen, which was widely used during World War II and shared the same chassis as the famous military jeep Type 82 Kubelwagen barrel car. For more information about the Type82 Kubelwagen,please refer to https://www.youtube.com/watch?v=_mHQw2yjx1o&t=67s.
Today let’s take a visit at FMS factory to see how this Type82E/87 Military Beetle is produced.
Since its release, the ROCHobby 1/12 Kubelwagen has received great reviews from users all over the world, not only from a large number of modelers but also from industry media, reviewers, real car collectors, military experts and more. We are glad that people like this kind of dynamic model, and we will continue to bring you a richer line of 12th scale products that can carry figures.
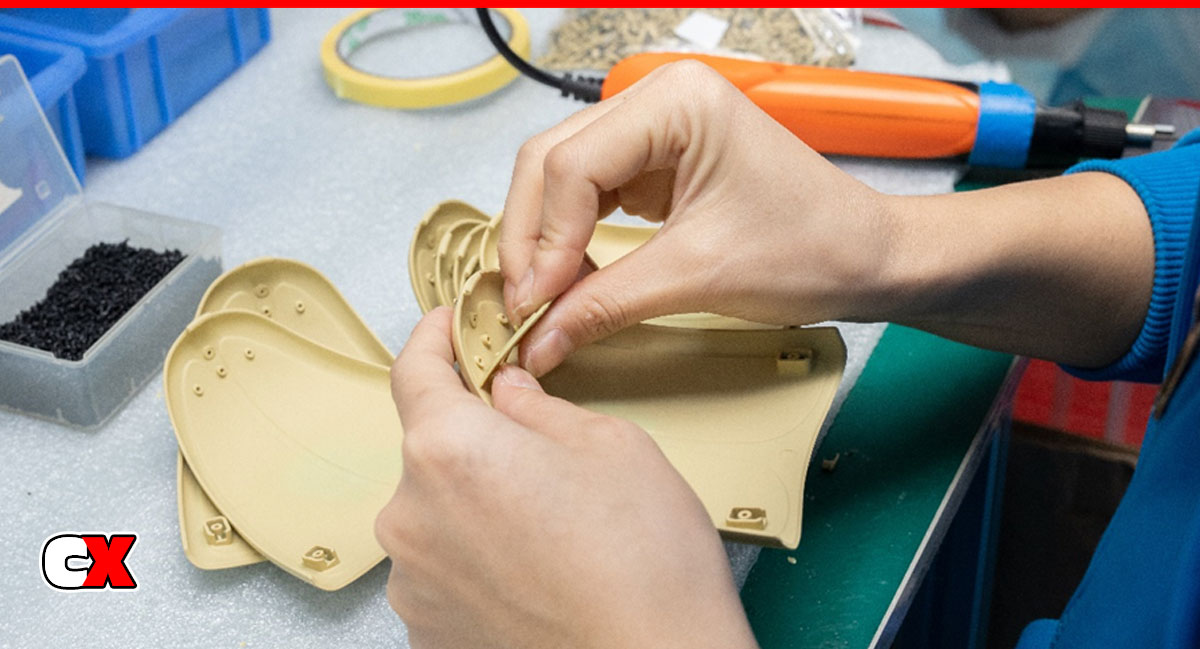
The front hood, or the front trunk lid as it should be called for the Beetle, includes sheet metal details on the inside.
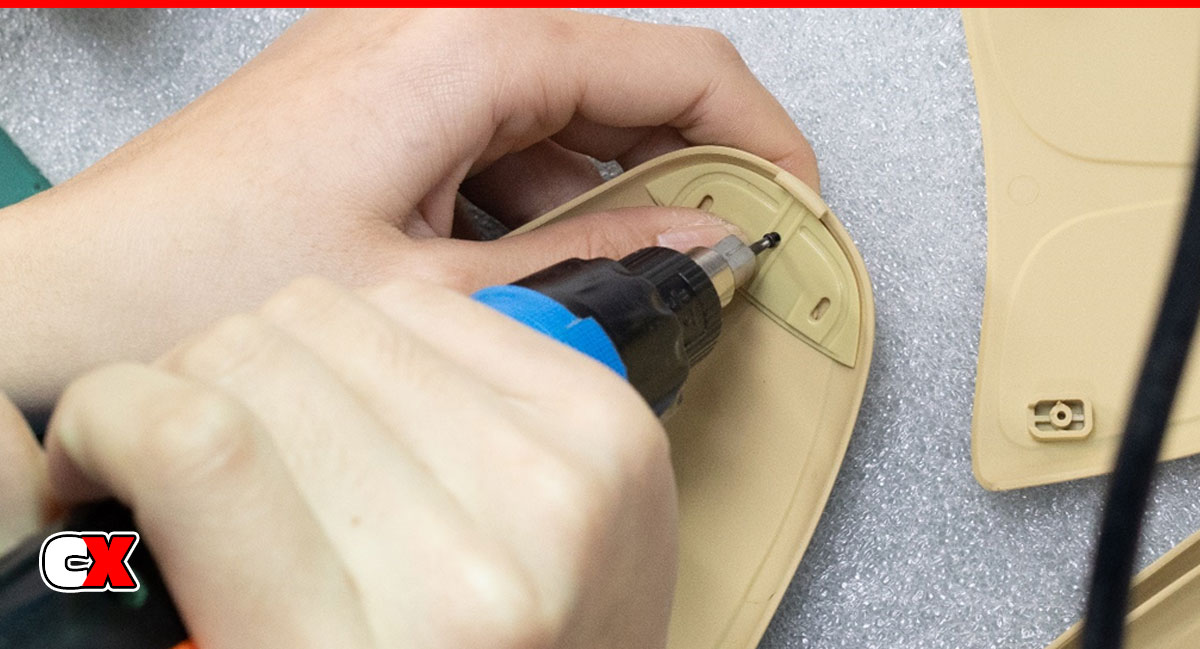
Securing the handle of the luggage compartment lid from the inside.
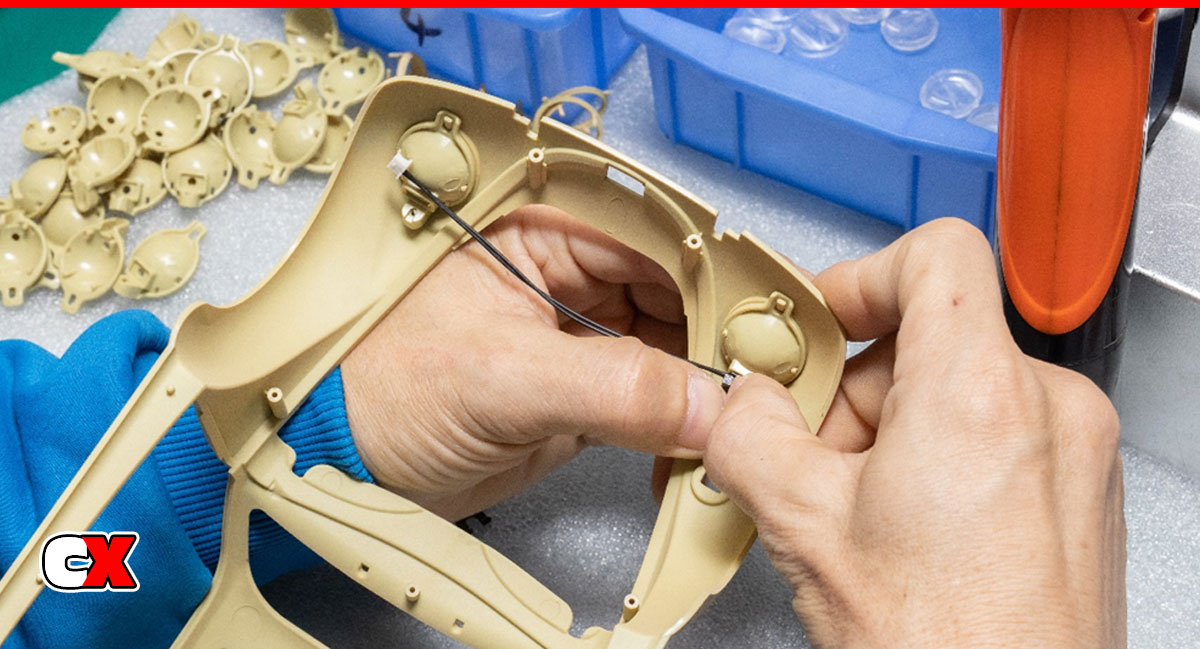
Installing the headlights…
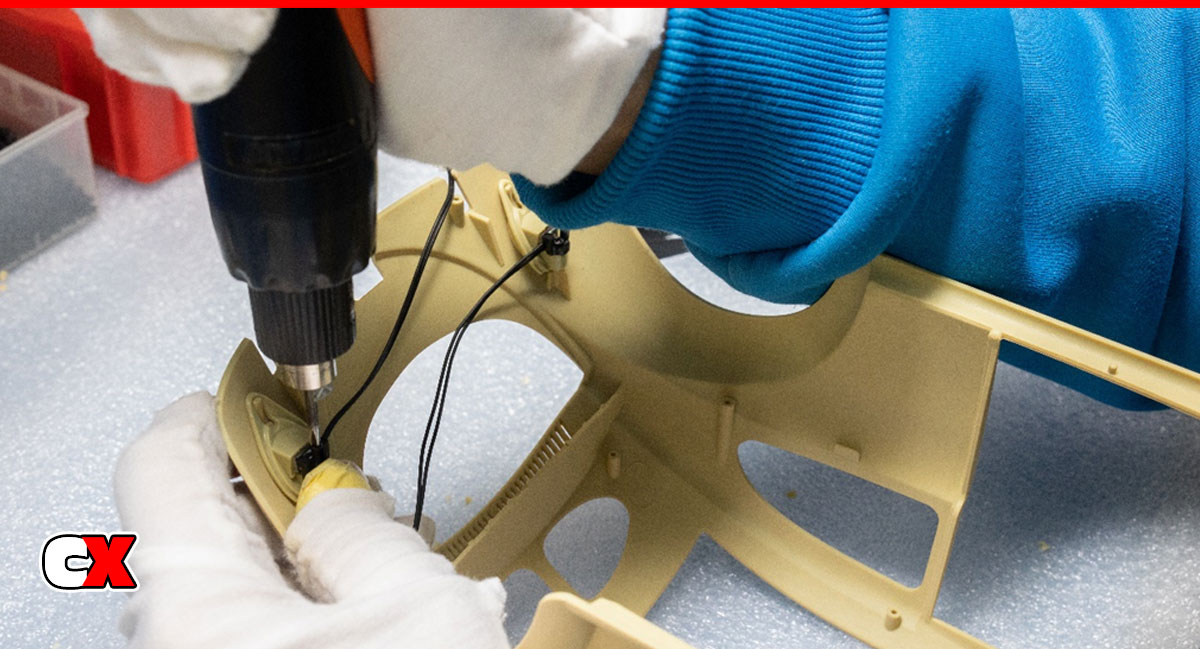
…and taillights.
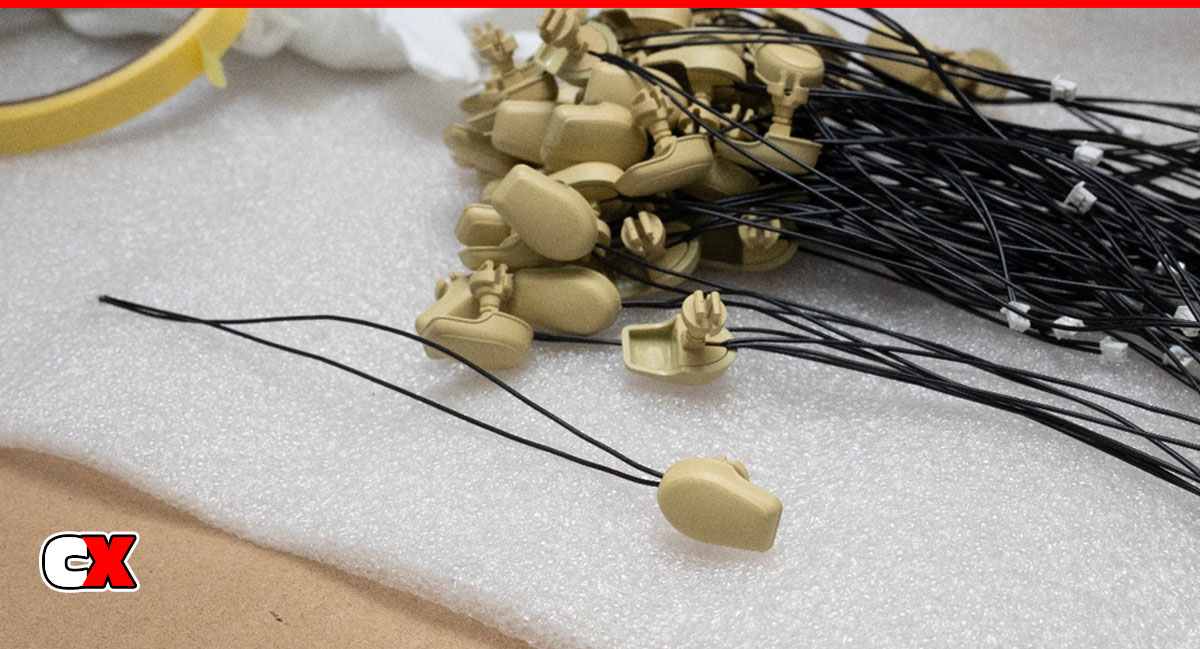
This kit includes a Nortech Anti-Aircraft light mounted on the left front fender. There is an LED in this light as well.
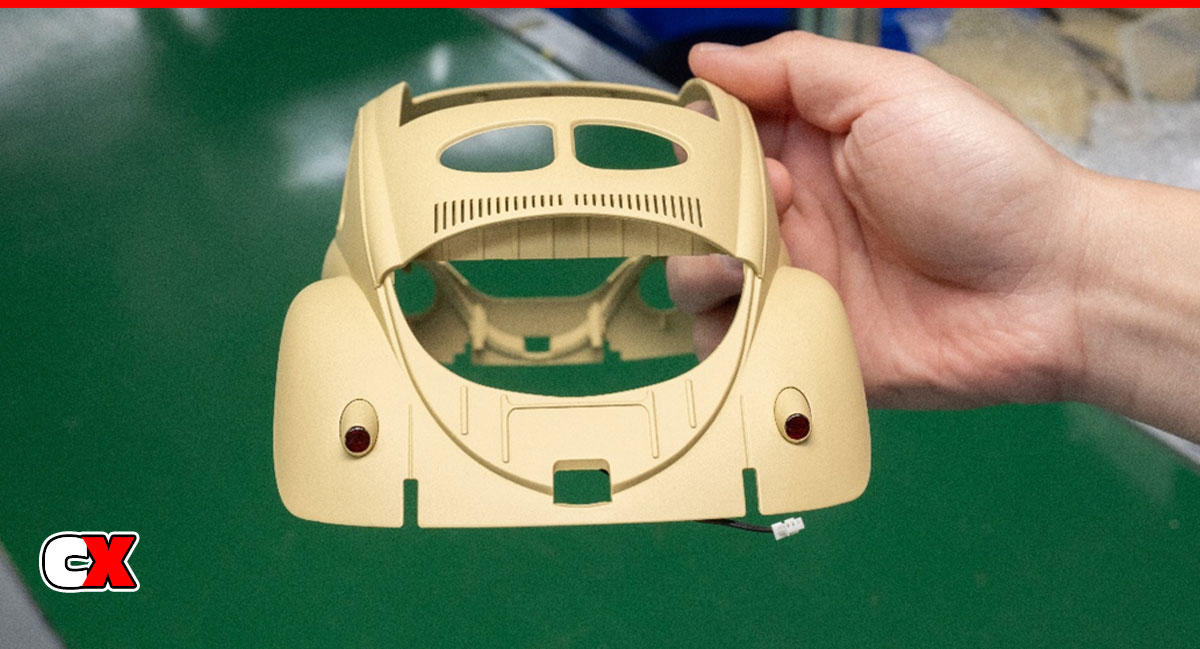
Installation is complete of both the headlights and taillights. Small SMD LEDs are used that work in the small 1/12 scale housings.
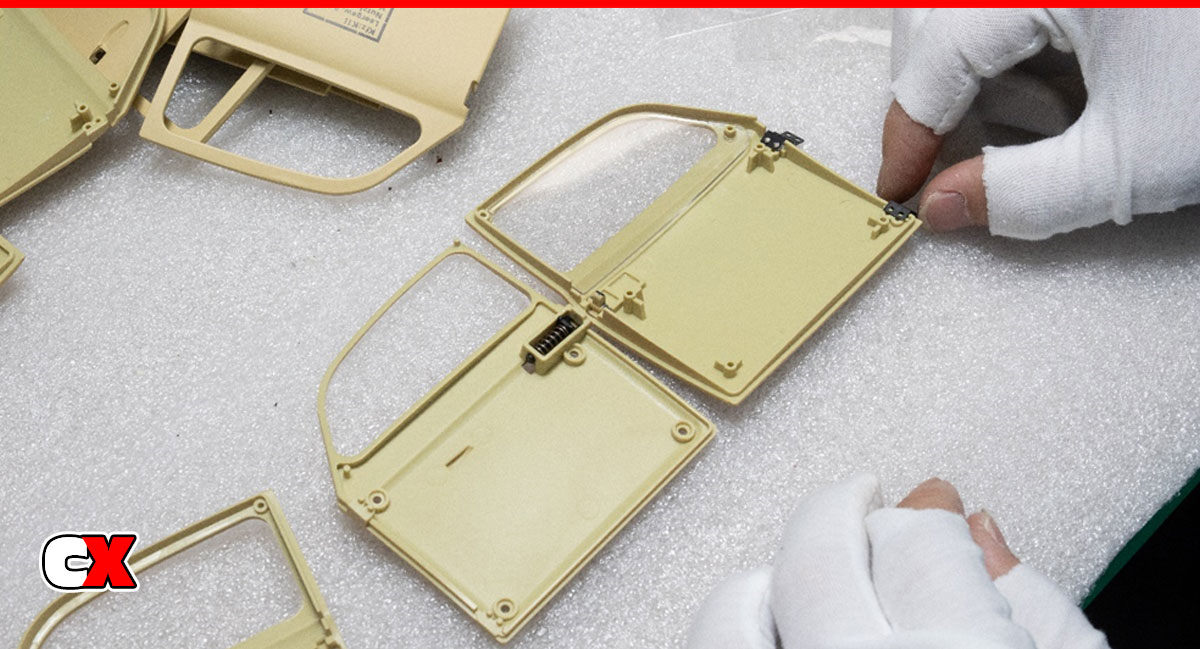
The door handle and spring lock mechanisms open exactly the same way as the real car. Specially molded corner hinges are attached to the door structure just like the real car.
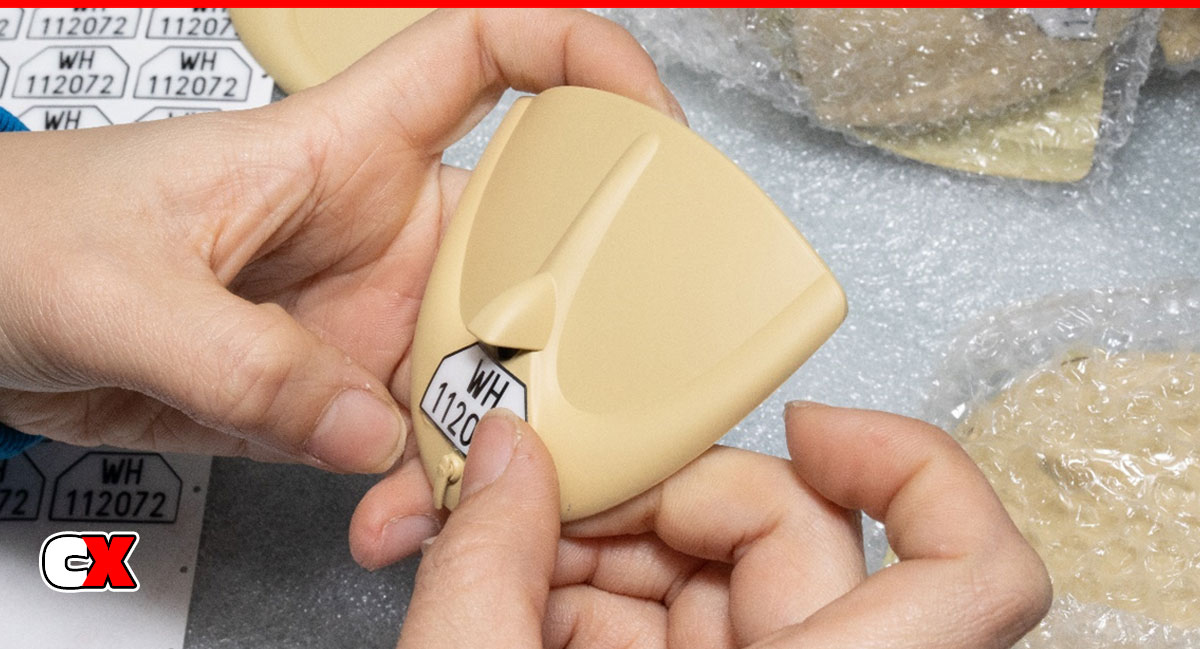
Attaching the license plate to the rear hood of the car.
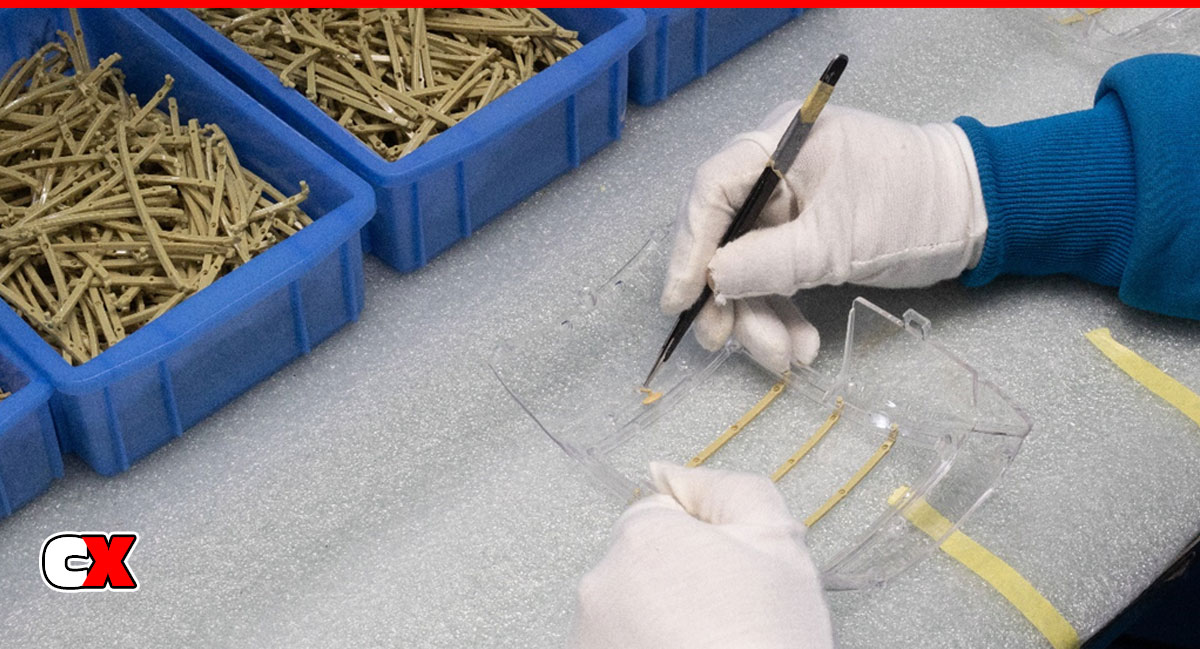
Installing the interior rear view mirror. The skeleton on the window is said to have a special function. Comment below if you know the answer.
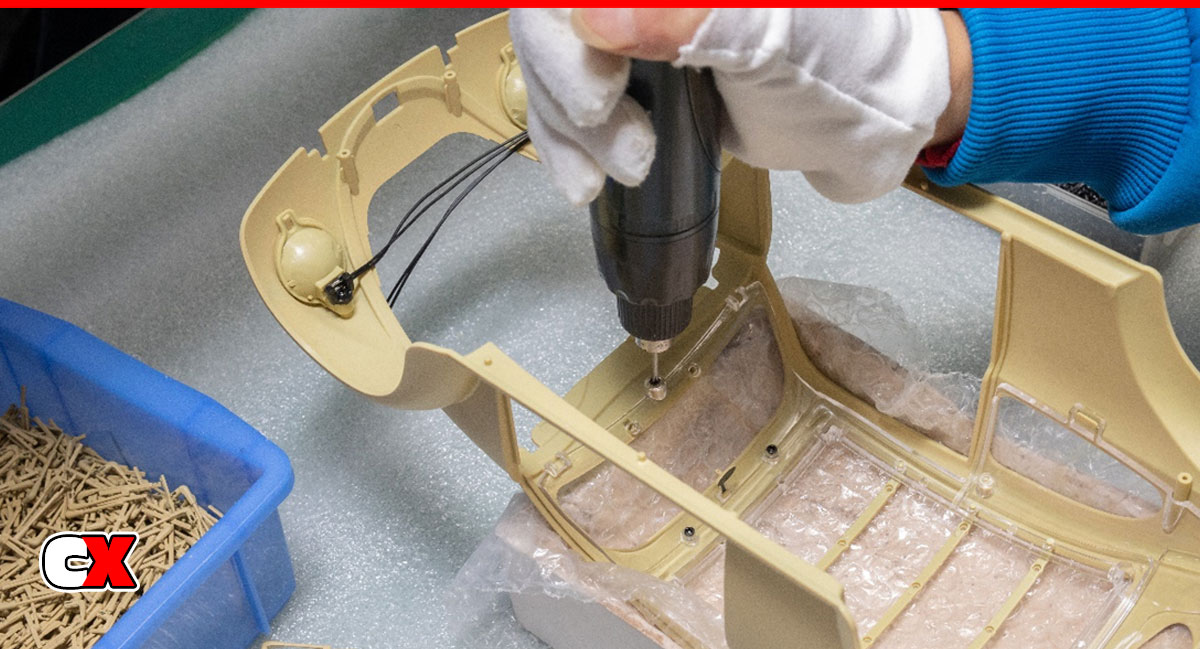
Installation of the window “glass”.
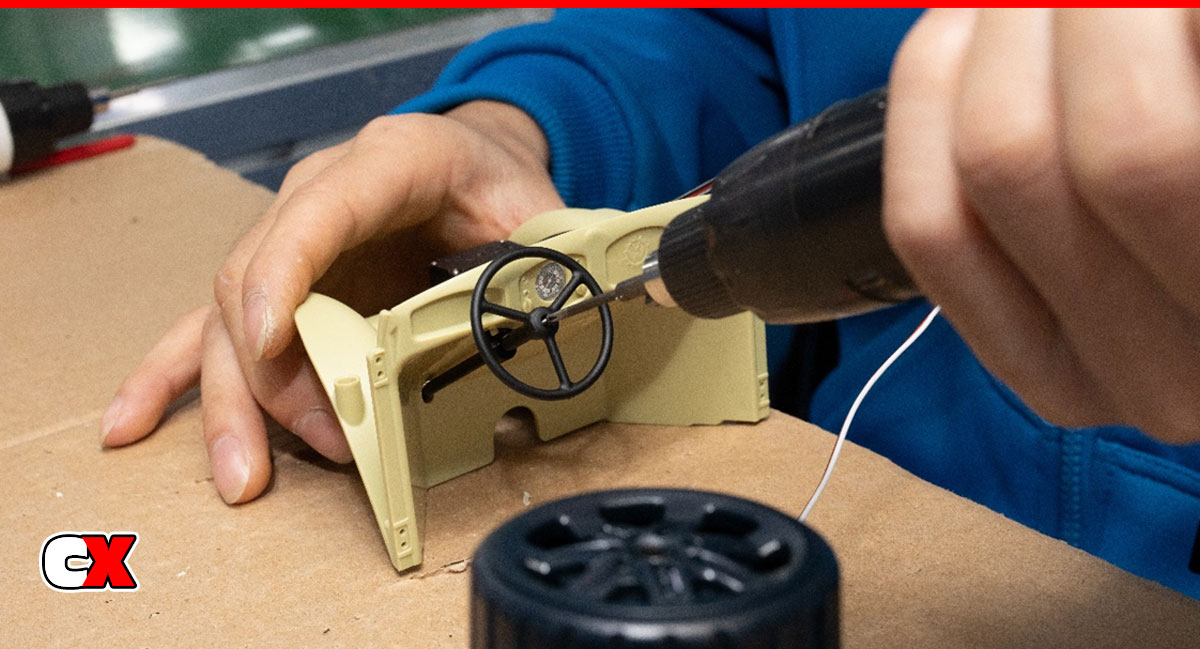
Installation of the steering wheel. Because FMS loves scale realism, they’ve linked the steering wheel to the front tires – when the front tires turn, so does the steering wheel!
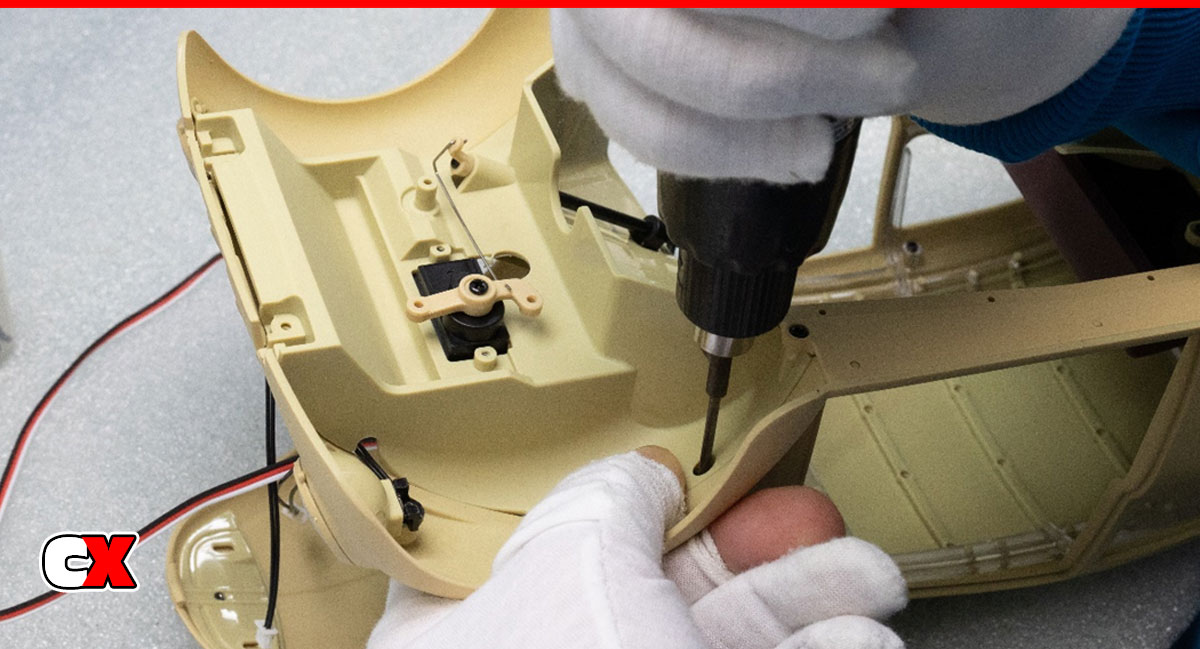
This picture shows the linkage between the steering servo and the steering wheel.
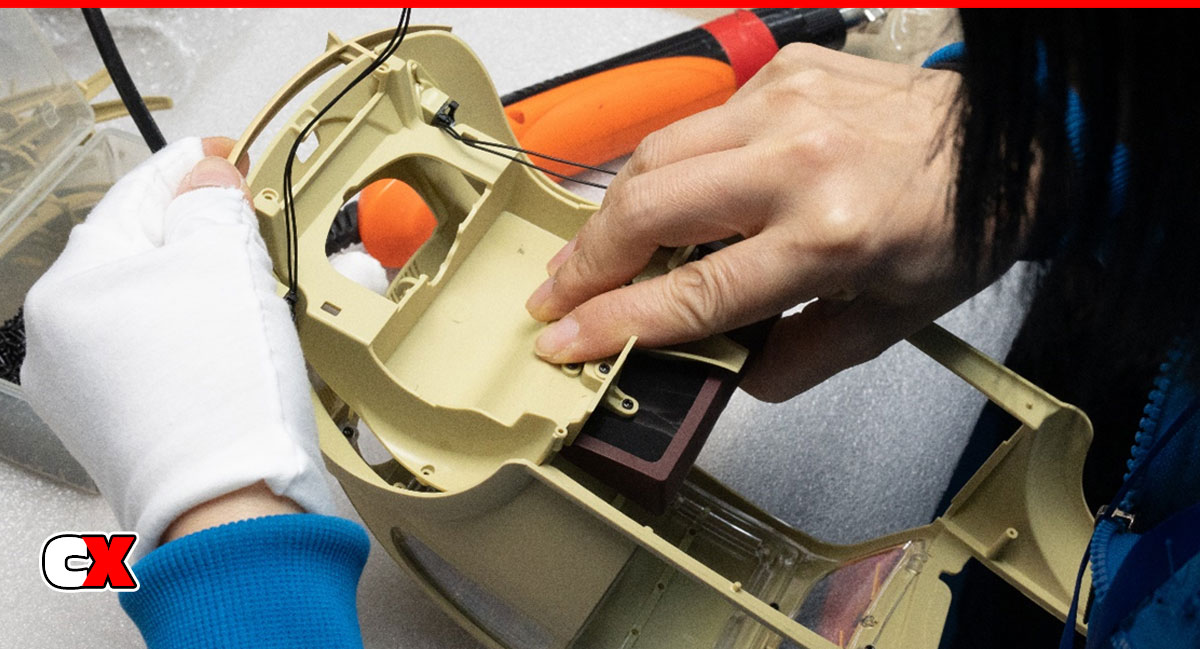
Installing the rear cover and rear seat (also covered in soft rubber).

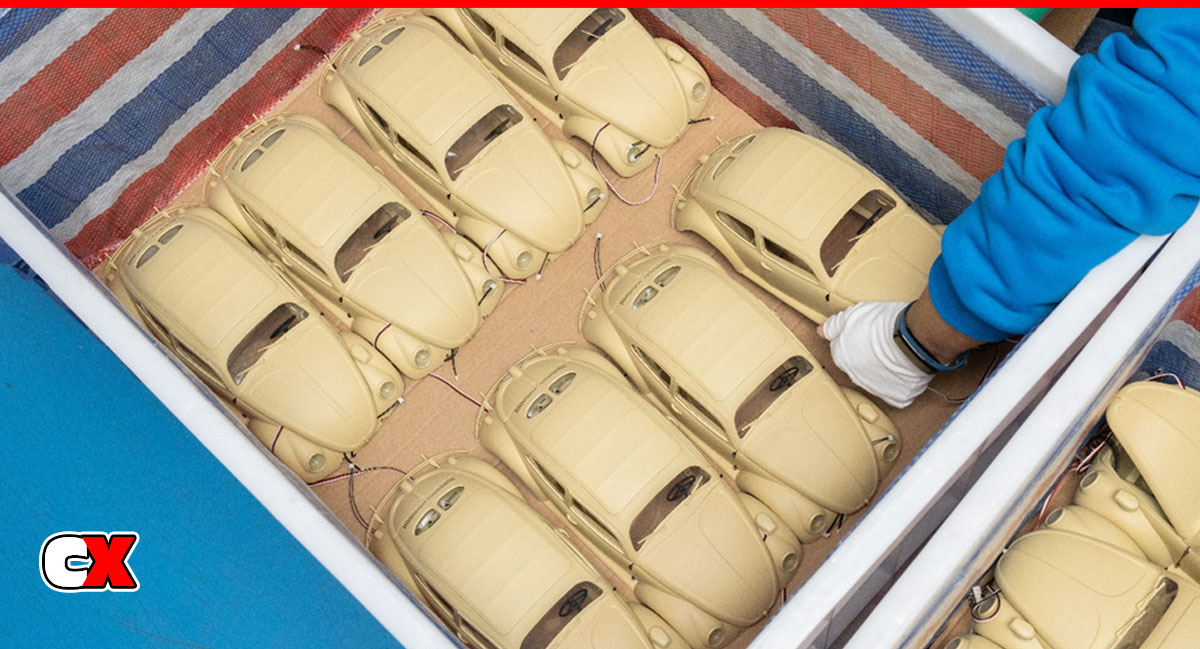
The assembled shells are neatly packed in the trunk for the final assembly.
Part 2 of the ROCHobby Type82E Kommandeurwagon build process has been fun to watch! The final part, Part 3 (Final Assembly) will be posted soon!
In the meantime, make sure you check out our unboxing video of this cool little 1/12 Beetle: Video: ROCHobby Type82E Kommandeurwagen | CompetitionX
Sites to buy:
FMS Model: https://bit.ly/3QHFm5t
Fair RC: https://bit.ly/3KSIJoj
Amazon:
US: https://amzn.to/3G0lx3r
JP: https://amzn.to/3qS2Lao
 CompetitionX CompetitionX is the most up-to-date source for RC Car News, Reviews and Videos for Radio Control. We also have the most comprehensive Manual Database on the web.

