The Build – Part 11
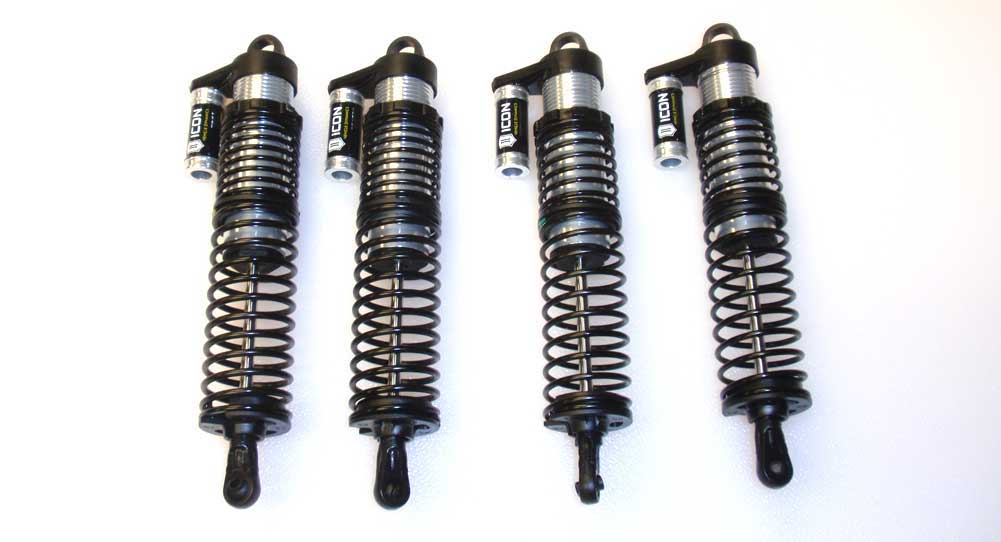
Axial has fitted the Yeti XL with a pretty substantial set of shocks. These dampers feature aluminum threaded bodies, dual springs and some cool-looking (however fake) reservoirs.
 Shocks can always be messy, so I would suggest some cleaning rags and some sort of shock stand for building.
 Whenever I build shocks, I like to highlight the pistons to make them easier to read. White pistons get a black Sharpie mark, black pistons get a silver Sharpie mark.
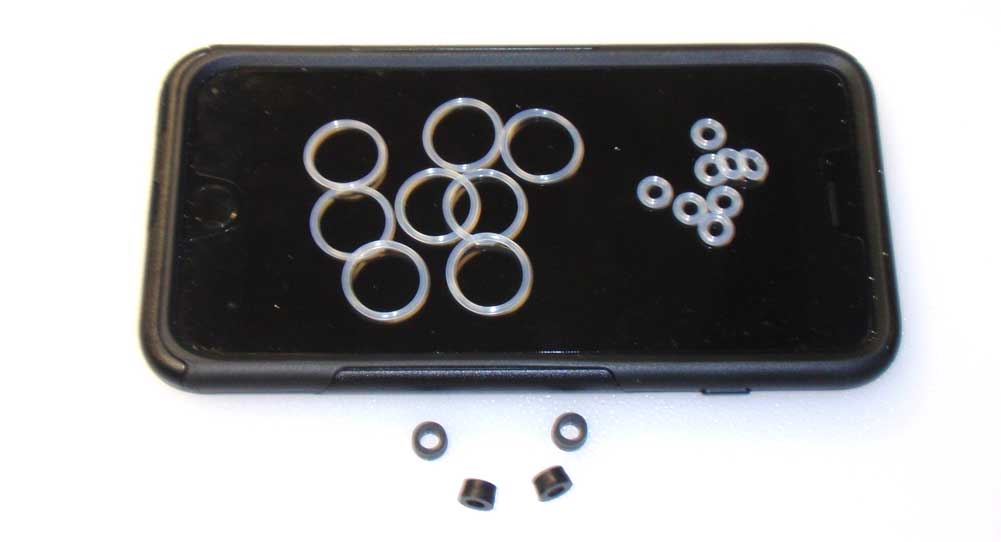
Before we start building, I’ve laid out all the o-rings we’ll be using so you can get aquainted with them. The large clear o-rings are for the cap and lower cartridge, the small clear o-rings go inside the lower cartridge and the black tapered rings act as limiters on the outside of the shock shafts.
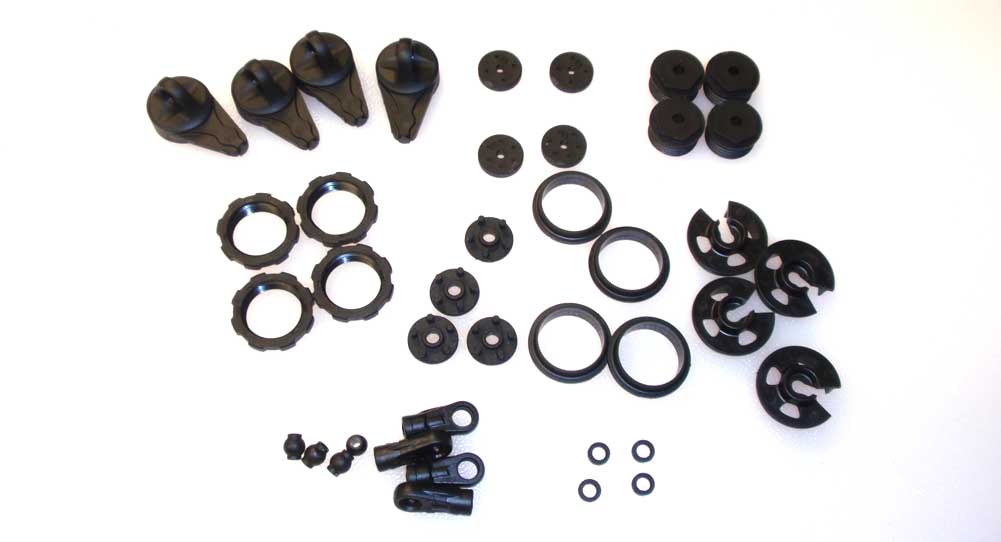
I’ve also separated all the plastic we’ll be using during this step as well. This keeps me organized and makes the parts readily available when needed.
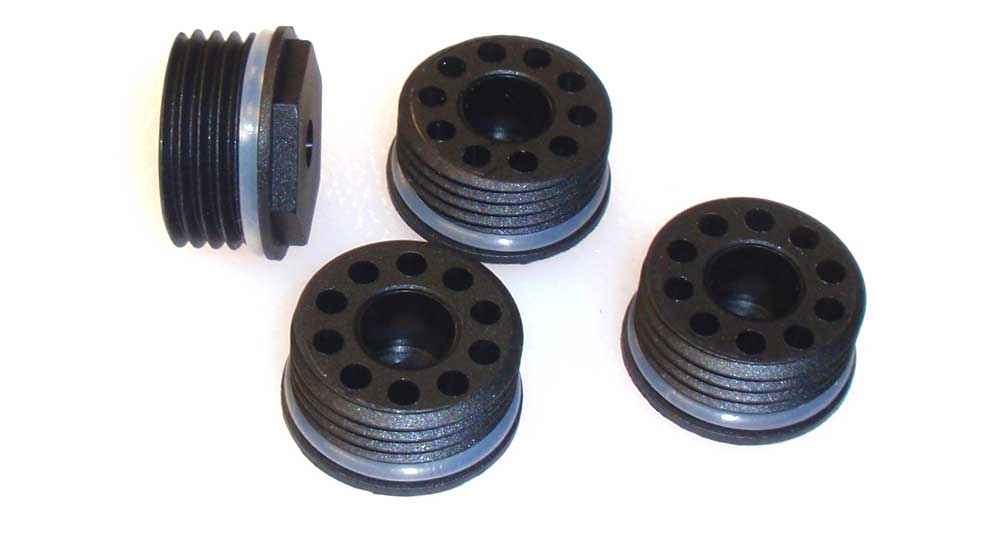
The first step is to slide a large clear o-ring over the four lower cartridges.
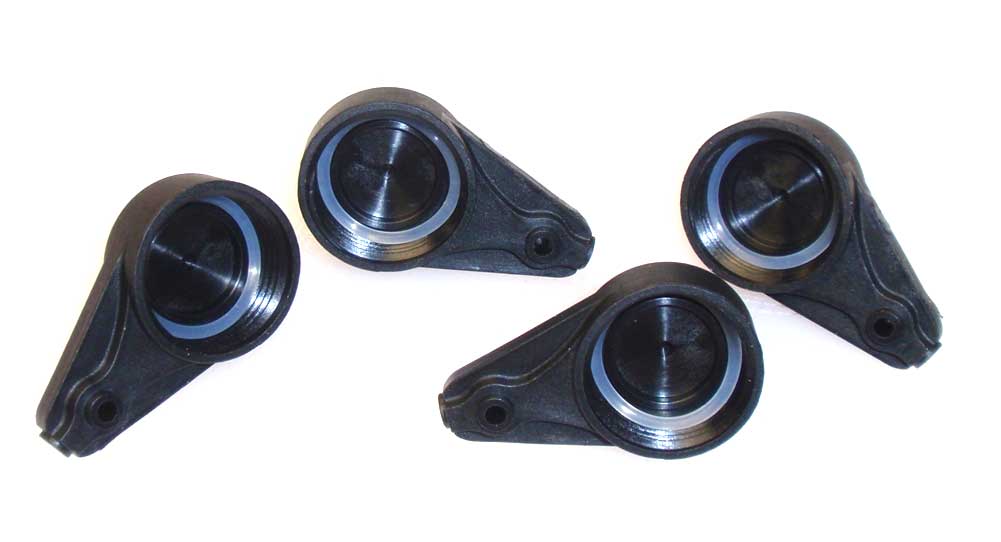
Install the other four large clear o-rings into the shock caps. Carefully press them up and into the cap.
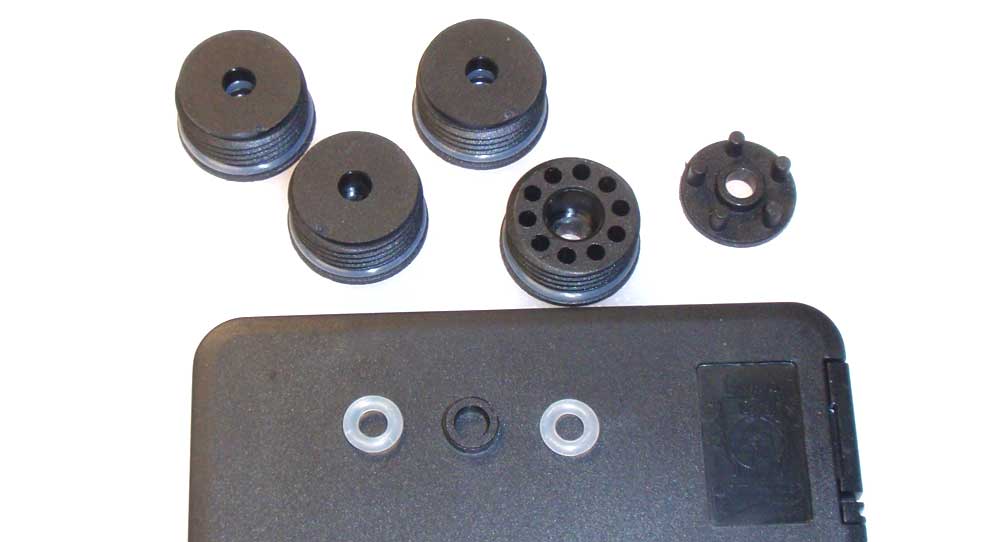
Build four cartridges. Install a small clear o-ring, a plastic spacer and another clear o-ring. Press firmly to seat and then install the cartridge cap. These caps are a press fit, however they didn’t seem very snug. I’ll be curious as to how well they stay together after a few hard romp sessions out in the dirt.
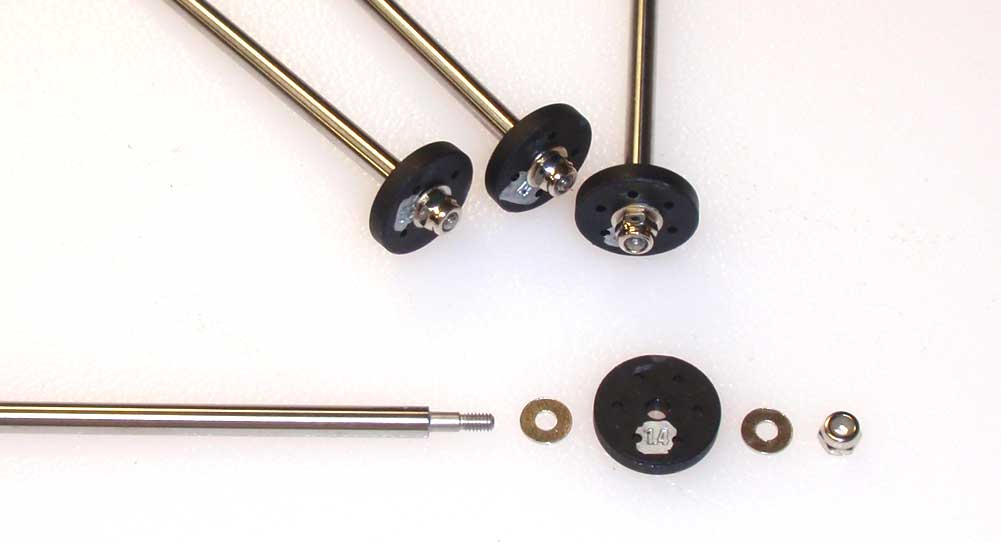
The front and rear shock shafts are the same length but will require different pistons. To make the pistons easier to identify, I marked them with a silver Sharpie so they’d be easier to read. The front shafts get a 1.4, 4-hole piston; the rear shafts get the 1.4, 6-hole pistons. Assemble by installing a .5mm washer, the appropriate piston, another .5mm shim and the locknut.
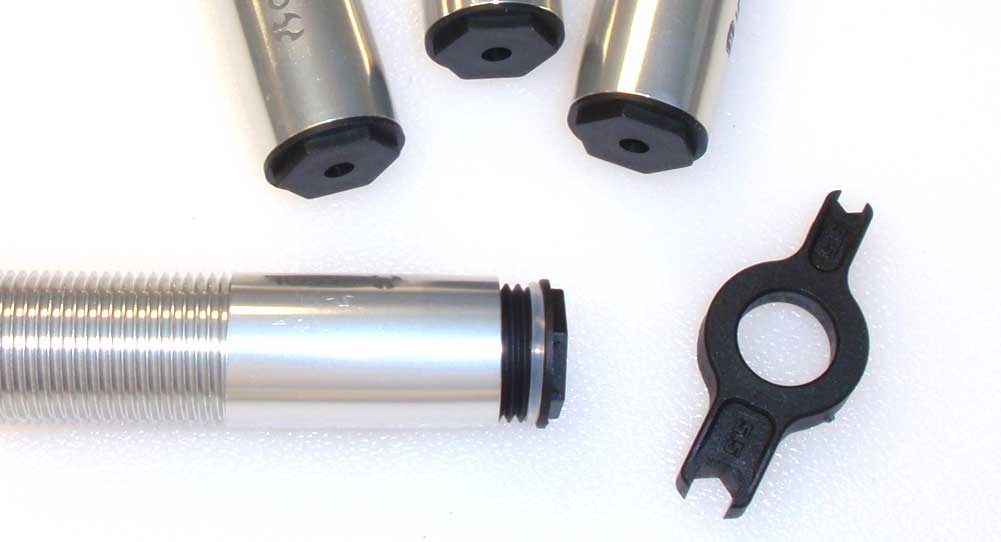
Carefully thread the cartridges into the lower part of the shock body. Tighten with the included tool. Be careful not to pinch the o-ring.
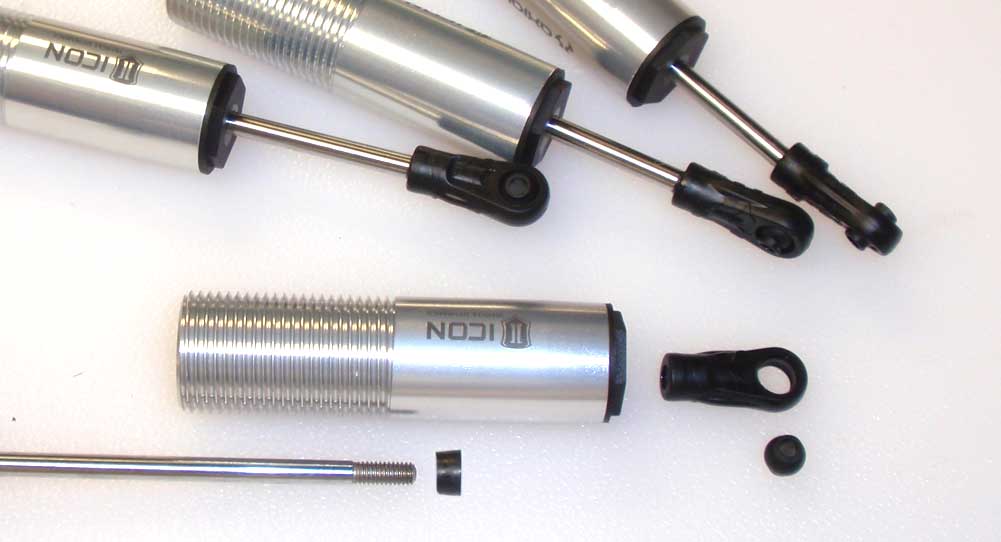
Apply a small drop of fluid on the threads of the shaft and carefully push it through the shock body (and cartridge). Slide one of the tapered o-rings onto the shaft followed by a plastic rod end. Finally, pop a plastic ball into each rod end.
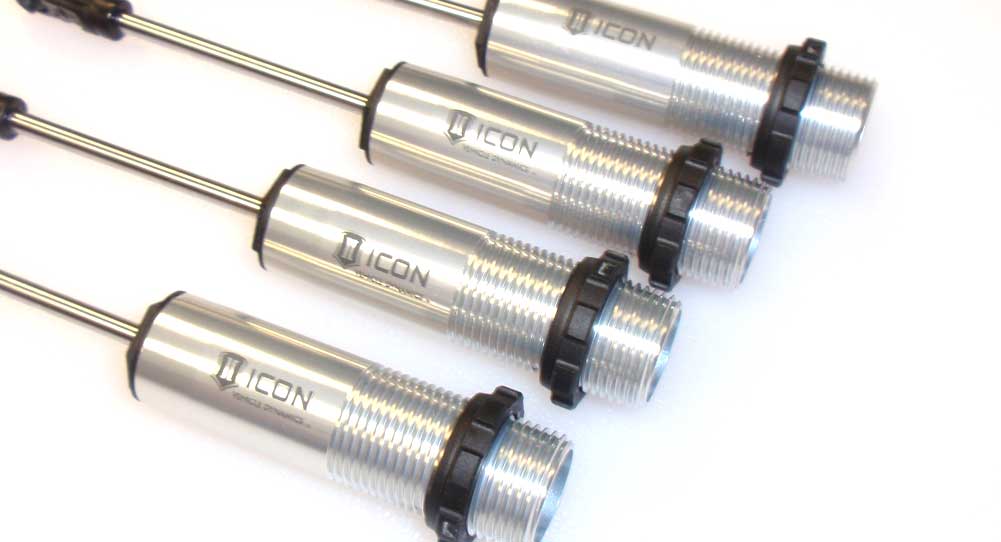
Thread a shock collar onto each shock.
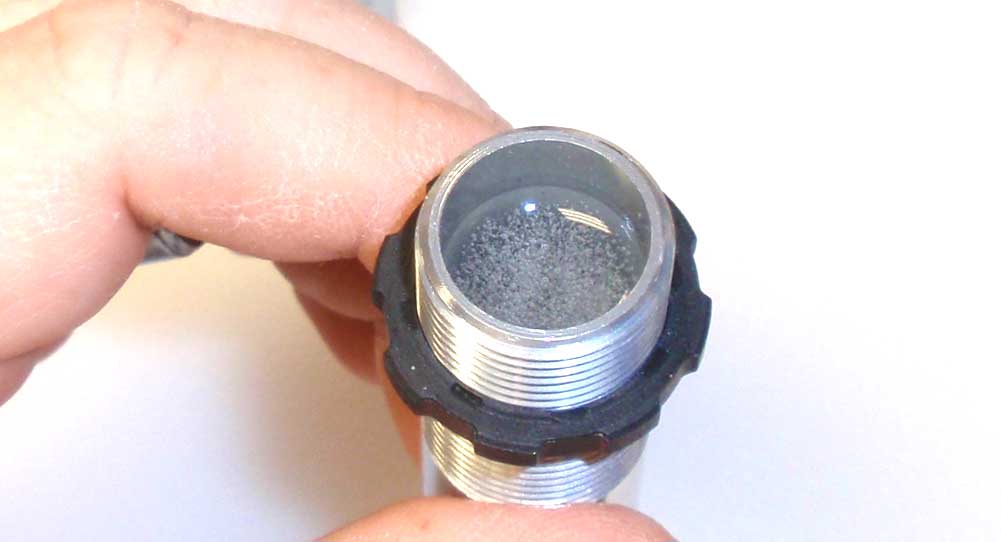
Fill each shock with oil; the fronts should get 30wt, the rears 10wt. Slowly plunge the shock shaft up and down a few times to release any air from under the piston. You should see quite a few bubbles like that in the picture.
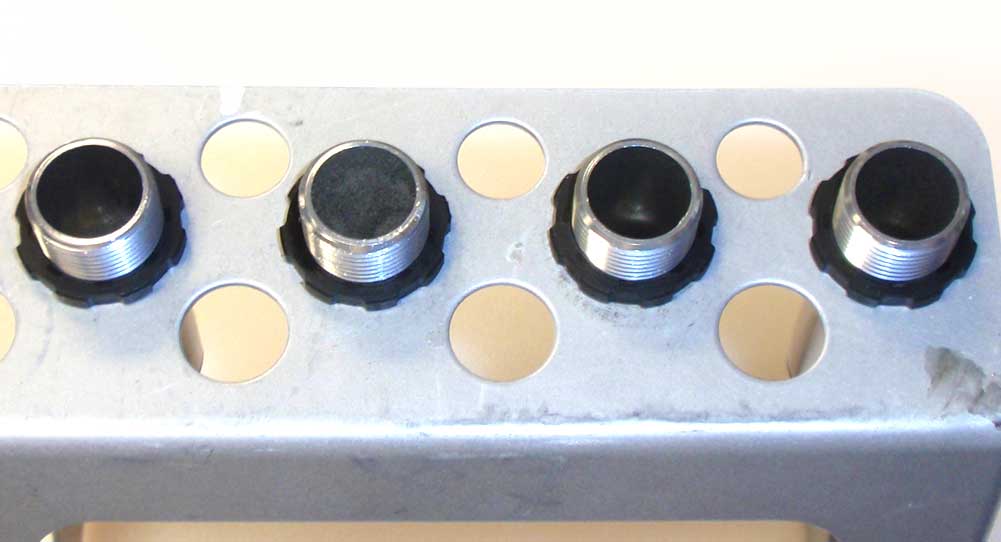
Fill the shock back up to the top and set in a shock stand to let the air bubbles rise to the top.
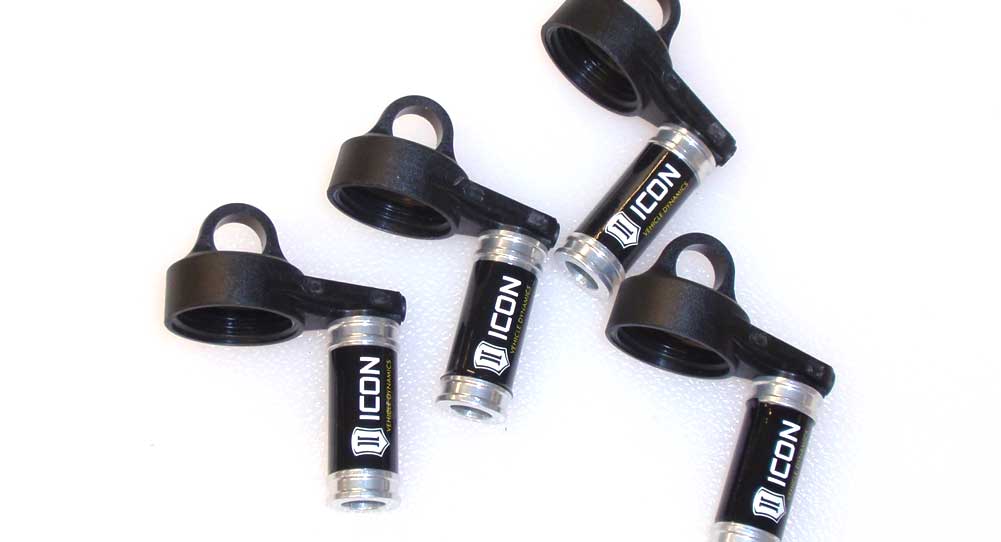
While we’re waiting for that air bubbles, we’ll assemble the shock caps. Wrap each aluminum reservoir with an Icon sticker and attach it to the caps.
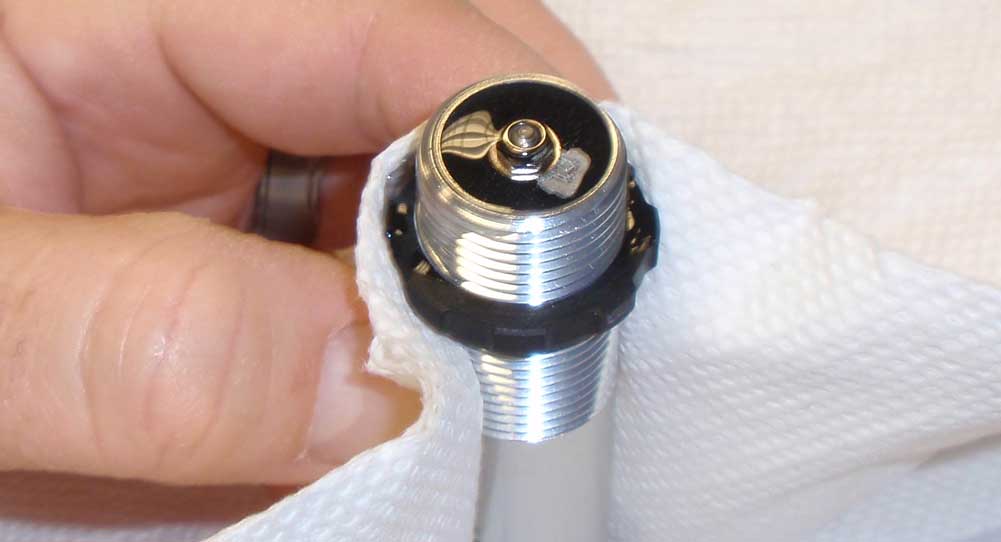
Now for the messy part. Grab a shock and wrap it with a paper towel. Set the shock on your work surface and slowly compress it all the way. It should end up looking like the picture above.
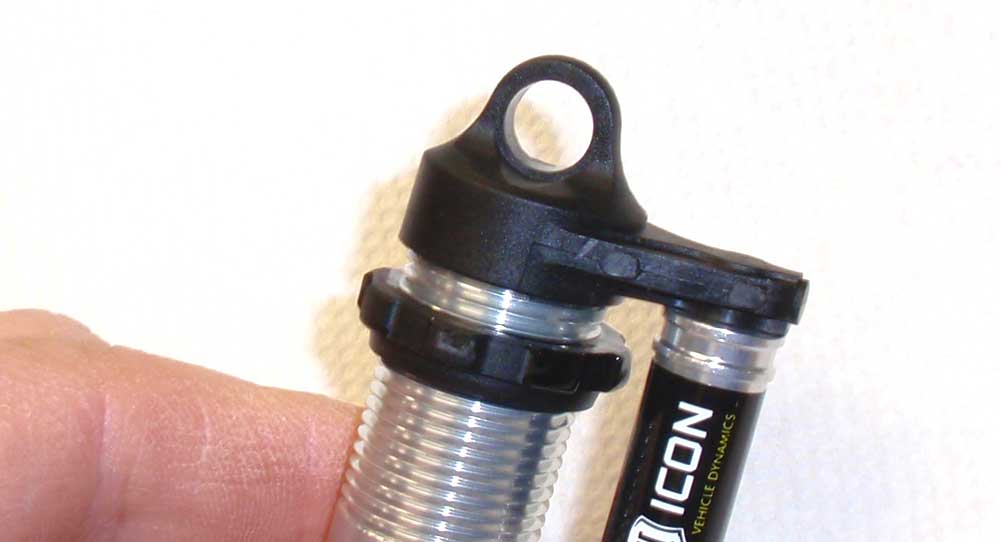
Attach the cap. Be careful because I found these caps easy to cross thread. Tighten slowly to make sure you don’t do that.
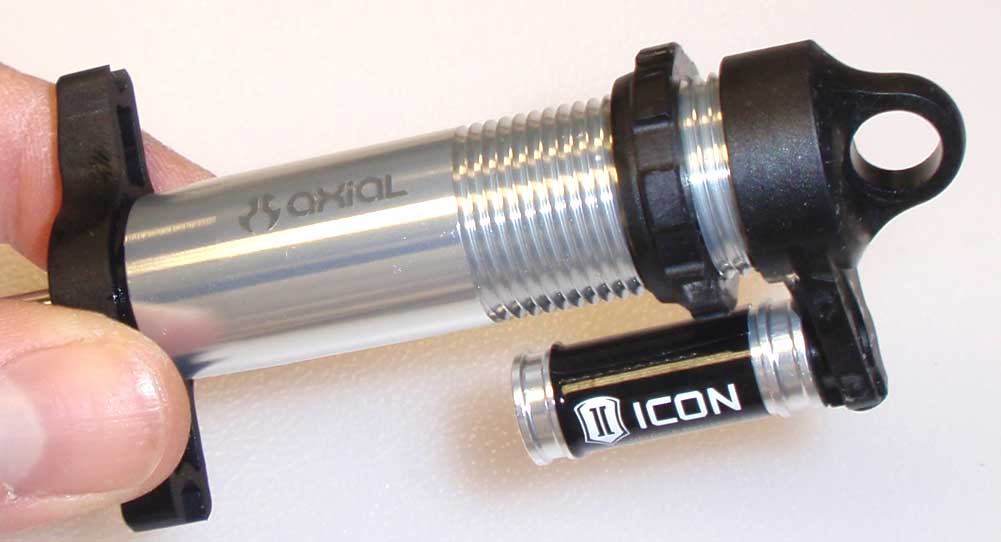
Take your cartridge tool and, with it installed, tighten the cap down nice and tight. Clean any excess oil off the shock.
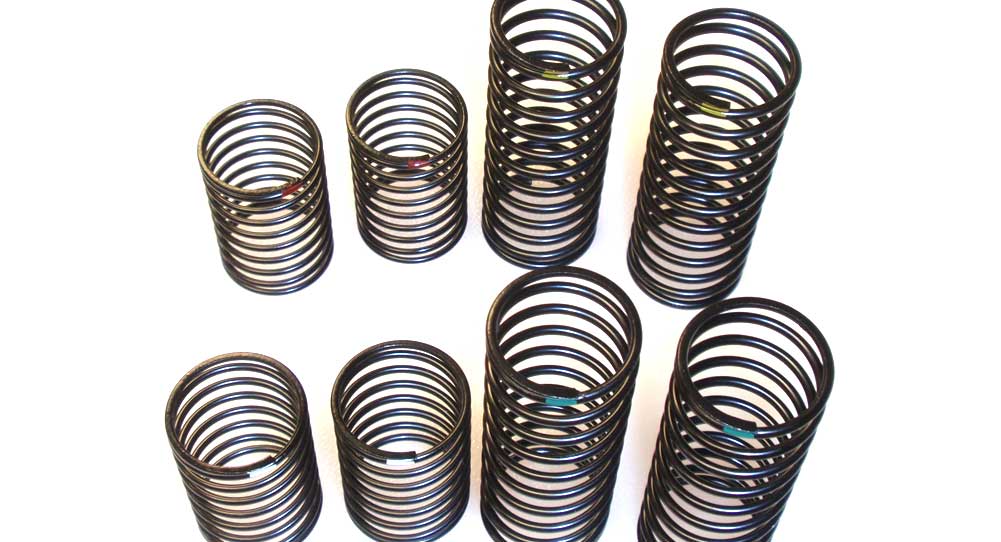
Axial has included four different shock springs; white (short, 7.9lbs), red (short, 3.2lb), yellow (long, 7.9lb) and green (long, 6.3lb). These are denoted by a little paint applied near the top of the coils.
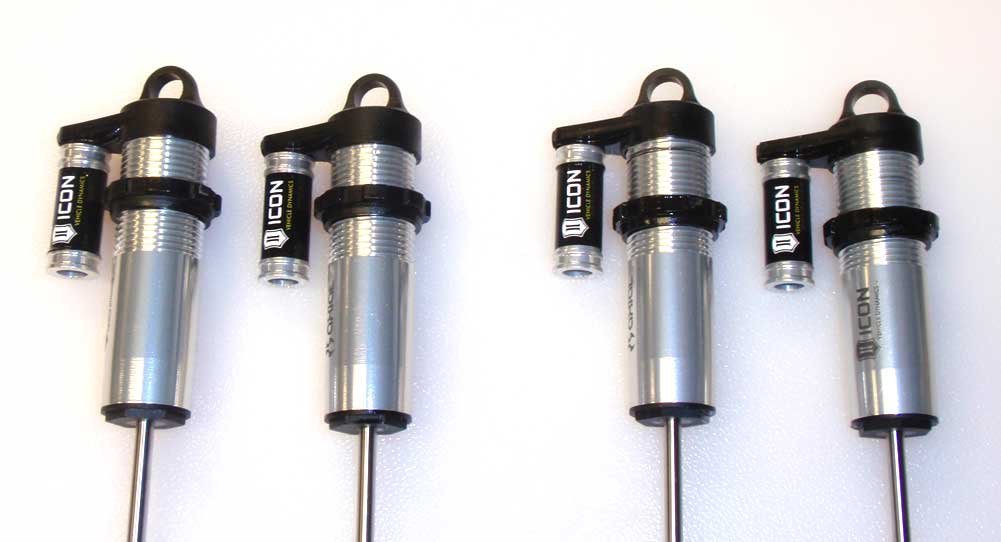
Before we install the springs, set the pre-load per the manual; front, 10mm; rear, 14mm. I actually found that the front pre-loads needed to be more around 15mm but you can adjust that after the Yeti is completely built. Also, unless you marked them, this is the only way to tell which are the front and which are the rear. Make sure you keep the separate.
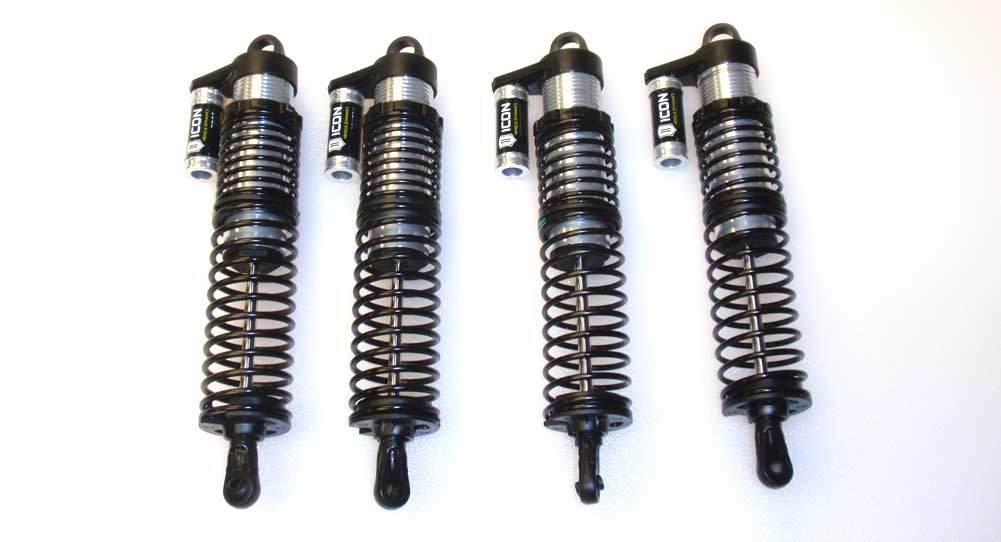
Spring install; on the front, slide the short white spring followed by the spring coupler, then the long yellow spring followed by the lower spring retainer. On the rear, slide the short red spring followed by the spring coupler, then the long green spring followed by the lower spring retainer.
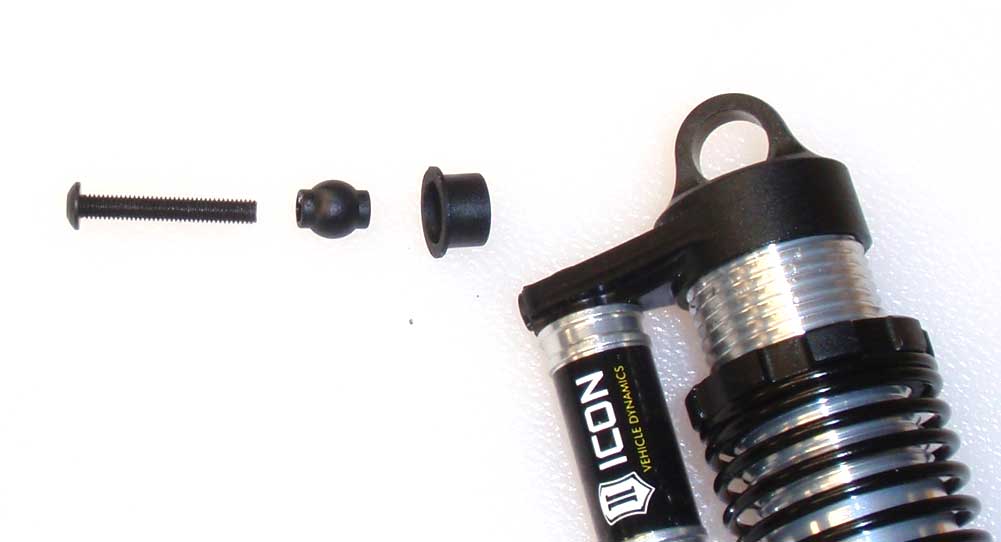
Feed the 20mm screw through the plastic ball, the plastic retainer and then the shock cap. The shock shown here is for the front right side of the Yeti.
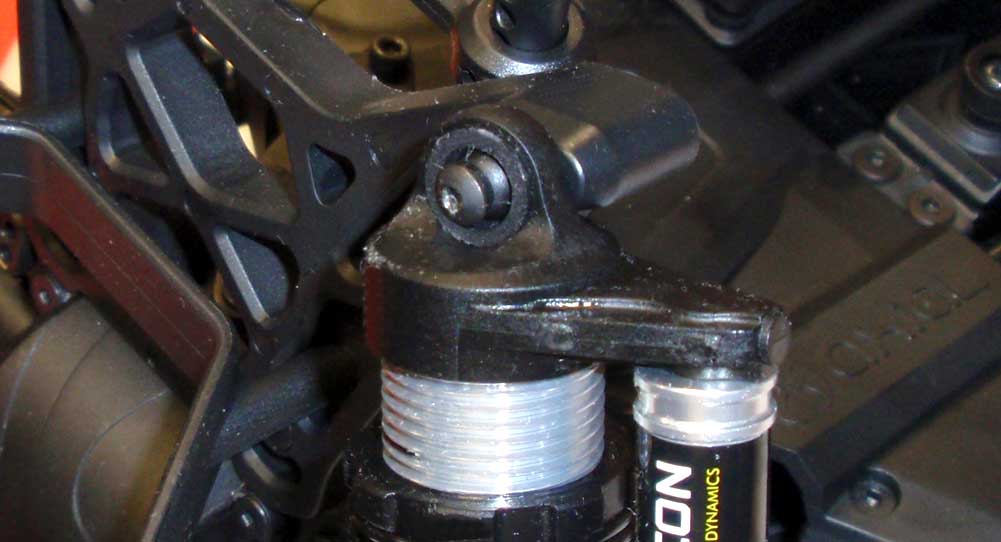
Screw the assembly into the middle hole on the shock tower. Yes, you’re now looking at the front left side of the Yeti. Just make sure the faux reservoirs face out.
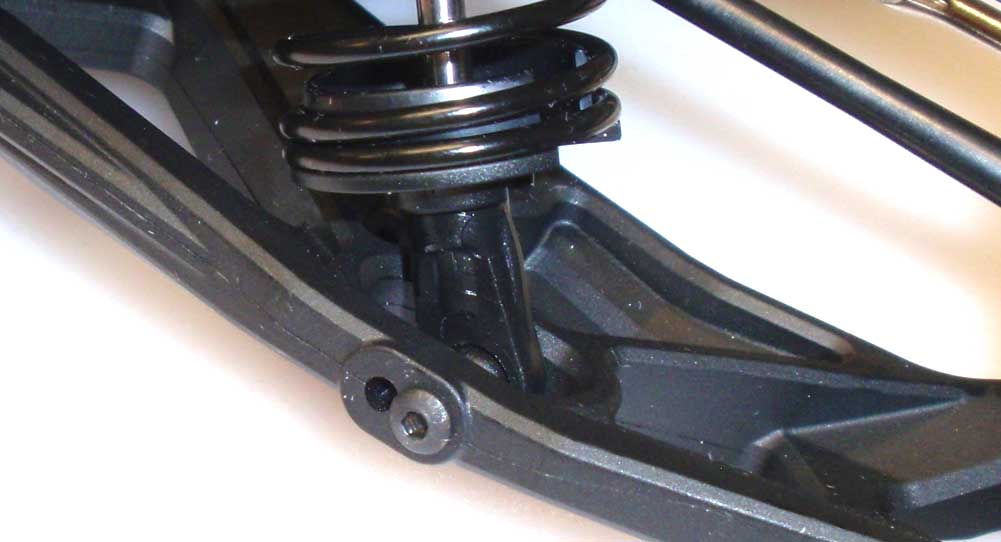
Slip the rod end of the front shocks into the front arms and attach using the outside hole.
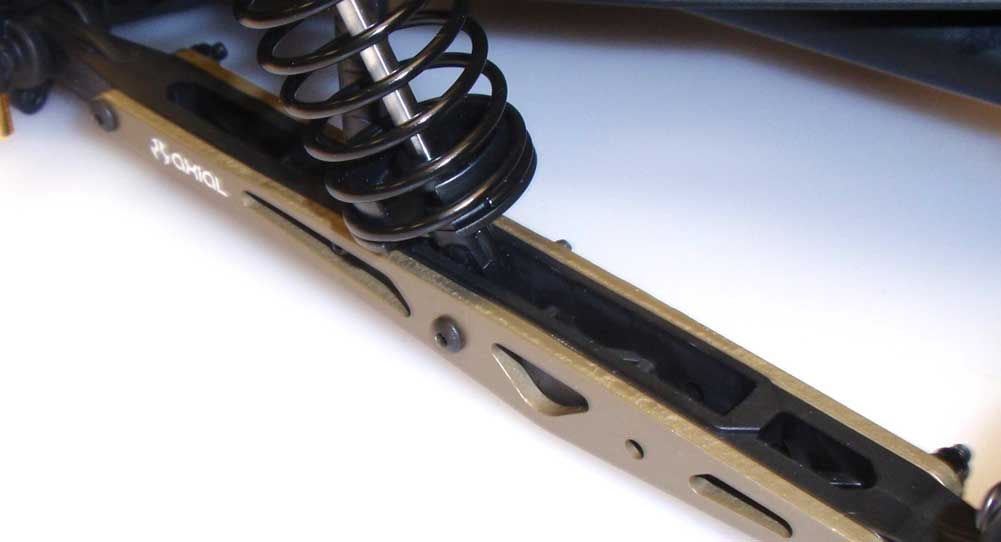
Attach the rear shocks into the hole on the outer link using a 25mm screw and locknut.
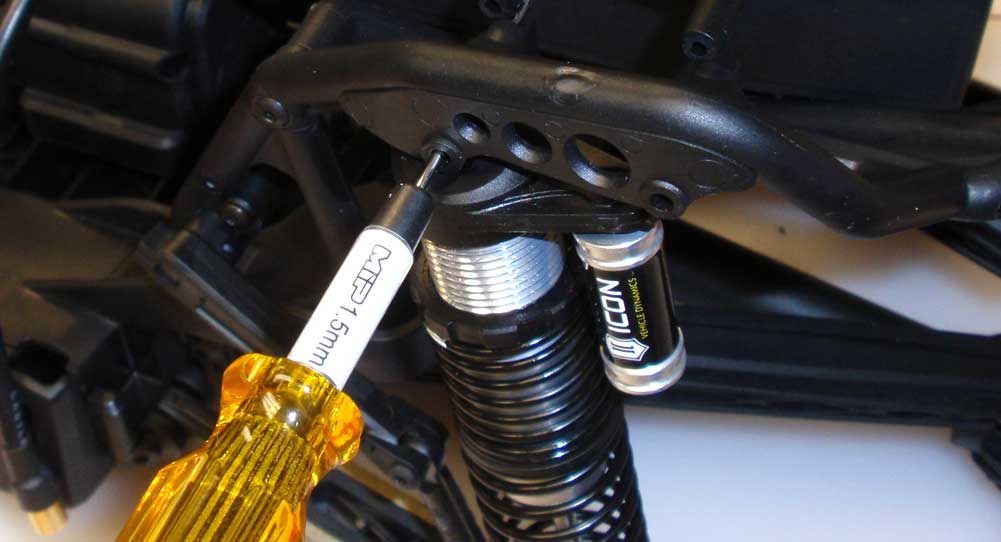
Press the plastic ball into the retainer and insert it into the BACK side of the shock cap. Now slip that assembly up into the shock mount. It was a little tricky keeping all this together so I used a wrench to ‘locate’ the hole all the way through.
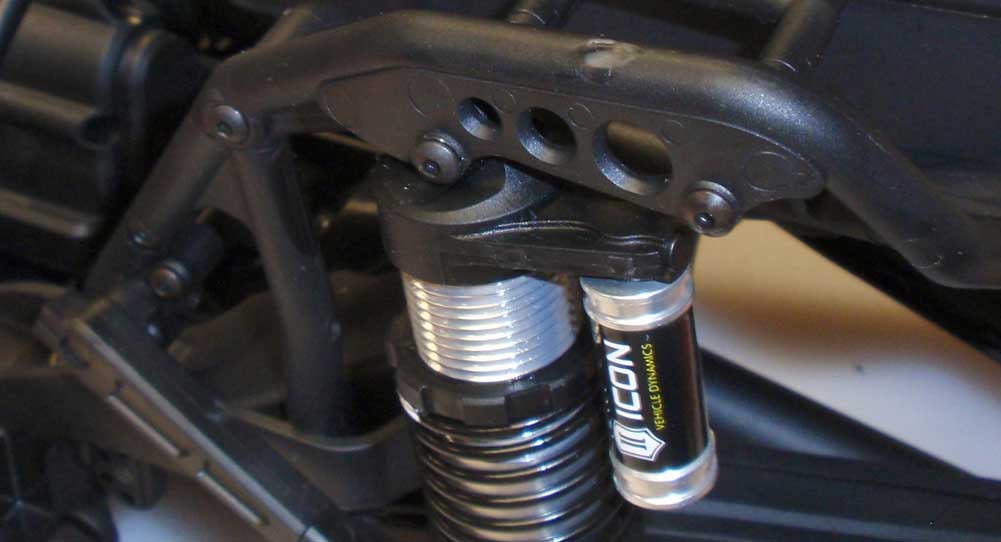
Remove the wrench and feed the 25mm screw through the assembly and into the cross brace. Finish attaching the cross brace.
Yes, this was probably the most time-consuming step in the build but you know what, you’re almost done! All that’s left is cage, body, wheels and tires!
 Axial Yeti XL Build – Part 1 – Front Differential
 Axial Yeti XL Build – Part 2 – Front Gearbox
 Axial Yeti XL Build – Part 3 – Rear Differential
 Axial Yeti XL Build – Part 4 – Rear Axle
 Axial Yeti XL Build – Part 5 – Front Suspension
 Axial Yeti XL Build – Part 6 – Steering
 Axial Yeti XL Build – Part 7 – Chassis
 Axial Yeti XL Build – Part 8 – Electronics
 Axial Yeti XL Build – Part 9 – Transmission
 Axial Yeti XL Build – Part 10 – Rear Suspension
 Axial Yeti XL Build – Part 11 – Shocks
 Axial Yeti XL Build – Part 12 – Body, Wheels, Tires
 CompetitionX CompetitionX is the most up-to-date source for RC Car News, Reviews and Videos for Radio Control. We also have the most comprehensive Manual Database on the web.
Where can I find this set of shocks at?
Unfortunately, I don’t think Axial sells them as complete kits so you’ll have to source all of the parts individually. The parts for all the shocks can be found here: http://www.axialracing.com/products/ax90038/relation_types/3-parts?page=1&per_page=45