The Build – Part 3
Time to build the rear differential. Other than the outdrives, the rear diff build is exactly like the front. You should breeze through this step.
 We’ll be filling the rear diff with fluid. It’s a good idea to have a clean working surface that is covered with a towel (or something similar) and some clean-up rags.
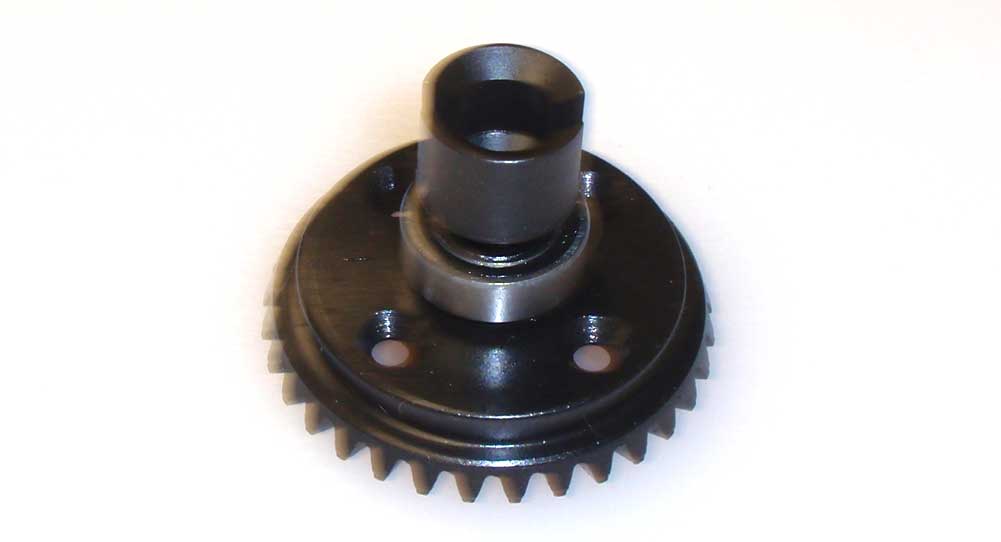
Press one of the 8×16 bearings onto the diff gear. Slide the drive cup into place as shown. Hopefully you’re seeing the short cups like the ones in the picture.
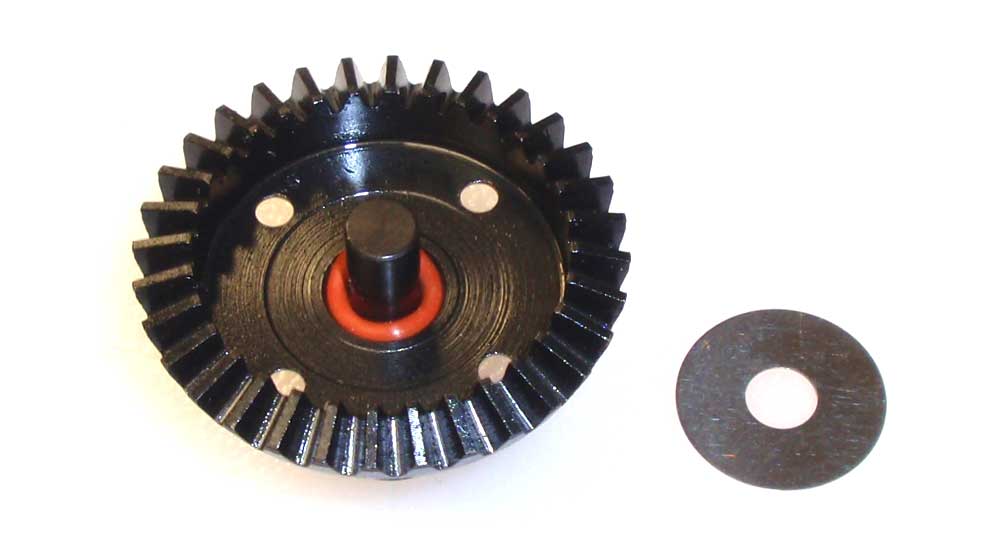
Flip the assembly over and slide the red o-ring onto the outdrive. Place the 6×19 shim into place and press down to seat the o-ring.
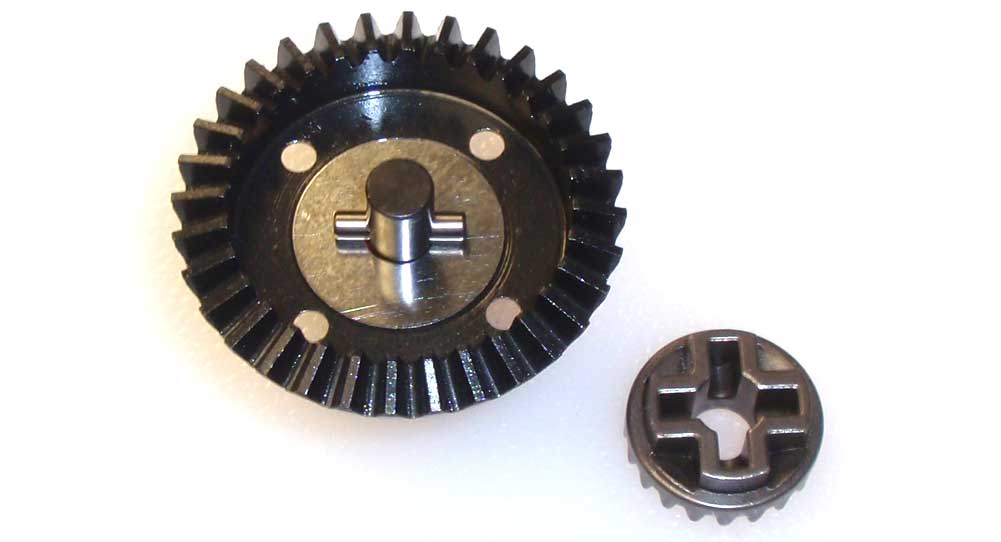
Slide the short pin through the hole in the outdrive. Flip the sun gear over and press it into place, keying it to the pin.
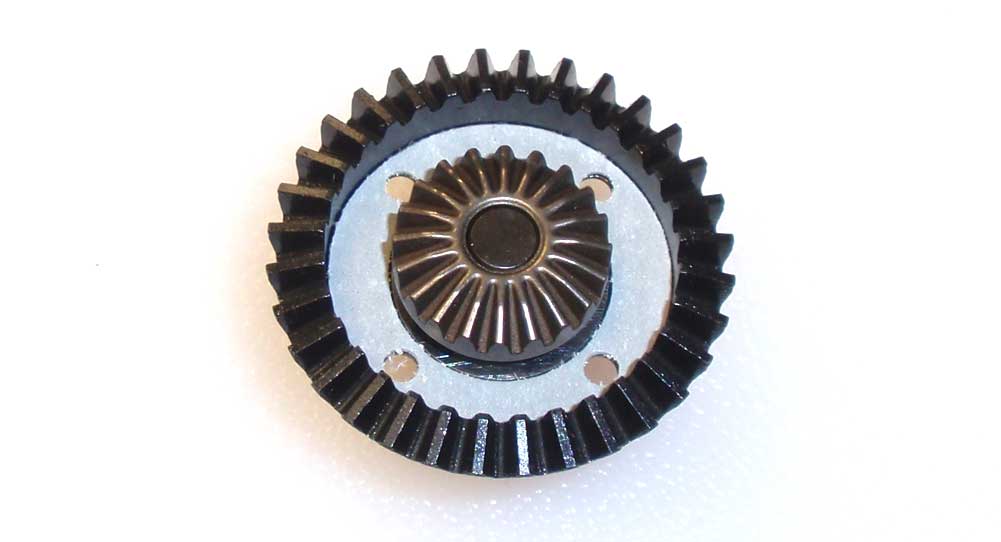
Set the diff gasket onto the gear as shown. Make sure you line up the holes.
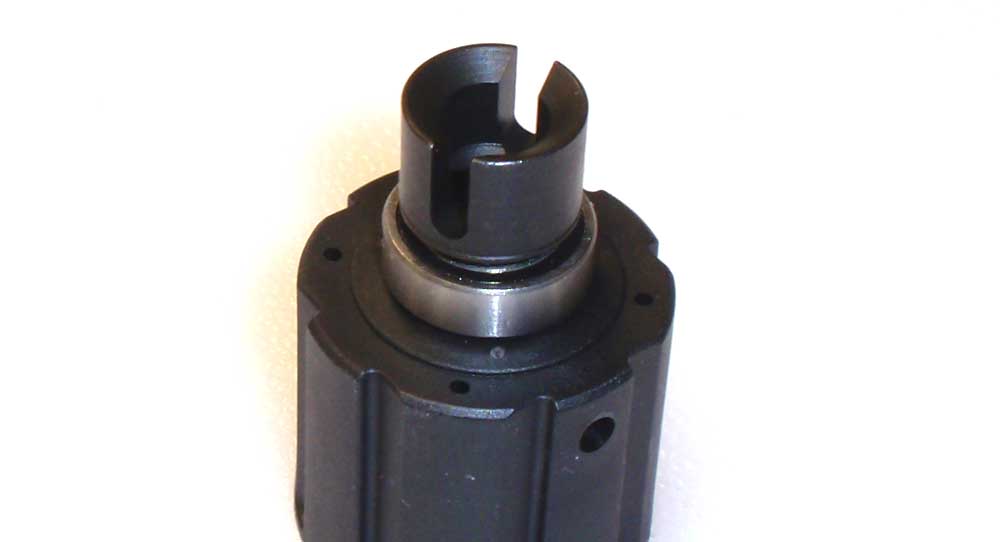
Press the other 8×16 bearing onto the diff housing followed by the short drive cup.
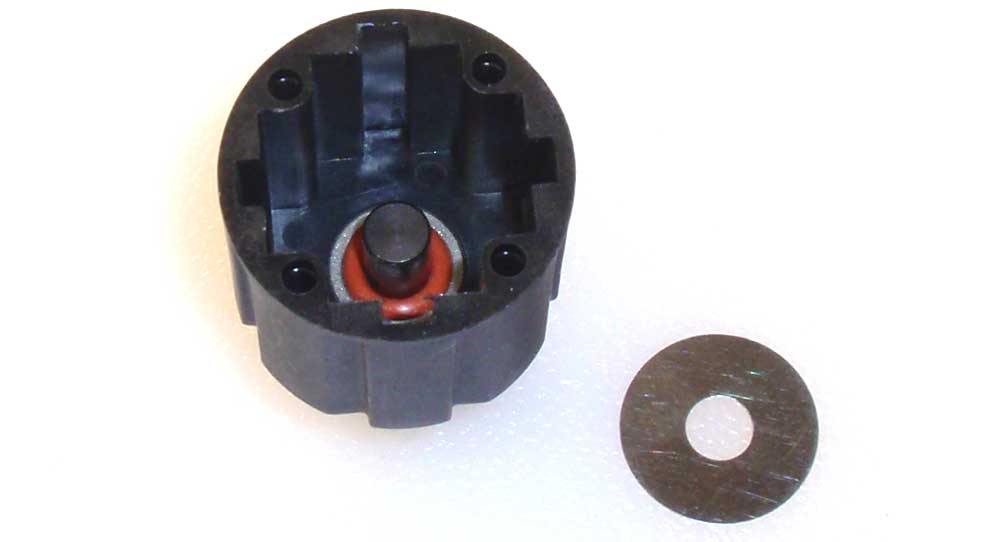
Flip the assembly over and slide another red o-ring onto the shaft. Slip the 6×19 shim onto the shaft and press it down to seat the o-ring.
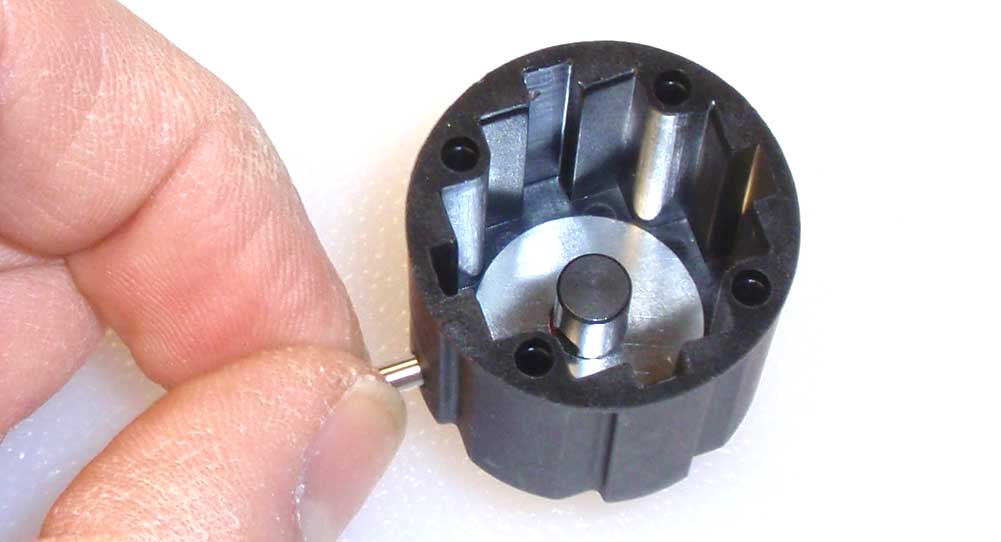
Like the front, you’ll want to rotate the housing to line the holes up. Slide the pin through the housing and into the drive cup.
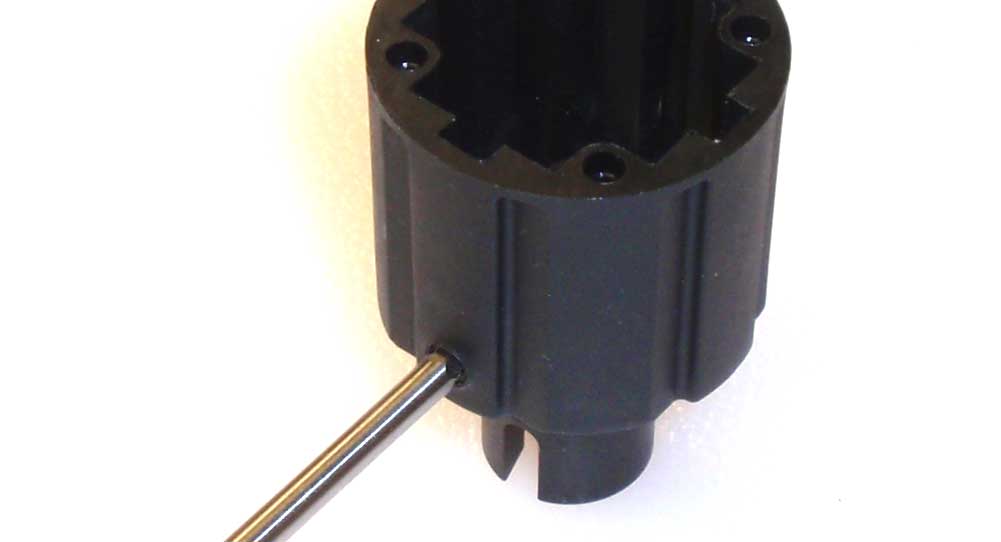
Once installed, seal up the hole with the M4 set screw. Screw it in until it’s flush with the outside of the housing.
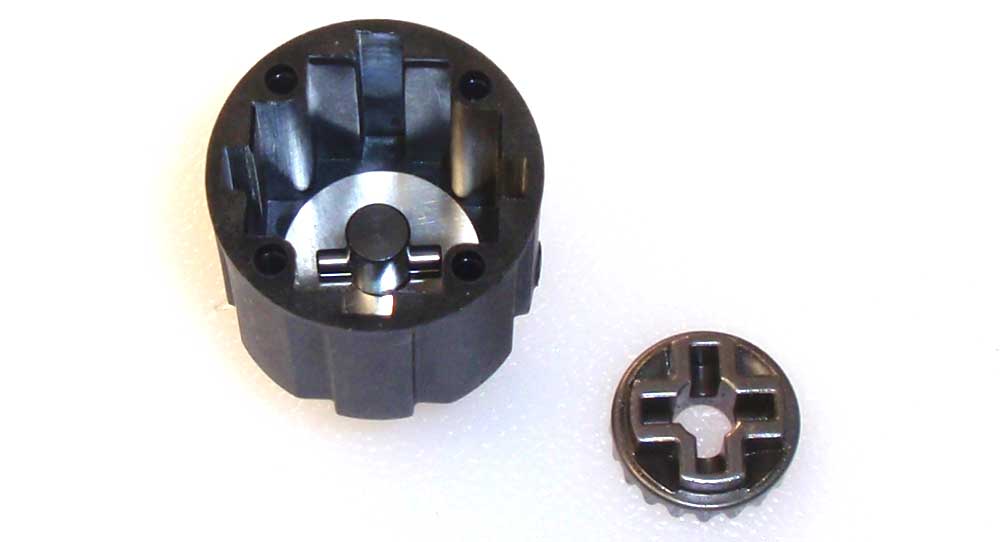
Center the pin and drop the sun gear into place.
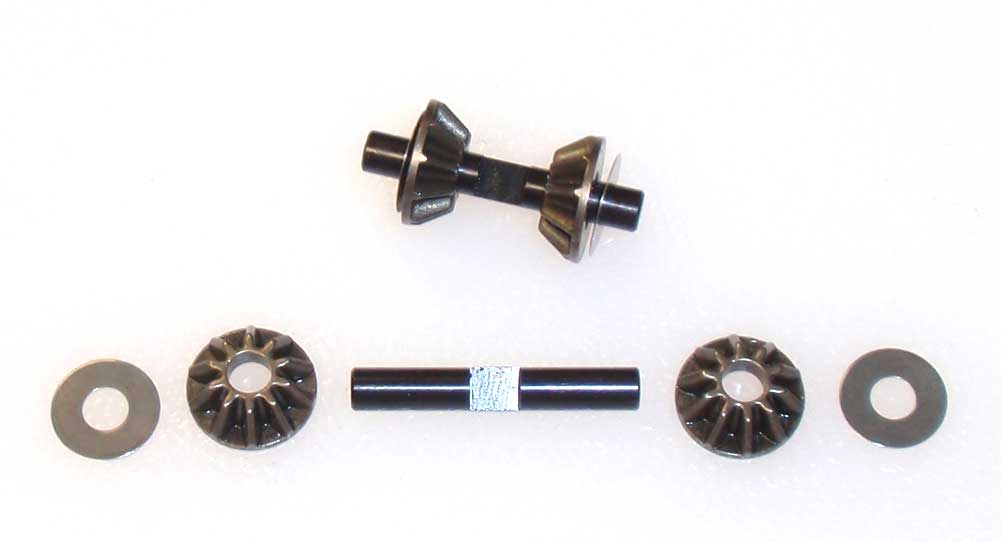
Make two sun gear assemblies.
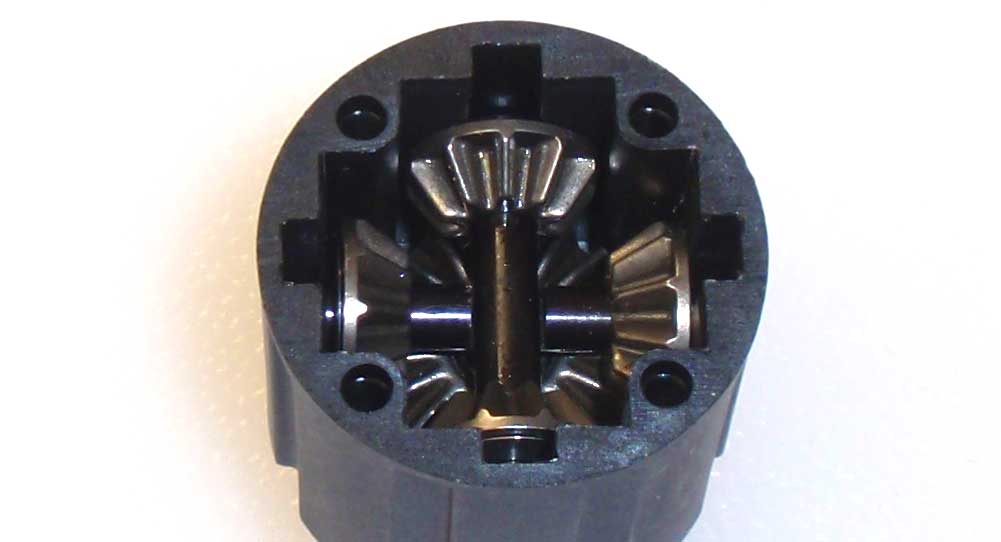
Key one sun gear assembly to the notches in the housing and drop into place. Key the other and drop it into place. Like the front, you’ll want to make sure the flat spots mate when the sun gear assemblies are installed. Rotate the drive cup to make sure all the gears have seated correctly.
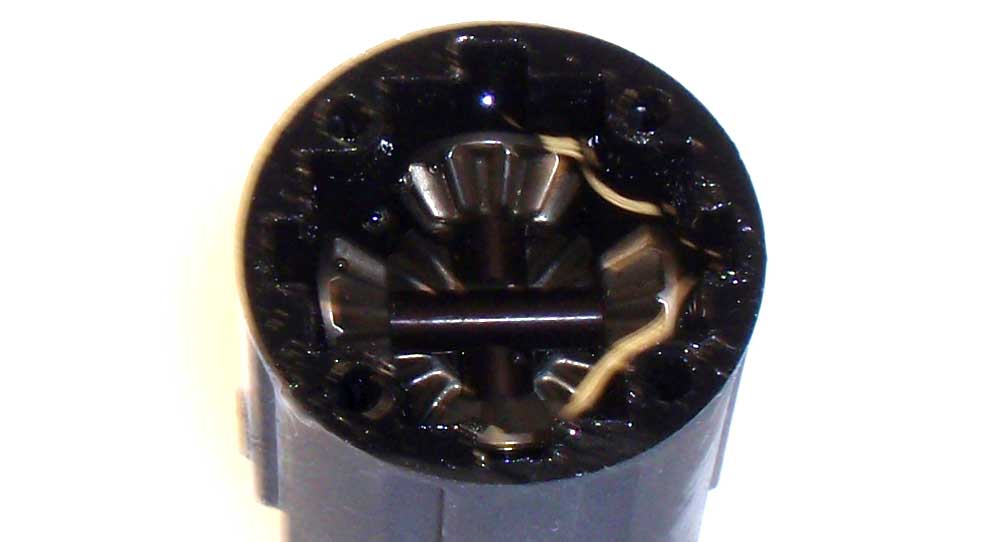
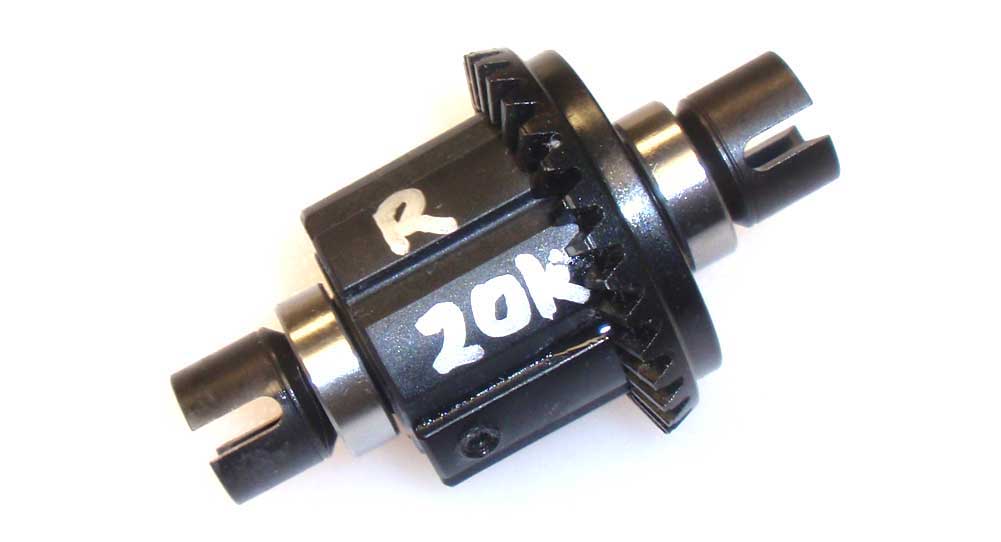
Fill the housing up with the 20000CST fluid up just past the top of the gears. Let it set for a few seconds to make sure the fluid has seeped into all the nooks and crannies. Refill if necessary.
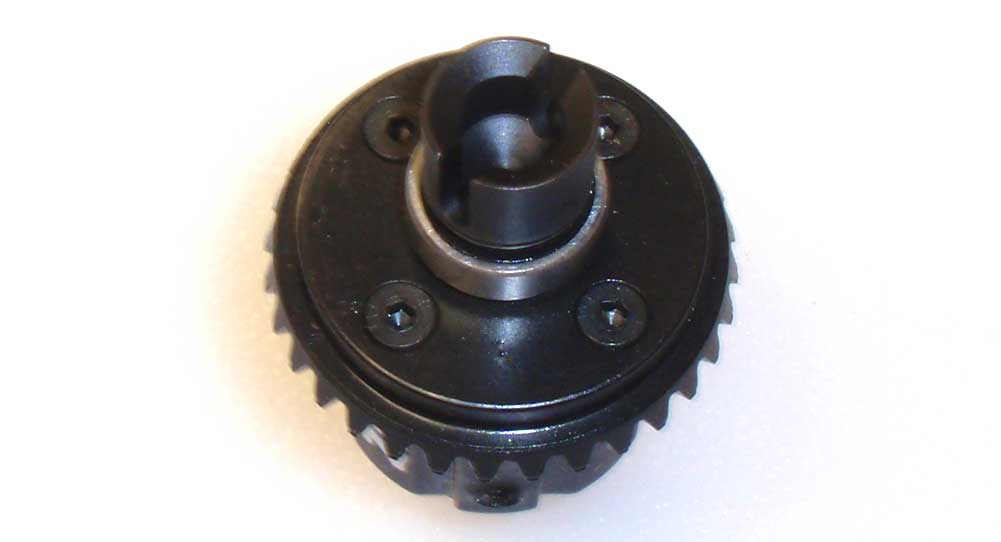
While lining up the holes, set the gear-side assembly on top of the housing side and screw together. Rotate the drive cup a few times during assembly to make sure the gears are meshing correctly.
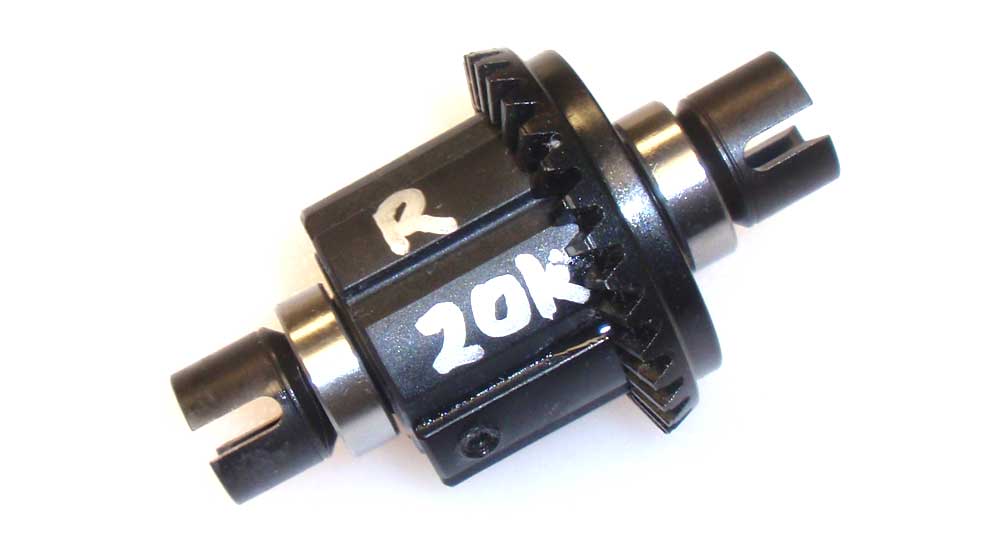
Like the front, I used a silver Sharpie to write the weight and which end of the car the diff goes.
Simple, right? Clean up your area, if needed, and we’ll get the diff installed in the rear axle.
 Axial Yeti XL Build – Part 1 – Front Differential
 Axial Yeti XL Build – Part 2 – Front Gearbox
 Axial Yeti XL Build – Part 3 – Rear Differential
 Axial Yeti XL Build – Part 4 – Rear Axle
 Axial Yeti XL Build – Part 5 – Front Suspension
 Axial Yeti XL Build – Part 6 – Steering
 Axial Yeti XL Build – Part 7 – Chassis
 Axial Yeti XL Build – Part 8 – Electronics
 Axial Yeti XL Build – Part 9 – Transmission
 Axial Yeti XL Build – Part 10 – Rear Suspension
 Axial Yeti XL Build – Part 11 – Shocks
 Axial Yeti XL Build – Part 12 – Body, Wheels, Tires
 CompetitionX CompetitionX is the most up-to-date source for RC Car News, Reviews and Videos for Radio Control. We also have the most comprehensive Manual Database on the web.
