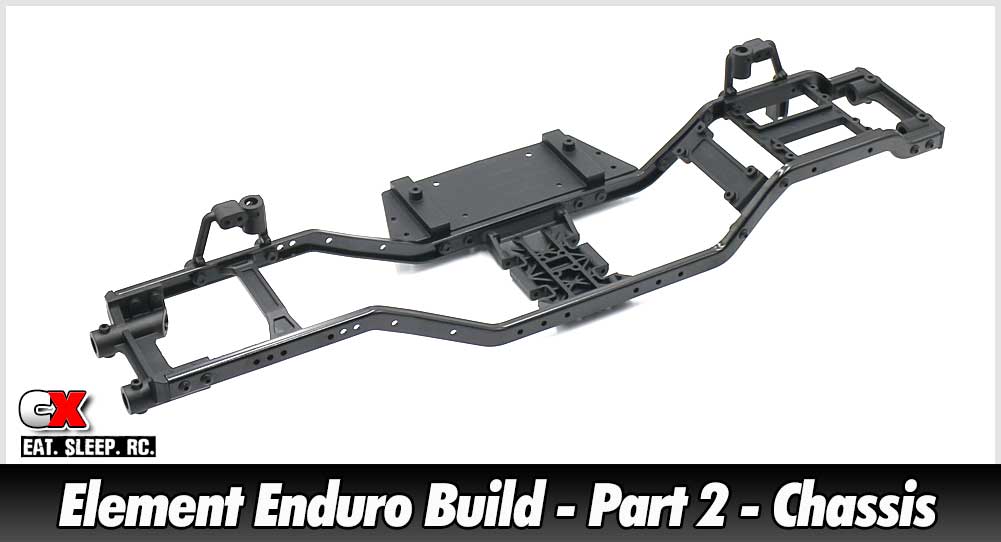
Like almost every other trail truck on the market, the Enduro is built on a dual ladder-frame chassis. Multiple cross-braces ties the two sides together to form a strong platform for the rest of the truck.
Build Notes:
 There are a few things to watch out for during this step; screw lengths appear to be the same (in pictures) however they may not be – not all are called out. Double check each length (and location) prior to installation.
There are a few things to watch out for during this step; screw lengths appear to be the same (in pictures) however they may not be – not all are called out. Double check each length (and location) prior to installation.
Other than the actual photo, the shock hoops aren’t specifically designated. Pay close attention to these during installation as well.
Step 1:
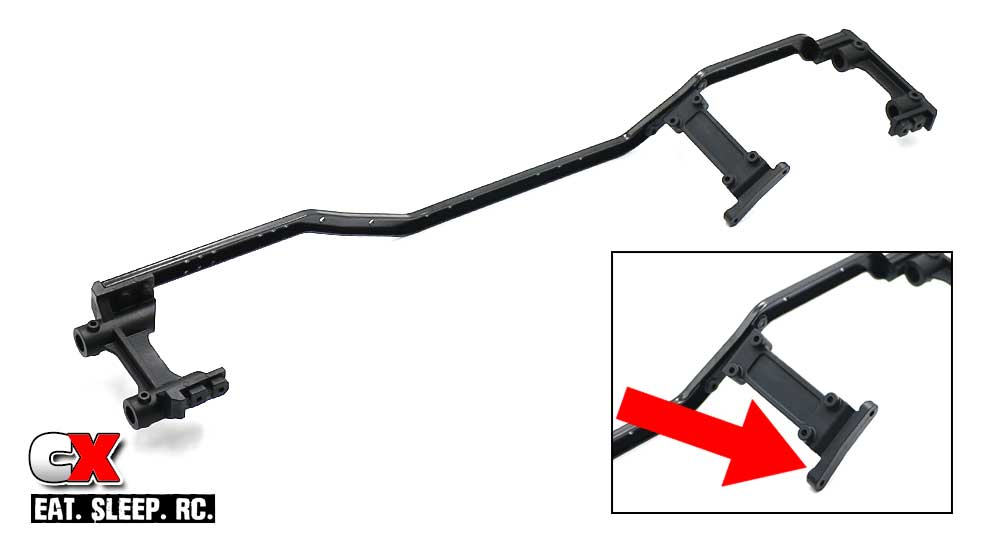
The first step is to install the front and rear bumper mounts as well as the battery mount. Pretty simple step, but pay close attention to the orientation of the battery mount (see inset).
The first step is to install the front and rear bumper mounts as well as the battery mount. Pretty simple step, but pay close attention to the orientation of the battery mount (see inset).
Step 2:
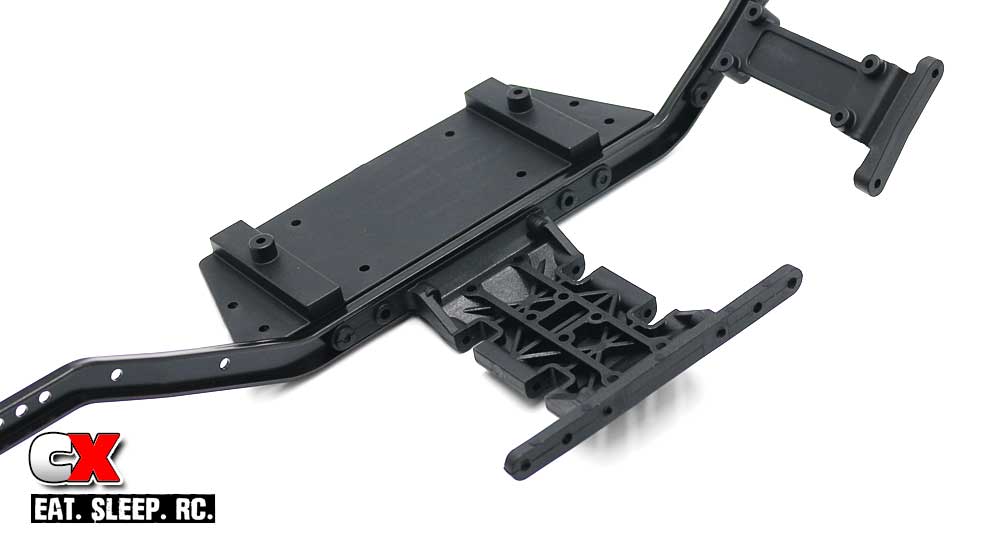
Install the left-side floorboard and gearbox mount. The gearbox mount can be installed in either direction.
Install the left-side floorboard and gearbox mount. The gearbox mount can be installed in either direction.
You will, however, want to pay close attention to the screw lengths and install holes here.
Step 3:
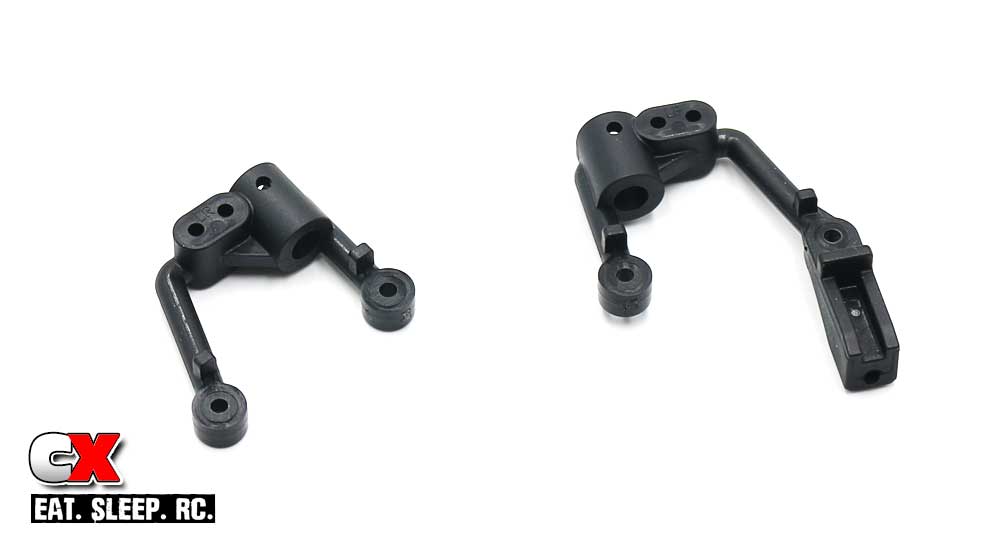
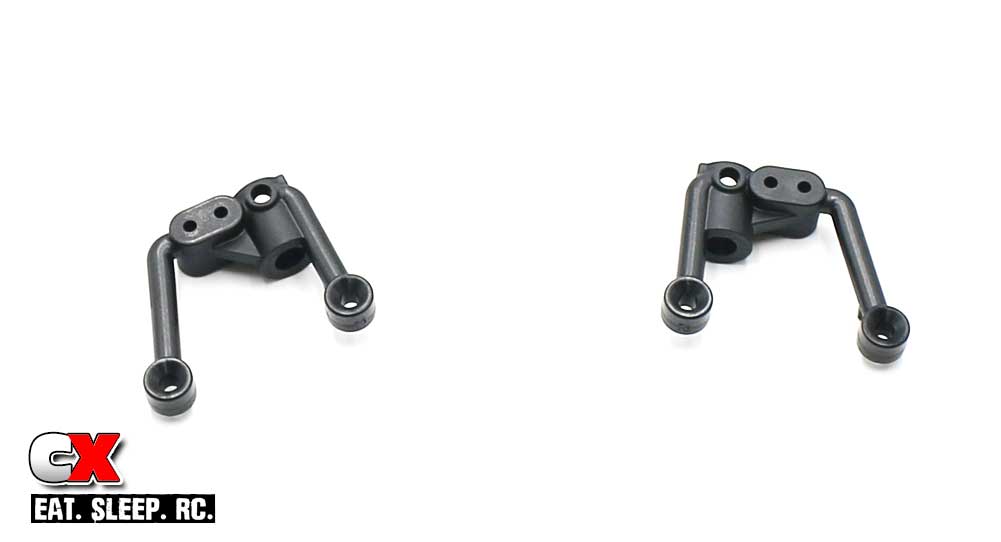
Shock hoops. These are the left side hoops with one having the panhard link mount. Note that 3x12mm screws are used to attach both the front and rear shock hoops.
Shock hoops. These are the left side hoops with one having the panhard link mount. Note that 3x12mm screws are used to attach both the front and rear shock hoops.
Step 4:
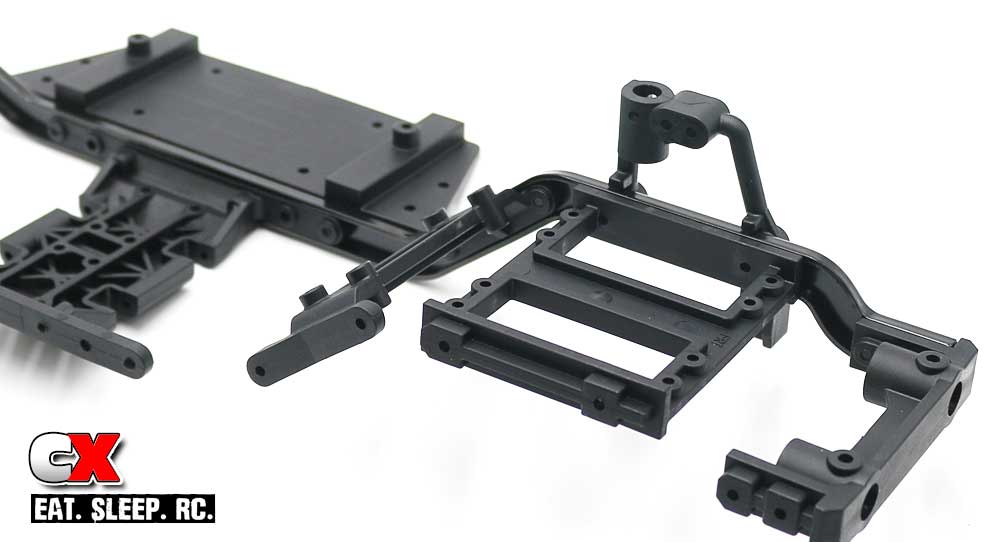
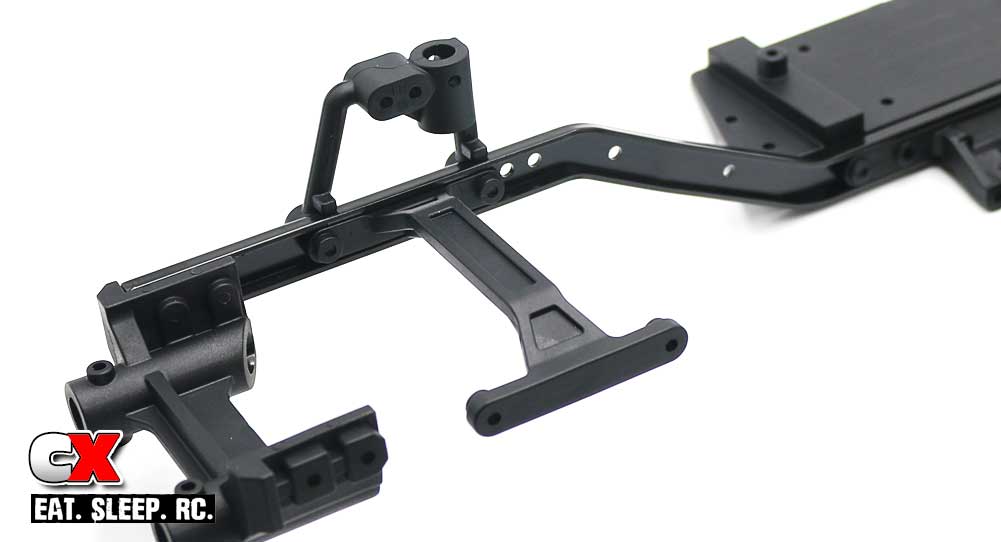
Attach the front shock hoop to the servo tray. The tray is directional; note the spacing of the mounts on the side of the tray.
Attach the front shock hoop to the servo tray. The tray is directional; note the spacing of the mounts on the side of the tray.
Step 5:
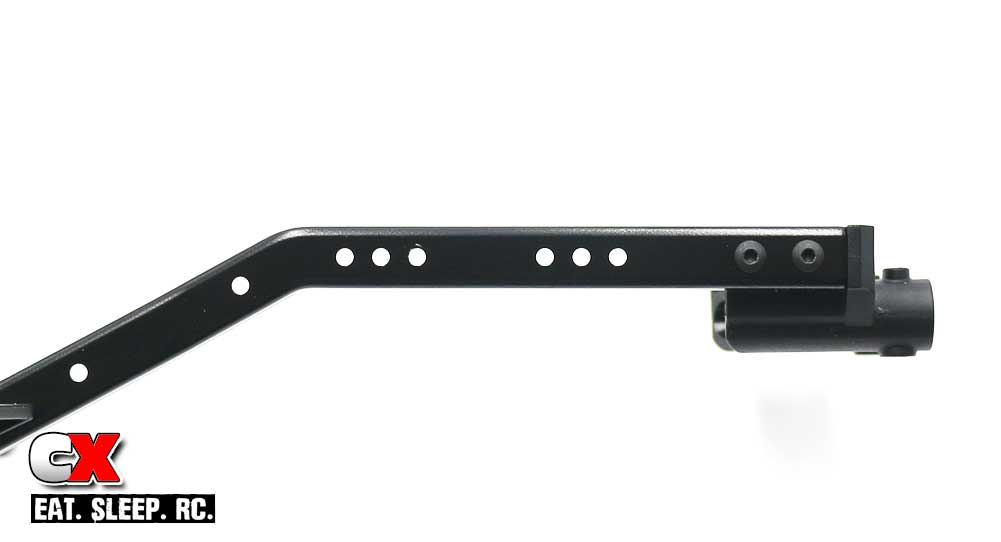
Before mounting the rear shock hoops, I wanted to point out the multiple holes in the chassis for different wheelbase lengths. Of the three holes, the front are for 11.8″ (299mm) wheelbase, the middle for 12.0″ (305mm) wheelbase and the back for 12.3″ (313mm) wheelbase builds. This will help keep the angle of the shocks straight up and down, however you can experiment with the mounting locations to suit different handling (ie, axle at 12.3″, shock hoops mounted in 12.0″).
Before mounting the rear shock hoops, I wanted to point out the multiple holes in the chassis for different wheelbase lengths. Of the three holes, the front are for 11.8″ (299mm) wheelbase, the middle for 12.0″ (305mm) wheelbase and the back for 12.3″ (313mm) wheelbase builds. This will help keep the angle of the shocks straight up and down, however you can experiment with the mounting locations to suit different handling (ie, axle at 12.3″, shock hoops mounted in 12.0″).
Step 6:
I’m building my Enduro with the hoops at the 12.3″ wheelbase. You will also be attaching the rear chassis brace.
I’m building my Enduro with the hoops at the 12.3″ wheelbase. You will also be attaching the rear chassis brace.
Step 7:
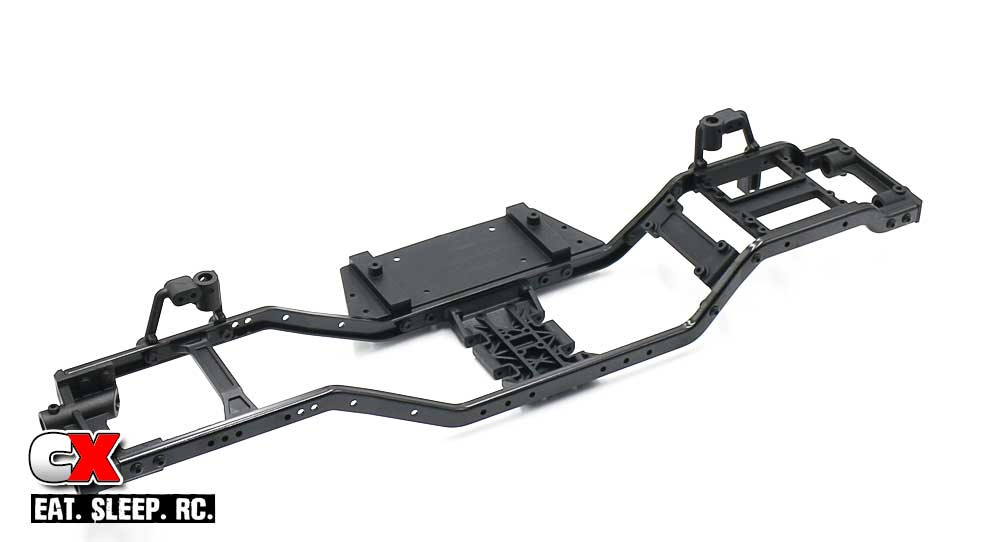
Attach the right side frame rail using screws for the front bumper mount, battery tray and rear bumper mount.
Attach the right side frame rail using screws for the front bumper mount, battery tray and rear bumper mount.
Step 8:
A quick look at the shock hoops from the right side of the truck – for orientation purposes.
A quick look at the shock hoops from the right side of the truck – for orientation purposes.
Step 9:

Attach the shock hoops (with the 3x12mm screws) as well as the right-side floor board (using the same screw locations and lengths from Step 2).
Attach the shock hoops (with the 3x12mm screws) as well as the right-side floor board (using the same screw locations and lengths from Step 2).
Step 10:
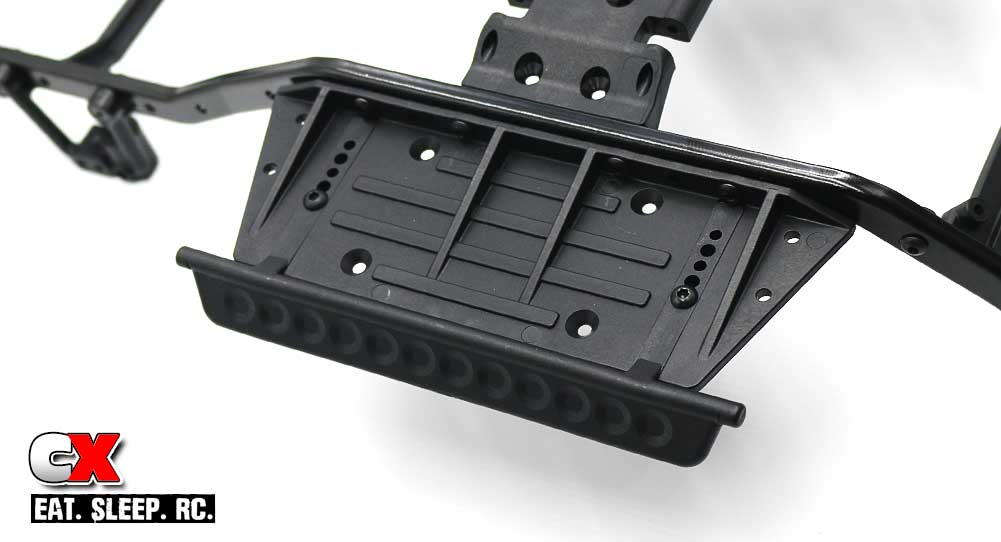
Slide the rock sliders into place and secure with the 3x12mm screws. These can be adjusted in or out depending on the body you’re using. I started mine all the way in.
Slide the rock sliders into place and secure with the 3x12mm screws. These can be adjusted in or out depending on the body you’re using. I started mine all the way in.
Step 11:
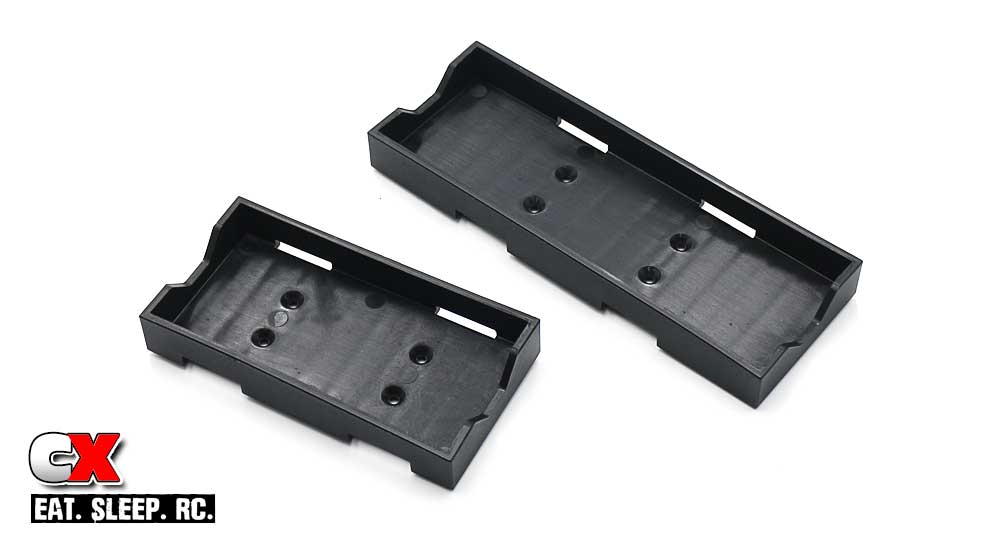
The Enduro Builder’s Kit comes with both a standard and shorty LiPo tray. The choice is yours at this point what you’d prefer to run; I’m going with the shorty setup. I have more shorty LiPos than I do standard, so it just makes more sense to go with that.
The Enduro Builder’s Kit comes with both a standard and shorty LiPo tray. The choice is yours at this point what you’d prefer to run; I’m going with the shorty setup. I have more shorty LiPos than I do standard, so it just makes more sense to go with that.
Step 12:
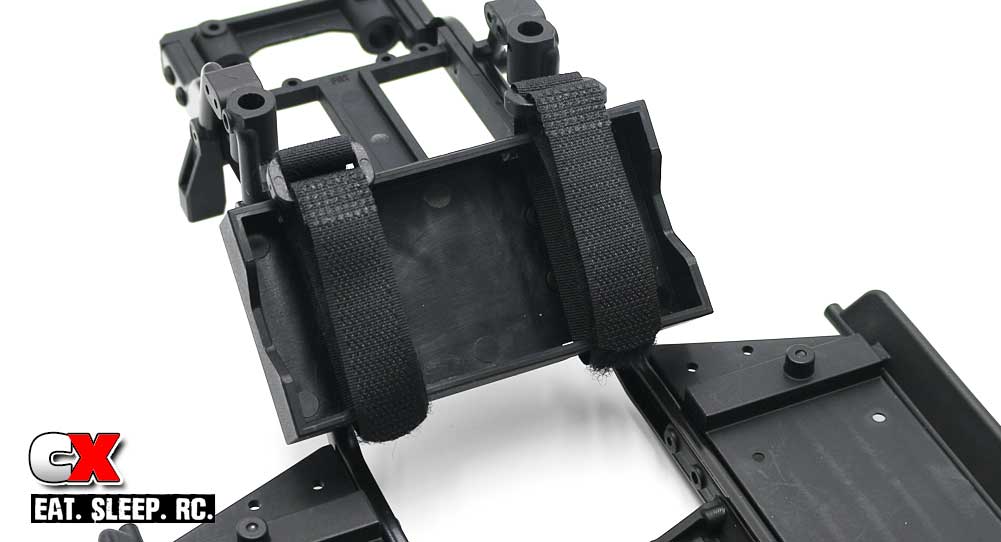
Attach whichever mount you’re going to use, then slip the Velcro battery straps into place.
Attach whichever mount you’re going to use, then slip the Velcro battery straps into place.
Step 13:
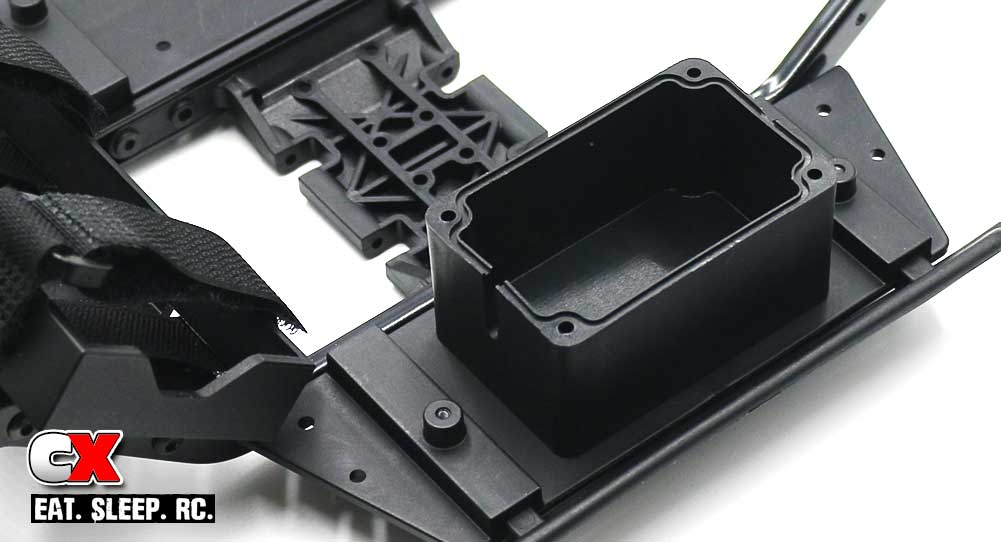
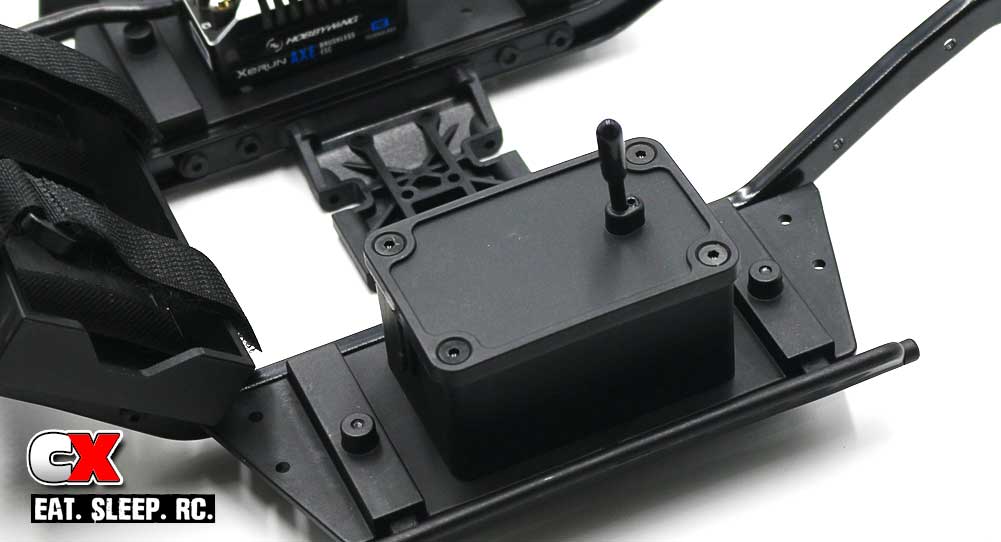
Attach the receiver box. Gotta love the size of this box – nice and roomy!
Attach the receiver box. Gotta love the size of this box – nice and roomy!
Step 14:
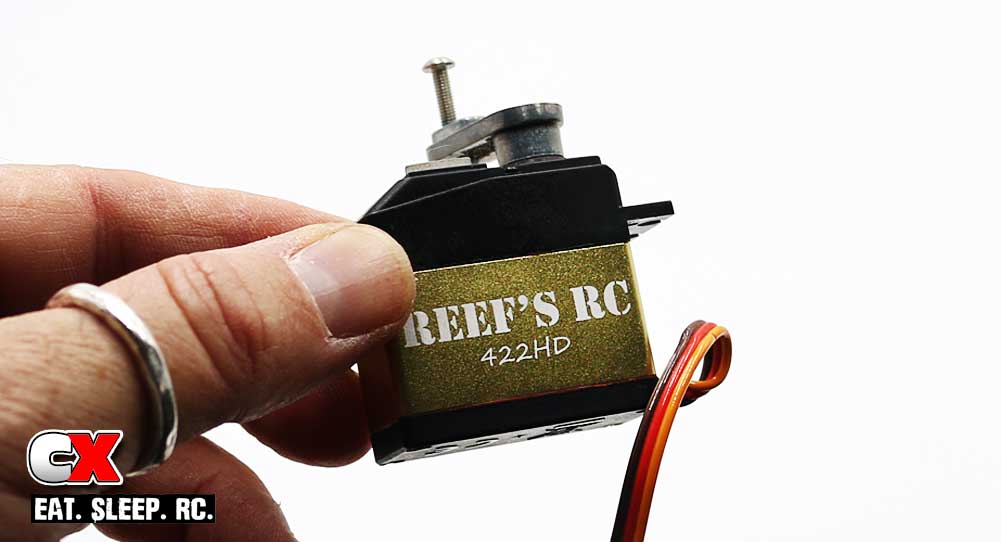
I mentioned going with the Reef’s RC 422HD servo. It’s quite the beast and will be a perfect fit in the Enduro. I also attached a metal servo horn, replacing the stock plastic one. Modification #1 of this build.
I mentioned going with the Reef’s RC 422HD servo. It’s quite the beast and will be a perfect fit in the Enduro. I also attached a metal servo horn, replacing the stock plastic one. Modification #1 of this build.
Step 15:
Once you get your receiver installed in the box, close it up with the silicone inserts (for waterproofing) and attach the lid.
Once you get your receiver installed in the box, close it up with the silicone inserts (for waterproofing) and attach the lid.
Step 16:
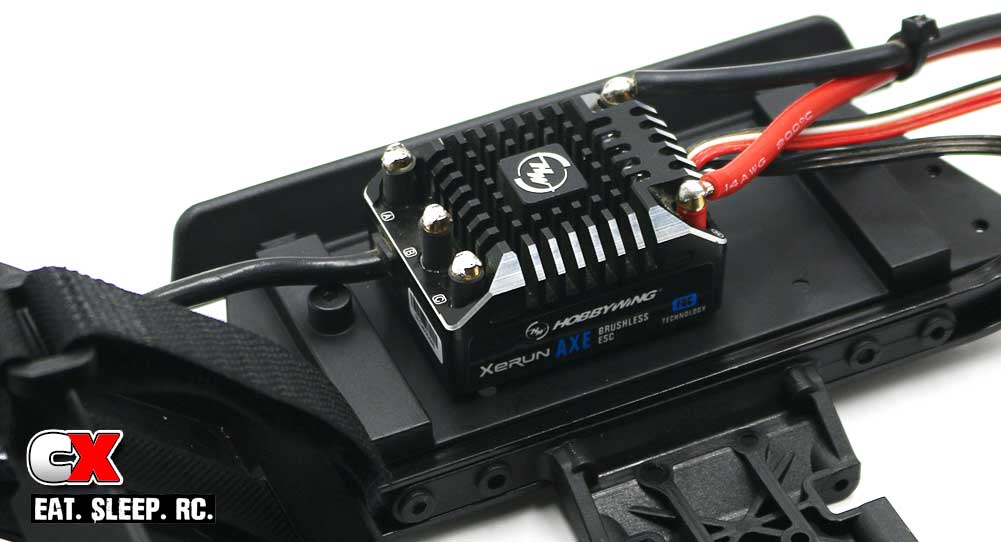
I’m also going with the Hobbywing Crawler ESC and brushless motor. Thanksfully there’s PLENTY of room on the floor boards for something of this size.
I’m also going with the Hobbywing Crawler ESC and brushless motor. Thanksfully there’s PLENTY of room on the floor boards for something of this size.
So, that’s about it for the chassis install. I’ll be working on the wiring of all the electronics at a later time; just want to make sure I get it all routed and tidy.
Use the links below to follow each step.
Element RC Enduro Trail Truck Build – Opening Page
Element RC Enduro Trail Truck Build – Part 1 – Pre-Build
Element RC Enduro Trail Truck Build – Part 2 – Chassis
Element RC Enduro Trail Truck Build – Part 3 – Transmission
Element RC Enduro Trail Truck Build – Part 4 – Axles
Element RC Enduro Trail Truck Build – Part 5 – Links
Element RC Enduro Trail Truck Build – Part 6 – Drive Shafts
Element RC Enduro Trail Truck Build – Part 7 – Shocks
Element RC Enduro Trail Truck Build – Part 8 – Body Mounts