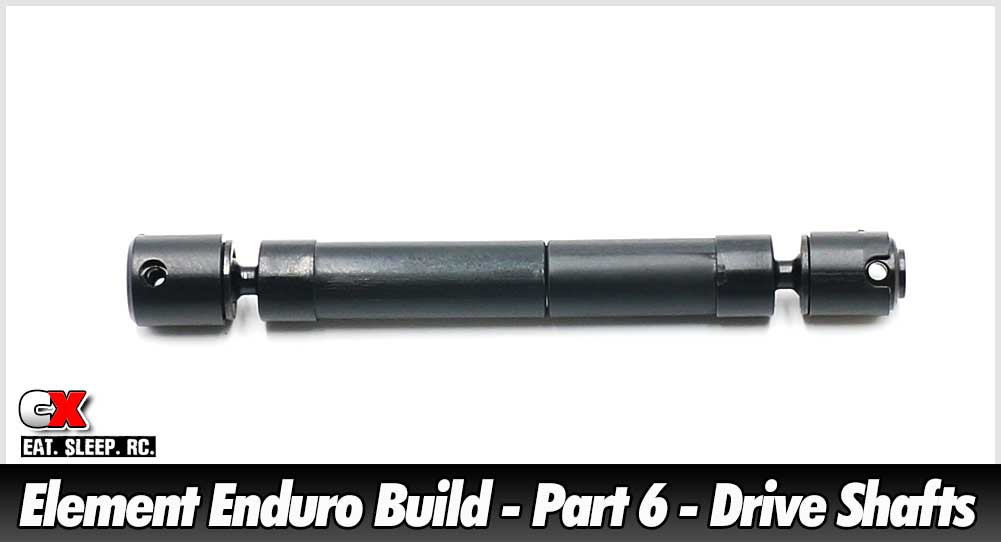
The drive shafts included with the Enduro Builder’s Kit use a combination of plastic females and an aluminum insert. The splines are large, making for a very stout driveline. The aluminum insert virtually eliminates ‘flex crush’; when a typical plastic hollow insert starts to twist under load and then collapses. No worries of that happening here.
 You’ll want some blue threadlocker handy early on for the screws going into the male CVA parts.
You’ll also want to pay close attention to the lengths of the parts; 3 of the plastic shafts are 33mm, 1 is 42mm. The aluminum insert are also different lengths; the front one is 48mm, the rear is 60mm.
There is also something called drive shaft phasing; basically the way the drive shafts spin in relation to their connection points. The manual has a diagram at the bottom; just make sure you adhere to the mounting instructions and you’ll be good to go.
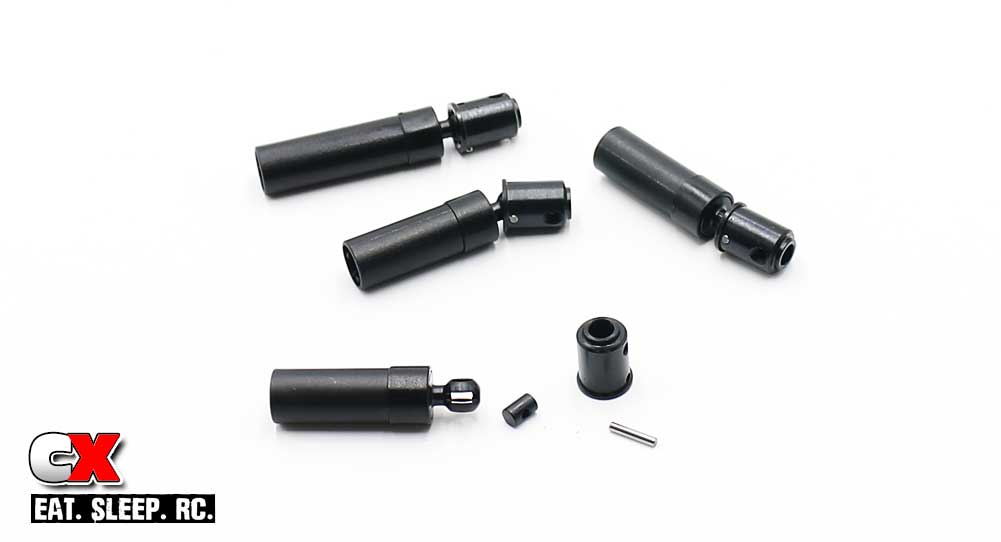
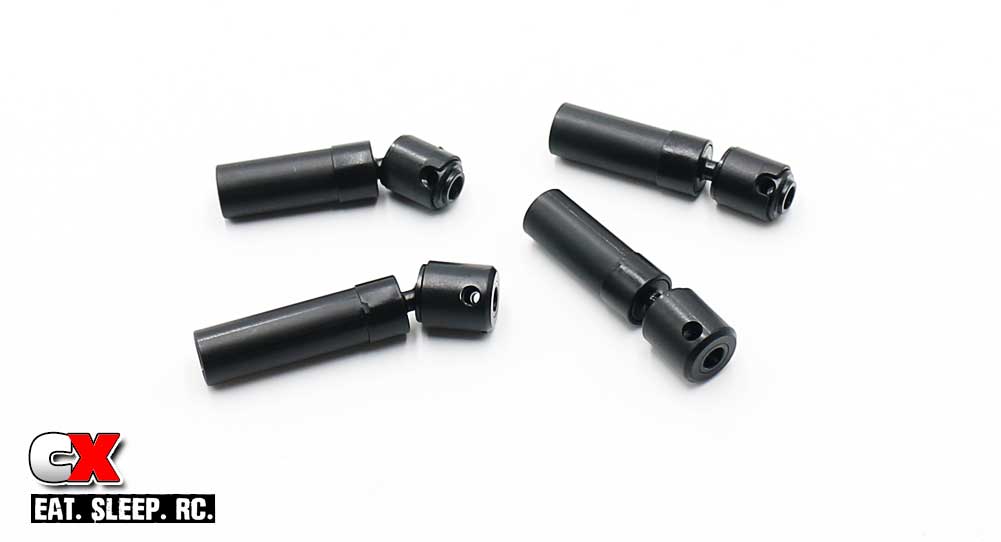
Step 1 is to build all 4 of the female drive shaft parts. Blue threadlocker is highly suggested here. It doesn’t really matter how you build them; we’ll separate and assemble correctly in later steps.
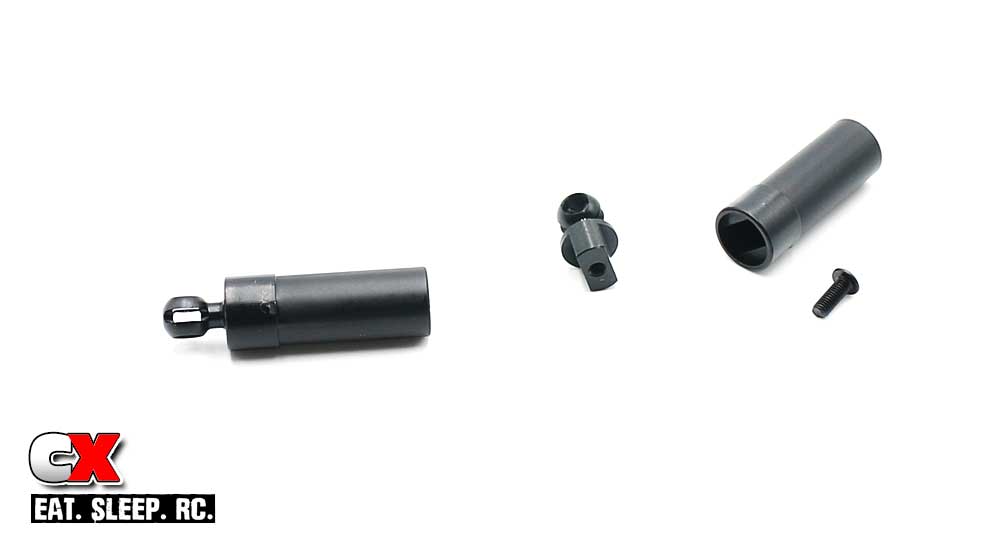
Assemble the metal barrel, pin and CVA ends. If the pins keep falling out, you can apply a light dab of black grease to keep things in place.
Slip the pin retainers onto each CVA. Pay attention to the holes in the retainers; one side is larger than the other and should be aligned to the threaded hole in the CVA end.
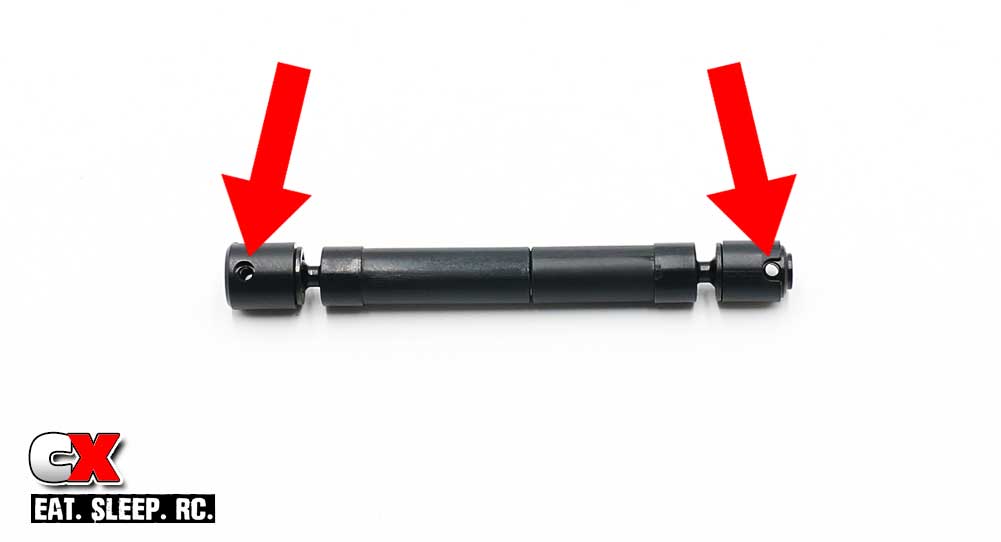
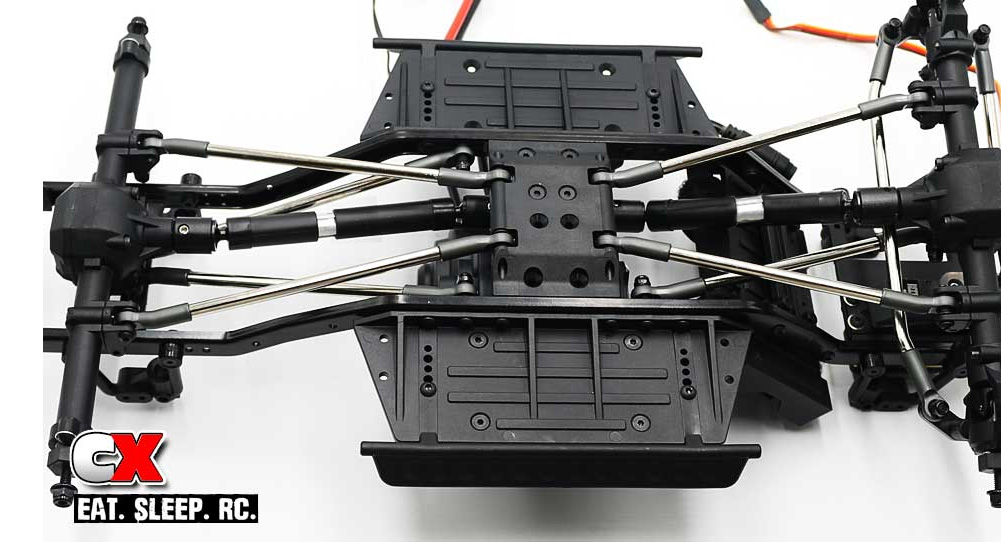
Slide the plastic halves over the aluminum insert; shown is the final drive shaft assembly with the correct ‘phasing’. Red arrows denote the mounting points.
I would love to tell you that this final step went off without a hitch, however I’d be lying. While trying to install, the pin retainers don’t stay in place and the opposite side I was installing would continually slide off, causing the pin to drop out and my drive shaft to fall apart. This happened about 4 times before I needed a new install technique. I removed the drive shafts from the aluminum insert and installed the gearbox side first. I then slipped the aluminum insert into place, reconnected the 2nd drive shaft half and connected that to the axle. This made the install WAY easier as I only had to deal with 1/2 of the drive shaft at a time.
Oh ya, make sure to add some blue threadlocker to the screw pins prior to installation.
Drive shafts done! Time to assemble some shocks – Part 7!
Element RC Enduro Trail Truck Build – Opening Page
Element RC Enduro Trail Truck Build – Part 1 – Pre-Build
Element RC Enduro Trail Truck Build – Part 2 – Chassis
Element RC Enduro Trail Truck Build – Part 3 – Transmission
Element RC Enduro Trail Truck Build – Part 4 – Axles
Element RC Enduro Trail Truck Build – Part 5 – Links
Element RC Enduro Trail Truck Build – Part 6 – Drive Shafts
Element RC Enduro Trail Truck Build – Part 7 – Shocks
Element RC Enduro Trail Truck Build – Part 8 – Body Mounts