The Build – Part 1
The first part of our RC4WD Trail Finder 2 LWB Trail Truck build is assembling the frame rails, cross bracing and front shock hoops.
 Pay close attention to the orientation of both frame rails. There are a lot of holes on each and you might get a little mixed up as to which is the left and right.
 Have some blue threadlocker available and use a small dab on any screws that thread into aluminum parts.
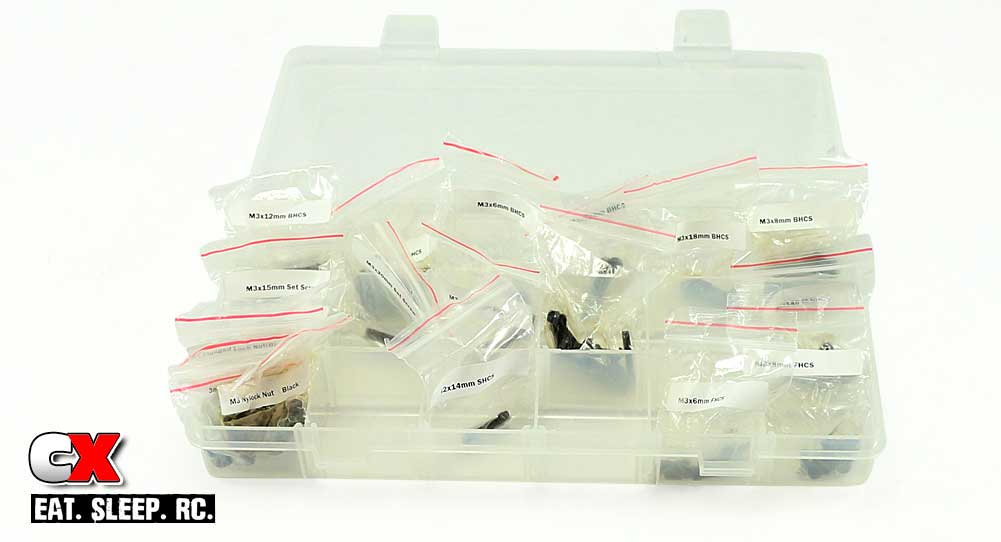
The first step is screw organization – the screws used in this build do not come attached to ‘each step’ like most kits. So, before we get started, I suggest organizing all the screws to make them easier to locate. I opened each bag and placed them in a small, multi-pocket plastic container to keep them cataloged. Since RC4WD has printed the sizes of the screws on each bag, I suggest keeping the screws IN the bags while in the container.
Now, on to the build!
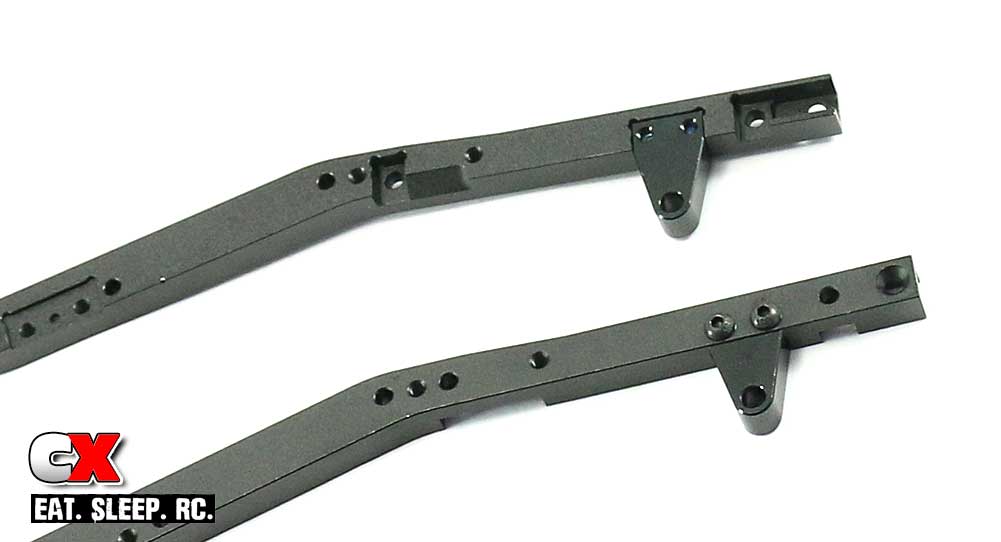
Start by attaching the rear-most leaf spring hangars onto the rear part of the chassis. Pay close attention to the holes in the frame rails so you know which is the rear.
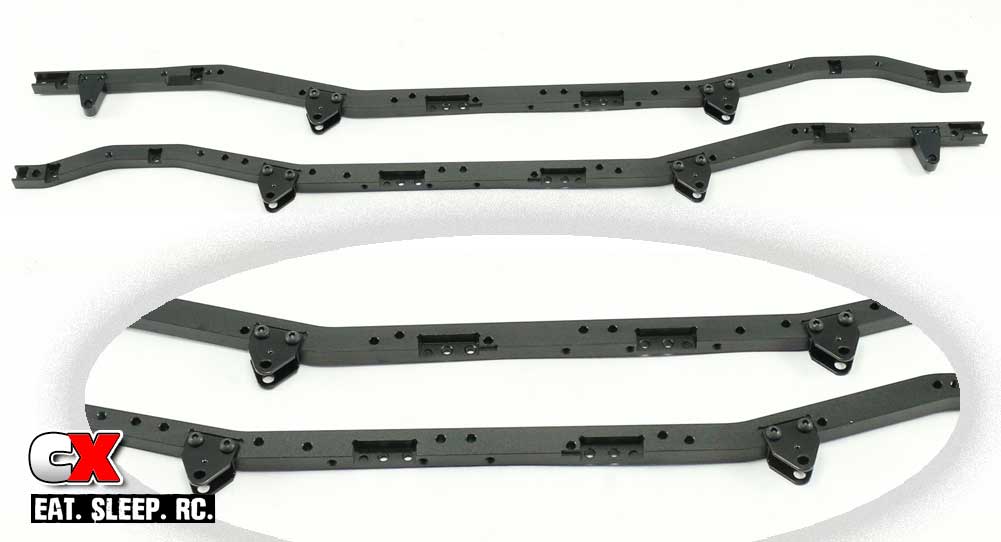
Now attach the inner leaf spring hangars to the chassis as shown (the inset shows a little closer view for orientation purposes).
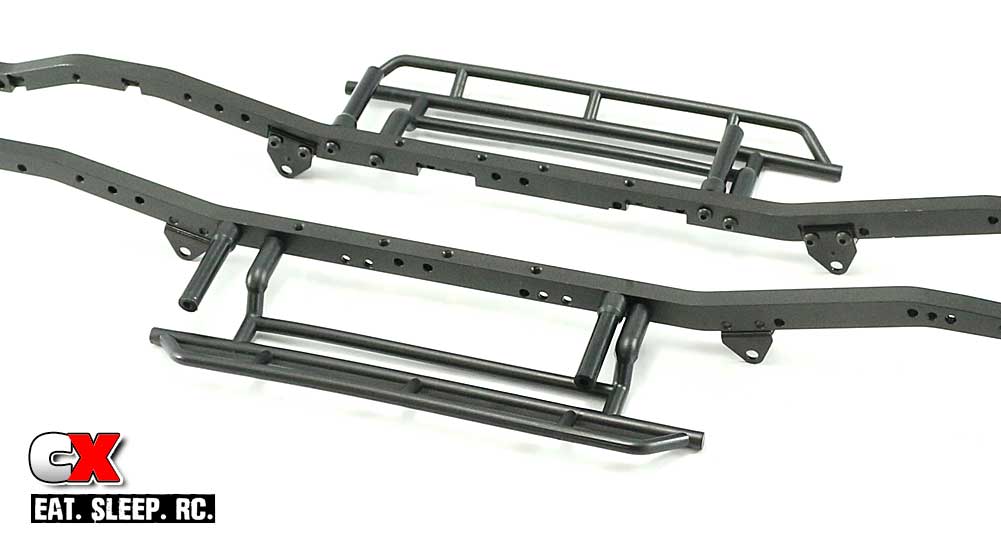
Attach both the rock sliders and body mounts to the frame rails. Since the screws are going into plastic, no threadlocker is required.
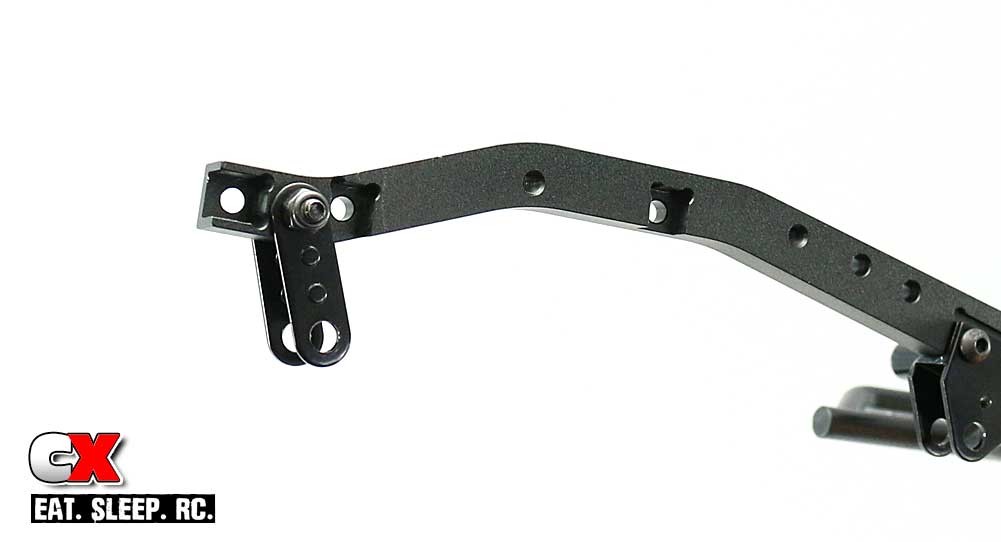
Moving to the front, attach the swinging leaf spring mounts by sliding the shouldered screw through and securing with the M3 locknut. These need to swing freely; if not, make sure the shouldered screws goes all the way through both ‘swingers’.
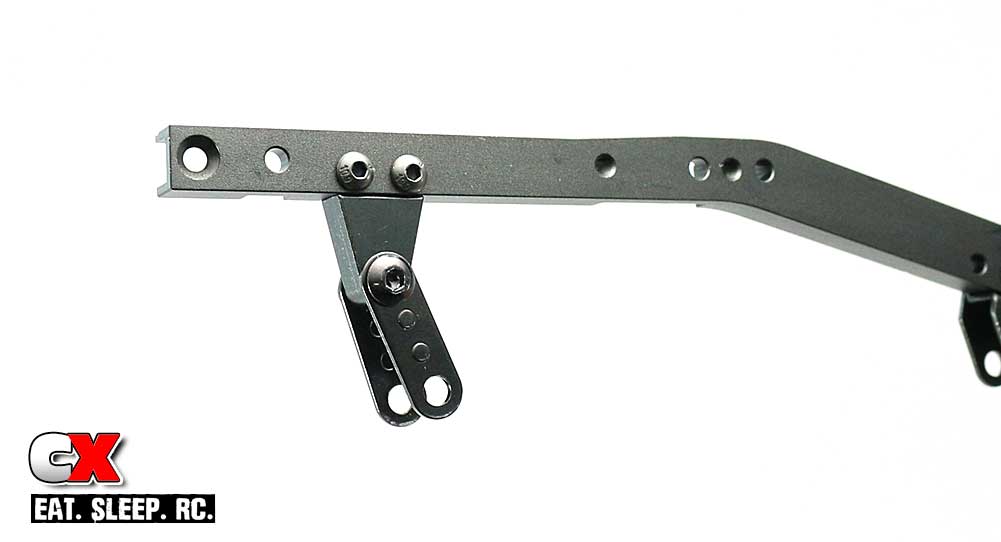
Move to the rear of the TF2 rails and attach the swinging leaf spring mounts like you did in Step 5. Again, these need to swing freely. Complete Steps 5 and 6 on both frame rails.
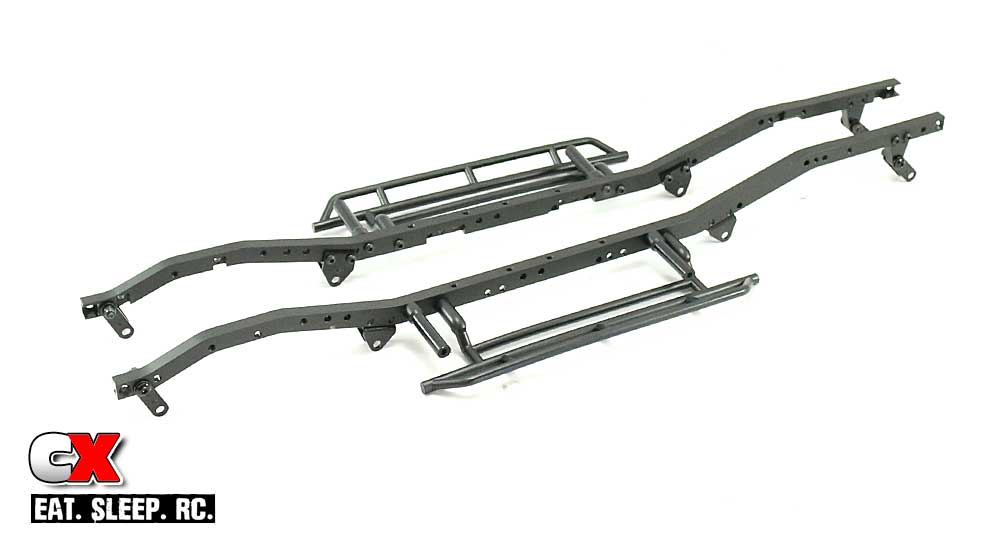
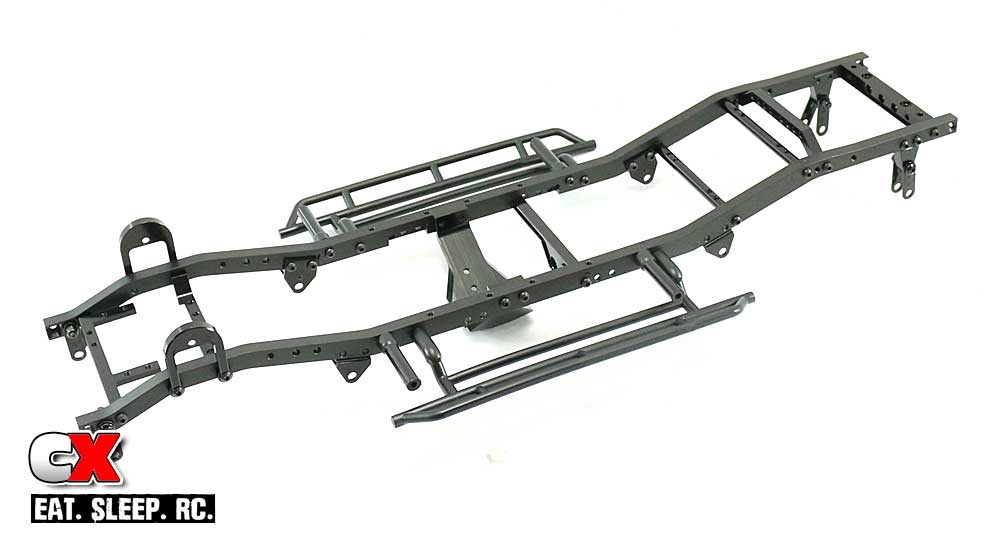
Your completed rails should look like this.
For the next couple steps, we’re going to be working with the right-side rail (the upper one in the picture). Match up your rails to the picture and move the bottom one (left-side rail) off to the side. We’ll get to it in a moment.
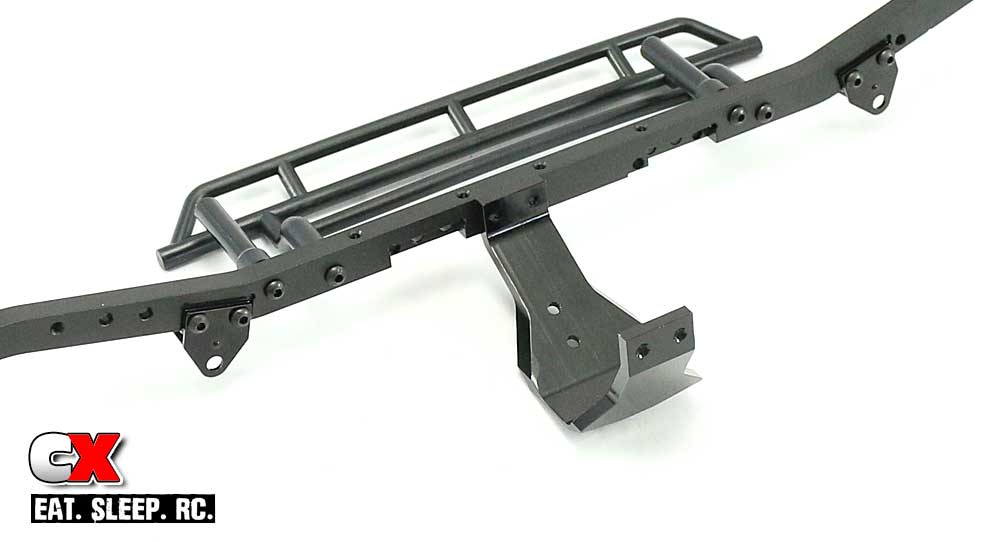
Attach the center skid to the right-side rail. Note the orientation of the skid.
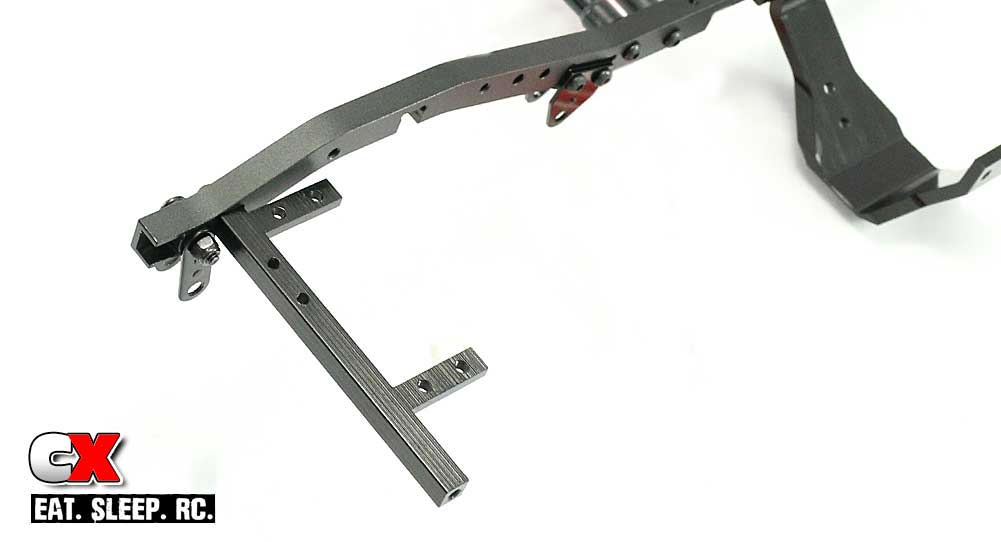
Move to the front and attach the cross brace/servo mount. Again, note the orientation.
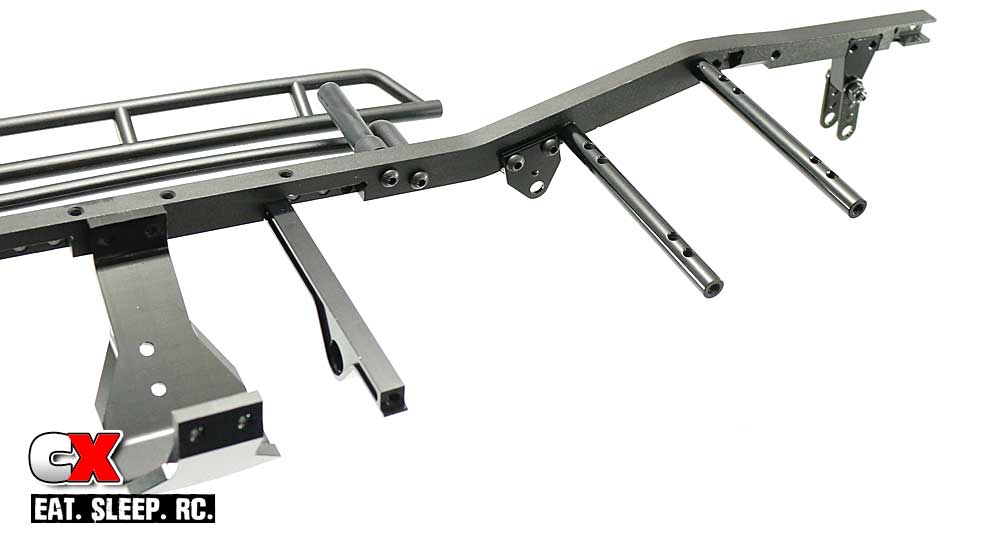
Move to the rear of the frame rail and attach the 3 cross braces. Unfortunately my picture is a little hard to see, but the front-most brace should have the longer ‘arm’ pointed toward the rail (the manual pic is a little clearer). On the back 2 cross tubes, apply a small dab of blue threadlocker but don’t tighten the screws all the way down just yet. You’ll understand when it comes time to attach the radio box in a later step.
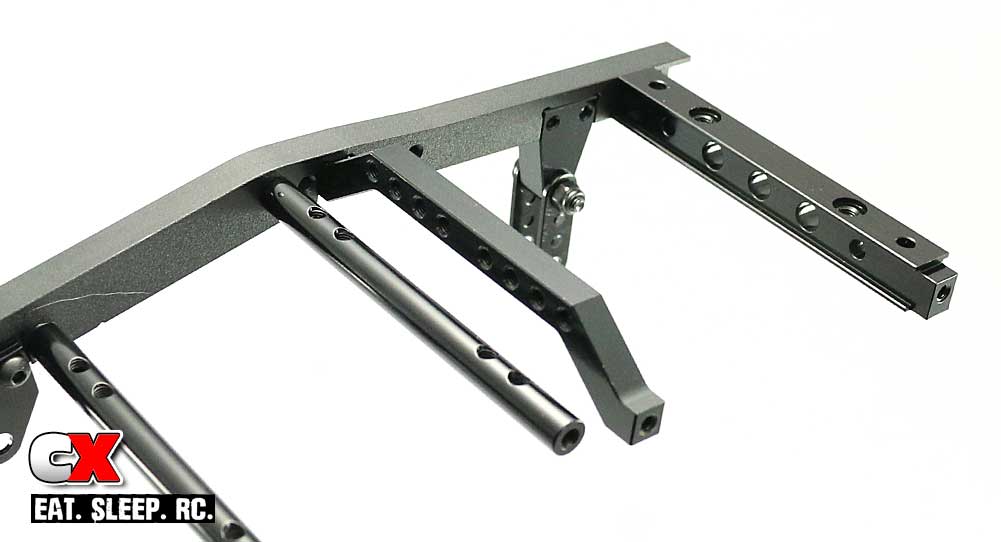
Attach the hoop cross brace and rear most body mount brace now.
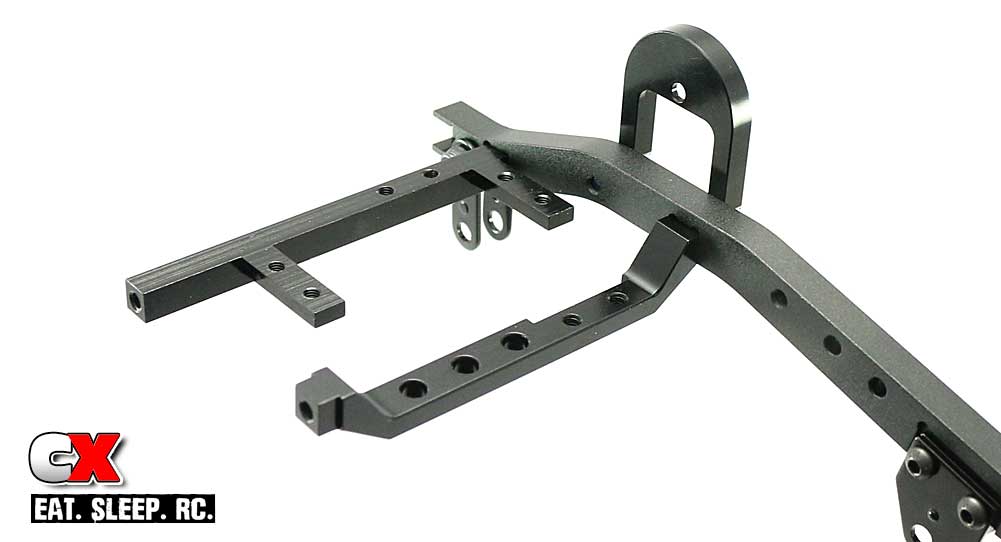
Move back to the front and attach the right side front shock hoop, using the cross brace to retain the rearmost screw. Note the orientation of the cross brace (see the notch).
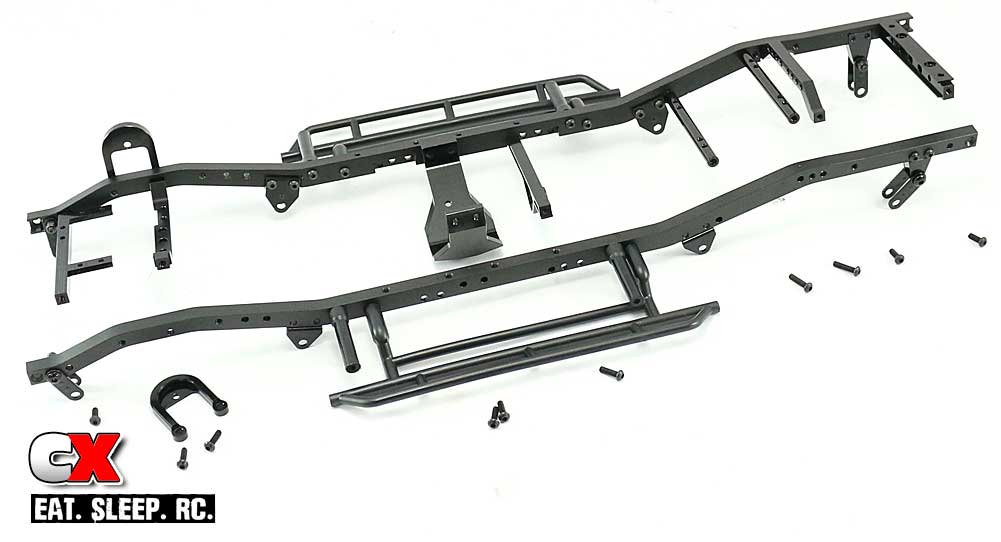
We’ve completed the right side frame rail – now button up this step of the build by attaching the left side frame rail using the same screw lengths from the previous steps.

Congrats on completing Build Step 1! Your final frame rail setup should look like this!
Alright, great job. Just so you know, this was probably the longest step in the build so, go get a drink, a cookie and let’s move on!
Trail Finder 2 LWB Trail Truck Build – Part 1 – Frame Rails
Trail Finder 2 LWB Trail Truck Build – Part 2 – Radio Pad, Body Mounts
Trail Finder 2 LWB Trail Truck Build – Part 3 – Gearbox
Trail Finder 2 LWB Trail Truck Build – Part 4 – Suspension
Trail Finder 2 LWB Trail Truck Build – Part 5 – Drivetrain
Trail Finder 2 LWB Trail Truck Build – Part 6 – Steering, Shifting
Trail Finder 2 LWB Trail Truck Build – Part 7 – Bumpers, Wheels and Tires
Trail Finder 2 LWB Trail Truck Build – Part 8 – Electronics
 CompetitionX CompetitionX is the most up-to-date source for RC Car News, Reviews and Videos for Radio Control. We also have the most comprehensive Manual Database on the web.
