The Build – Part 4
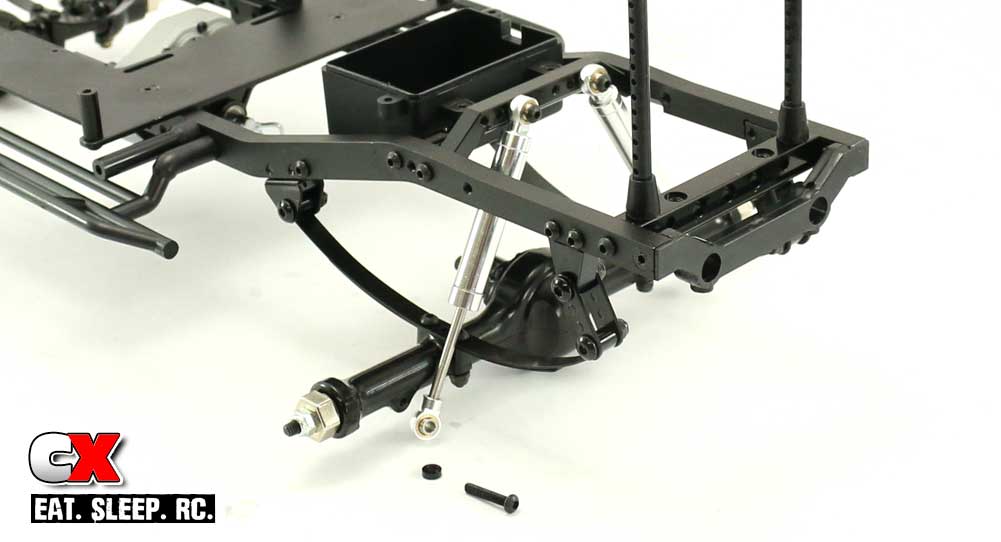
In this Step, we’ll be assembling and attaching both axles to the RC4WD Trail Finder 2. The TF2 uses a leaf spring suspension and internally-sprung shocks for damping. Very cool looking – very realistic.
 The shocks require oil before attaching them to the TF2, so have some towels ready for cleanup. Fill them slowly to minimize the mess.
 Have some blue threadlocker available and use a small dab on any screws that thread into aluminum parts.
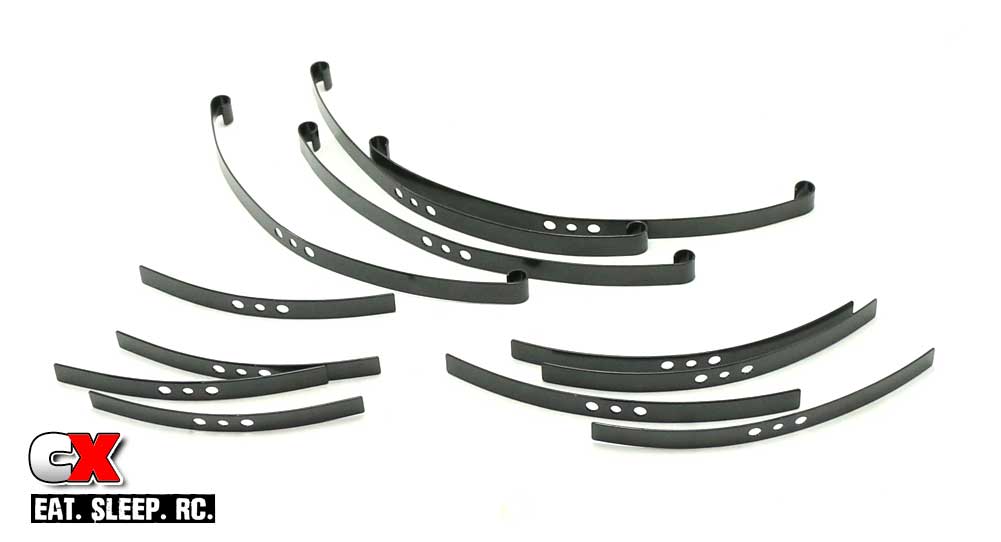
Before we start attaching the leaf springs, I suggest pulling them out and matching up the sizes. There are 3 different lengths, each adding additional stiffness to the suspension.
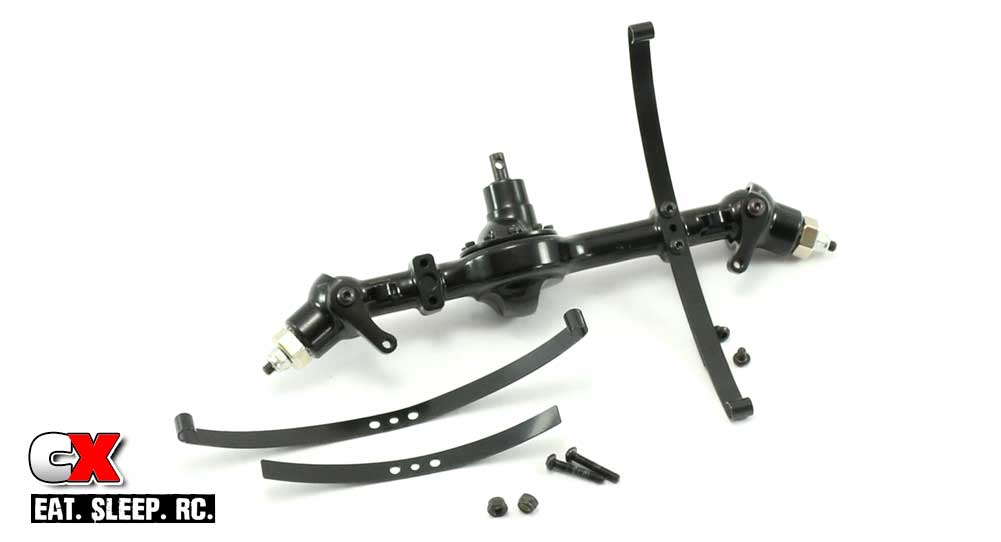
While the instructions suggest using all 3, I’m going to build my TF2 with just two springs per corner. This will allow a little more flex and articulation in the suspension for a better crawl.
The axle is held together with 4 shorty screws. To make the build a little easier, I suggest removing only 2 screws at a time and then attach one set of leaf springs.
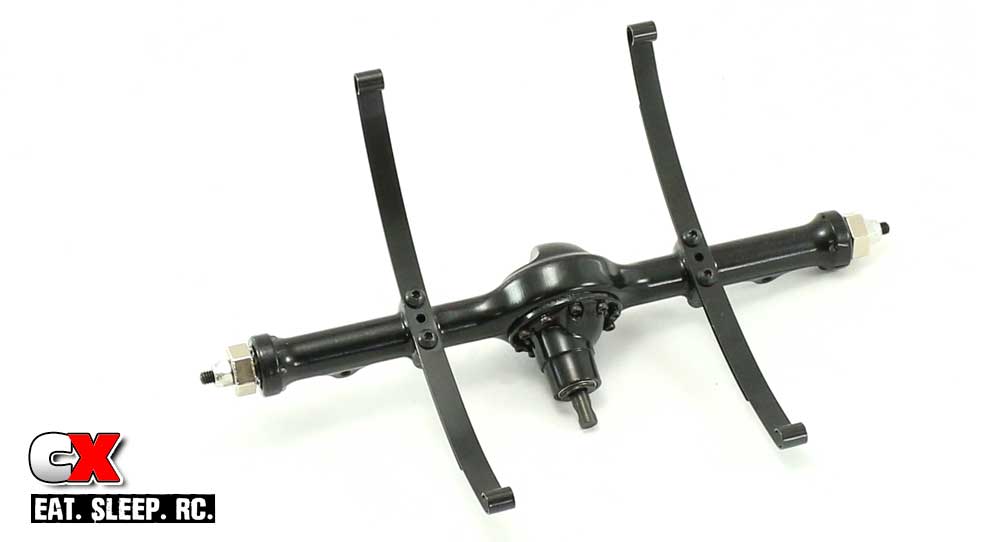
This is the completed rear axle; build the front axle the exact same way.
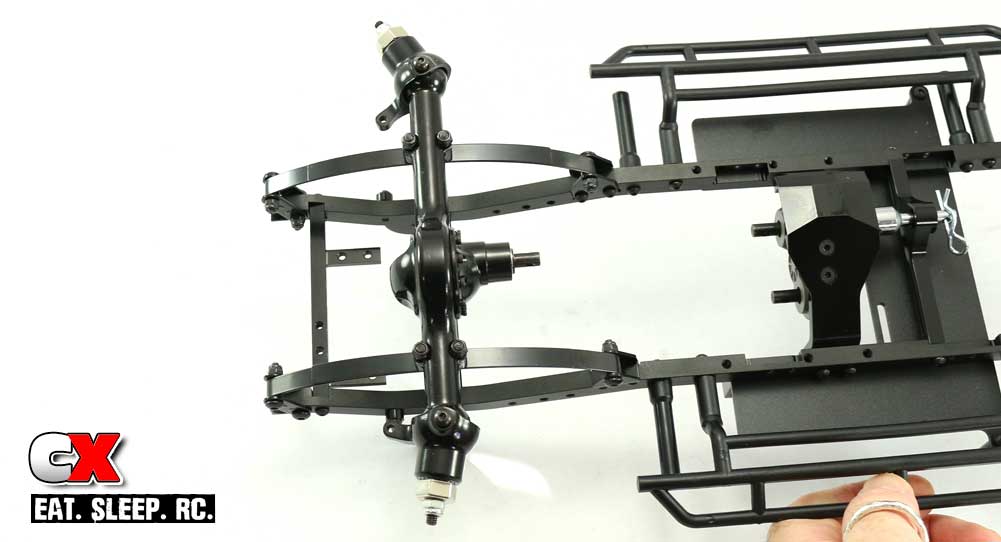
Carefully attach the front suspension to the shackles as shown.
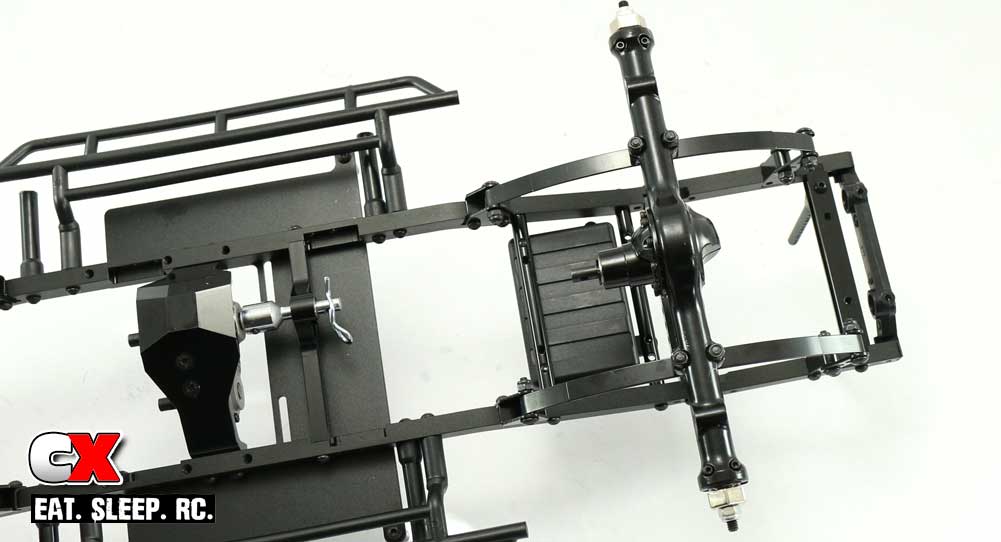
Carefully attach the rear suspension to the shackles as shown.
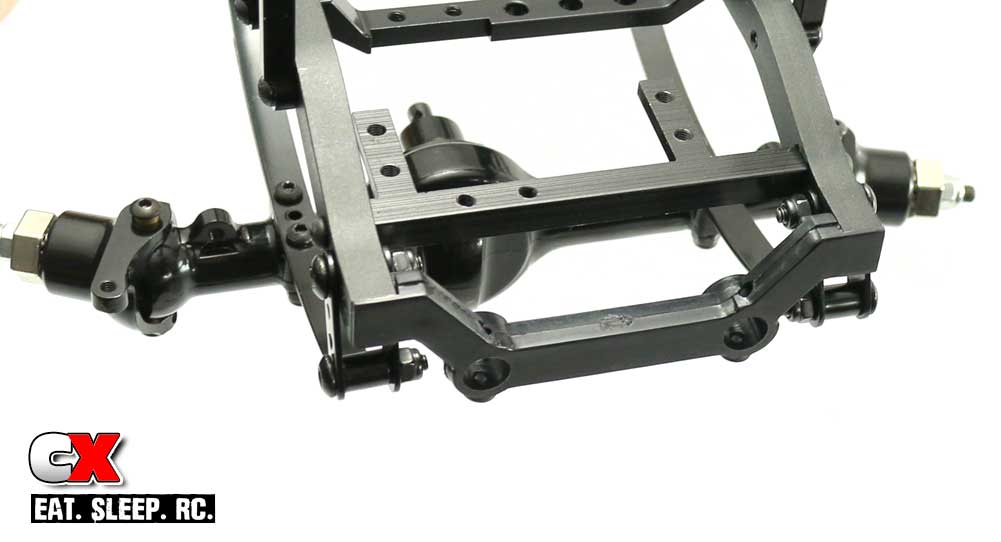
In Step 5 of Build Part 2, we set aside the front bumper mount – now it’s time to grab that and install it.
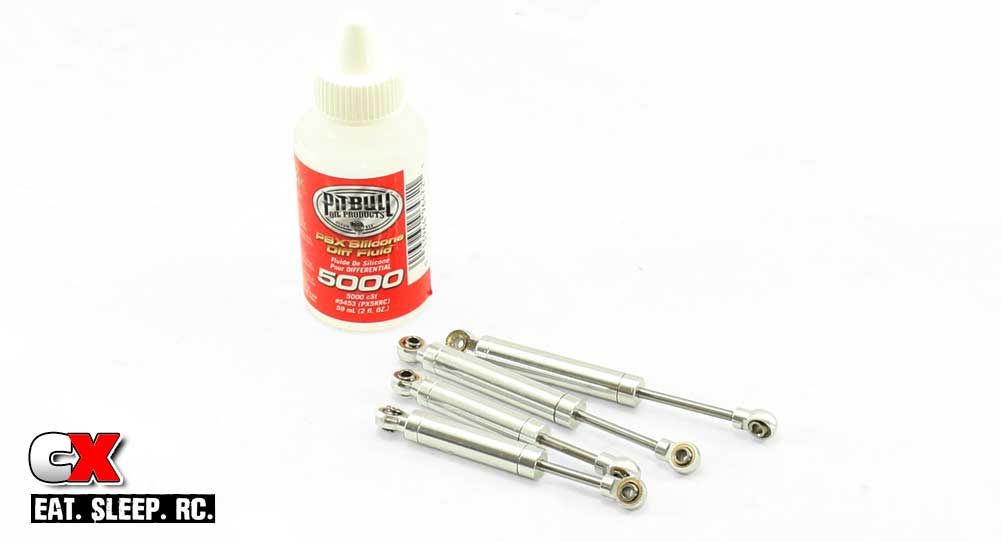
The TF2 shocks come pre-assembled in two different lengths (80mm and 100mm), however there is no oil in them. I did a little poking around and found that owners of this rig are putting 5000wt diff fluid into their shocks. This seems a bit thick to me but I’ll give it a go since others seem to have success with it. Again, fill these slowly and, after re-assembly, wipe off any excess oil.
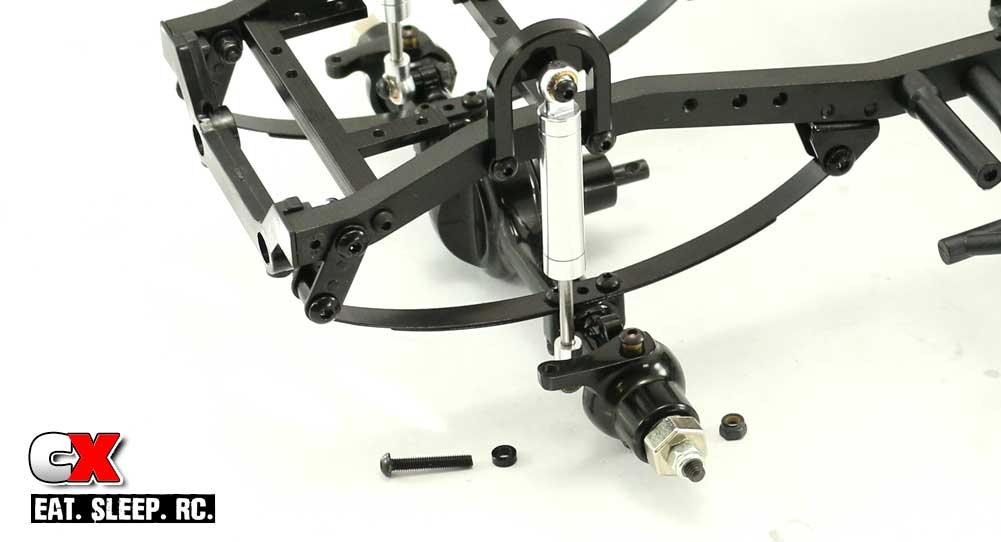
Attach the 80mm shocks (shorter ones) to the front (don’t forget the 2mm spacer on the bottom).

Attach the 100mm shocks (longer ones) to the rear. Don’t forget the 2mm spacer here either when attaching to the axle.
Great job! Go ahead and flex the front and rear suspensions – you know you want to! Ok then, when you’re done squishing the suspension, let’s move to the drivetrain.
Trail Finder 2 LWB Trail Truck Build – Part 1 – Frame Rails
Trail Finder 2 LWB Trail Truck Build – Part 2 – Radio Pad, Body Mounts
Trail Finder 2 LWB Trail Truck Build – Part 3 – Gearbox
Trail Finder 2 LWB Trail Truck Build – Part 4 – Suspension
Trail Finder 2 LWB Trail Truck Build – Part 5 – Drivetrain
Trail Finder 2 LWB Trail Truck Build – Part 6 – Steering, Shifting
Trail Finder 2 LWB Trail Truck Build – Part 7 – Bumpers, Wheels and Tires
Trail Finder 2 LWB Trail Truck Build – Part 8 – Electronics
 CompetitionX CompetitionX is the most up-to-date source for RC Car News, Reviews and Videos for Radio Control. We also have the most comprehensive Manual Database on the web.
