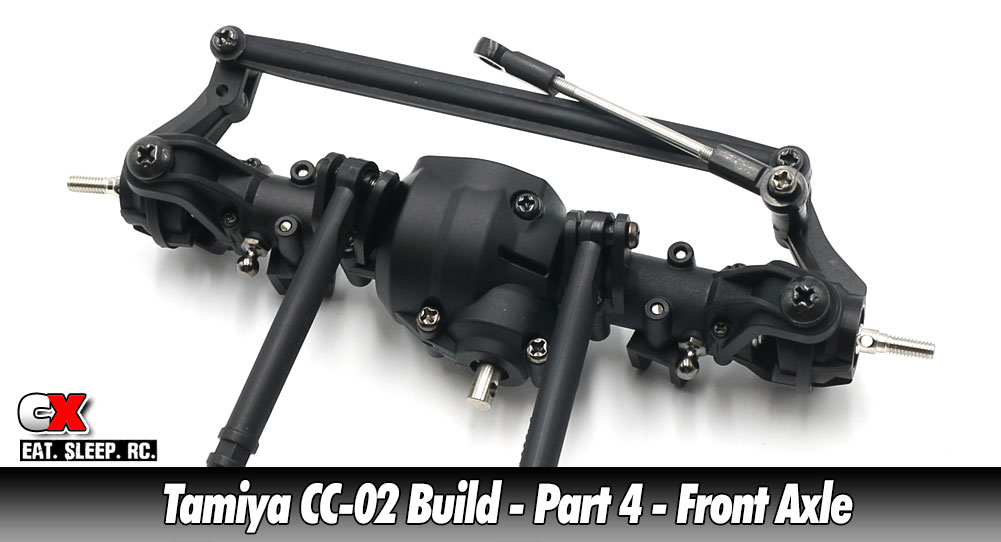
Unlike the original CC-01, the Tamiya CC-02 now comes with a solid front axle that can be built with either an open or locked differential. This can be changed to alter the way the truck steers and climbs.
 As mentioned above, you can build the diffs either open or locked. Parts to build it either way are included in the kit.
There are some small 3mm nuts that need to be installed INTO the axle housing before you assemble it. Don’t forget these.
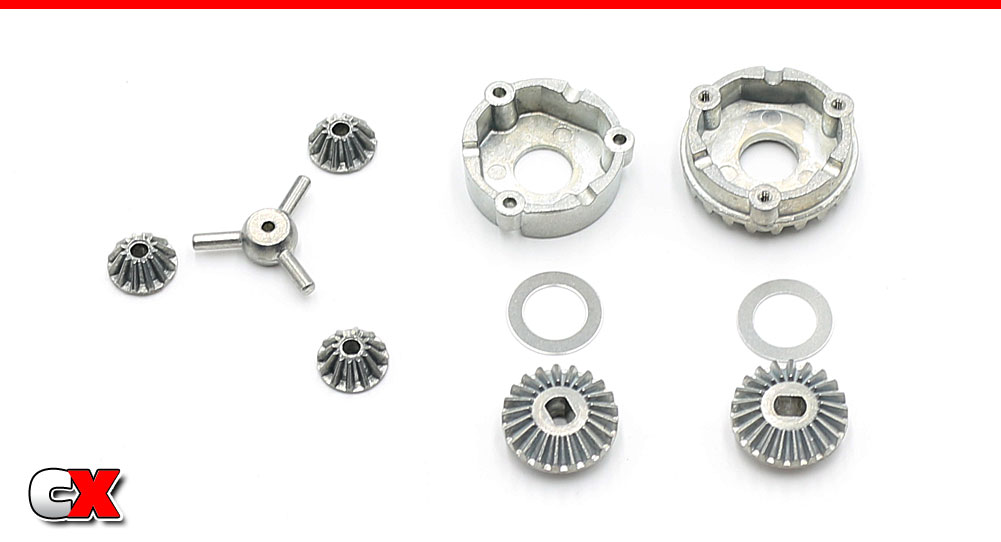
Before we begin, I want to point out the parts included to build an open diff. Unfortunately, this is not a sealed differential – any fluids will seep out almost immediately.
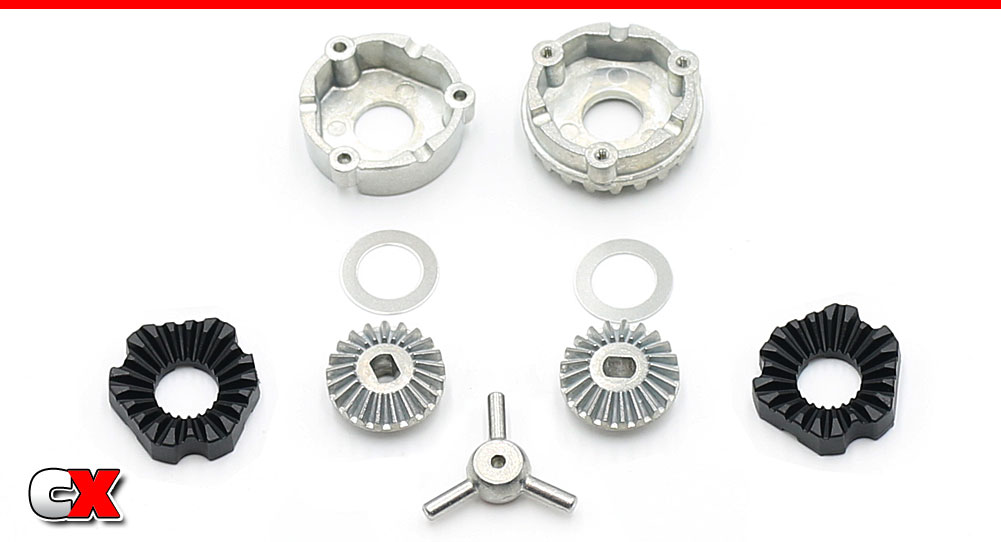
Here are the parts to build a locking differential – also included with the kit. I’ll be using these to build my CC-02.
Set the 9mm washer into the diff housings followed by the large bevel gear. Now set the plastic diff lockers into place so the teeth of the bevel gears mate with the lockers.
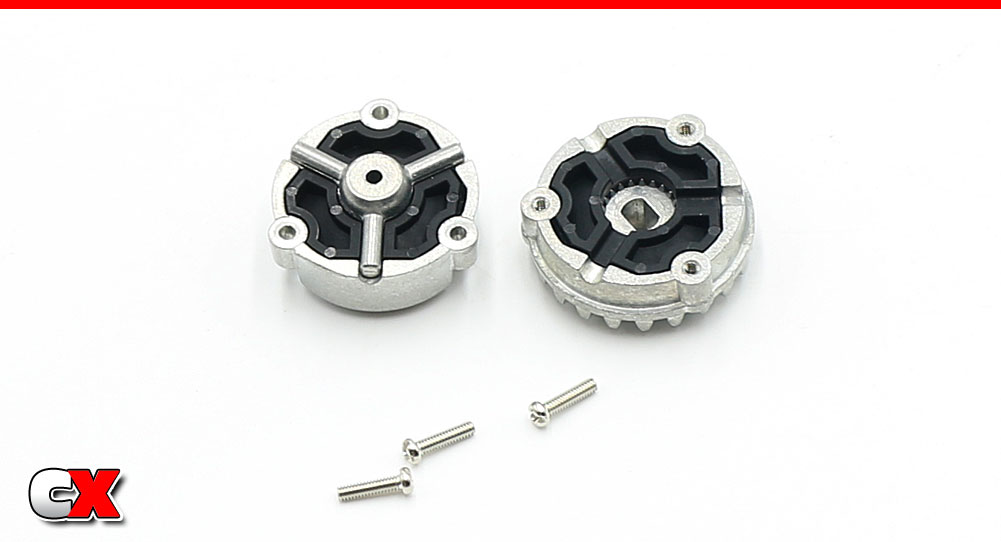
Set the star shaft into place and mate the two diff halves together, securing with the 2x8mm screws (blue threadlocker is suggested here).
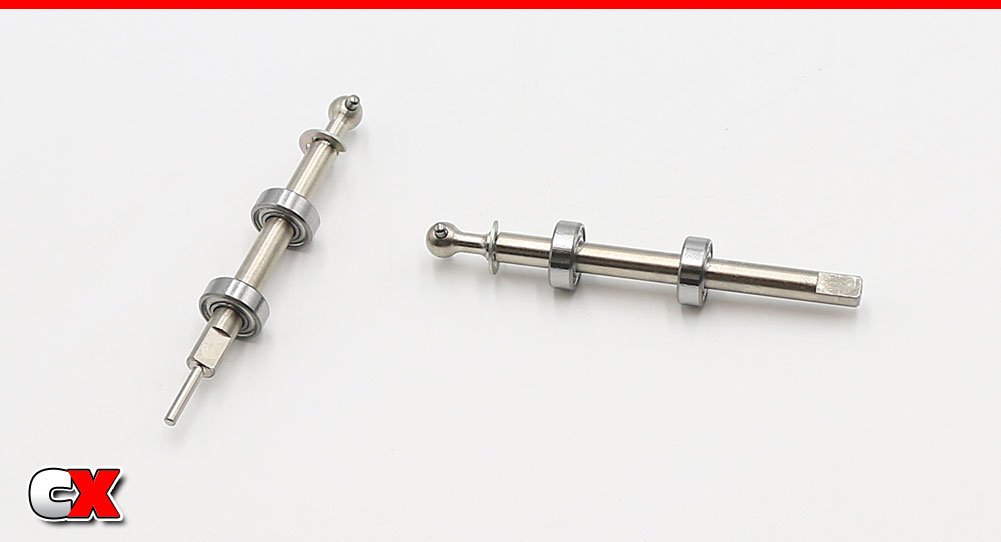
Assemble a pair of front axles; e-clips on the shafts followed by a pair of bearings.
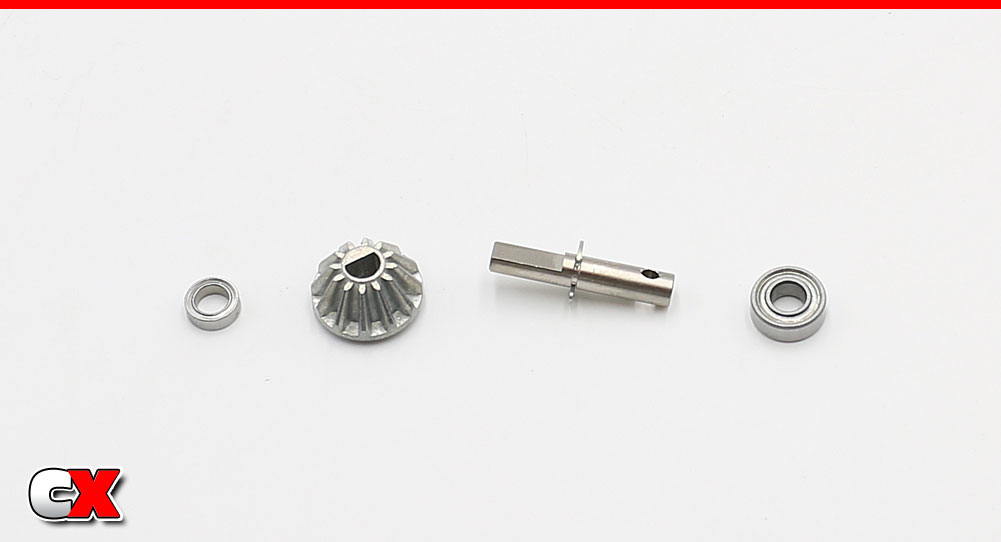
Assemble an output shaft; e-clip on the shaft, small bevel gear in place and two bearings.
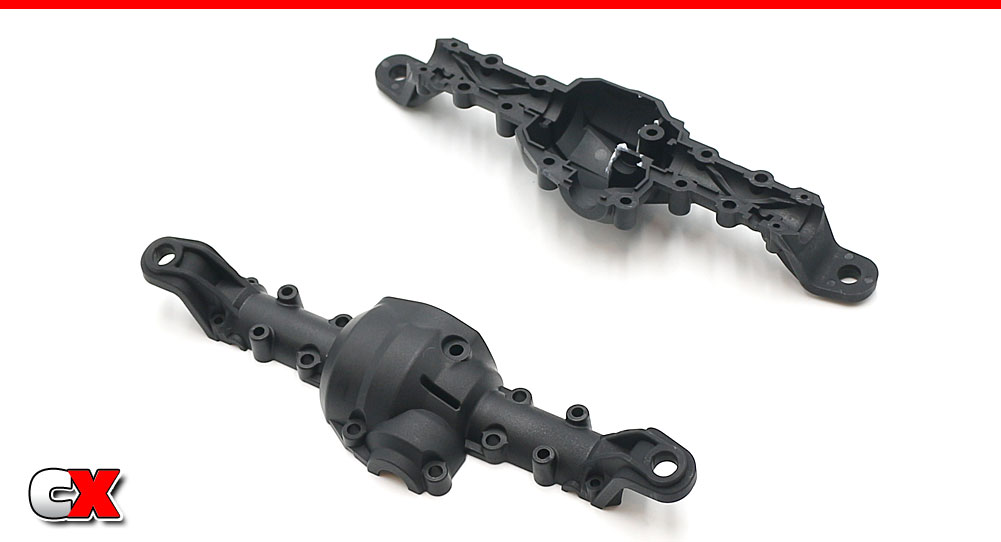
The top and bottom axle housings are different. Note the orientation.
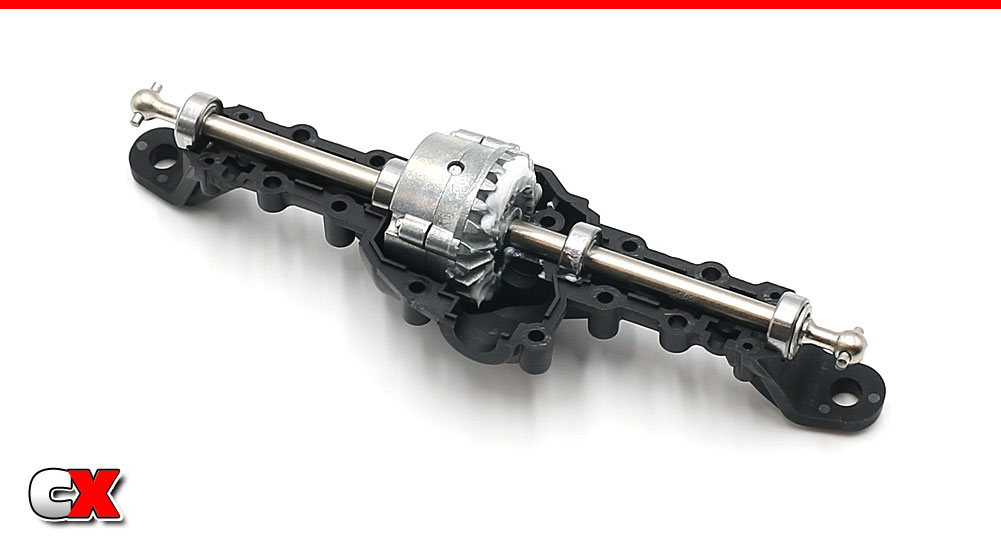
Slide the axles into the differential, then set that assembly into the bottom axle housing. You will need to slide the bearings on the axles to seat them in the bearing buckets in the axle housing.
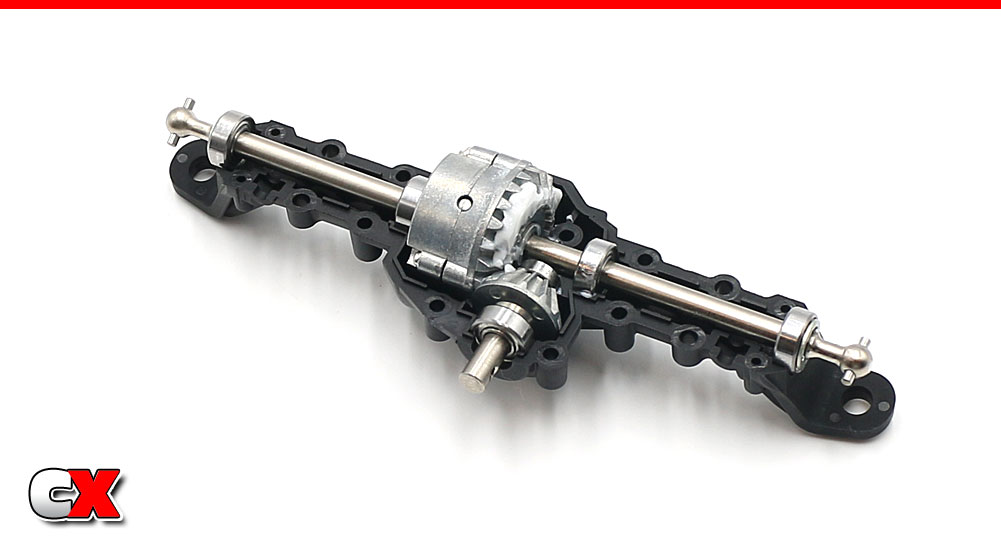
Set the output shaft assembly into place. Apply a liberal amount of grease and rotate to fully coat the gears.
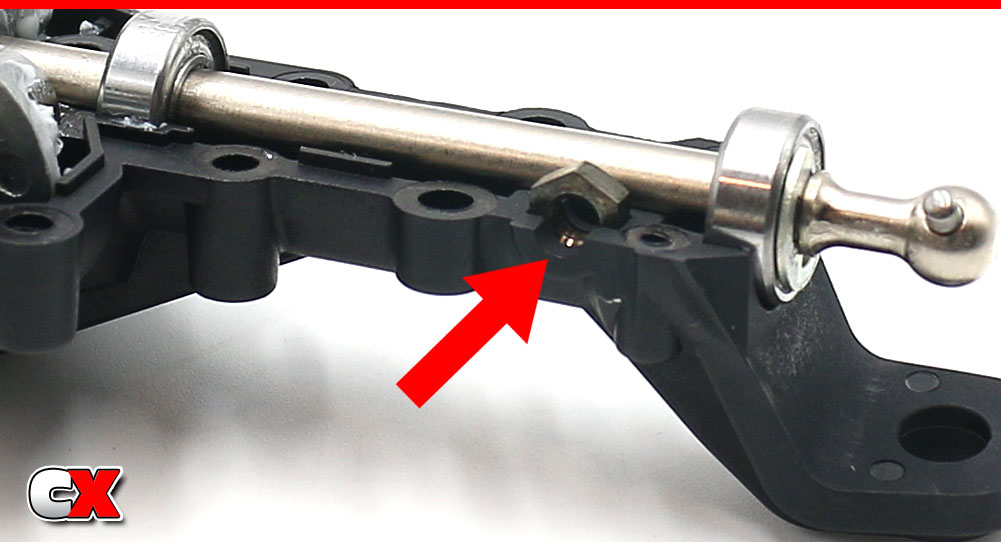
Set a 3mm nut into the pocket on the axle housing. You’ll need to insert one on both ends.
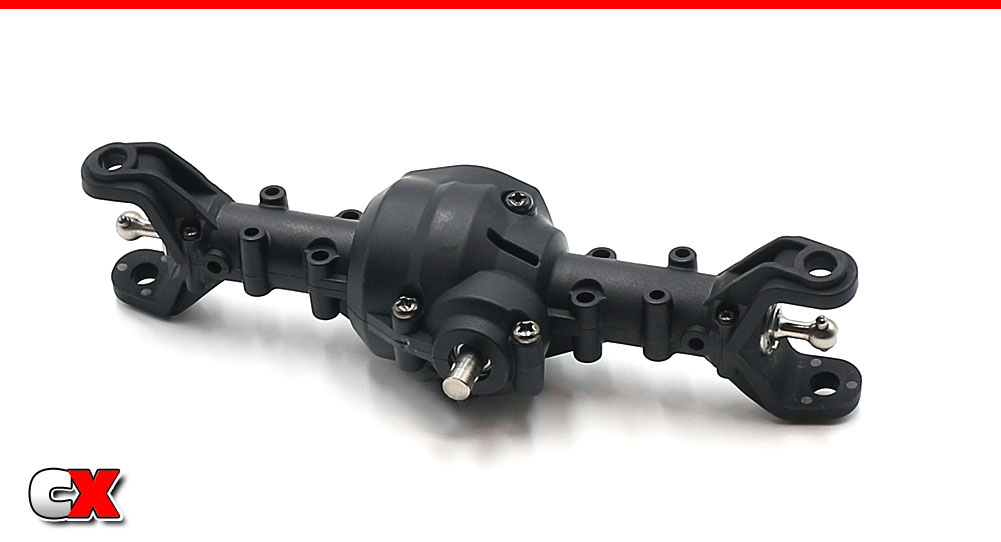
Mate the two axle housing halves together and secure with the seven screws. Note the size difference (both length and width) on all the screws.
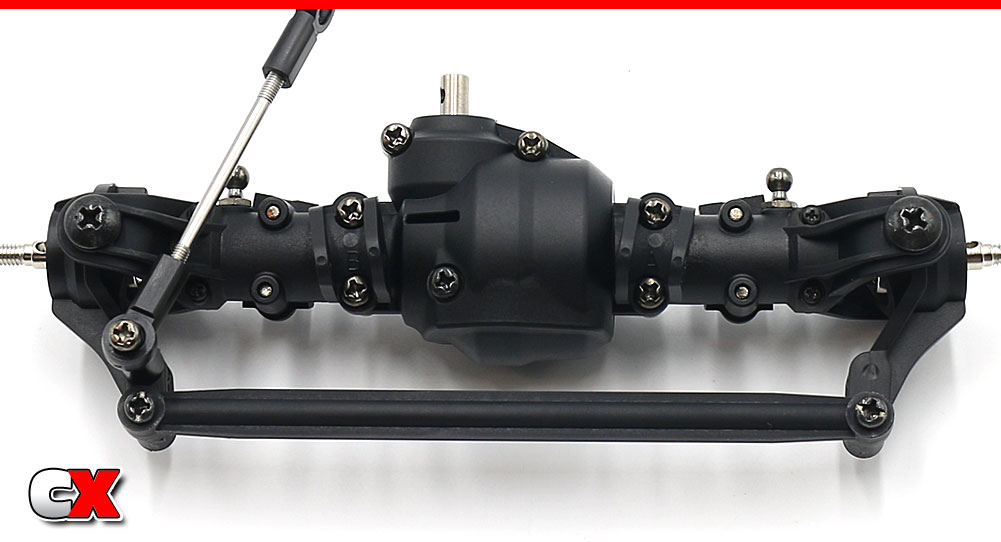
Attach the upper link mounts to the top of the completed axle assembly. Note that they are directional and labeled with an A and B.
You can also install the lower, 5mm shock ball connectors to the axle.
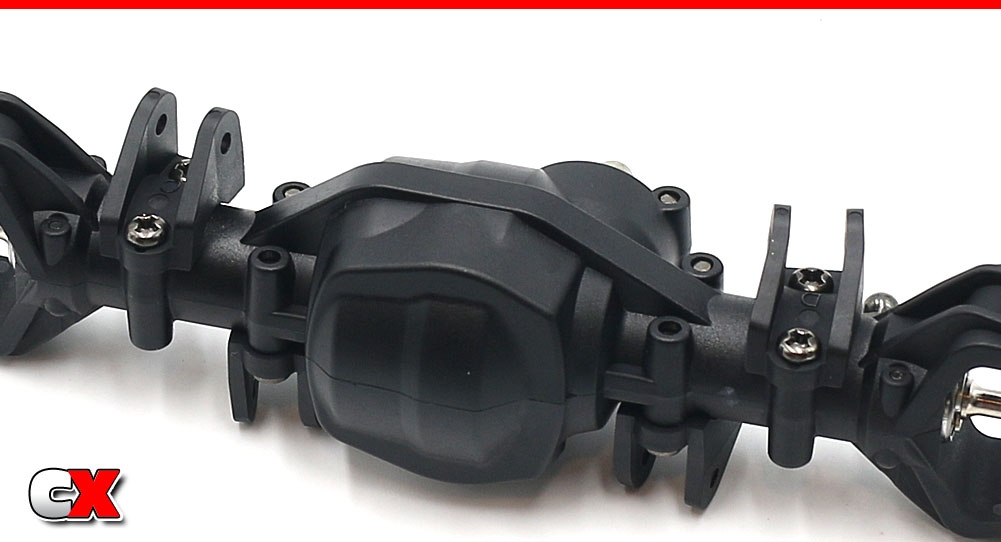
Flip the axle over and attach the lower link mounts. These are also directional and labeled with a C and D.
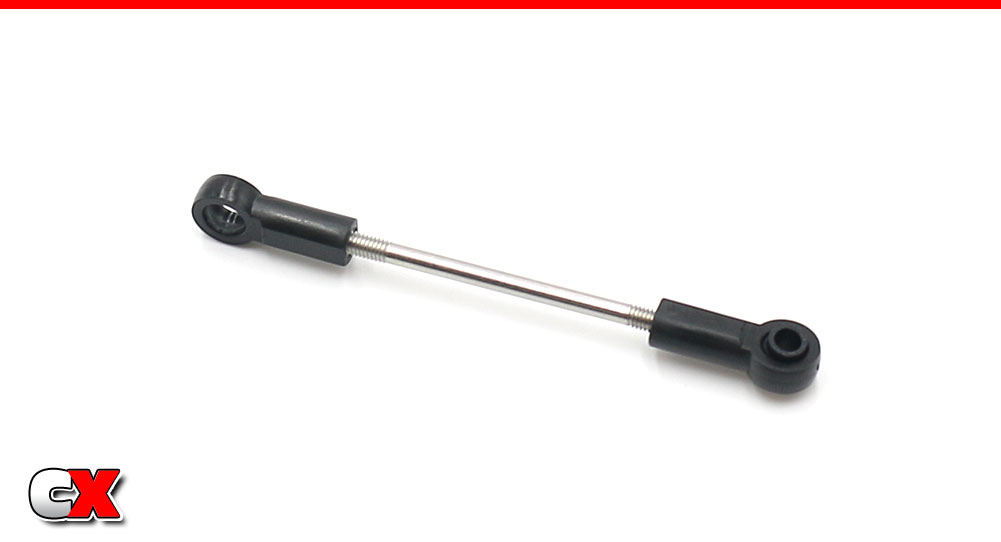
Build a steering drag link. Note that only one side receives a plastic ball.
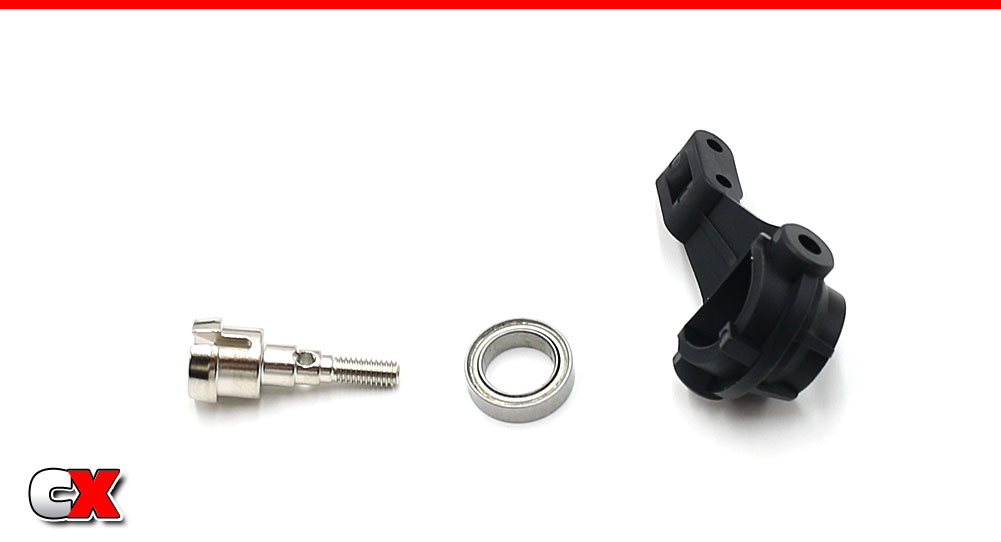
Press a large bearing into the steering arm, making sure it is fully seated. Slide the wheel axle into the bearing.
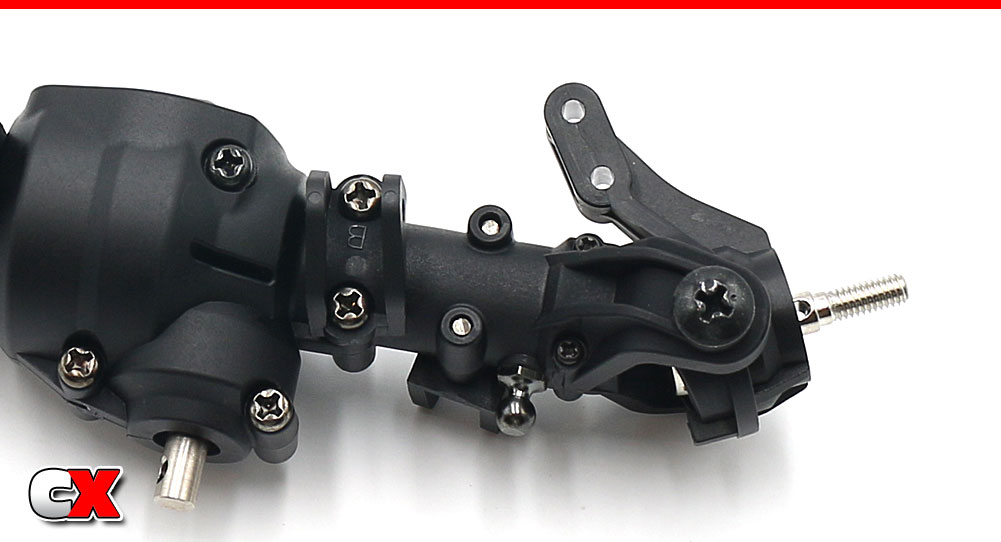
Slide the steering arm assembly into place, making sure to key the wheel axle to the dog bone. Secure with the two large step screws.
Note the orientation of the steering arm; the arm itself should be towards the front of the axle (away from the output shaft).
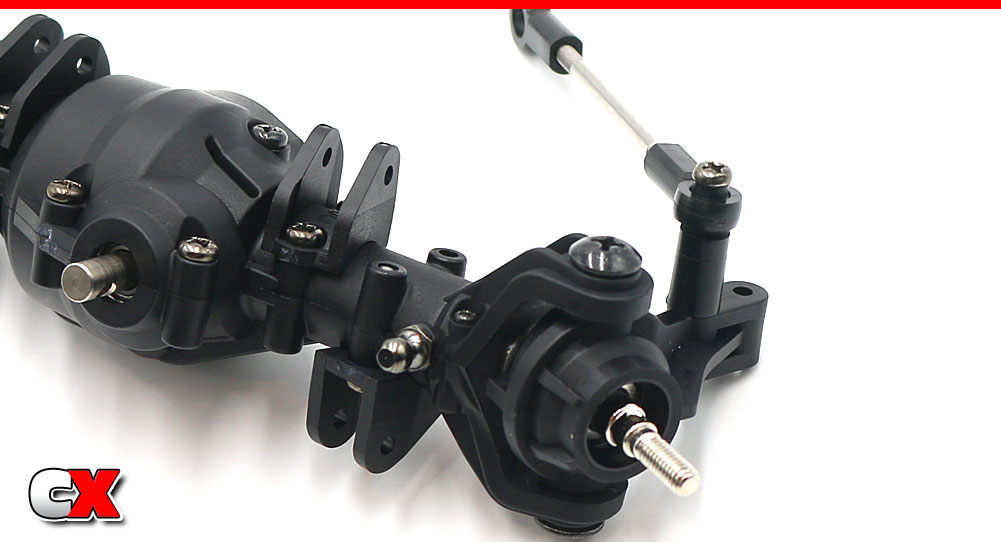
Feed the 3x27mm screw through the steering drag link, the tall spacer and into the inner hole on the steering arm. Do not overtighten.
Attach the plastic steering link to the outer hole on both the left and right steering arms.
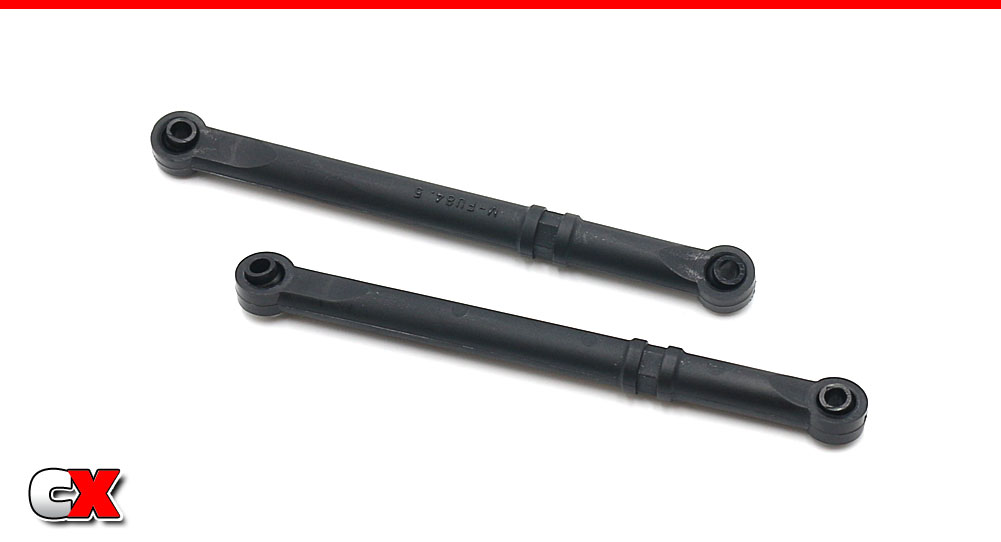
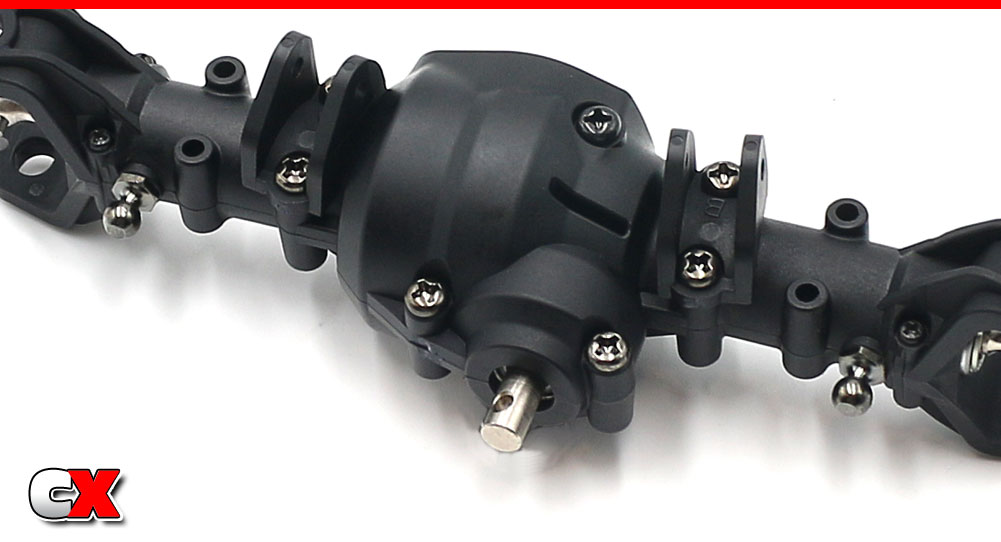
Build a pair of short upper links…
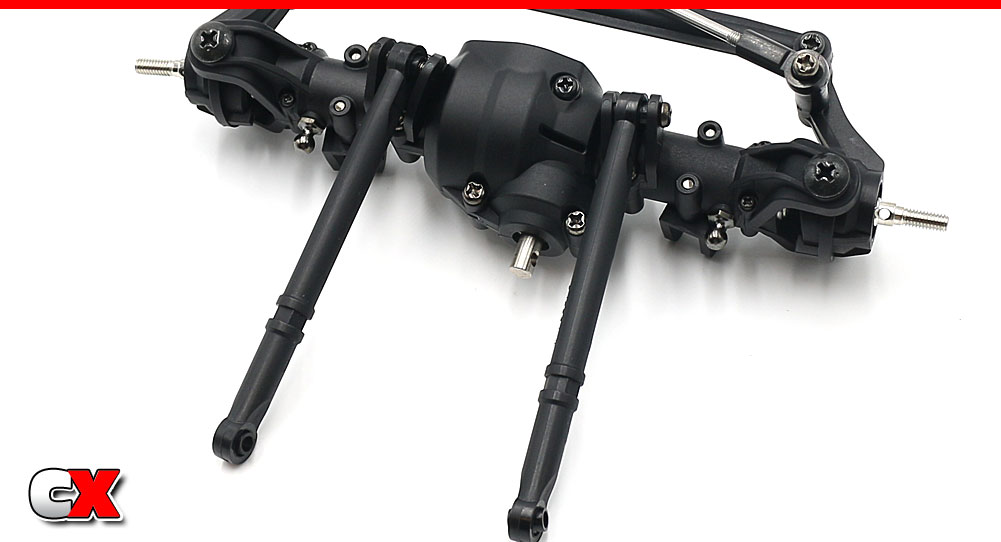
…and attach to the top of the axle housing.
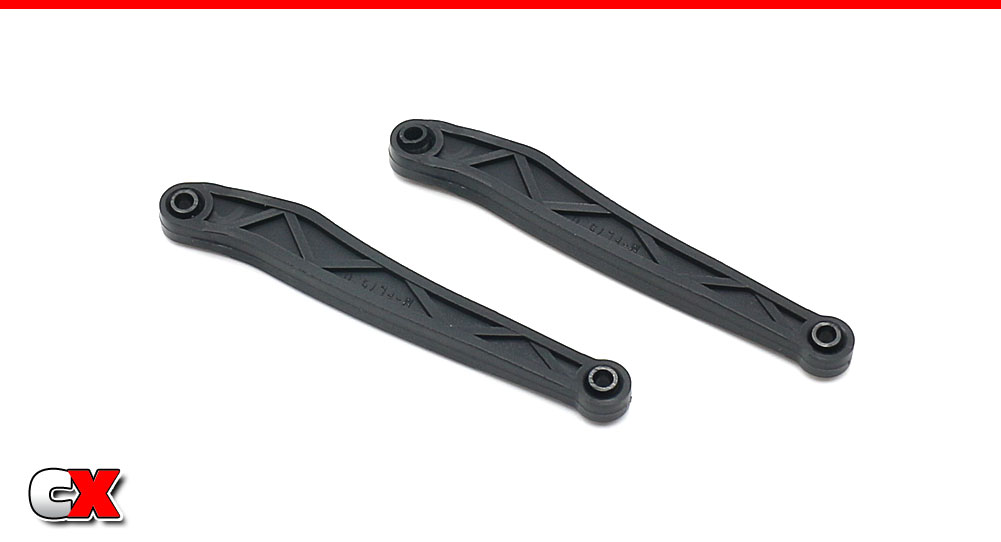
Build a pair of short lower links…
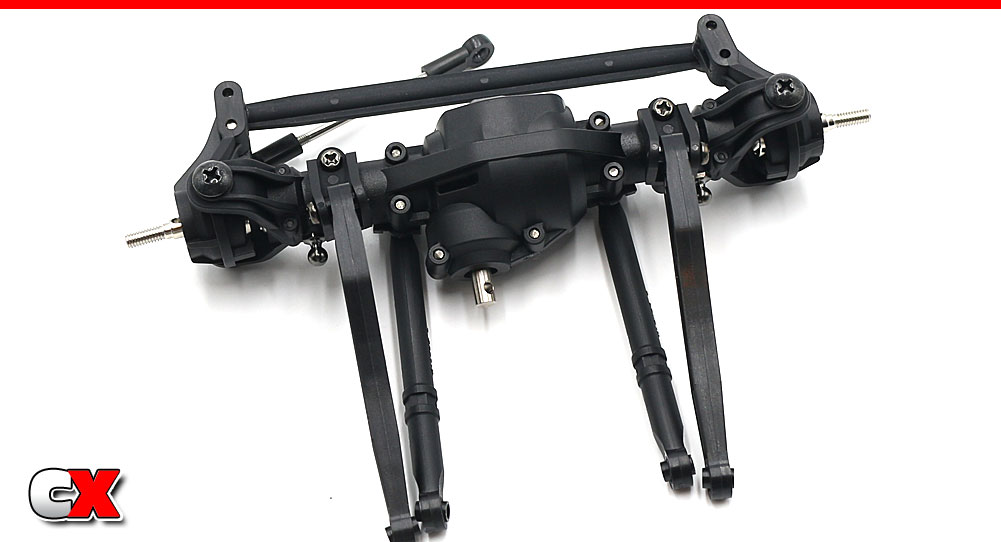
…and attach to the bottom of the axle housing. Note the orientation of the links.
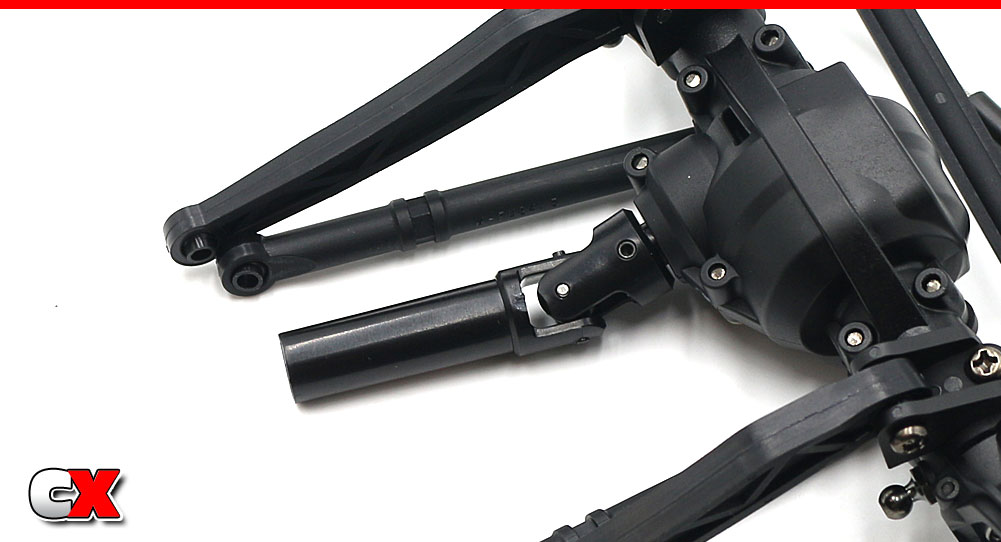
The last step is to install the male-side driveshaft to the axle.
Nice job on the front diff. Hopefully you didn’t have to pull it apart to re-install those 3mm nuts! 🙂
Alrighty – on to the rear diff!
Tamiya CC-02 Trail Truck Build – Opening Page
Tamiya CC-02 Trail Truck Build – Part 1 – Transmission
Tamiya CC-02 Trail Truck Build – Part 2 – Chassis
Tamiya CC-02 Trail Truck Build – Part 3 – Driveshafts
Tamiya CC-02 Trail Truck Build – Part 4 – Front Axle
Tamiya CC-02 Trail Truck Build – Part 5 – Rear Axle
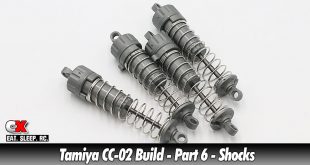
Tamiya CC-02 Trail Truck Build – Part 6 – Shocks
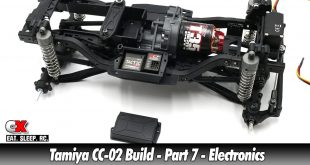
Tamiya CC-02 Trail Truck Build – Part 7 – Electronics
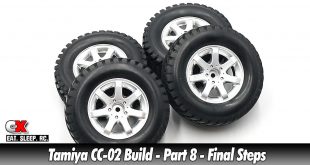
Tamiya CC-02 Trail Truck Build – Part 8 – Final Steps