The Tamiya TRF419XR comes with a 2.25mm lower and 2mm upper deck as standard equipment. Both are machined from high-quality carbon fiber with blue-anodized aluminum parts bolted to it.
In this step, we’re going to be attaching the bulkheads, inner front/rear arm mounts and steering posts.
 In the past, we’ve sanded and sealed the edges of our carbon parts before assembly. This, however, has led to some mixed feeling about the way the sealed edges prevent the chassis from flexing like it should. So, for the TRF419XR, we are not going to seal anything.
Most of the screws feed into aluminum parts; again, we would normally use blue threadlocker to help keep the screws in place. This too seems to be a product of discussion regarding possible flex issues. While I would suggest blue threadlocker on any screw going into aluminum, I chose to only use it in certain areas. Those will be called out.
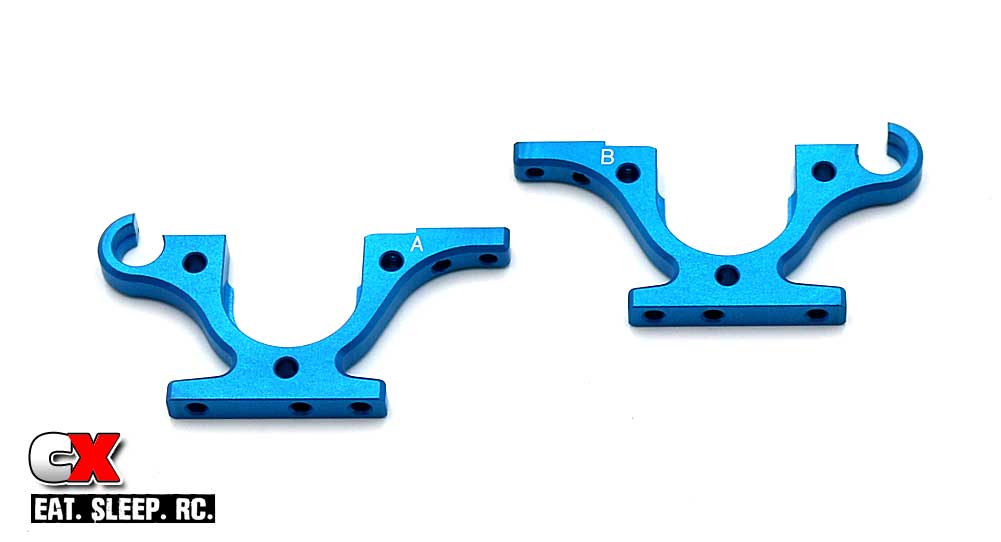
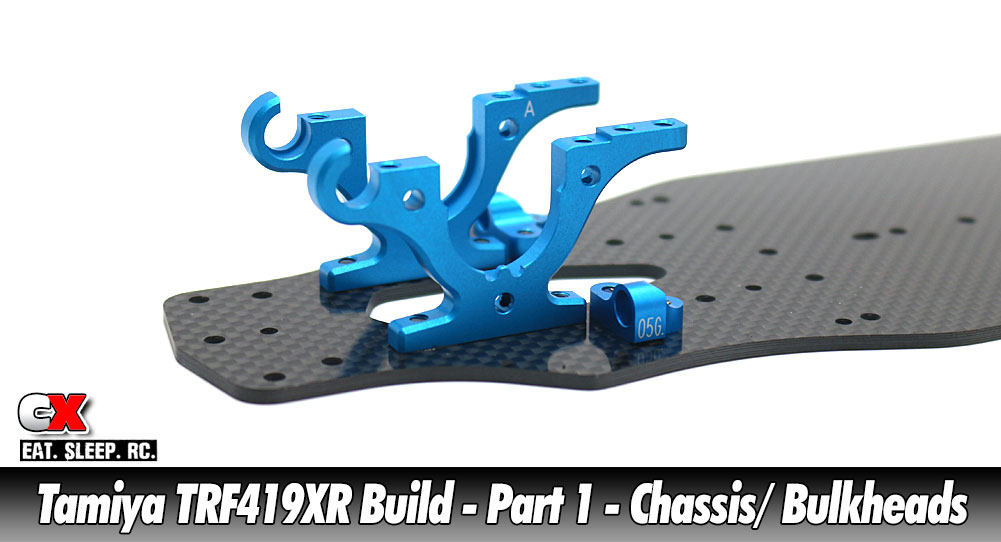
The front and rear bulkheads are directional, designated by the A and B printed on them. Another way to check left and right is the ‘lip’ on the U-part of the bulkhead; that lip should be to the outside of the car.
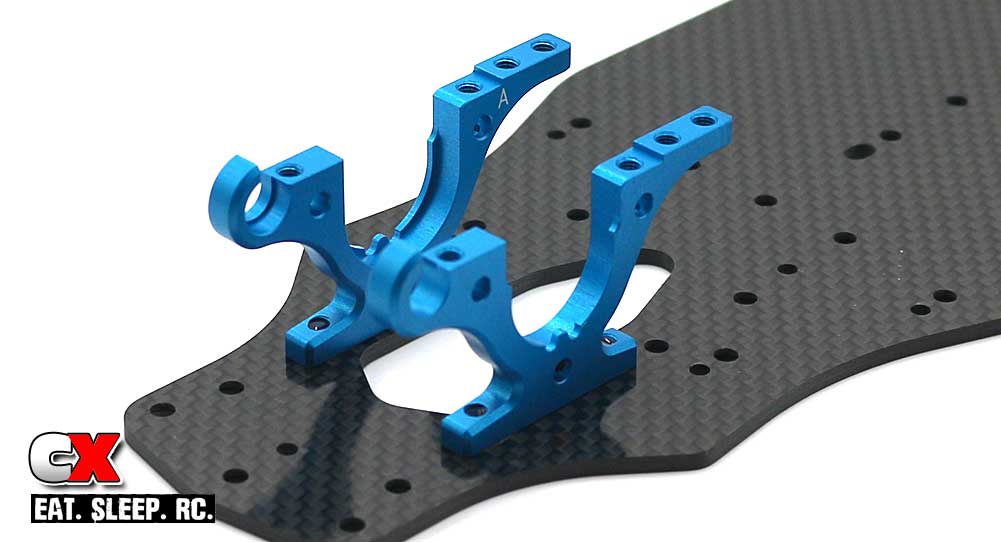
Attach the left and right bulkheads to the front of the carbon chassis. Note orientation.
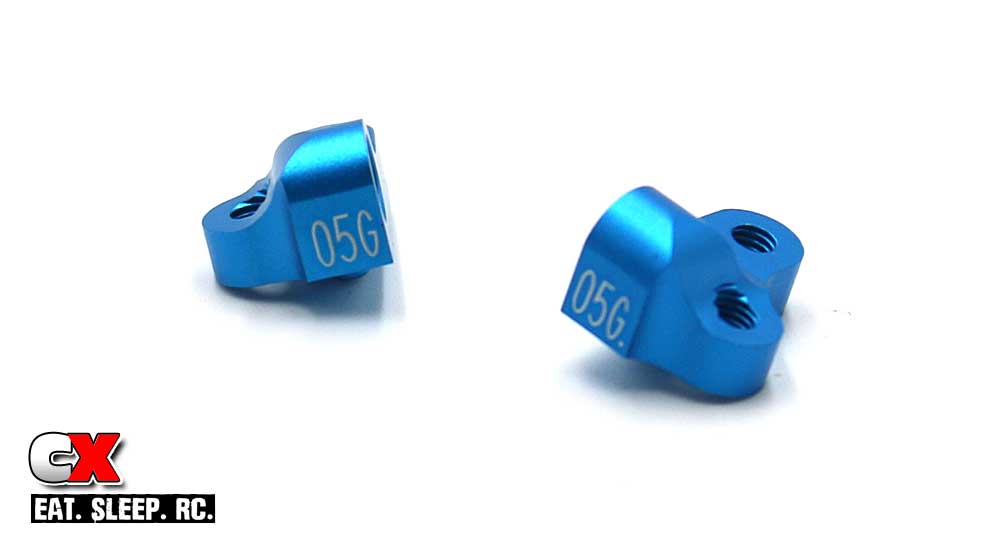
The TRF419XR uses 05G front inner arm mounts.
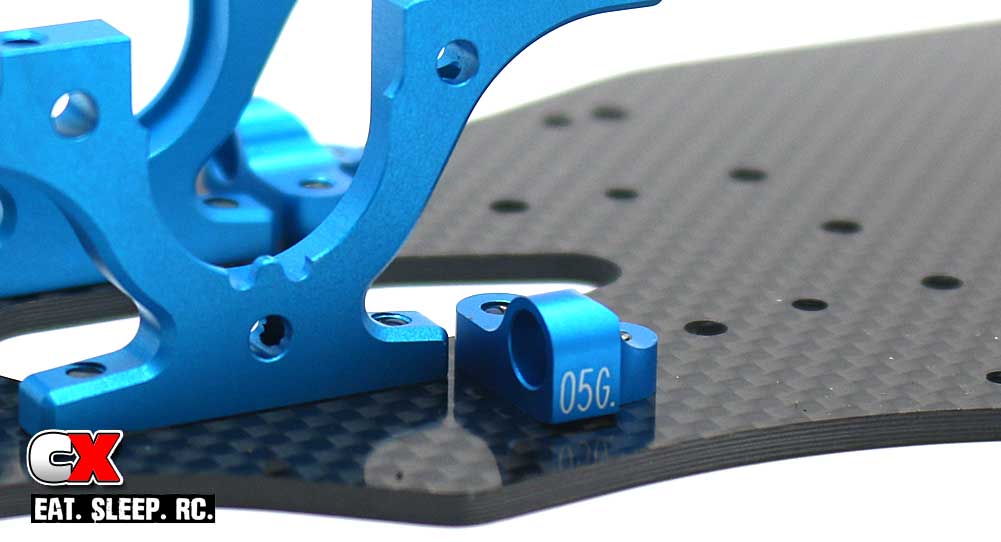
Attach those to the chassis as shown. Blue threadlocker is OK to use here.
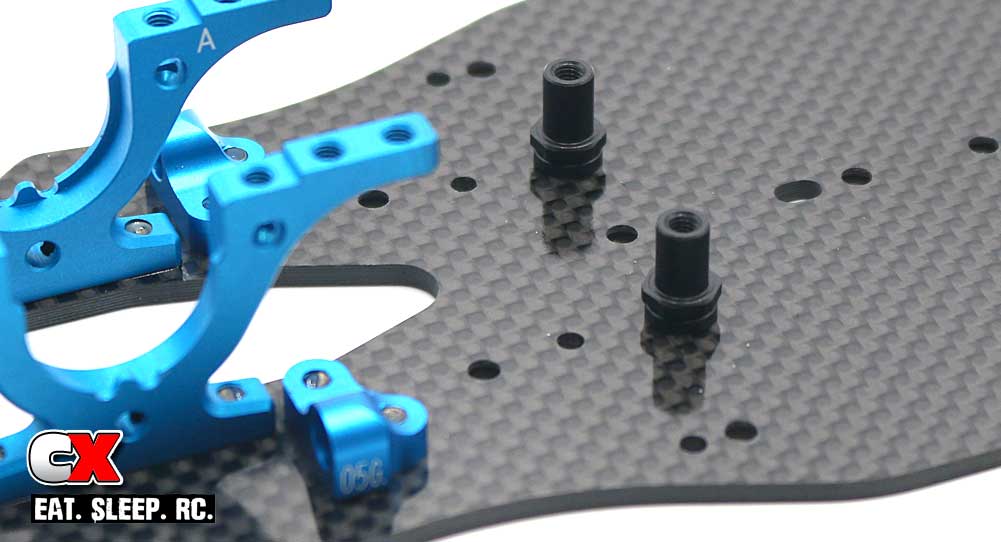
Attach the steering posts. Blue threadlocker is OK to use here as well.
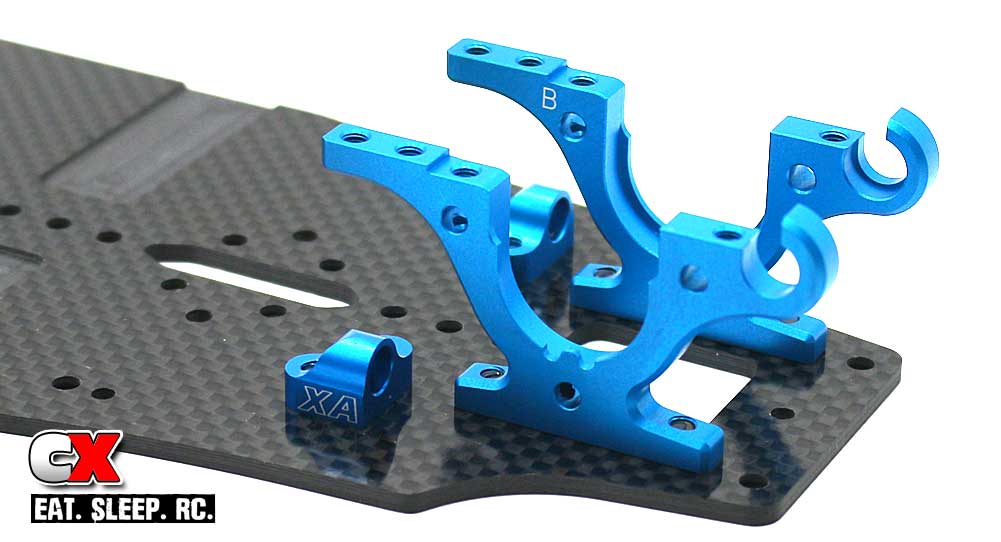
Moving to the rear, attach the left and right bulkheads and the XA rear inner arm mounts. Blue threadlocker on the XA mounts is suggested.
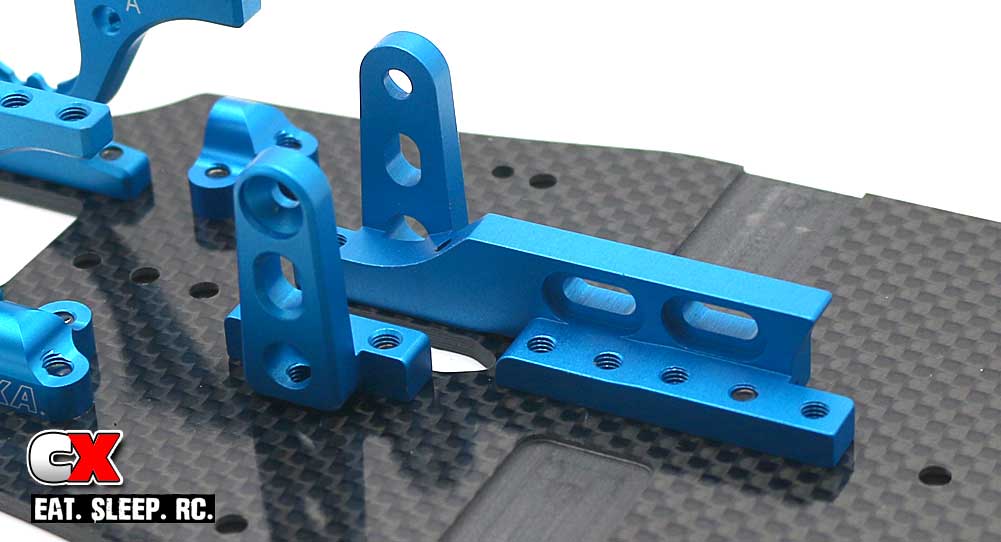
Attach the two motor mount halves to the chassis. Note the holes used for attachment. You can add additional screws to change the flex characteristics.
That was a simple few steps – not difficult at all! Clear some space and let’s get to Part 2 – the rear differential!
Tamiya TRF419XR Touring Car Build – Opening Page
Tamiya TRF419XR Touring Car Build – Part 1 – Chassis/ Bulkheads
Tamiya TRF419XR Touring Car Build – Part 2 – Rear Differential
Tamiya TRF419XR Touring Car Build – Part 3 – Driveline
Tamiya TRF419XR Touring Car Build – Part 4 – Steering
Tamiya TRF419XR Touring Car Build – Part 5 – Suspension
Tamiya TRF419XR Touring Car Build – Part 6 – Anti-Roll Bars
Tamiya TRF419XR Touring Car Build – Part 7 – Shocks
Tamiya TRF419XR Touring Car Build – Part 8 – Final Assembly