The Build – Part 14
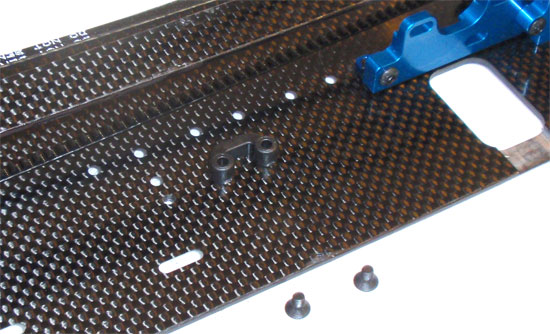
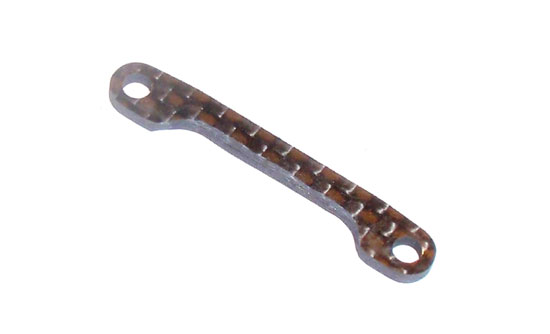
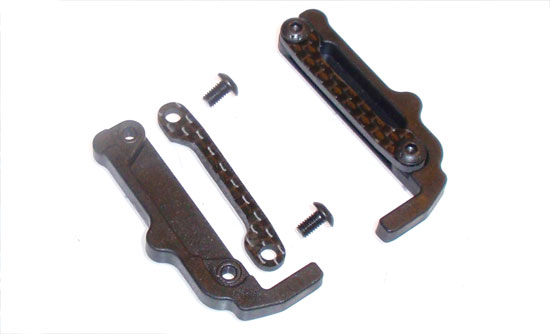
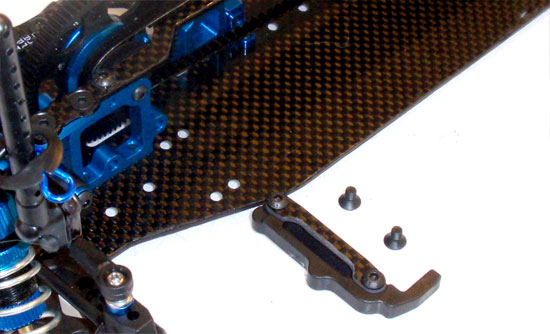
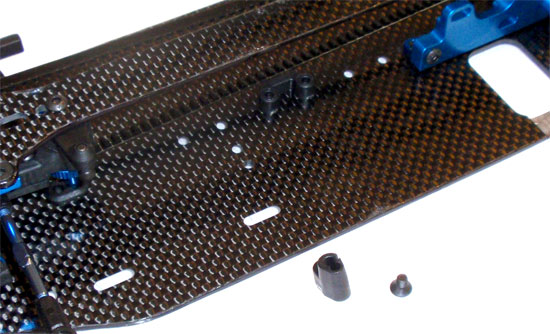
Team Associated has done away with the standard post-and-battery strap plan. Instead, they have crafted a pair of nifty braces that allow you to use battery tape. While this does mean an additional expense for you (anywhere from $12 to $24 for the good stuff), the result is a clean, functional setup that saves alot of weight on this side of the car.
Build Notes:
 Team Associated has designed the TC6.1 to be a LiPo-ready TC. Because of that, the chassis does not have cutouts for the battery to sit in and will require you to have some battery tape to keep it in place.
 Part 15 – Assembling the anti-roll bars.
 Back to the Team Associated TC6.1 Build List
 CompetitionX CompetitionX is the most up-to-date source for RC Car News, Reviews and Videos for Radio Control. We also have the most comprehensive Manual Database on the web.