The Build – Part 7
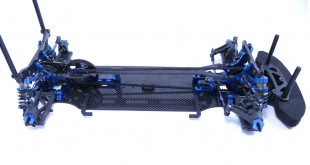
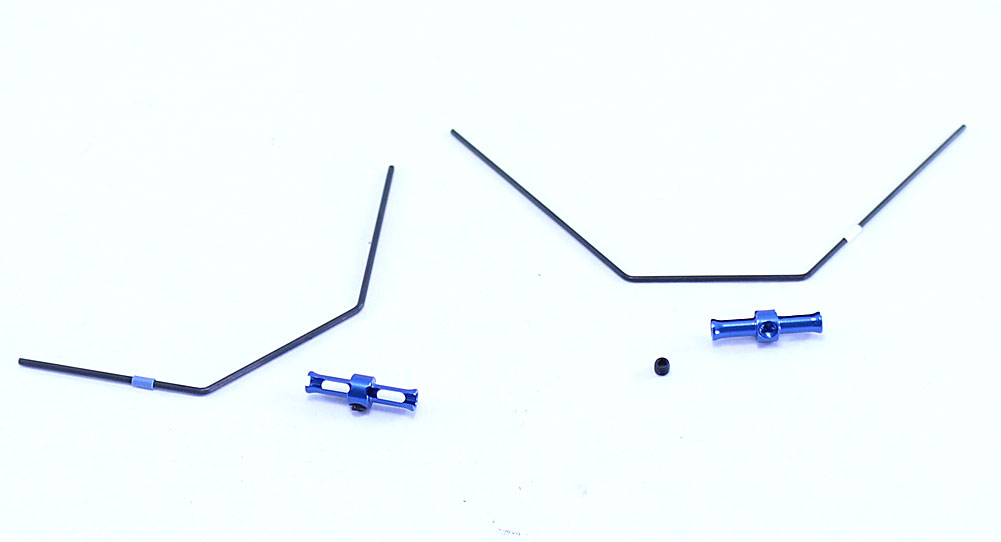
The Team Associated TC7 comes with front and rear anti-roll bars, both of which are very easy to assemble and install. Follow along.
 Simple procedure, just make sure you put the 1.4mm bar (blue) on the front and the 1.2mm bar (white) on the rear.
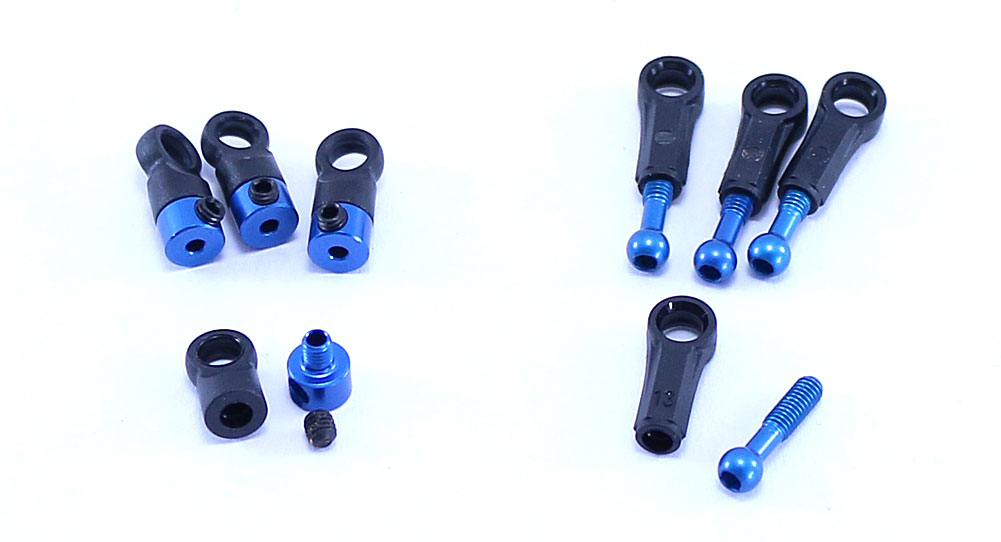
The first thing is to build the anti-roll bar links; screw the couplers and ballstuds into the eyelets. Partially insert the set screws into the couplers; I’ll tighten them in a bit.
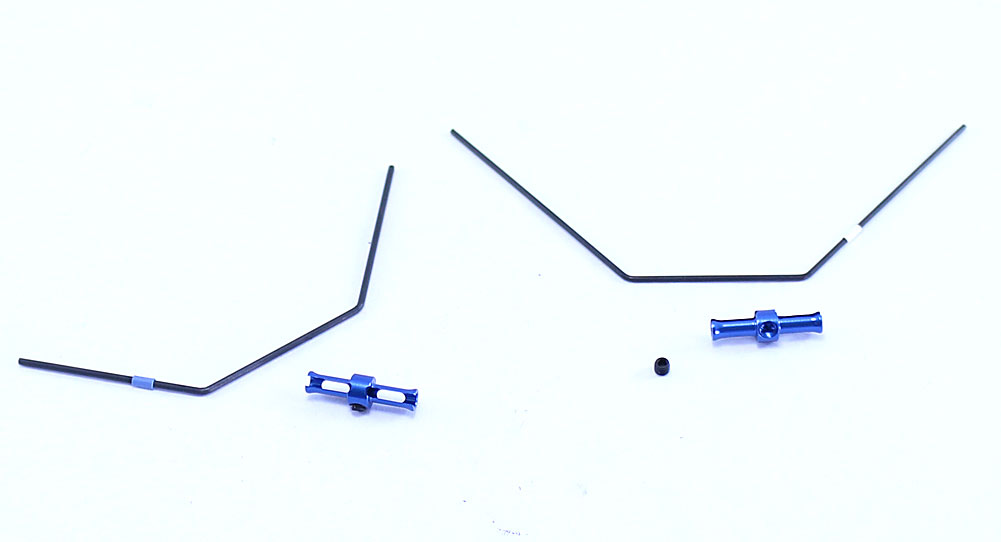
Shinking the colored wrap to the bars is optional, but I like to have it to help identify what bars I’m using. Once you’ve decided how to handle that major delimma, slip the bar through the retainer, center it and insert the set screw.
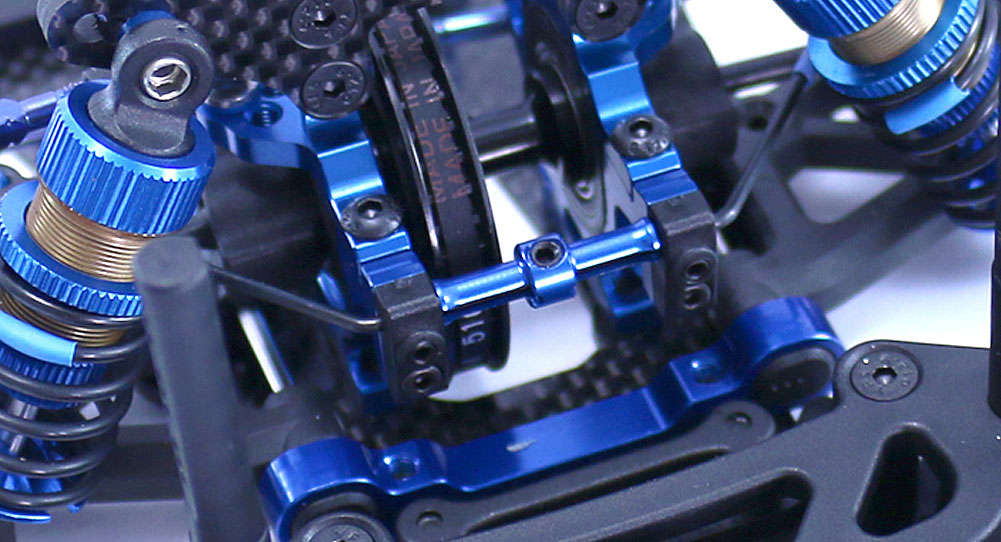
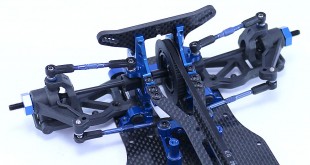
Set the anti-roll bar in place and secure with the pair of plastic mounts. Screw the 3x3mm set screws into the mounts until they JUST comes in contact with the bar. The bar should move freely; if it doesn’t, back the set screws off slightly.
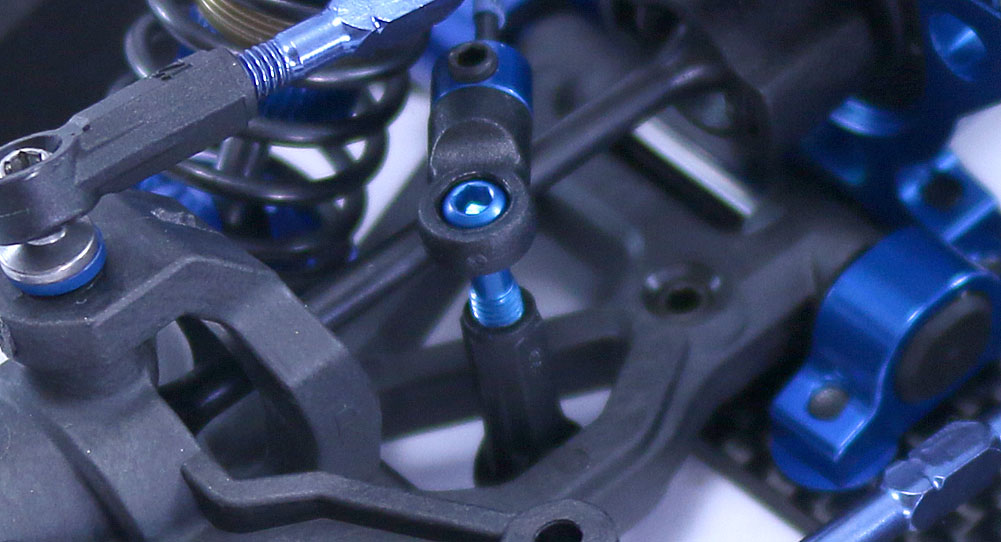
Pop the anti-roll bar mounts onto the balls on the suspension arms, then slide the end of the anti-roll bar into the coupler. Tighten the ‘partially inserted’ set screw to lock the anti-roll bar in place.
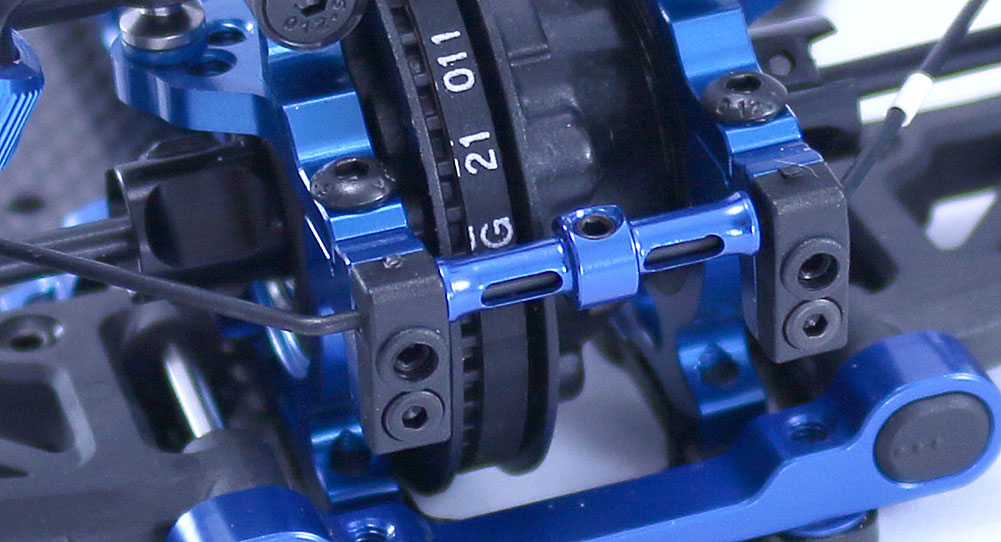
Follow the same procedure to attach the rear anti-roll bar.
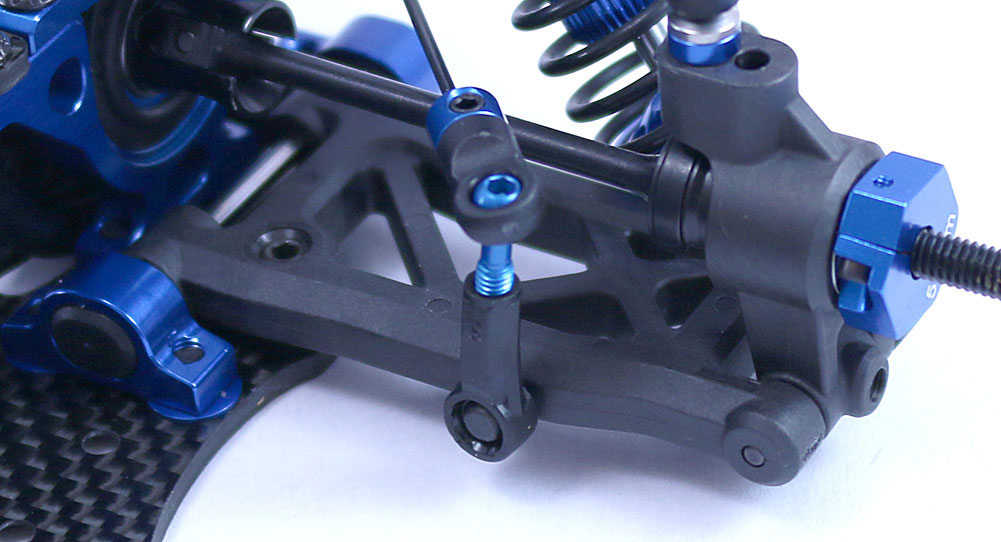
Roll controlled. One more step – the electronics. See ya there!
Team Associated TC7 Build – Part 1 – Shocks
Team Associated TC7 Build – Part 2 – Spool and Differential
Team Associated TC7 Build – Part 3 – Suspension
Team Associated TC7 Build – Part 4 – Center Bulkhead / Top Deck
Team Associated TC7 Build – Part 5 – Drivetrain
Team Associated TC7 Build – Part 6 – Shocks, Bumpers, Body Mounts
Team Associated TC7 Build – Part 7 – Anti-Roll Bar
Team Associated TC7 Build – Part 8 – Electronics
 CompetitionX CompetitionX is the most up-to-date source for RC Car News, Reviews and Videos for Radio Control. We also have the most comprehensive Manual Database on the web.
