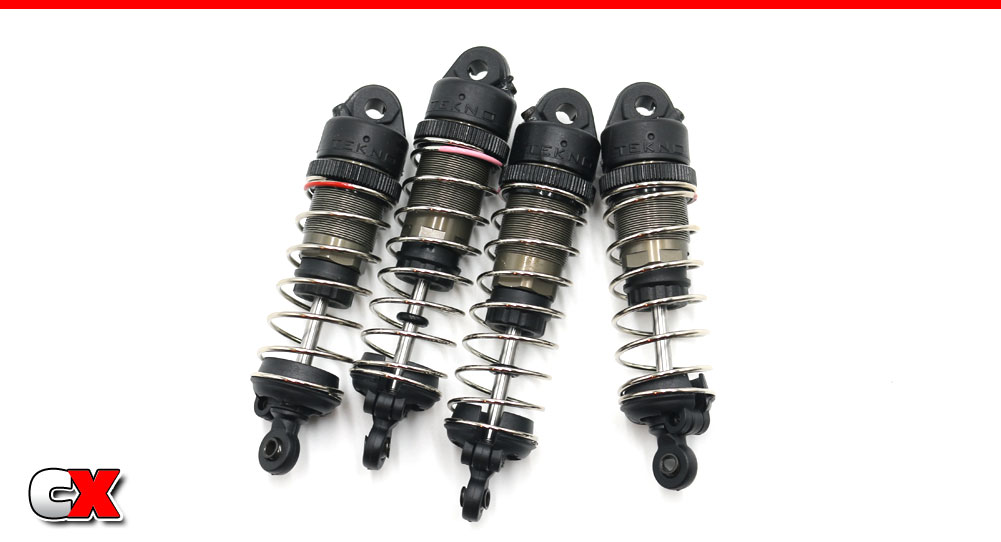
Tekno’s EB410.2 uses a top-of-the-line set of big bore shocks. They include aluminum threaded bodies, bottom-load cartridges, massive plastic caps (with integrated bleeder hole) and a grub-screw lower portion that keeps the lower spring retainer from popping off. Good stuff!
 Tekno provides #600 weight fluid with the kit (equivalent to 60wt), but I would check with your local track to see what guys there are running. Building shocks with the right fluid the first time is way more fun than having to rebuild them later.
 Fluids will be used in this step, and that can get messy at times. Some rags or paper towels should be handy for cleaning up any spills.
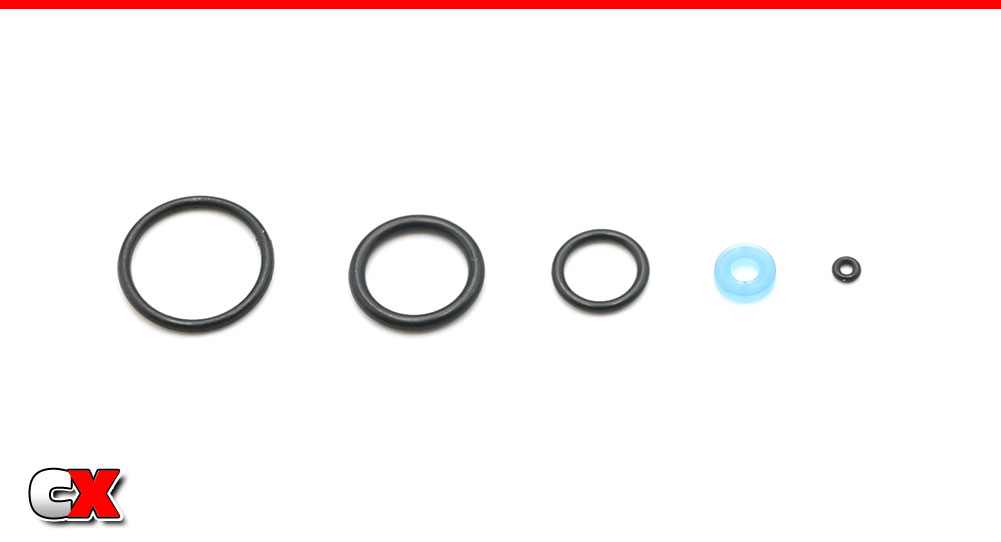
The kit shocks come with 5 different o-rings in the kit (from left to right): shock collar o-ring, inner shock cap o-ring, lower cartridge o-ring, internal cartridge X-ring and bleeder screw o-ring.
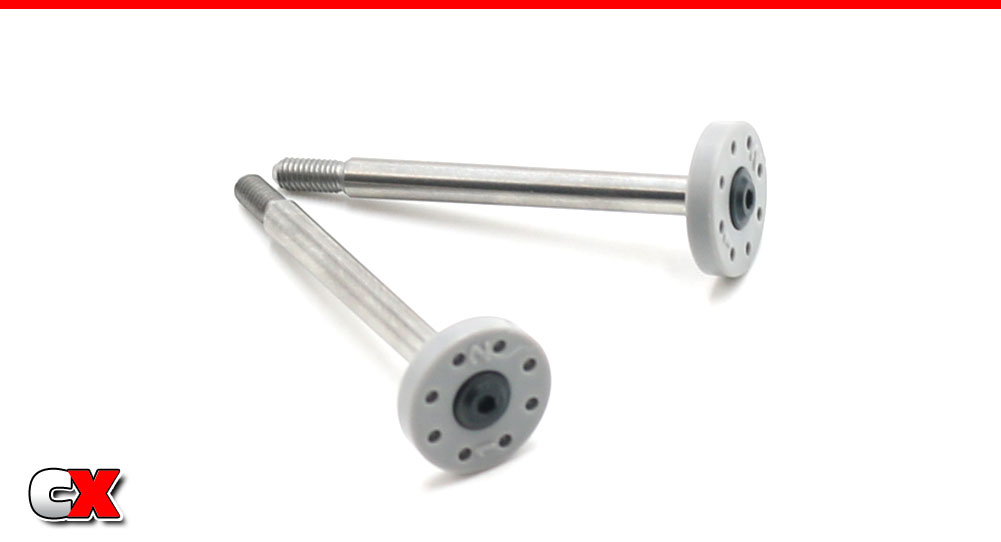
We’re going to work on the front shocks first – build your pair of front shock shafts. A light drop of threadlocker on the screw is suggested.
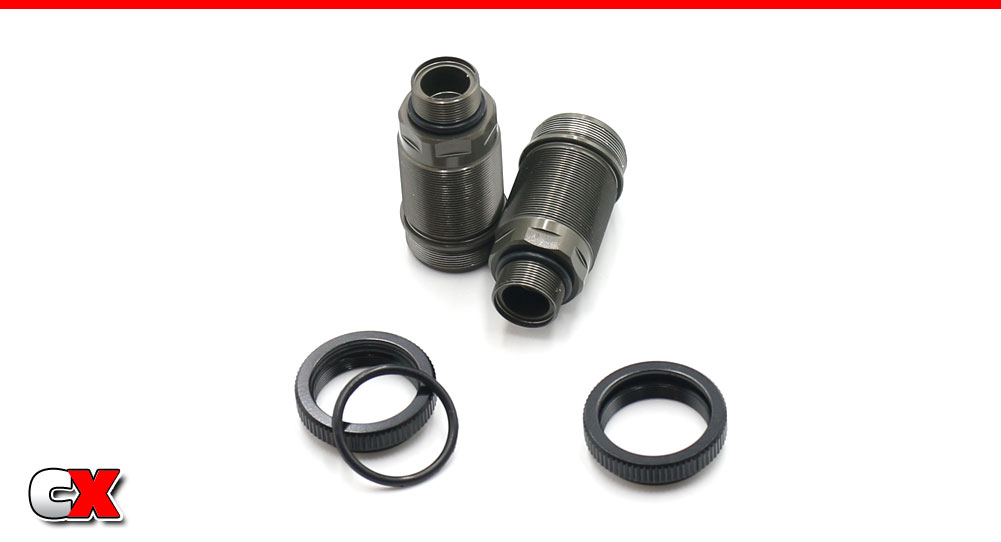
Install some o-rings; one pair into the shock collars, one pair over the bottom of the shock cartridge area.
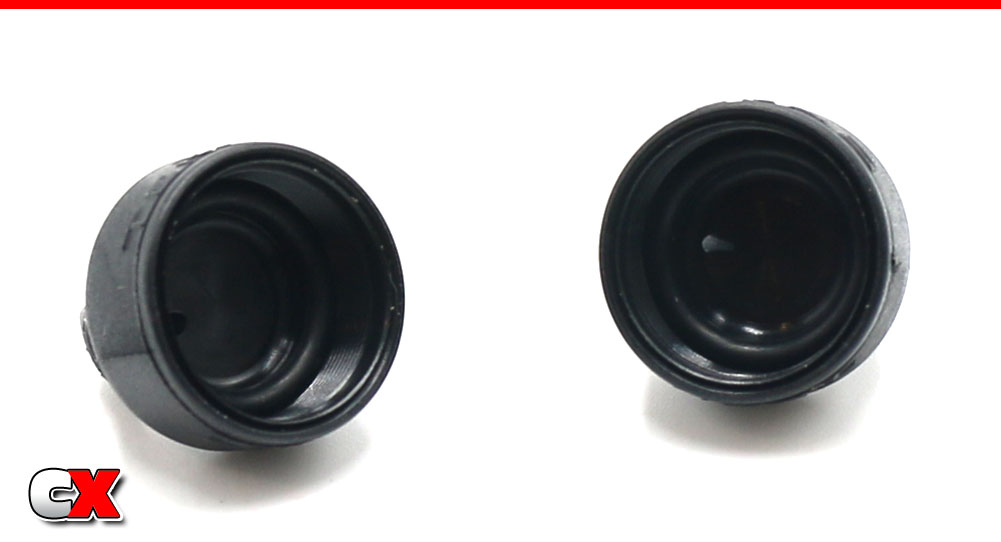
Install one more pair of o-rings into the shock caps. Take an extra moment here to make sure these seat all the way in the cap.
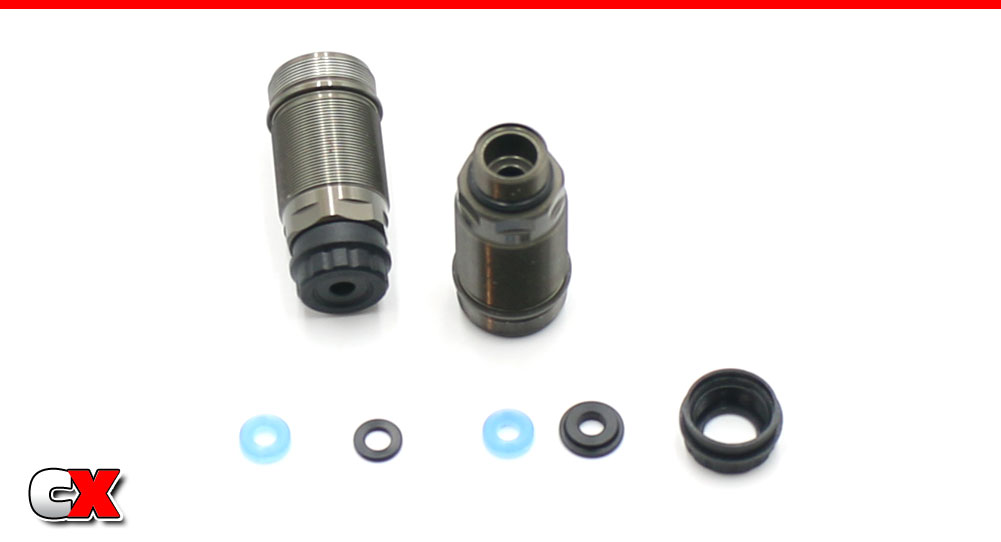
Assemble the bottom shock cartridge; blue X-ring, plastic guide, another X-ring and the final guide (note the lip on this last part – it should be facing away from the shock body). Screw on the shock cartridge cap.
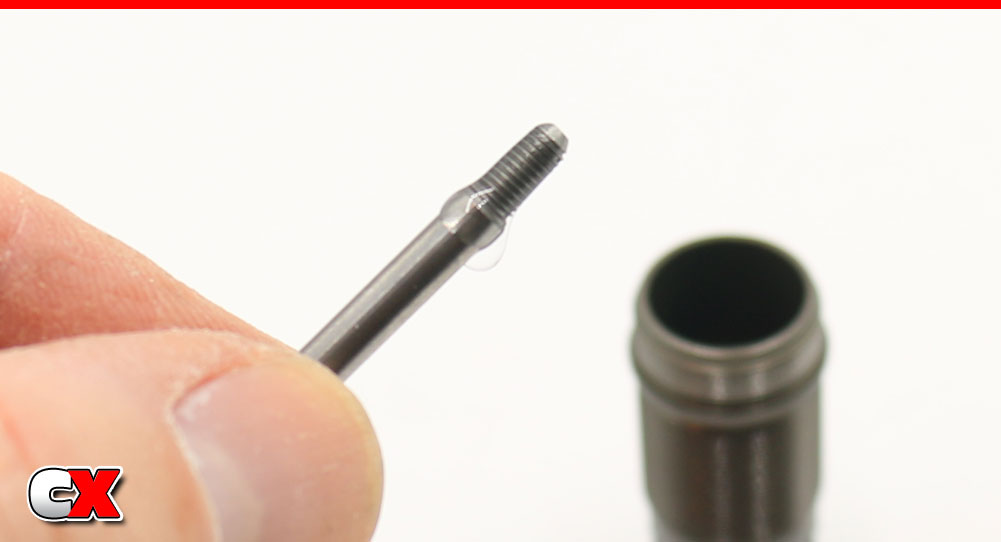
Apply a small amount of shock fluid to the threads of the shock shaft assembly…
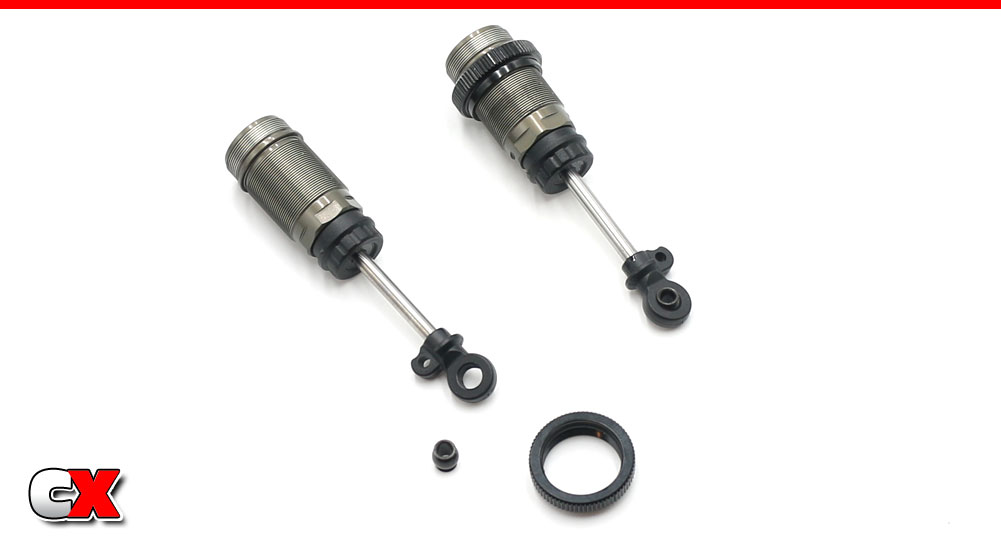
…and slowly slide it through the body. The fluid helps prevent the threads from tearing the X-rings.
Press the aluminum ball into the shock bottoms, then install the bottoms on the shafts. Tekno has the gap between the bottom cartridge and the shock bottoms at 23mm – I screwed the shock bottoms on until I reached that gap.
Install the shock collars; a slight drop of shock fluid on the body – at the start of the threads – will help lubricate the thread and make installing the collars much easier.
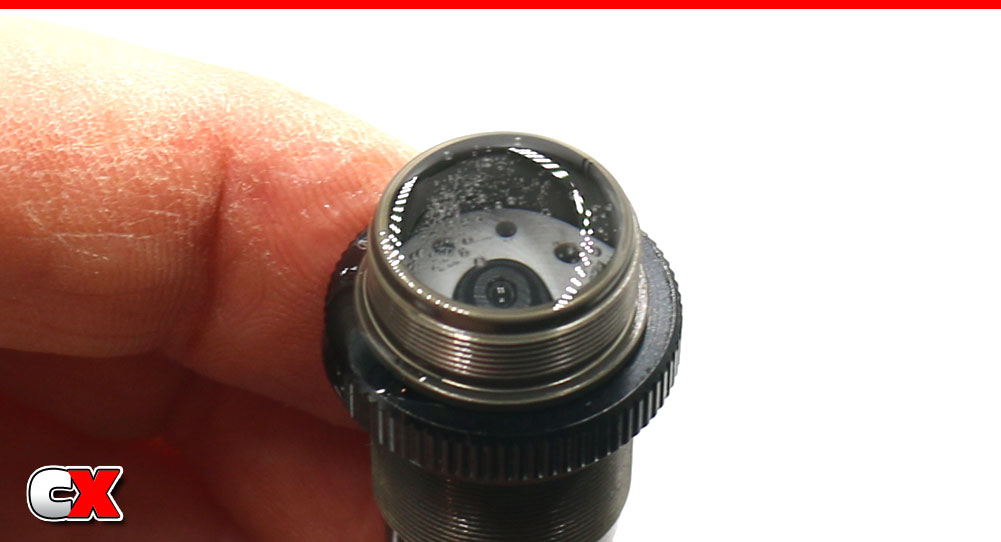
Fill the shocks with fluid, then SLOWLY pump the shaft up and down until all the bubbles have been released from under the piston. Set the shock aside so the bubbles can rise and dissipate. Build 2 shocks.
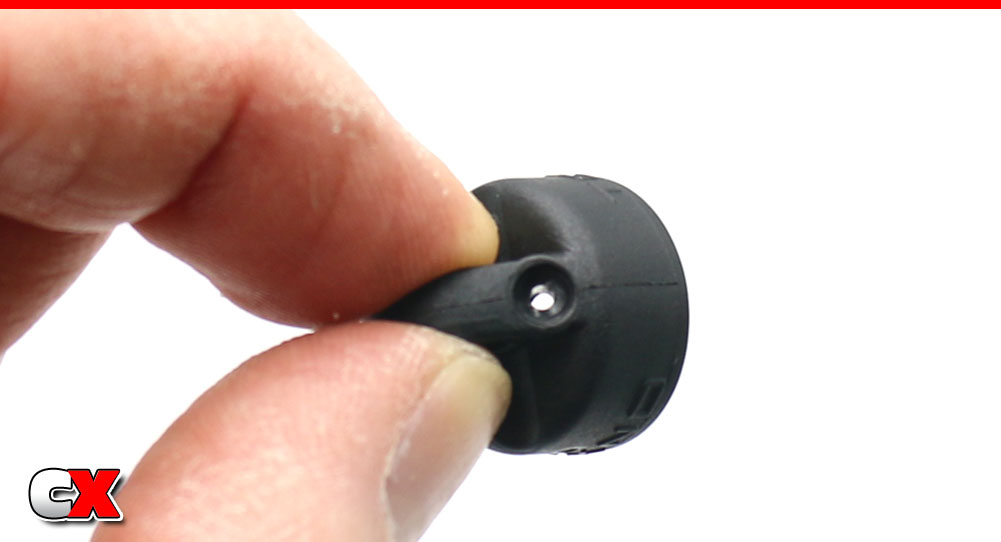
While we’re waiting for the bubbles to float away, let’s check out the shock caps. Here you can see that Tekno has already pre-drilled the caps – love this!
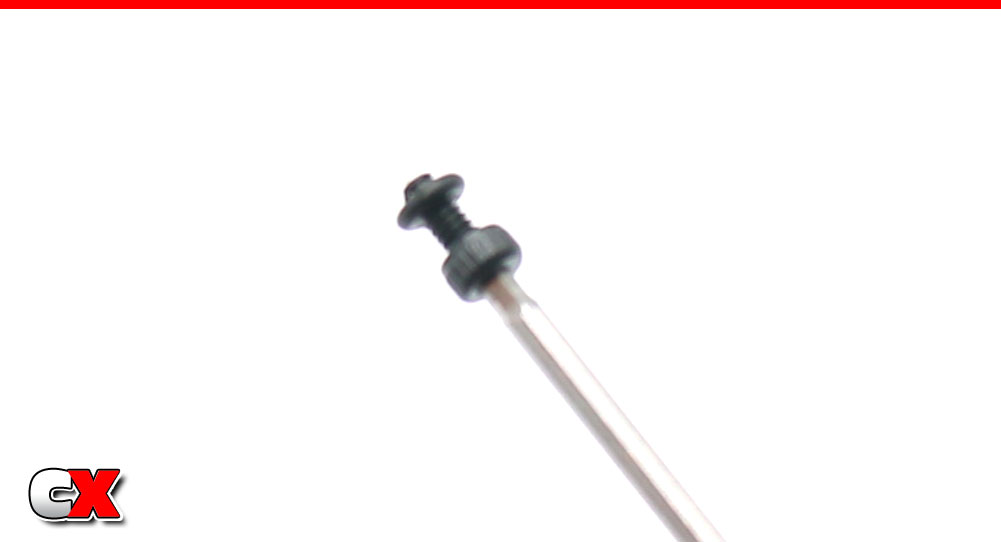
Slide the bleeder screw o-rings on to the screws.
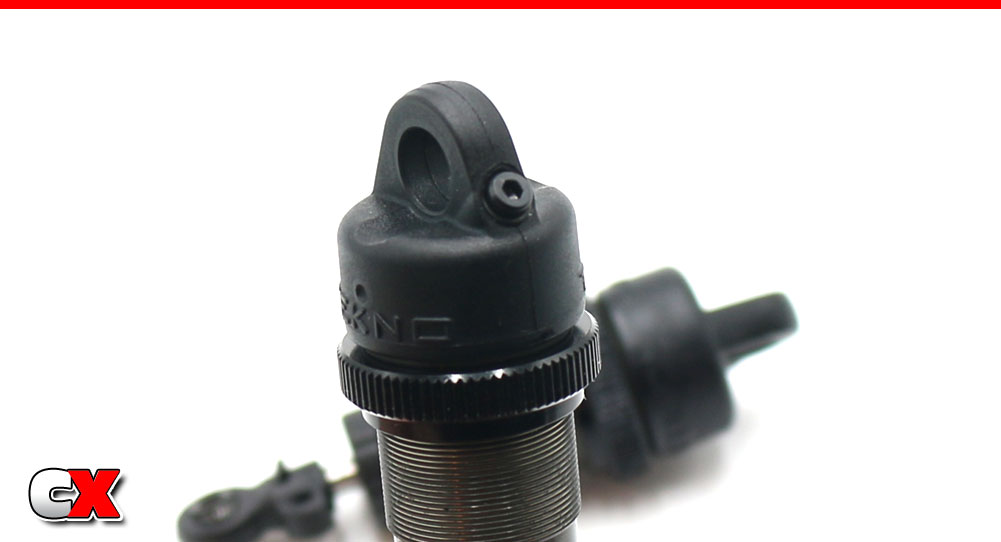
With the piston pulled all the way out of your shocks, add a little more fluid until it is crowning the top of the shock, then attach the cap. Compress the shock all the way, then install the bleeder screw.
Most likely a little fluid will come out of the bleeder hole in the cap, so be prepared with some towels for clean up.
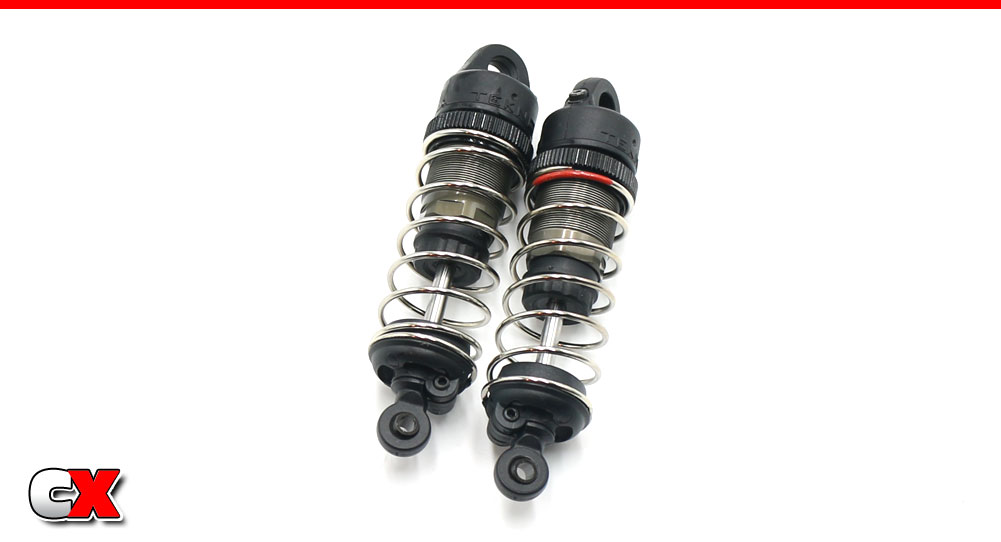
Install the front spring and the lower spring retainer. Use the M3x8mm grub screw to retain the spring retainer.
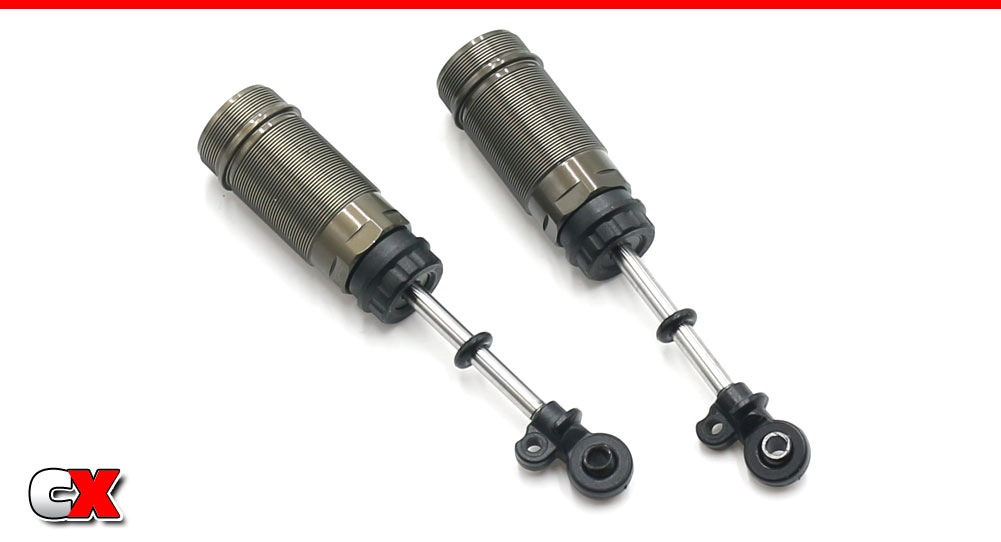
The rear shocks are similar to the fronts, only longer. Build like the fronts up until this point, using the manual-set 29mm as the shock shaft gap length. The only difference is the addition of the black o-ring on the shaft.
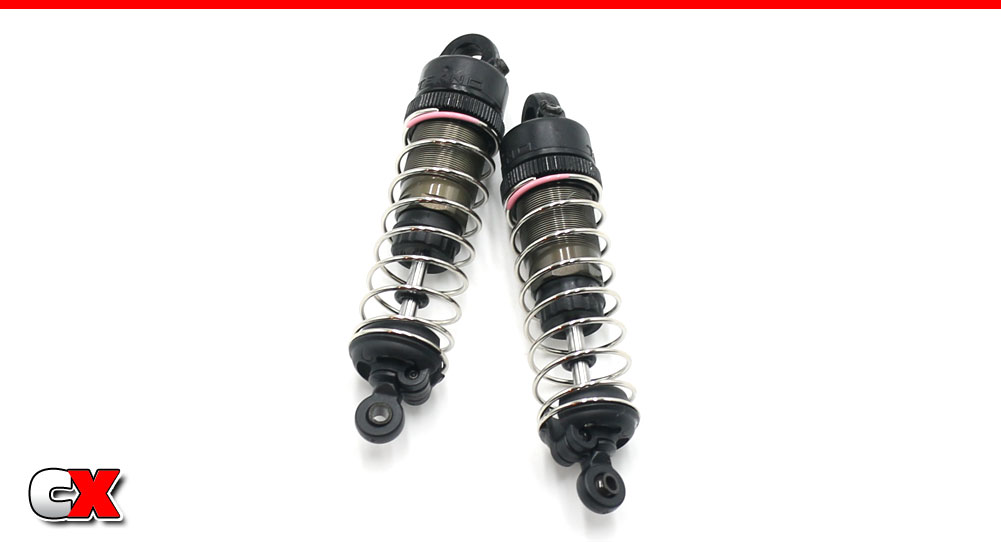
Add oil, release the bubbles, add the cap and bleed. Add the spring and lower retainer; add the grub screw.

Add the shock cap bushings to all 4 shocks. Your pretty little dampers should look like this, ready for install.
Clean off any extra fluid that may have come out during the bleeding process.
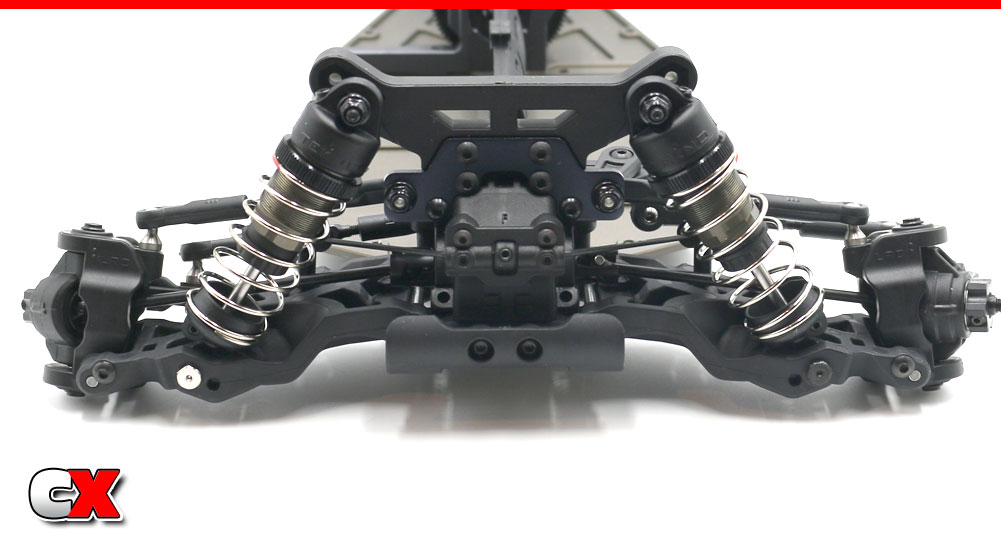
Install the front shocks – mount on the tower, outside hole in the arm. Make sure you use the reverse-thread chrome screw on the right side of the car, the normal-thread black screw on the left side.
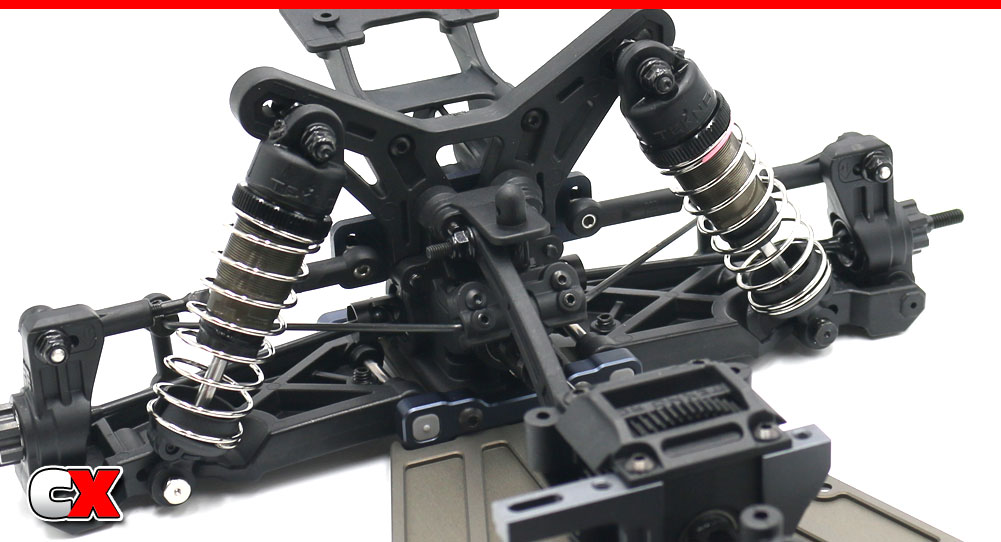
Install the rear shocks – mount on the tower, inside hole in the arm. Make sure you use the reverse-thread chrome screw on the right side of the car, the normal-thread black screw on the left side.
Shocks in place, ready to soak up the track! Awesome job! Let’s gather your electronics and move on to Part 8!
Tekno RC EB410.2 4WD Buggy Build – Opening Page
Tekno RC EB410.2 4WD Buggy Build – Part 1 – Differentials
Tekno RC EB410.2 4WD Buggy Build – Part 2 – Steering/Front Bulkhead
Tekno RC EB410.2 4WD Buggy Build – Part 3 – Rear Bulkhead
Tekno RC EB410.2 4WD Buggy Build – Part 4 – Rear Suspension
Tekno RC EB410.2 4WD Buggy Build – Part 5 – Front Suspension
Tekno RC EB410.2 4WD Buggy Build – Part 6 – Chassis Assembly
Tekno RC EB410.2 4WD Buggy Build – Part 7 – Shocks
Tekno RC EB410.2 4WD Buggy Build – Part 8 – Electronics
Tekno RC EB410.2 4WD Buggy Build – Part 9 – Final Assembly
 CompetitionX CompetitionX is the most up-to-date source for RC Car News, Reviews and Videos for Radio Control. We also have the most comprehensive Manual Database on the web.

